83 Jean St, Grange QLD 4051
Mon-Fri 07:30 AM - 04:00 PM - Sat - 8:00 - 12 - Sunday Closed

Getting ready for an EV charger installation isn’t just a one-day job. It’s a structured process that starts with a close look at your home’s electrical setup and finishes with a professional safety sign-off. Following these steps ensures your home can safely manage the extra electrical load and that your new charger will work reliably for years. And let’s be clear: hiring a licensed professional isn’t just a good idea—it’s essential for safety, compliance, and your own peace of mind.
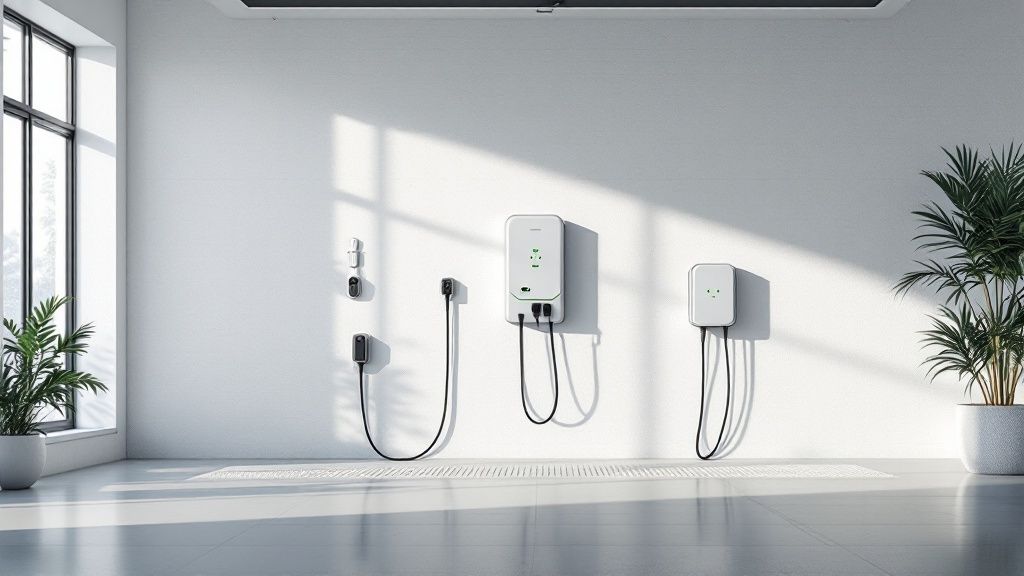
Making the leap to an electric vehicle is a fantastic move towards a more sustainable lifestyle. One of the biggest perks of EV ownership is the sheer convenience of charging your car overnight, right in your own garage or driveway. No more weekly trips to the servo; just wake up to a “full tank” every morning.
But installing a proper home EV charger is a bit more involved than just plugging in a new toaster. Think of it as a significant electrical upgrade for your home, one that needs careful planning and expert execution to ensure it’s safe, compliant, and perfectly suited to your needs. Understanding the whole process, from the first assessment to the final flick of the switch, helps you make the best decisions for your setup.
Before we get into the nuts and bolts, it’s good to have a bird’s-eye view of what a standard residential installation looks like. This is definitely not a weekend DIY project; it’s a specialised job that protects your home, your expensive new car, and your family.
The journey typically breaks down into these key phases:
The demand for home EV charger installations is absolutely booming across the country. As more and more Aussies go electric, the need for reliable and convenient home charging has shot through the roof. The latest figures really paint a picture of this massive shift.
In the first half of 2025 alone, EVs captured nearly 16% of the market share in a single month—a new record. If you want a deep dive into what’s involved in setting up your own charging point, there’s a great guide on how to effectively charge your electric car at home in Africa. This boom in EV adoption highlights just how important it is to get your home ready.
Australia’s EV market keeps hitting new highs, with over 14,000 more electric vehicles sold in the first half of 2025 compared to the same period in 2024. The momentum is undeniable.
This guide will walk you through every step, demystifying the process and providing the practical knowledge you need to bring efficient EV charging to your doorstep.
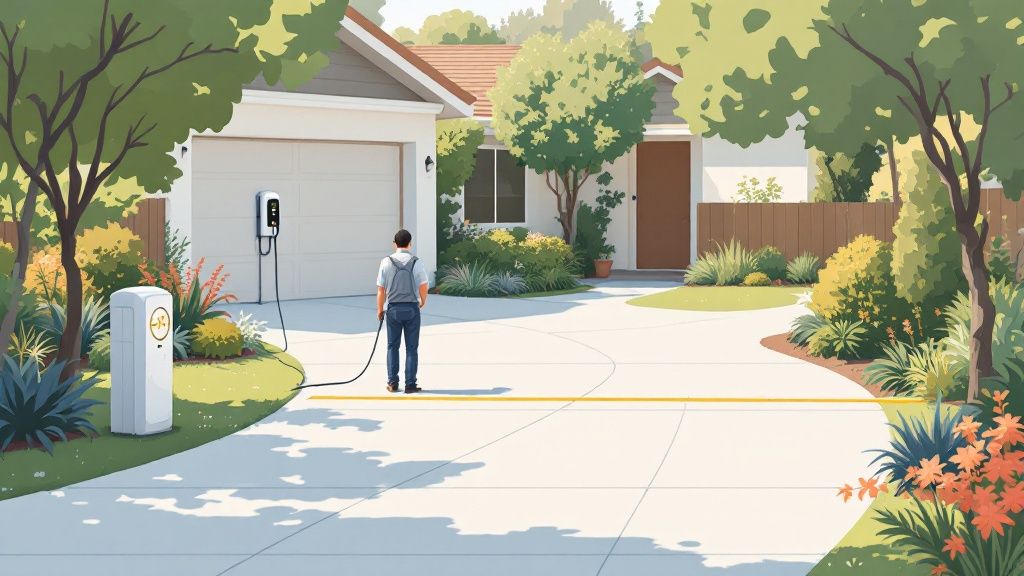
Picking the perfect charger is your first big decision, and it’s one that will shape your daily charging routine and overall convenience. Your EV probably came with a basic Level 1 charger that plugs into a standard wall socket. While it’s a handy backup, you’ll quickly discover it’s painfully slow for day-to-day use.
That’s where Level 2 chargers come into the picture. They are the go-to solution for home EV charger installation in Australia, hitting the sweet spot between speed, cost, and electrical requirements. These units run on a 240-volt circuit—much like an oven or clothes dryer—and can fully charge your car in a matter of hours, not days.
You’ve probably seen the super-fast DC chargers at public stations, but those are commercial-grade units. They’re far too powerful and expensive for a typical home. So, for a residential setup, the real conversation is about choosing the right kind of Level 2 charger.
Not all Level 2 chargers are created equal. The main difference comes down to their power output, which we measure in kilowatts (kW). For home installations, you’re generally looking at options between 7kW and 22kW.
A 7kW charger is the most popular choice for single-phase homes, which covers the vast majority of residences in Australia. It adds about 40-50 kilometres of range per hour of charging. For the average daily commute, this is more than enough to get a full top-up overnight.
On the other hand, a 22kW charger needs a three-phase power supply. This is less common in residential properties but you might find it in some larger or newer homes. It can deliver a massive 120-130 kilometres of range per hour, but there’s a catch: it’s only worth it if your car’s onboard charger can actually accept that much AC power.
Key Takeaway: For most Aussie homeowners, a 7kW Level 2 charger is the perfect balance of charging speed and compatibility with a standard single-phase power supply. It’s a solid, future-proof choice for almost any electric vehicle on the market today.
The great news is that across Australia, the standard for home and public AC charging is the Type 2 connector. This means you’ve got almost universal compatibility, so you can be confident your new charger will work with your current EV and your next one too.
Beyond raw power, your next big decision is whether to get a “smart” or a “dumb” charger. A dumb charger has one job: charge your car when it’s plugged in. It’s simple and it works, but it offers no extra features.
A smart charger, however, is a game-changer. It connects to your home Wi-Fi and unlocks a whole world of features to help you optimise your energy use and slash your running costs, all managed from a smartphone app.
Here’s why a smart charger is almost always the better choice:
To make it even clearer, here’s a quick breakdown of the different charger levels you’ll encounter for home use.
| Charger Level | Charging Speed | Power Output | Best For |
|---|---|---|---|
| Level 1 | Very Slow (8-20+ h) | 1.4kW – 2.4kW | Emergency backup, occasional use, or plug-in hybrids with very small batteries. |
| Level 2 | Fast (3-8 h) | 7kW – 22kW | The standard for all-electric vehicles, ideal for overnight charging at home. |
| DC Fast | Very Fast (20-60m) | 50kW – 350kW+ | Not for home use. Found at public highway charging stations for long-distance travel. |
As you can see, Level 2 is the clear winner for everyday home charging, offering a practical and efficient solution for EV owners.
Ultimately, the best charger for you comes down to your car and your daily routine. Let’s walk through a couple of real-world scenarios.
Scenario 1: The Daily Commuter with a Tesla Model Y
Imagine a professional who drives 50km to and from work each day. They need to put back about 10kWh of energy into their Tesla Model Y every night. A 7kW smart charger is the perfect fit. They can plug in when they arrive home, set the schedule to kick in at 11 PM for the cheap off-peak tariff, and wake up to a 100% charged car every morning.
Scenario 2: The Family with a Mitsubishi Outlander PHEV
Think of a family using their Outlander PHEV mostly for school runs and local errands, maybe covering 30km a day. A plug-in hybrid has a much smaller battery, so even a basic 7kW charger will have it fully topped up in just a couple of hours. A smart charger with solar integration would be brilliant here, letting them charge the battery for free during the day using their rooftop solar.
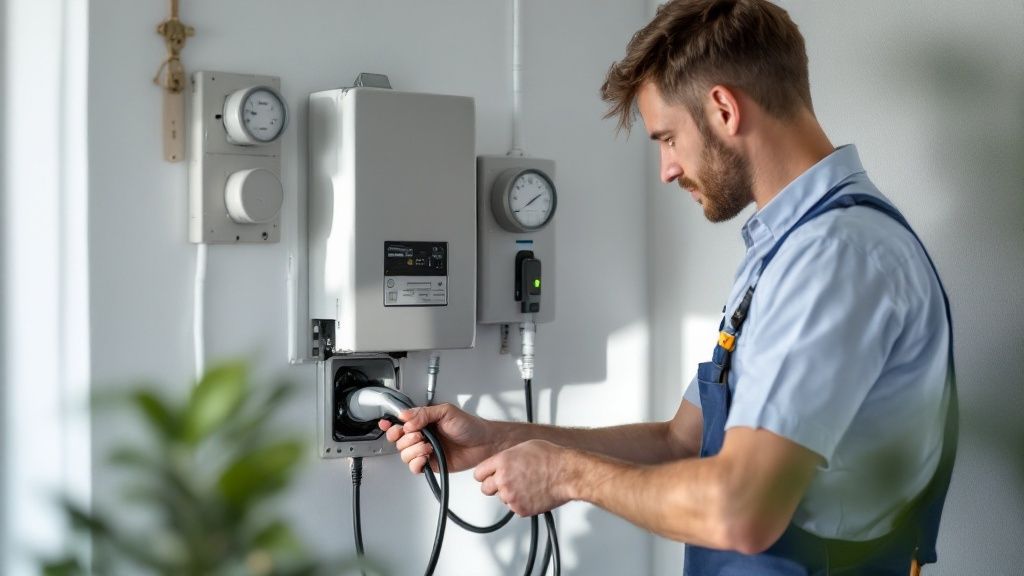
A successful EV charger installation doesn’t just start when the electrician shows up with their tools. The groundwork you lay beforehand makes a huge difference, not just for a smoother installation day but also for your back pocket. Getting a few key things sorted first can save you from a world of unexpected costs and delays down the track.
First up, you need to get familiar with your home’s main switchboard. It’s the nerve centre of your entire electrical system, and its ability to handle the constant, heavy load of a Level 2 charger is something we absolutely have to confirm.
Your switchboard is usually tucked away in the garage, a utility cupboard, or sometimes on an outside wall. Pop it open and have a look inside. You’re trying to spot the main switch that kills power to the whole house, plus all the individual circuit breakers for your lights, power points, and big appliances.
A modern switchboard is easy to spot—it’ll have neat rows of RCDs (Residual Current Devices) and circuit breakers. If you see old-school ceramic fuses, that’s an immediate red flag. Homes built before the EV boom often have switchboards with pretty limited capacity, sometimes as low as 63 amps for the entire property.
Trying to squeeze a 32-amp EV charger onto an already strained system is a recipe for overloaded circuits and constant tripping. For many homes, especially older ones, a switchboard upgrade isn’t just a good idea; it’s essential for safety. While it’s an extra upfront cost, think of it as a non-negotiable investment in your home’s electrical safety.
Expert Tip: An overloaded electrical panel is one of the most common hurdles we encounter with home EV charger installations. A quick photo of your open switchboard sent over to your electrician can give them a much clearer picture and help them provide a more accurate initial quote.
Some newer or larger homes might already have a beefier electrical setup. If you’ve got your eye on a powerful 22kW charger, it’s worth investigating whether you have (or need) three-phase power. Our guide on https://dlgelectrical.com.au/dlg-blog/three-phase-power-installation/ breaks down everything you need to know.
Deciding where to put the charger is a big deal. It affects how you use it every day, how much the installation costs, and how long the unit will last. The sweet spot is a balance of convenience, cost, and protection.
The number one factor? Proximity to your switchboard. The further the charger is from the panel, the longer the cable run needs to be, which directly bumps up the cost of materials and labour. A short, straight run is always the cheapest.
Next, think about where the charge port is on your car. You need the cable to reach it easily without being pulled tight or becoming a trip hazard snaking across the floor. Park your car where you normally would and measure from your proposed mounting spot to the port.
Here are the most common spots we install chargers:
Safety is everything. A Level 2 EV charger must be installed on its own dedicated circuit, wired directly back to the switchboard. It absolutely cannot share a circuit with other power points or appliances. No exceptions.
This dedicated circuit also needs its own Residual Current Device (RCD). An RCD is a critical safety switch that cuts the power in milliseconds if it detects a fault, preventing serious electric shock. While many new chargers have DC leakage protection built-in, Australian standards still mandate an AC-rated RCD at the switchboard for a compliant installation.
It also pays to know where regulations are heading. Some places, for instance, are bringing in regulations mandating EV charging installation in new homes, showing how quickly this is becoming standard practice. A licensed electrician will ensure your installation ticks every box of the current Australian Standards (AS/NZS 3000), giving you total peace of mind.
So you’ve picked the perfect charger and prepped your home. Installation day is when it all comes together. Understanding what a qualified electrician actually does on the day helps demystify the whole process, giving you confidence that the job is being done safely and to Australian standards. This isn’t just about screwing a box to the wall; it’s a precise electrical job that demands experience.
Getting a professional to handle the EV charger installation is non-negotiable. It’s the only way to guarantee the safety of your home, protect your vehicle’s warranty, and ensure your charger runs efficiently for years to come. From the moment our electrician arrives, they follow a methodical process to safely integrate a new, high-power circuit into your home’s existing electrical system.
The day kicks off with a final on-site confirmation of the plan. Your electrician will walk through the chosen location for the charger and confirm the cable route from your switchboard. This is the perfect time to ask any last-minute questions before the tools come out.
First things first, they’ll shut off the main power at your switchboard to work safely. The real heart of the job is running a new, dedicated electrical circuit just for the EV charger. This is absolutely critical because a Level 2 charger pulls a continuous, heavy load—much more than a standard power point—and can’t share a circuit with anything else.
Your electrician will then get to work:
This workflow shows the logical steps involved in a typical installation.
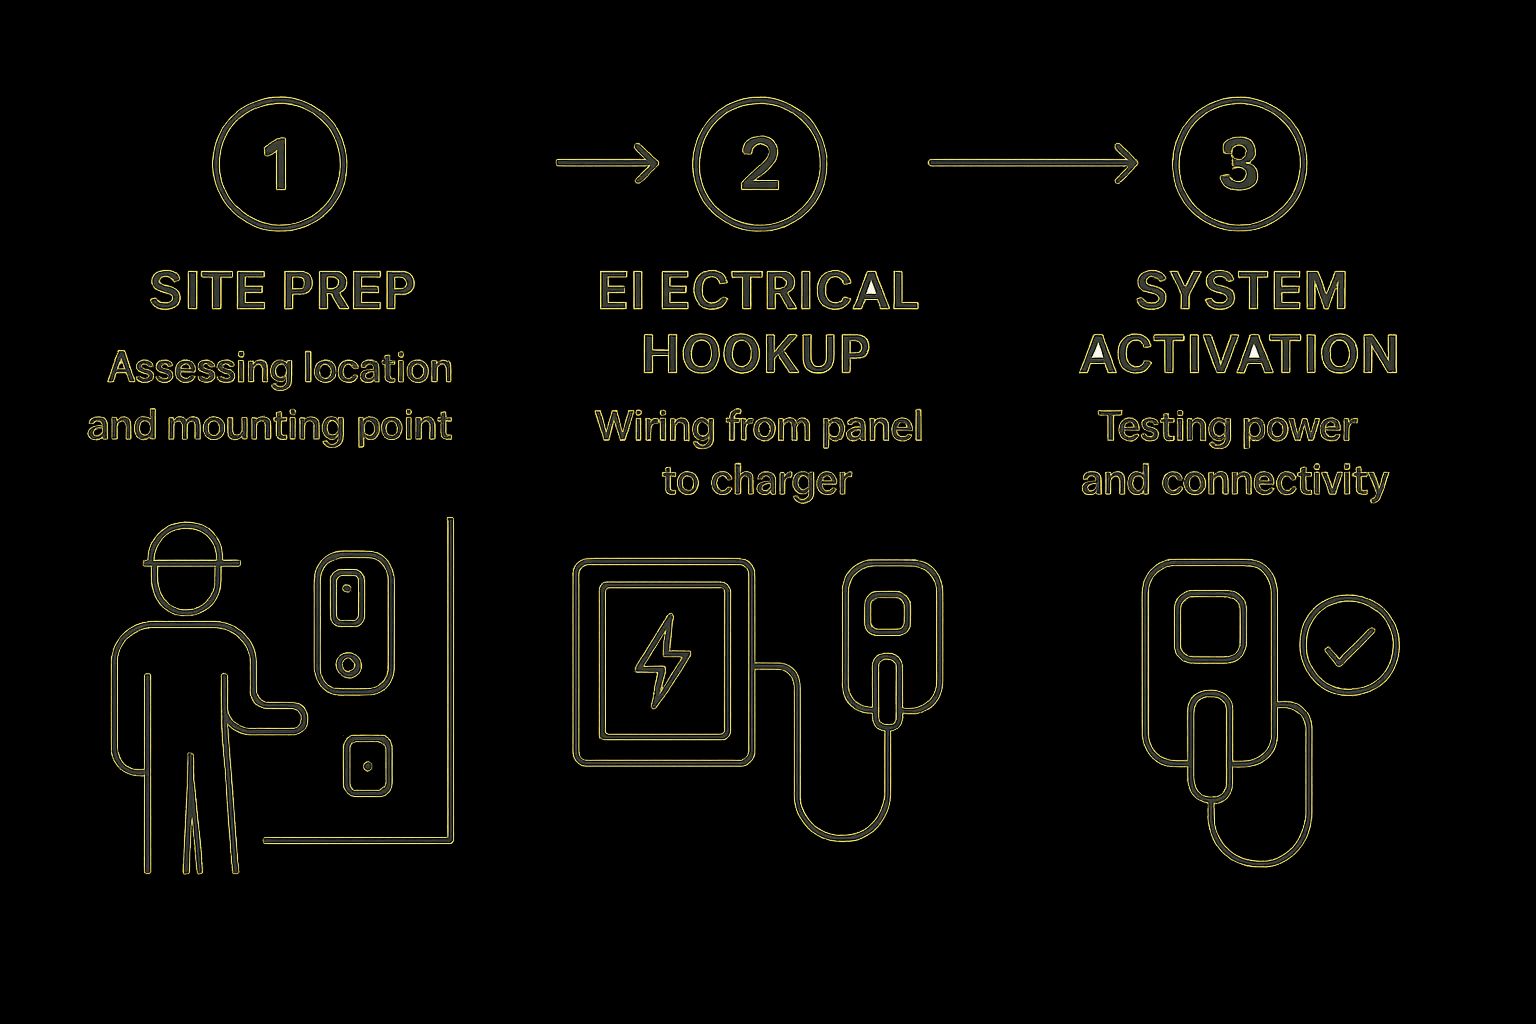
As you can see, the process moves logically from site prep and wiring right through to the final system tests and handover.
Once the charger is mounted and the wiring is in place, the electrician will make the final connections inside the unit itself. This is a meticulous step, ensuring every wire is correctly terminated and tightened to prevent any future problems like overheating or a poor connection.
With everything connected, the power is switched back on. But the job’s not done yet. A series of crucial tests are performed to verify the installation is 100% safe and operational. This means checking voltages, confirming the RCD trips correctly when tested, and ensuring the charger is communicating properly with your EV.
Finally, they’ll give you a walkthrough of how to use your new charger, including any smart features accessible via its app. Then comes the best part: plugging your car in for its very first proper home charge.
A professional installation always ends with the electrician issuing a Certificate of Electrical Safety (CES). This is a legally required document and your official proof that the work was done by a licensed professional and complies with all Australian electrical safety standards. Never, ever accept a job as complete without receiving one.
Before any work kicks off, you should receive a comprehensive quote that breaks down every single cost. A vague, one-line price is a massive red flag. A professional quote will always itemise things like:
This kind of transparency means no nasty surprises on the final invoice. It’s the hallmark of a trustworthy and experienced electrician. If you’re trying to find a reliable team, our guide on what to look for in an electrician in Brisbane is a great place to start.
Let’s talk money. Budgeting for a home EV charger installation can feel a bit like guesswork, but it becomes much clearer when you break it down. The total cost isn’t just the price on the charger’s box; it’s a mix of the hardware itself, the electrician’s time, and any critical upgrades your home might need to handle the extra load.
For a standard, no-fuss installation, you can expect the labour and basic materials to fall somewhere between $700 and $1,500. This usually covers mounting the charger close to your switchboard and running a new, dedicated circuit for it. Of course, if the job is more complex, the cost can climb towards $2,500 or even higher.
The charger unit itself is the other main component. A quality Level 2 smart charger generally costs between $800 and $2,000. So, when you add it all up for a straightforward job, you’re typically looking at a total investment of around $1,500 to $3,500.
Several factors can swing your final invoice one way or the other. From my experience, the biggest wildcard is nearly always the state of your existing switchboard. If it’s an old relic with ceramic fuses or simply doesn’t have space for a new 32-amp circuit, an upgrade isn’t just a recommendation—it’s essential for safety. This can be a significant part of the budget on its own.
To get a better handle on this, have a look at our detailed guide on the cost of a switchboard upgrade.
Other common things that add to the cost include:
Now for the good part: you probably won’t have to pay for all of this out of pocket. Both federal and state governments are keen to see more EVs on the road, and they often offer incentives to help with home charging infrastructure. These programs can change quickly, so it’s crucial to check what’s currently on offer in your state.
These incentives can be a game-changer, sometimes covering a huge chunk of your installation costs. Before you commit to anything, make sure you visit the official government energy or transport websites to get the latest, most accurate info on rebates and who’s eligible.
We’ve seen some states offer direct rebates for buying and installing a smart EV charger, while others have provided interest-free loans to help homeowners spread the cost. It’s all part of a bigger national push to support the massive uptake in EVs. By 2023, Australia had already seen a 62.35% jump in public charging points since 2019, thanks to serious government investment. You can get more insights into Australia’s growing EV charging network and the funding behind it.
Beyond the initial setup, the real financial win comes from how you charge your car. Having your own charger at home completely changes the game, unlocking massive long-term savings compared to public charging or, of course, petrol.
The smartest thing you can do is pair your EV charger with an off-peak electricity tariff from your energy provider. By using a smart charger’s scheduling feature to only power up late at night (say, after 10 PM), you could be paying half the price for electricity compared to the peak daytime rate. This one simple habit can easily save you hundreds of dollars over a year.
Got solar panels? The savings get even better. A smart charger with solar integration can be set to use only the excess, free energy your panels are generating during the day. You’re literally filling your car with sunshine, pushing your running costs down to almost zero. This powerful combination of solar and EVs is what makes the initial investment in a quality installation pay for itself faster than you might think.
Even after walking through the whole process, it’s natural to have a few questions left. For most homeowners, installing a dedicated EV charger is brand new territory, and getting straight answers is the best way to feel confident you’re making the right move.
Let’s run through some of the most common queries we get from homeowners just like you, covering everything from how long the job takes to whether you need to give the council a heads-up.
This is usually the first thing people ask. For a straightforward job in a home with a modern switchboard and an easy-to-access garage, a qualified sparkie can usually get it all done in 2 to 4 hours. That covers mounting the unit, running the dedicated circuit, and doing all the final safety checks.
Of course, not every home is a textbook case. The timeline can definitely stretch out if we run into a few hurdles. If the installation is more complex, it can easily turn into a full-day project.
Here’s what can add extra time:
Your electrician should give you a firm time estimate after they’ve done a proper site assessment.
For most people in a standalone house, the answer is a simple no. You typically don’t need any special permission from your local council to install an EV charger on your property. The key requirement isn’t about planning permission; it’s purely electrical.
The work absolutely must be done by a licensed electrician. Once finished, they have to issue a Certificate of Electrical Safety, which is your official proof that the installation meets all Australian standards.
The big exception here is if you live in an apartment, townhouse, or any property managed by a body corporate or strata scheme. In that case, you will almost certainly need to get their approval before any work starts. It’s a good idea to kick off that conversation early, as navigating strata rules can sometimes take a while.
In one word: no. Under Australian law, it is completely illegal for anyone other than a licensed electrician to carry out this kind of electrical work. Trying to DIY an EV charger installation is not just against the law—it’s incredibly dangerous.
You’re working with high-voltage electricity on a circuit that’s designed to handle a heavy, continuous load for hours at a time. One small mistake could create a massive risk of fire or a life-threatening electric shock.
Beyond the safety risks, a DIY job will void your home insurance for any related damage. It will also instantly void the warranty on your new charger and could even void the warranty on your electric vehicle. This is one job where cutting corners is never worth it. Always bring in a qualified professional.
Yes, charging your car at home will add to your electricity usage, but the good news is you have a lot of control over how much it costs. The impact on your bill really comes down to two things: how much you drive and, more importantly, when you choose to charge.
Using a smart charger is the key to keeping costs down. These chargers let you schedule your charging sessions for off-peak hours, usually overnight when electricity rates are at their lowest. Simply shifting your charging to these cheaper times can slash the cost compared to plugging in during peak afternoon hours.
If you have solar panels, the savings get even better. Many smart chargers can be set up to use only the free, excess energy your panels are generating during the day. This powerful combo can bring the “fuel” cost for your EV down to virtually zero.
Ready to make home charging a reality with a safe, professional, and compliant installation? The expert team at DLG Electrical is here to help. We provide transparent quotes and ensure every job is done right the first time, giving you complete peace of mind. Contact us today to discuss your EV charger installation needs. https://dlgelectrical.com.au

Master Electrician with over 30 years of experience. Founded DLG Electrical in 2005 after international project work including electrical installations at Stamford Bridge Stadium, London(Home of Chelsea FC).

Local Electricians that can fix all Electric Hot water Systems.
Motion sensor lights are a versatile addition to any home, offering nu
