83 Jean St, Grange QLD 4051
Mon-Fri 07:30 AM - 04:00 PM - Sat - 8:00 - 12 - Sunday Closed
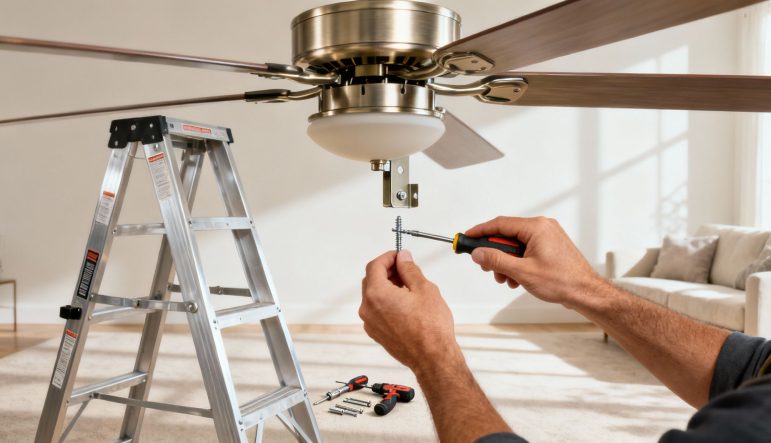
Installing a ceiling fan is a satisfying weekend project, but success is all in the prep work. It usually takes a few hours with some basic tools, but the most important part happens before you even open the box. A bit of planning is what separates a smooth, safe installation from a frustrating one.
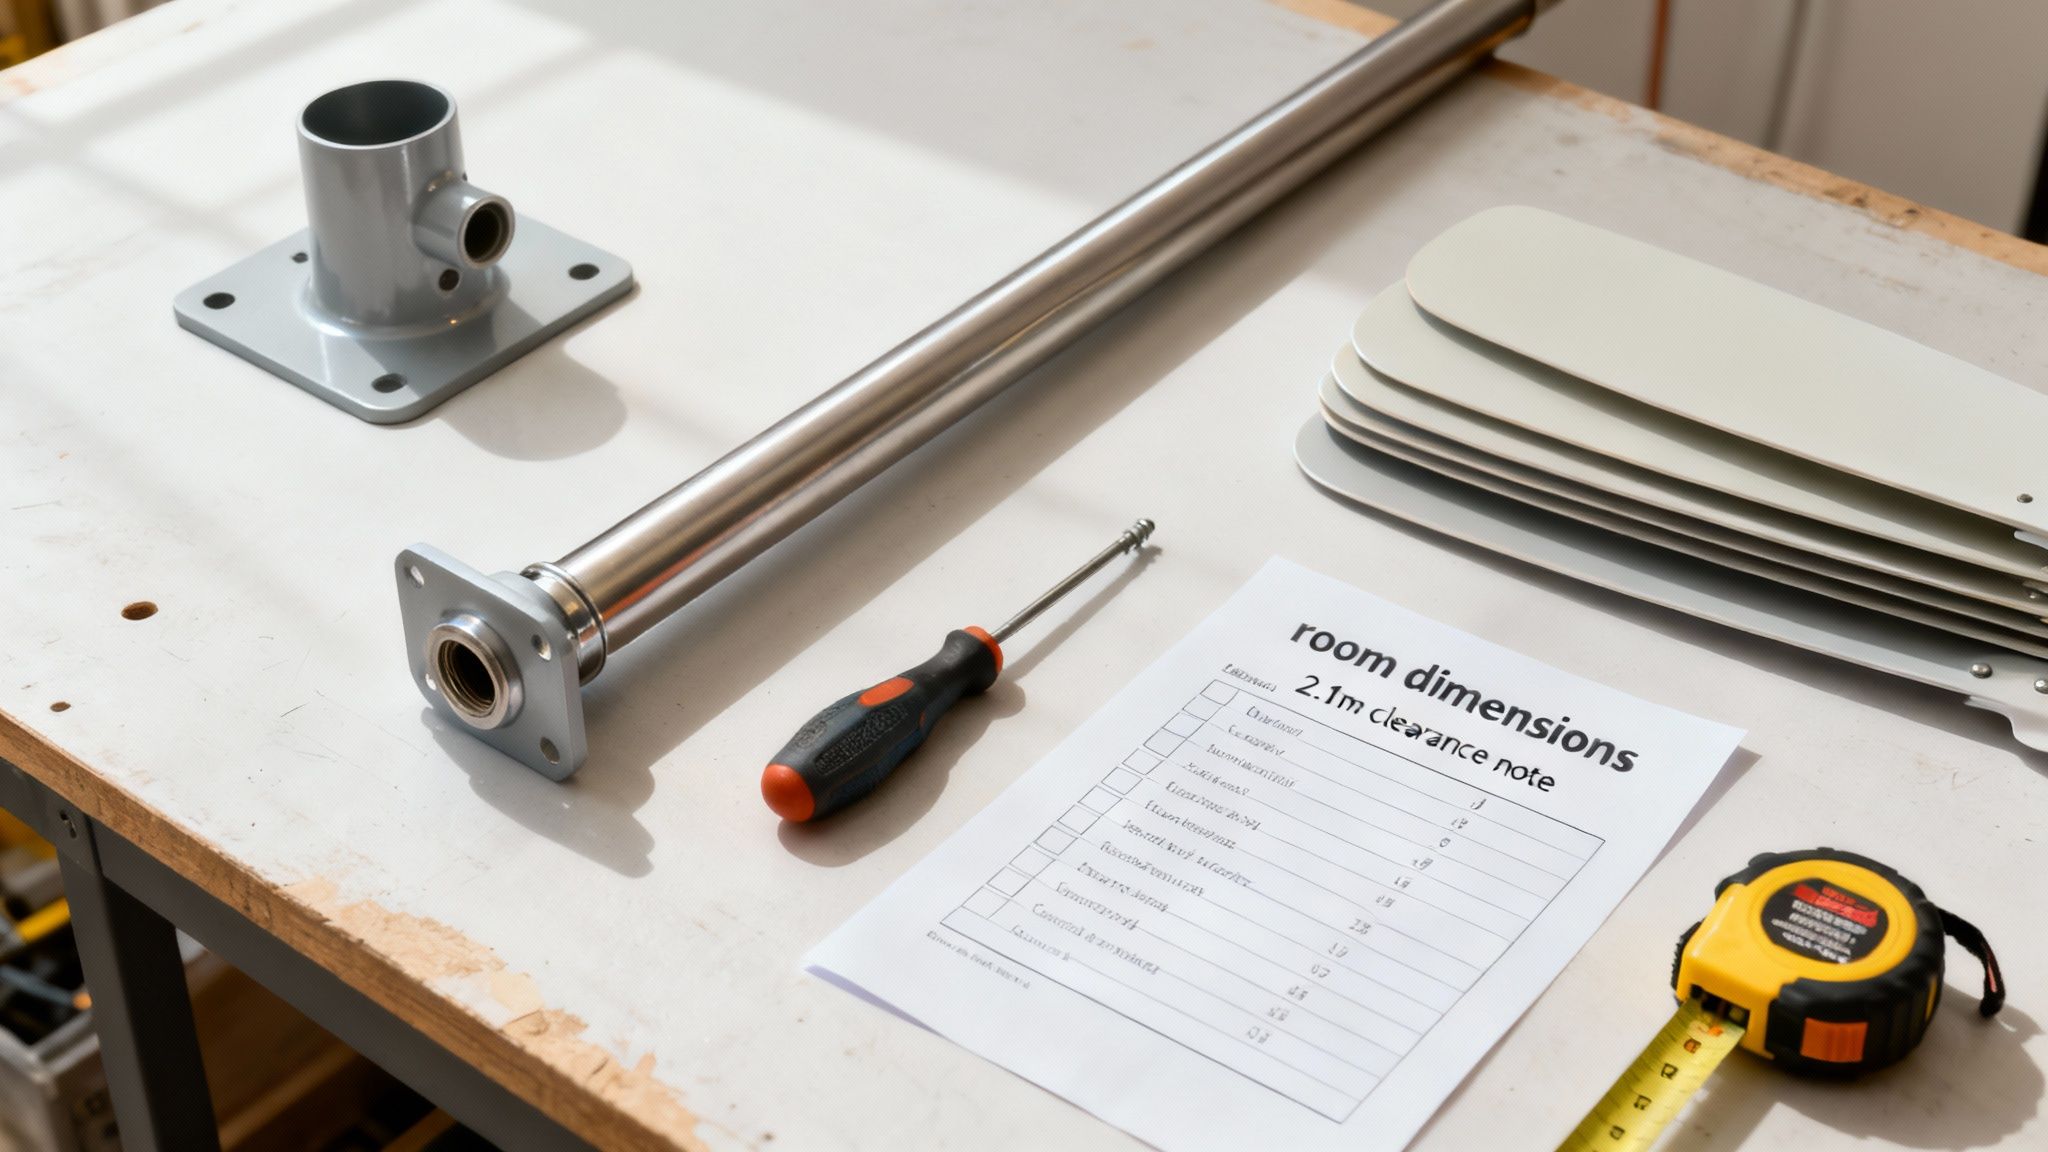
Before you turn a single screw, a solid plan is your best friend. Honestly, the number one reason people run into trouble is by rushing in without getting organised first. This is what leads to those annoying extra trips to the hardware store or, worse, an unsafe setup.
Think of it like cooking a new recipe; you wouldn’t just start throwing ingredients into a pan without reading the instructions and getting everything out. The same logic applies here. Taking 30 minutes to plan now will save you hours of headaches later.
First things first, you need a fan that’s the right size for your room. If it’s too small, you’ll barely feel a breeze. Too big, and you’ll create an unpleasant wind-tunnel effect. The size you’re looking for is the fan’s “blade span”—that’s the full diameter of the rotating blades.
Here’s a quick breakdown to get you started:
It’s also worth matching the fan to your ceiling. For a standard white ceiling, a white fan blends in beautifully and can make the room feel a bit bigger. For a more detailed look at this, check out our guide on how to choose the right ceiling fan size.
This is a safety step you absolutely cannot skip. The standard electrical box used for a light fitting isn’t built to handle the weight and constant vibration of a ceiling fan. You must have a fan-rated electrical box that is secured directly to a ceiling joist or a proper support brace.
Crucial Safety Check: Take a look inside your existing electrical box. If it’s plastic or feels flimsy, it’s almost certainly not fan-rated. A proper box will be metal and often stamped with “Acceptable for Fan Support.” If you have any doubts at all, you must replace it.
There’s nothing worse than being perched halfway up a ladder and realising you’re missing the right screwdriver. Get everything you need together before you start. You don’t need a professional workshop, just a few key items.
Having your tools laid out and ready to go will make the whole process much smoother.
Gather everything on this list before you start to ensure a smooth installation process from start to finish.
| Tool/Material | Purpose | Pro Tip |
|---|---|---|
| Drill/Driver | Driving screws into the ceiling joist and bracket. | Keep a spare battery charged and ready to go. |
| Screwdrivers | Phillips and flat-head for various connections. | A magnetic tip screwdriver is a lifesaver for hard-to-reach screws. |
| Pliers | For twisting wires and wire nuts securely. | A combination wire stripper/plier can save you time. |
| Voltage Tester | To confirm the power is off before you touch wires. | A non-contact tester is the safest and easiest type to use. |
| Sturdy Ladder | To safely reach the ceiling. | Ensure all four feet are on a flat, stable surface before climbing. |
Once you’ve got these essentials, you’re in a great position to tackle the job without any frustrating interruptions.
Before you even think about cracking open the box for your new fan, let’s talk about the single most important part of this whole job: setting up a safe work area. A few minutes spent here will eliminate pretty much every common risk that comes with installing a ceiling fan.
This isn’t just about keeping the floor clean; it’s about making sure you finish the day in one piece. We need to cover everything from handling the electricity properly to making sure your ladder is rock-solid.
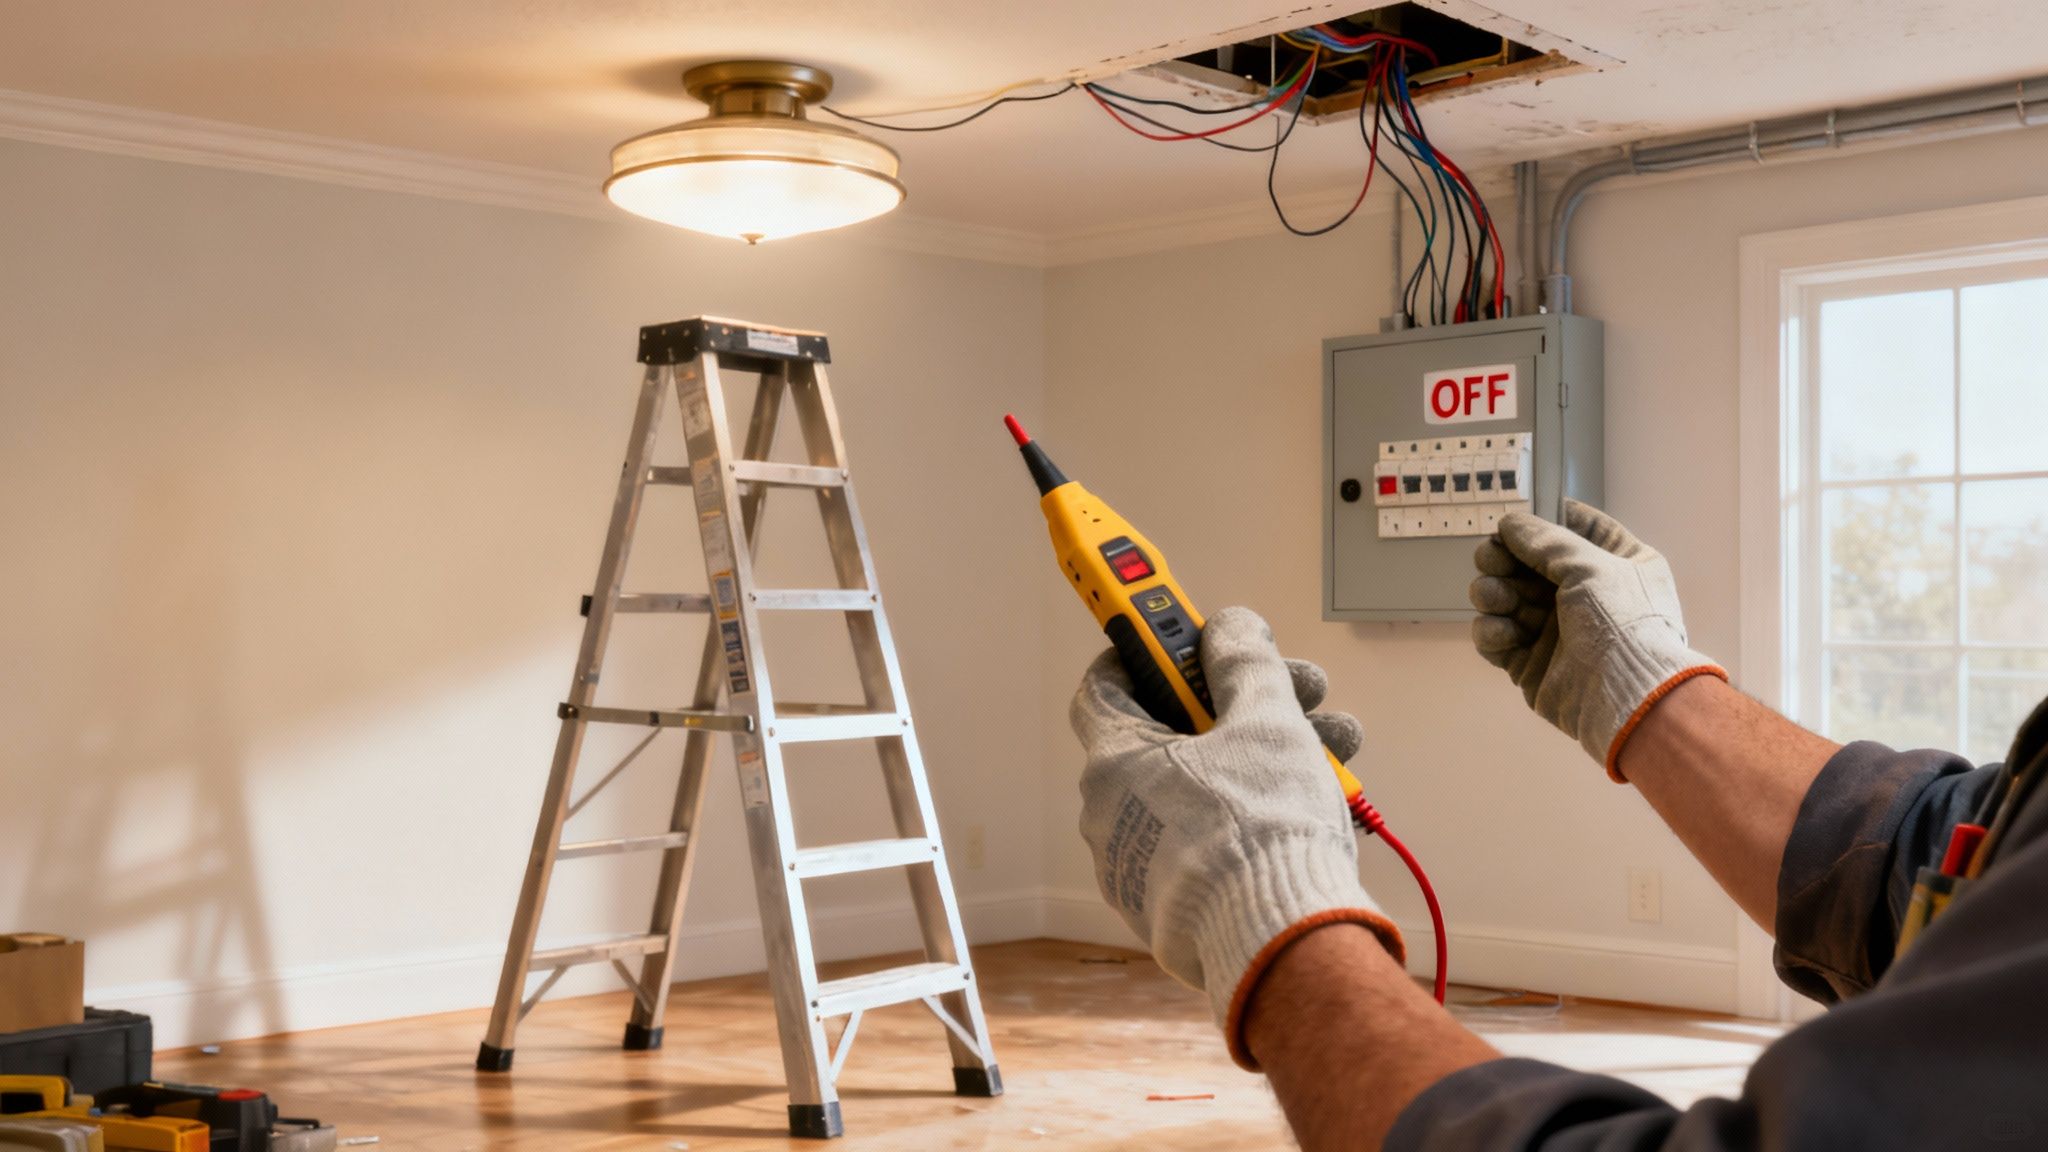
Look, just flicking the wall switch off is a dangerous shortcut. It’s far too easy for someone to walk into the room and flip it back on, and it doesn’t even guarantee the circuit is completely dead. You always need to kill the power at the source: the circuit breaker.
Head over to your switchboard and find the breaker that controls the room you’re working in. If they aren’t labelled (a common headache in older homes), you might need an extra pair of hands. Switch on the light where the fan is going, then start flicking breakers one by one until that light goes out.
Once you’ve found the right one, I always recommend leaving a note on the switchboard or just sticking a bit of tape over the breaker switch. It’s a simple trick that stops someone from accidentally turning the power back on while you’ve got your hands on the wiring.
Now for the step you absolutely cannot skip: making sure the wires have zero power running through them. This is where a non-contact voltage tester becomes the most important tool in your bag. It’s a cheap device that could literally save your life.
Gently hold the tip of the tester near each individual wire inside the ceiling’s electrical box.
Pro Tip: Before you trust your voltage tester with your life, test it on a known live power point, like a kitchen socket. This quick check confirms the batteries are good and the tool is working properly, so you can have total confidence in its reading.
With the electrical side of things sorted, it’s time to think about your physical environment. Your ladder is going to be your office for the next hour or so, and its stability is everything. Make sure it’s fully opened, the safety latches are clicked into place, and it’s sitting on a completely flat, level surface. Never, ever try to balance it on a rug or wonky floorboards.
Clear the area directly underneath where you’ll be working. Move any furniture, rugs, or lamps well out of the way. Not only does this give you room to move, but it also creates a safe drop zone in case a tool or a small screw gets away from you.
If you’re taking down an old, heavy light fixture, it’s a smart move to have someone there to help you lower it down. Trying to juggle a bulky fixture, your tools, and your balance on a ladder is a recipe for a damaged ceiling or a nasty fall. A clean, organised workspace is the foundation of a smooth and successful installation.
Alright, let’s get to the heart of the project: getting this fan securely up on your ceiling. With the power safely off, we can start on the structural work. This is where your fan gets all its strength, so getting it right is non-negotiable.
We’re going to tackle this in two parts. First, we’ll secure the mounting bracket to the ceiling joist. Then, we’ll build the fan motor assembly on the ground. Trust me, assembling it on the floor is a whole lot easier than trying to juggle heavy parts at the top of a ladder.
The entire weight of your fan, plus the spinning force, hangs from this one bracket. It’s the most critical connection in the whole installation, so we have to make it rock-solid.
First things first, you need to find a ceiling joist. These are the strong timber beams hidden behind your plasterboard that frame the ceiling. Your fan’s mounting bracket must be screwed directly into one of these. Don’t even think about attaching it just to the plasterboard – it simply won’t hold the weight, and that’s a recipe for disaster.
Finding a joist is pretty straightforward. You’ve got a couple of options:
Once you’ve pinpointed the centre of the joist, you’re ready to attach the bracket. Start by feeding the electrical wires from the ceiling outlet through the hole in the middle of the bracket.
Now, hold the bracket firmly against the ceiling and use your drill to drive in the heavy-duty wood screws that came with the fan. Get them incredibly tight. When you’re done, give the bracket a good, strong pull. There should be absolutely no wiggle or movement at all. It needs to feel like it’s part of the ceiling itself.
Expert Insight: Many new fans come with brackets designed for angled ceilings. Have a look at your manual, but typically, you’ll want the open end of the U-shaped bracket facing the highest point of the slope. This lets the downrod hang perfectly straight and keeps the fan balanced.
Getting this foundation right is what guarantees your fan will run safely and without any wobbles for years to come.
Trying to piece the fan together while holding it up to the ceiling is an exercise in pure frustration. It’s far smarter to build the main motor assembly on the floor where you can work comfortably and make sure every screw is properly tightened.
Start by unboxing the motor housing – it’s the heaviest part of the kit. Most fans will have you attach a downrod, which is the pipe connecting the motor to the mounting bracket and setting the fan’s drop height from the ceiling.
You’ll need to carefully thread the fan’s electrical wires up through the downrod. This can be a bit fiddly, so take your time and don’t try to force them. Once the wires are through, secure the downrod to the motor housing. This is usually done with a pin and a couple of set screws. It’s absolutely critical that these screws are tight to prevent any wobbling later on.
Next up is the decorative canopy. Slide this piece over the downrod – it’s what will eventually hide the mounting bracket and wiring, giving you that clean, professional finish. Don’t forget this part! You can’t add it later without taking the whole thing apart again.
You should now have a complete motor assembly ready to be lifted into place. It’s going to be heavy, so brace yourself. Carefully lift the unit and hang the top of the downrod (which usually has a ball joint) into the U-shaped slot of the ceiling bracket. It’s designed to hang there securely, freeing up both your hands for the next stage: the wiring. This pre-assembly trick makes the most physically demanding part of installing a ceiling fan so much simpler.
With the fan hanging securely, it’s time to tackle the bit that often seems the most intimidating: the electrical wiring. But don’t let it worry you. The process is surprisingly logical and colour-coded, especially once you understand what each wire actually does. It’s all about making a safe, correct circuit.
The goal is pretty straightforward: connect the corresponding wires from your ceiling to the wires coming out of the fan’s motor. This gives the fan power, lets it spin, and fires up the light kit if you’ve got one. Honestly, it’s just like matching puzzle pieces—brown to black, blue to white, and green/yellow to green.
Here in Australia, modern homes follow a standard colour code for wiring, which thankfully makes this job much easier than it used to be. You’ll mainly be working with three key players: the live, neutral, and earth wires. Each one has a distinct and vital role in making your fan work safely.
Here’s a quick breakdown of what you’ll usually find poking out of your ceiling:
When you’re connecting any wiring, it’s absolutely crucial to be familiar with and follow your local regulations. For a deeper dive, understanding local building codes is a great way to ensure your project is completely up to standard.
The infographic below gives a great visual of those important early steps—finding a solid joist, fixing the bracket, and getting the motor assembled before you even think about lifting it.
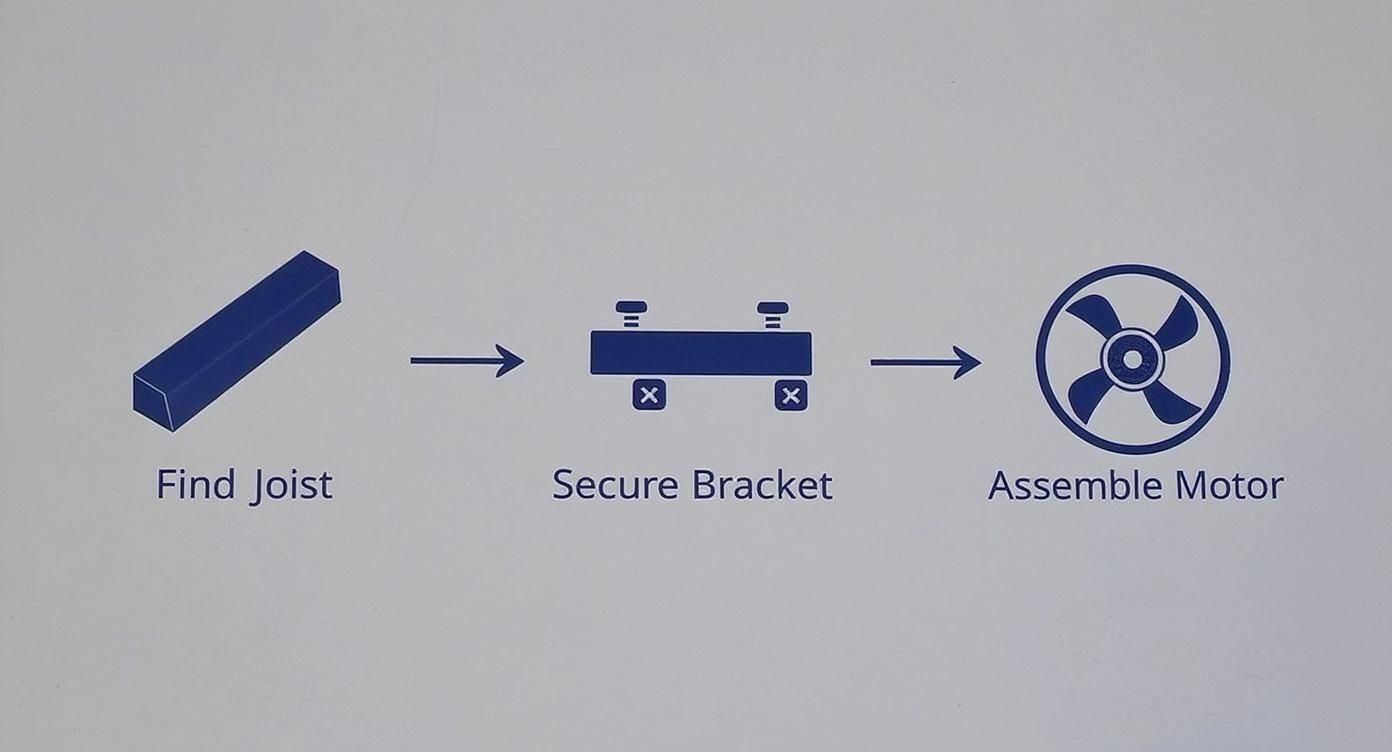
This really highlights how important a strong foundation is. A properly secured bracket is non-negotiable before any wiring begins.
To join the wires, you’ll use the wire nuts (also called wire connectors) that came with your fan. These little plastic caps have a metal coil inside that threads onto the wires, creating a tight and secure connection.
First up, you’ll need to strip about 1.5 cm of the plastic insulation off the end of each wire, both from the ceiling and the fan. Your wire strippers will have marked gauges that make this dead simple and stop you from accidentally nicking the copper strands.
Once they’re stripped, hold the two matching bare copper ends together (for example, the live wire from the ceiling and the live wire from the fan). Twist them together clockwise with your pliers, then screw a wire nut over the top until it’s hand-tight. Give it a gentle tug to make sure it’s not going anywhere.
Pro Tip: Always connect the earth wires first. It’s a best-practice safety habit that every sparky follows. You’ll connect the green/yellow wire from the ceiling to the green/yellow wire from the fan and the green wire from the mounting bracket itself. All three get twisted together under a single wire nut.
The table below is a handy cheat sheet for matching up the wires correctly based on Australian standards.
| Wire from Ceiling (AU Standard) | Wire from Fan | Function | Connection Note |
|---|---|---|---|
| Brown (Live) | Black (Fan Motor) | Powers the fan motor | Connects to the fan’s main power wire. |
| Brown (Live) | Blue/Red (Light Kit) | Powers the light | If present, connect this to the same live wire. |
| Blue (Neutral) | White (Neutral) | Completes the circuit | Both fan and light neutrals connect here. |
| Green/Yellow (Earth) | Green/Yellow (Earth) | Safety Ground | All earth wires (ceiling, fan, bracket) must be connected. |
This table should clear up any confusion and help you confidently match everything up for a safe installation.
If your fan includes a built-in light, you’ll find an extra wire in the mix, usually coloured blue or sometimes red. This wire is dedicated to the light fixture.
In this common setup, you’ll connect the fan’s black wire and its blue light wire to the single live (brown) wire coming from your ceiling. This allows your wall switch to turn on both the fan and the light at the same time. The neutral and earth connections are done exactly the same way.
Once all your connections are made and you’ve double-checked them, the final step is to gently push all the wires and wire nuts up into the electrical box. Be careful not to bend them too sharply or put any strain on the connections you just made.
The idea is to get everything tucked away neatly so you can slide the canopy up to the ceiling, covering the bracket and all the wiring. This is what gives your installation that clean, professional finish. For more details on compliance, you can learn more about electrical wiring standards in Australia to ensure your setup is fully compliant.
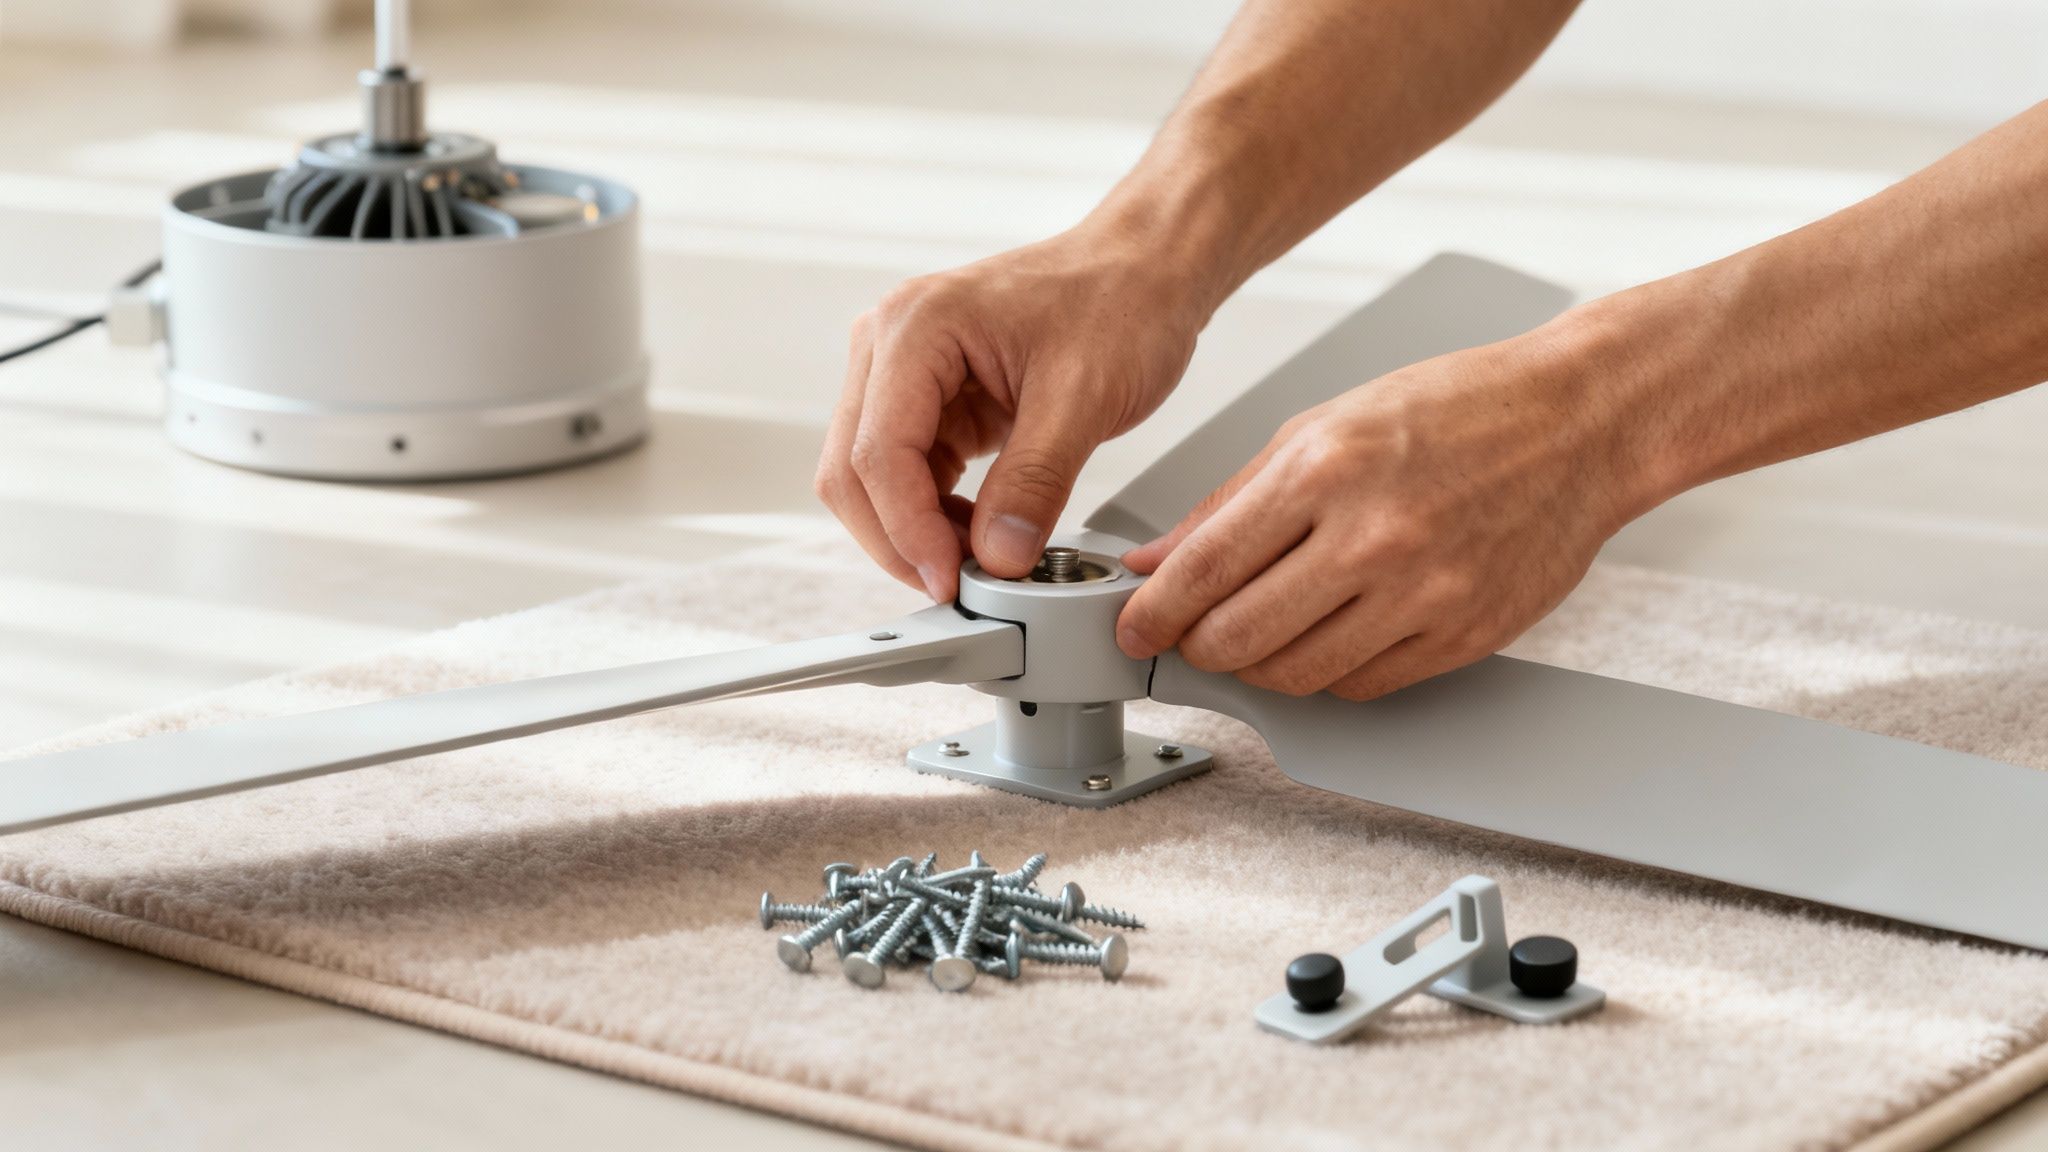
You’re on the home straight now. The heavy lifting and fiddly wiring are done and dusted, and it’s time for the satisfying final steps that turn that motor on your ceiling into a proper, working fan.
First up is getting the blades on, followed by the light kit if your model has one. Then, we’ll tackle the most important final job: balancing the fan to get rid of any annoying wobbles. Nothing says “job well done” like a fan that spins perfectly smooth and silent.
Here’s a piece of advice I always give: assemble the blades on the ground first. Trying to screw the blades onto their brackets (sometimes called blade irons) while you’re up a ladder is just asking for frustration. Grab a soft towel, lay it on a table to avoid scratching anything, and get your screws ready.
You’ll usually have two or three small screws that fix each blade to its bracket. Tighten them so they’re snug, but don’t go overboard – cranking down too hard can crack the blade’s finish. Once all the blades and brackets are one piece, you can start attaching them to the motor housing.
Pro Tip: When you attach a blade bracket to the motor, don’t tighten the first screw all the way. Leave it a bit loose. This gives you just enough wiggle room to line up the second screw hole easily. Once both screws are in, you can tighten them both down securely. It’s a simple trick that saves a lot of hassle.
Take your time here and make sure every screw is firm. Loose blades are the number one culprit behind a noisy, wobbly fan.
If your fan includes a light, this is the next job. It’s usually a pretty simple affair, often just a plug-and-play connection that takes a minute.
Look for a small wiring harness dangling from the bottom of the motor housing; your light kit will have a plug that matches it perfectly.
With the light kit on, it’s finally time to head back to the switchboard, restore the power, and test your handiwork. Flip the switch and make sure both the fan and the light are working as they should.
Switch the fan on to its highest speed and have a good look. A tiny bit of movement is normal at first, but if it’s shaking noticeably, we need to sort it out. That’s what the little balancing kit that came in the box is for.
A wobbly fan isn’t just distracting; it puts extra stress on the mounting hardware over time. Thankfully, balancing is just a simple process of elimination.
This final step makes a world of difference to your fan’s performance and lifespan, ensuring it runs quietly for years. It’s also one of the reasons ceiling fans are such a smart cooling choice. Their running costs are incredibly low, often less than two cents per hour. Running a fan for eight hours a day all summer could cost as little as $1.22 to $13.68 for the whole season. You can see more data on the cost-effectiveness of fans in Australia over at expertmarketresearch.com.
Even the best-planned DIY project can throw you a curveball. When you’re learning how to install a ceiling fan, a few common questions almost always pop up—especially when you’re halfway up a ladder. Getting clear answers beforehand can save you a mountain of time and frustration.
A lot of homeowners ask if they can just swap out an old light fixture for a new fan. While that existing wiring is a great starting point, the electrical box is the real hero here. A standard box made for a simple light isn’t designed to handle the weight and constant movement of a fan. You must make sure the box is “fan-rated” and bolted securely to a ceiling joist.
Another headache is a wobbly fan. Nine times out of ten, this is caused by an imbalance in the blades. Before you go any further, double-check that every single screw holding the blades and their brackets is properly tightened. Even one slightly loose screw can create a surprising amount of wobble at high speeds.
If tightening all the screws doesn’t sort out the wobble, it’s time to grab the balancing kit that came with your fan. Don’t throw it away! This simple kit is your best friend for achieving that smooth, silent operation you’re after.
The process is pretty straightforward:
Expert Tip: If you open up your ceiling and find wiring colours that don’t match modern Australian standards, stop what you’re doing. Guessing with electrical wiring is never a good idea. This is a clear sign it’s time to call in a professional. For those in Queensland, getting advice from an experienced electrician in Brisbane will ensure the job is finished safely and to code.
The height of your fan is a big deal for both safety and proper airflow. The sweet spot is to have the blades hanging between 2.4 and 2.7 metres from the floor. The downrod—that’s the pipe connecting the motor to the ceiling mount—is what sets this height.
For a standard 2.4-metre ceiling, the short downrod that comes in the box is usually all you need. But for higher or sloped ceilings, you’ll need a longer downrod to bring the fan down into that optimal zone. It’s a simple measurement: just measure from your ceiling down to the 2.4-metre mark to figure out what length of downrod you’ll need to buy.
While this guide covers the DIY side of things, it’s also useful to understand the bigger picture of home maintenance. For instance, if you’re in a rental and wondering who handles these kinds of jobs, you can learn more about how property managers coordinate Maintenance and Repairs services.
For any electrical work that goes beyond a simple fan replacement, from switchboard upgrades to new installations, it’s best to trust the professionals. DLG Electrical has been providing reliable and safe electrical solutions to Brisbane homeowners for over 19 years. Contact us for a free quote and get the job done right the first time.

Master Electrician with over 30 years of experience. Founded DLG Electrical in 2005 after international project work including electrical installations at Stamford Bridge Stadium, London(Home of Chelsea FC).

Local Electricians that can fix all Electric Hot water Systems.
Motion sensor lights are a versatile addition to any home, offering nu
