83 Jean St, Grange QLD 4051
Mon-Fri 07:30 AM - 04:00 PM - Sat - 8:00 - 12 - Sunday Closed

On the surface, wiring a ceiling light sounds straightforward: turn off the power, swap the old fixture for the new one, and connect the active, neutral, and earth wires. But while the concept is simple, Australian safety regulations—especially here in Queensland—put strict legal limits on what you can do yourself.
Before you even think about touching a wire, we need to cover the non-negotiable groundwork. Knowing how to wire a light is one thing, but understanding the risks, legal requirements, and having the right gear is what separates a successful weekend update from a dangerous mistake.
Honestly, this preparation phase is the most critical part of the entire job.
In Brisbane, electrical safety isn’t a recommendation; it’s the law. The vast majority of electrical work, including nearly all lighting installations, must be done by a licensed electrician. Attempting this work without a licence not only puts your family at risk but can also lead to massive fines and may even void your home insurance policy.
Unlicensed electrical work is a huge concern for safety regulators. The Electrical Safety Office in Queensland reported a staggering 1,247 electrical incidents in 2026, which was a 12% jump from the year before. Many of these were linked to seemingly simple tasks like changing light fittings.
It gets worse. A 2025 Queensland audit found that 22% of inspected homes had non-compliant ceiling light connections, a mistake that can lead to fines of up to $13,000. If you want to dive deeper into the market stats, you can explore insights from IMARC Group.
The fundamental rule is this: if you’re ever in doubt, stop what you are doing and call a licensed electrician. It’s the smartest and safest decision you can make for your home.
This guide is here to help you assess the job, understand the steps involved in a basic like-for-like replacement, and gather the right tools. With this knowledge, you can confidently decide whether to tackle the prep work yourself or call in a professional from the start.
Having the right gear on hand makes any project safer and smoother. The last place you want to be is teetering on a ladder only to realise you’ve forgotten a crucial tool.
Before you start, it’s a good idea to lay everything out and make sure you’re ready to go. Here’s a checklist of the basics you’ll need for a simple light fixture replacement.
Gather these items before you begin to ensure a safe and successful ceiling light installation.
| Item | Purpose | Pro Tip |
|---|---|---|
| Non-Contact Voltage Tester | Your #1 safety tool. Confirms the circuit is dead without touching wires. | Always test your tester on a known live circuit (like a power point) first to ensure it’s working correctly before you test the lighting wires. |
| Insulated Screwdrivers | Phillips and flathead screwdrivers to protect against accidental shock. | Make sure the insulation on the handles is fully intact with no nicks or cracks. If it’s damaged, replace the screwdriver. |
| Wire Strippers/Cutters | For cleanly stripping insulation and trimming wires to the perfect length. | A good pair of strippers will have marked gauges to help you remove just the right amount of insulation without damaging the copper wire. |
| Stepladder | Provides a stable, safe platform to reach the ceiling fixture. | Choose a ladder that’s tall enough so you’re not stretching or standing on the top rung. Always place it on a flat, solid surface. |
Once you’ve got your tools, you’re one step closer.
Proper preparation, however, is about more than just what’s in your toolbox. It’s also about understanding your home’s electrical system. A key part of this is your switchboard’s safety switch, or RCD. To get a better handle on its role, check out our guide on the differences between an RCD and a circuit breaker. This knowledge really drives home why shutting off the power at the main switchboard is a non-negotiable first step for any electrical task, no matter how small it seems.
Alright, you’ve safely killed the power and the old light fitting is off. Now you’re staring up at a few wires poking out of the ceiling. For a lot of people, this is where the confidence wobbles. It can look a bit like a confusing mess at first, but it’s actually a very straightforward system once you know what you’re looking at.
Taking a minute to get your head around what each wire does is the key. Those colours aren’t random; they’re a code that tells you exactly what each wire’s job is in the circuit.
In any modern Australian home, you’re almost guaranteed to find a trio of wires. Each has a specific, non-negotiable role to play in making your light work safely. Getting these right is the absolute foundation of wiring a ceiling light.
These three work as a team to create a closed loop. Power flows in, lights up the room, and flows out safely. Get them mixed up, and at best the light won’t work—at worst, it’s incredibly dangerous.
This simple flow chart gives you a good idea of the initial thinking process, from looking at the job to knowing when it’s time to call in a pro.
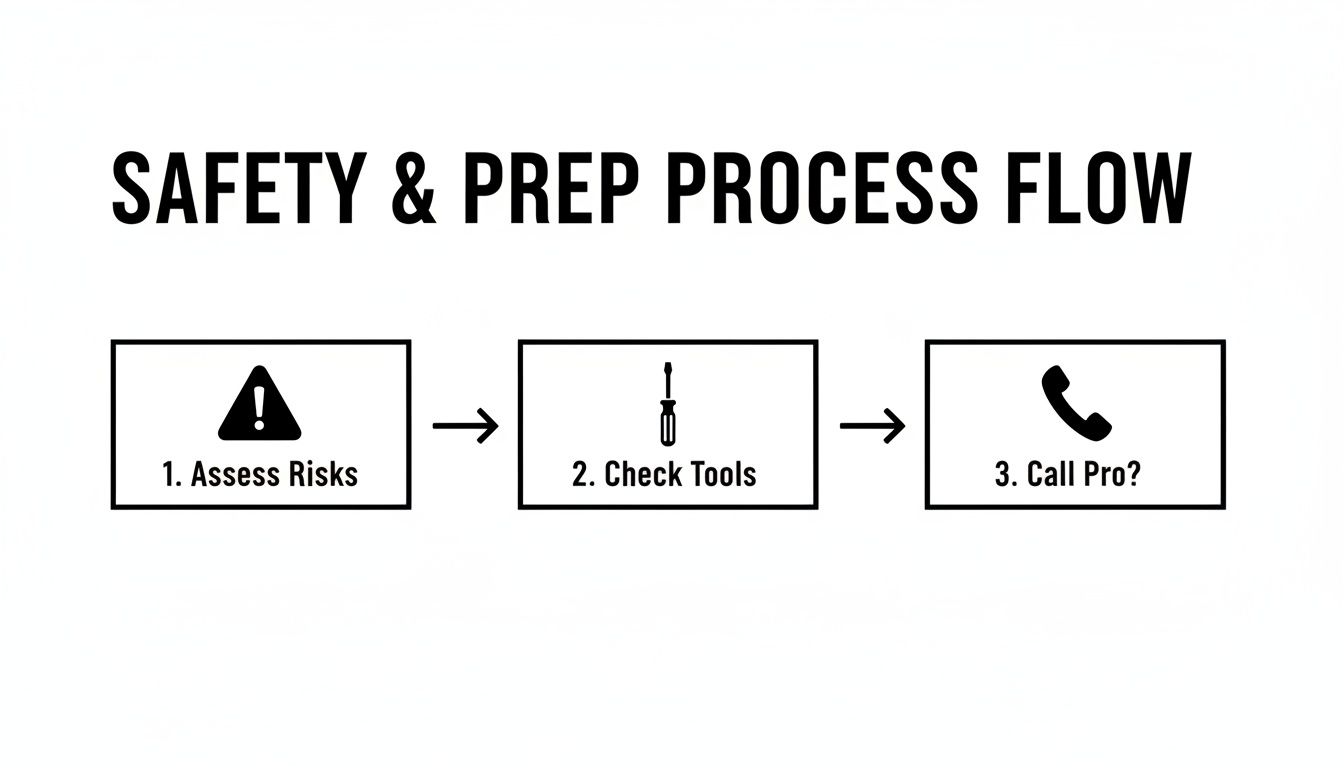
As you can see, the first step is always to assess the situation. Make sure you have the right gear and be honest about whether a licensed electrician is the smarter, safer call.
While the brown, blue, and green/yellow combination is the current standard, older Brisbane homes can sometimes throw a curveball. If your place was built before 2004, you might find yourself looking at a completely different colour scheme.
In pre-2004 wiring, you’ll likely see Red for Active, Black for Neutral, and Green for Earth. The function is identical; only the insulation colours have changed. Never assume—if you see colours you don’t recognise or the wiring looks brittle and deteriorated, stop immediately and consult a licensed electrician.
This is a critical safety point. Old wiring can be fragile, and working with it requires a professional eye to make sure it’s still safe and up to today’s standards. For a deeper dive, you can learn more about Australian electrical wiring colour codes in our dedicated article.
Your new light fitting will have its own wires or a terminal block ready to connect to the wiring in your ceiling. The whole job really just boils down to matching the colours correctly.
The principle couldn’t be simpler: active connects to active, neutral to neutral, and earth to earth.
Let’s run through a classic real-world scenario. You’re swapping out one of those old, round “boob lights” for a sleek new LED downlight. You take the old one down and see a brown, a blue, and a green/yellow wire in the ceiling. Your new light has a small connection block marked A (Active), N (Neutral), and E (or the earth symbol ⏚).
Here’s how you connect it:
It’s that methodical. A common mistake is accidentally swapping the active and neutral wires—something we call reversed polarity. The light might still turn on, but it creates a serious hazard where parts of the fitting can stay live even when the wall switch is off.
Take another example, like a simple pendant light. The cord for the pendant will have the same three wires inside. You’ll simply strip the ends and connect them to the ceiling wires using the terminal block, again matching brown-to-brown, blue-to-blue, and green/yellow-to-green/yellow. The earth wire is absolutely vital on any metal pendant, as it’s the only thing stopping the whole fixture from becoming live if a fault occurs. Making sure that earth connection is solid is a non-negotiable part of the job.
Alright, now that you’ve got a handle on what those wires in your ceiling are doing, it’s time for the most common job homeowners tackle: swapping an old, dated light fixture for a new one. This is where the theory hits the real world. The process is all about being methodical, safe, and precise to make sure your new light works perfectly and doesn’t pose a risk.
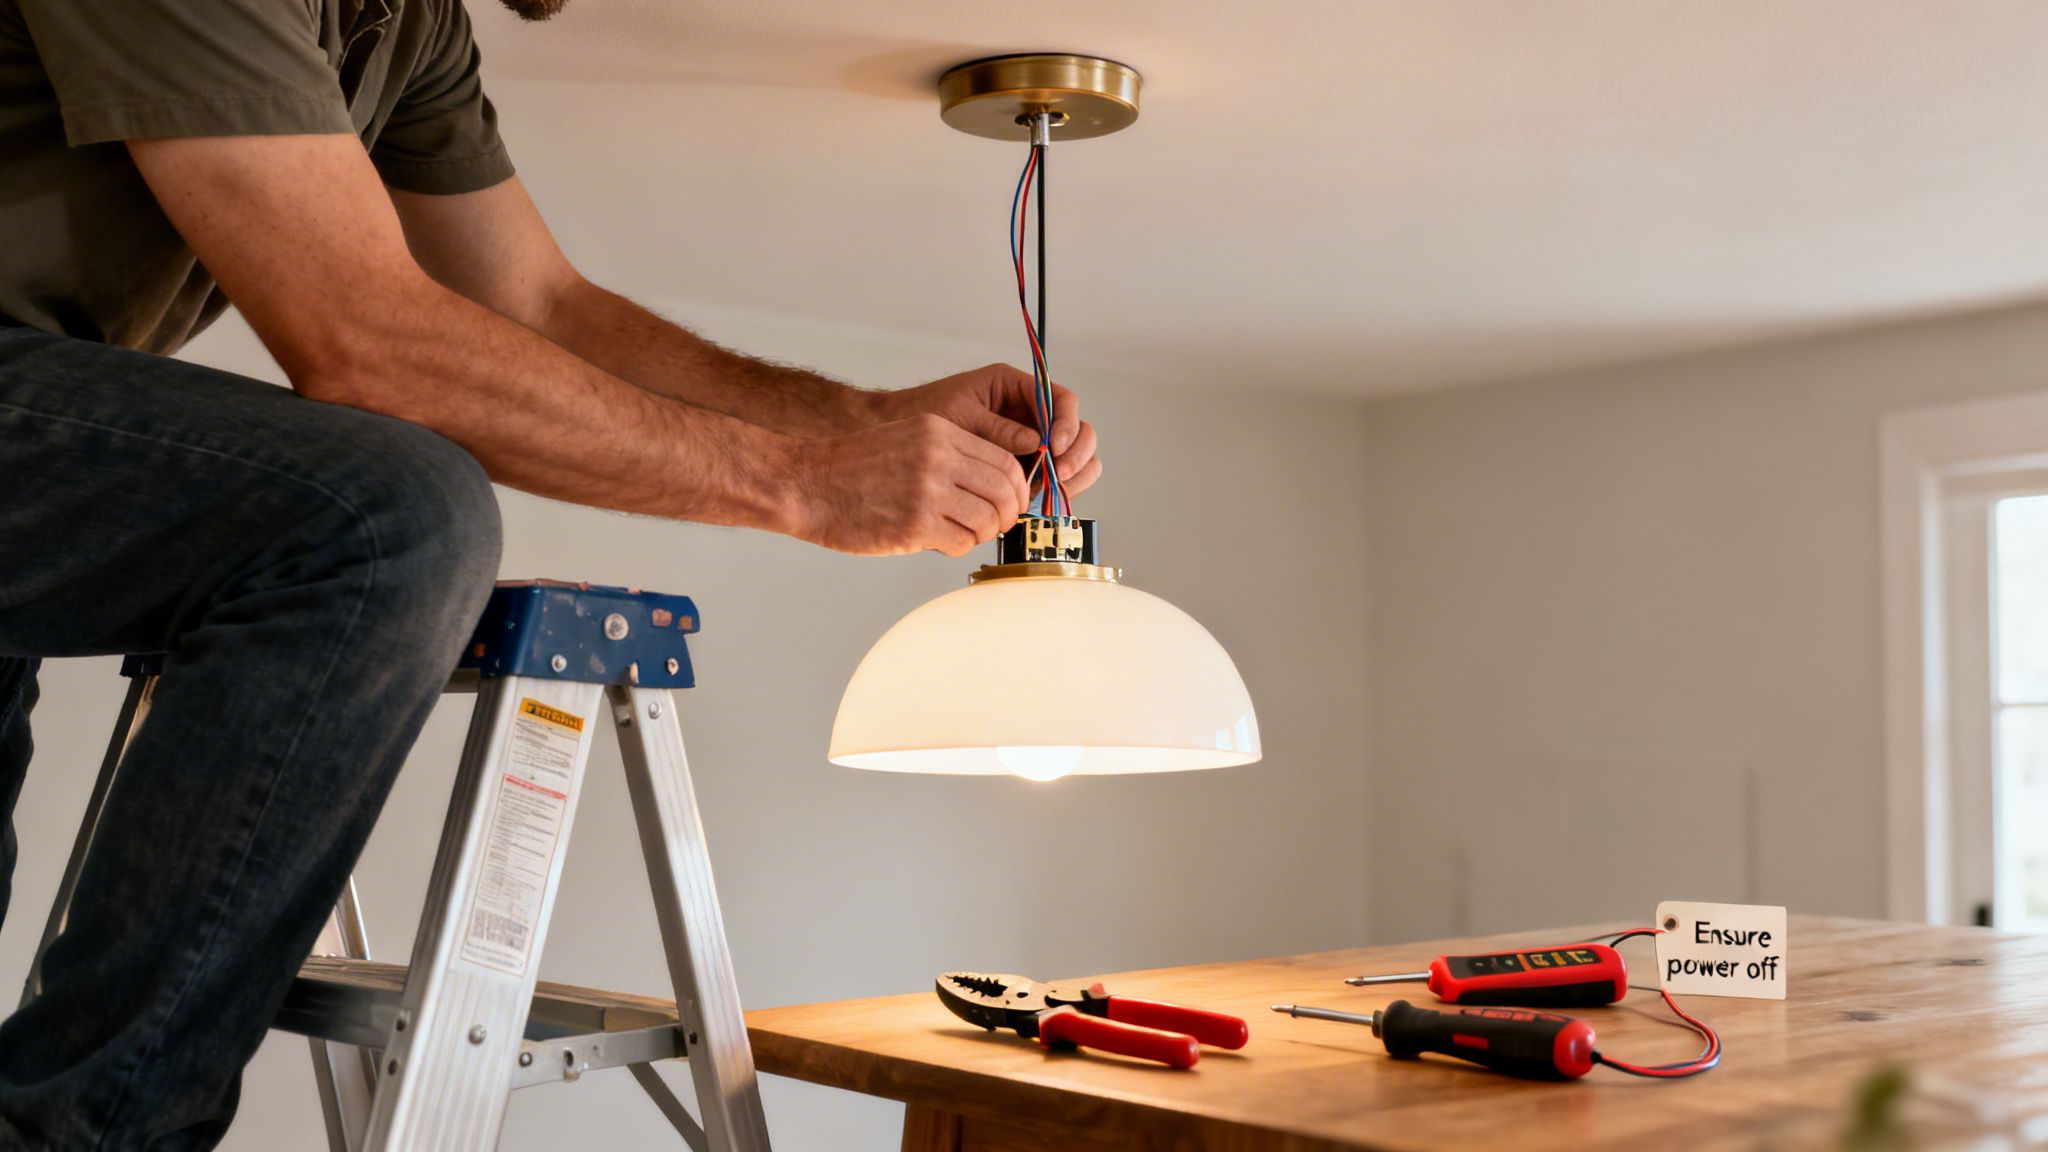
We’ll walk you through the entire sequence, from killing the power properly to getting the new fitting mounted securely. I’ll throw in some practical advice we’ve picked up over years of installations across Brisbane, which should help you sidestep the usual stuff-ups.
The single most important part of this whole job happens before you even touch a tool. Head to your switchboard and turn off the circuit breaker for the lights in that room. If your board isn’t labelled clearly (a common problem in older homes), just turn the light on and start flicking breakers off until it goes dark.
Once the breaker is off, flick the wall switch a few times just to be sure. But don’t stop there. The final, non-negotiable check is with your non-contact voltage tester. Hold the tip right up to each wire inside the ceiling fixture to get absolute confirmation that there is no power.
This simple two-step check—using the switch and a voltage tester—is your ultimate safety net. It eliminates any chance of a nasty shock and should become second nature for any electrical task.
With the power confirmed off, you can start uninstalling the old light. Most fittings are held up by a couple of screws or maybe a decorative nut in the middle. It’s always a good idea to support the fixture’s weight with one hand while you undo the fasteners with the other.
As you lower it, you’ll see the wiring connections. Before you disconnect a single thing, grab your phone and take a quick, clear photo. This picture is your get-out-of-jail-free card, showing exactly how the old light was wired—a lifesaver if you get interrupted or start second-guessing yourself.
Gently unscrew the wire nuts or loosen the terminal screws to free the old fixture’s wires from the ceiling wiring. Once it’s all disconnected, pop the old fixture aside somewhere it won’t get broken.
With the old light gone, take a moment to give the ceiling wires a good look. You’re searching for any signs of trouble, like:
If you spot any of these red flags, stop what you’re doing and call a licensed electrician. Damaged wiring isn’t something to mess with.
If the wires look healthy, you can prep them for the new light. You want to see about 1.5 cm of clean copper exposed at the tip of each wire. If it looks frayed or is too short, use your wire strippers to trim it back and strip a fresh end. A clean, solid connection point is key.
Most new light fittings are surprisingly heavy, and trying to hold one overhead while connecting wires is a recipe for frustration. A great little trick is to use a spare bit of wire or even a bent coat hanger to create a temporary hook. This lets the fixture hang from its own mounting bracket, freeing up both your hands for the important bit.
Now, grab the instructions for your new light and connect the wires:
Make sure every connection is tight and secure in its terminal or wire nut. Give each wire a gentle tug to be certain it won’t pull out. A loose connection is a major cause of arcing, which can create a fire hazard down the track. If you’re tackling something like a fan with an integrated light, this guide on how to install a ceiling fan light safely and securely has some extra specifics.
Once everything’s connected, carefully tuck the wires up into the ceiling box, making sure none get pinched or strained. Secure the new fixture’s canopy to the mounting bracket so it sits flush against the ceiling with no gaps. All that’s left is to screw in a bulb, head back to the switchboard, flick the breaker on, and test your handiwork.
Even when you follow every instruction on how to wire a ceiling light, sometimes you’ll hit a snag. The light might flicker, stay completely dead, or worse, trip your circuit breaker the moment you flick the switch.
Don’t panic. These issues are almost always caused by a handful of common culprits, and a bit of methodical thinking can help you find the problem safely.
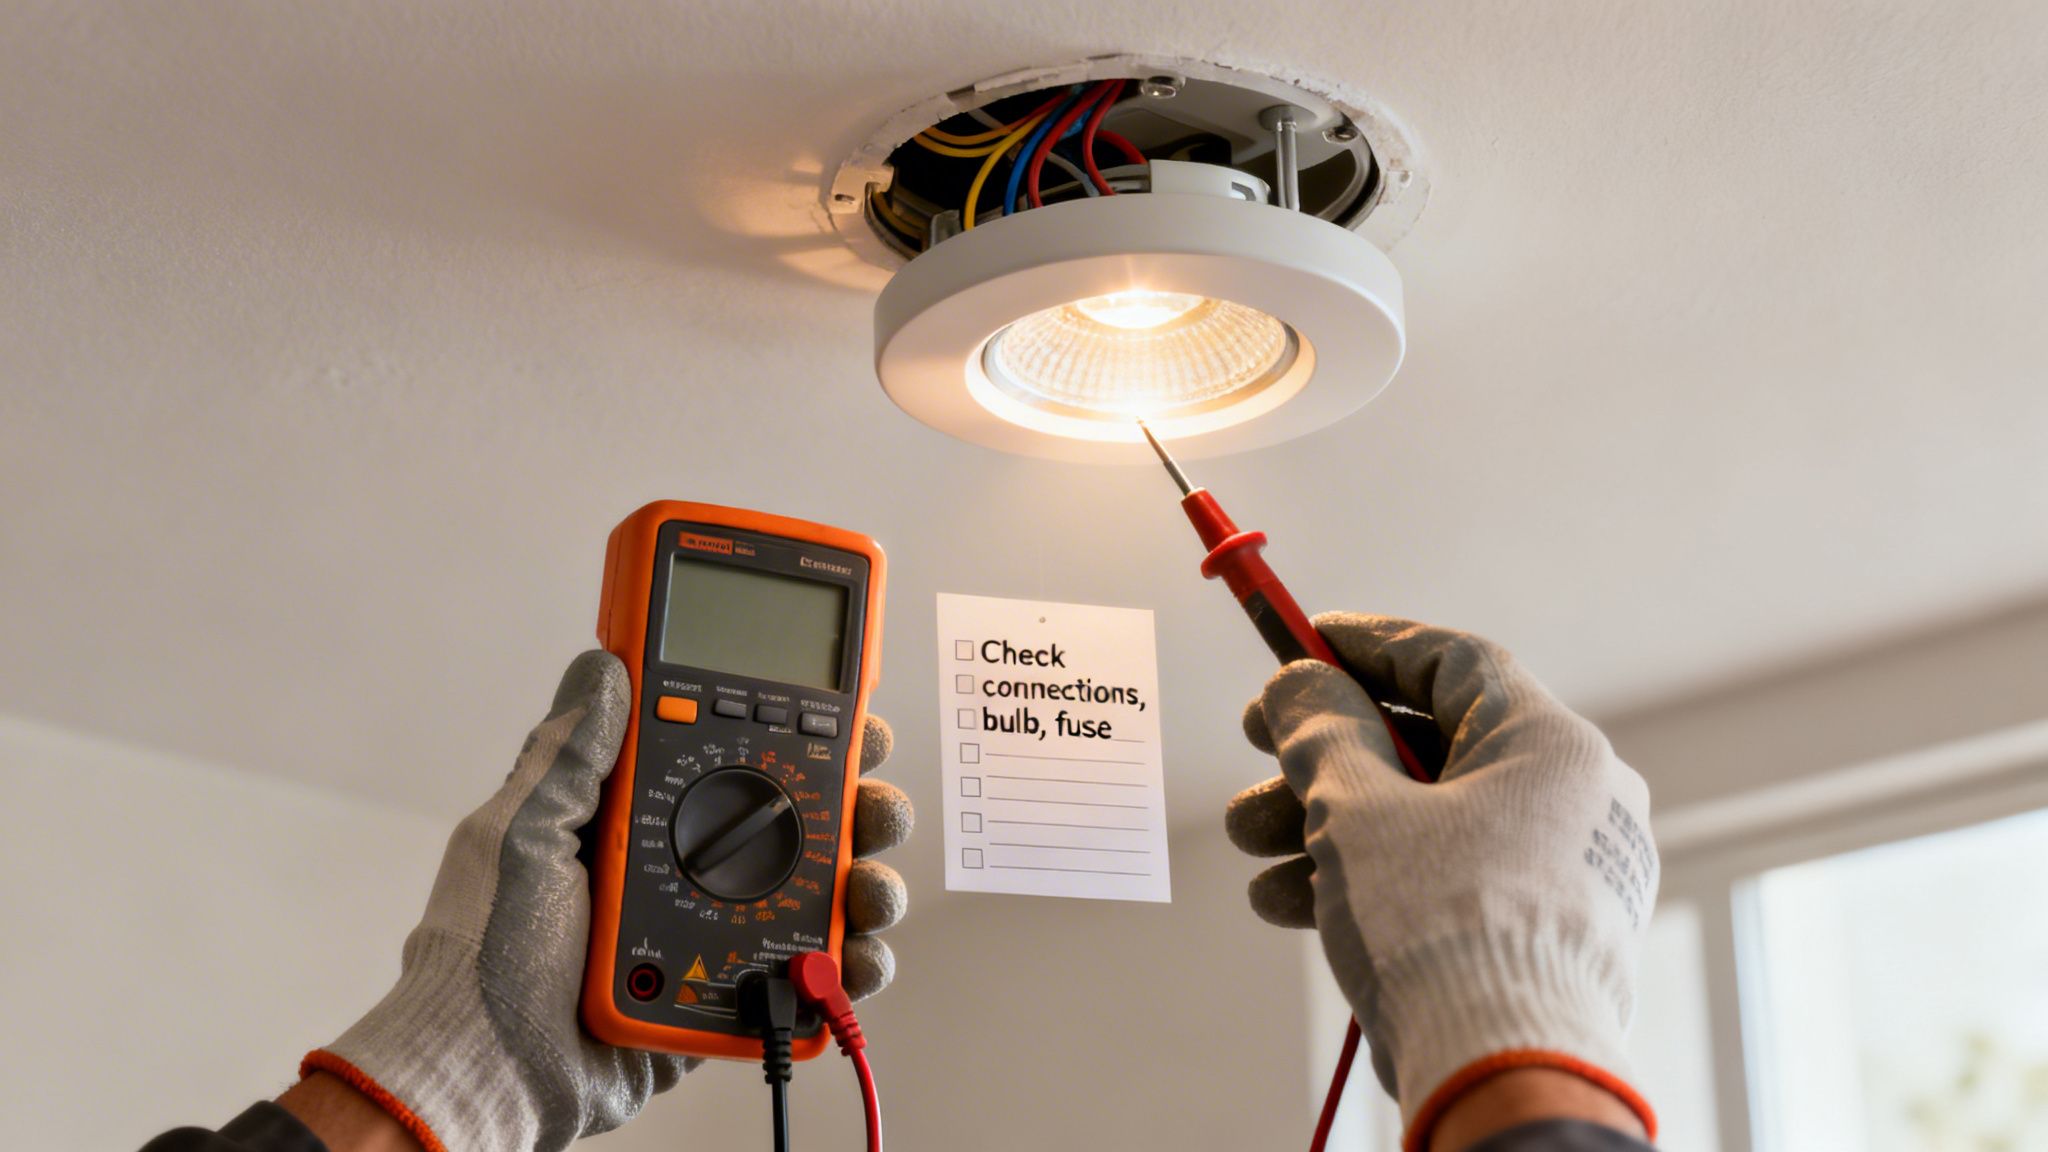
Before you even think about touching a wire, remember the golden rule: always turn the power off at the switchboard and double-check the circuit is dead with your voltage tester. Safety isn’t just a step; it’s everything.
This is the most frequent and frustrating problem. You’ve connected everything, flicked the switch, and… nothing. Before you assume the worst, work your way through this simple checklist.
A light that flickers intermittently or a circuit breaker that trips instantly is a sign of a much more serious issue, usually related to the integrity of your wiring.
A flickering light isn’t just an annoyance; it’s a clear warning sign of a potential electrical hazard. It often indicates a poor connection that could be arcing, creating intense heat and a significant fire risk. Never ignore a flicker.
If your breaker trips immediately, you’re almost certainly dealing with a short circuit. This occurs when an active wire makes contact with a neutral or earth wire, creating a dangerous, uncontrolled path for electricity. Kill the power and meticulously inspect your wiring. Make sure no stray copper strands are touching other terminals and that all insulation is completely intact.
Getting these connections wrong can have serious consequences. A 2026 ESOffice QLD survey found that 28% of homeowners attempting DIY ceiling light installs breached safety codes, which led to 11% arc fault incidents. Nationally, WorkSafe data logs 1,200 residential shocks every year from light fittings, with a concerning 22% in ceiling applications caused by mistakes like reversed polarity.
Sometimes, you’ll open up the ceiling and find a junction box with more wires than you bargained for. You might see two or three separate cables, each with its own set of active, neutral, and earth wires.
This usually means the light fitting is in the middle of a circuit run, with power coming in from one cable and heading out to the next light or power point on another. In this scenario, you need to connect all the corresponding colours together: all actives with your light’s active, all neutrals with the neutral, and so on.
If you aren’t 100% sure how to group them, it’s a clear signal to stop and call for professional help. Learning how to check multimeter continuity can also provide crucial diagnostic information if you’re trying to trace a fault.
Should you find old, non-standard wire colours, brittle insulation, or anything else that makes you feel uneasy, the safest move is always to call a licensed electrician. Professional expertise is invaluable when navigating the hidden complexities of your home’s wiring.
When things go wrong, a structured approach can help you quickly identify the root of the problem. Use this table as a starting point to diagnose what’s happening.
| Symptom | Possible Cause | What to Do |
|---|---|---|
| Light does not turn on | • Faulty globe • Loose wire connection • Faulty wall switch |
1. Test with a known working globe. 2. Power off and check all terminal connections. 3. If still no power, call an electrician to test the switch. |
| Light flickers | • Poor connection at the light or switch • Loose globe in the socket • Incompatible dimmer switch |
1. Power off immediately. A flicker is a fire hazard. 2. Check all wiring connections. 3. Ensure globe is screwed in tight. 4. If on a dimmer, verify the globe is “dimmable”. |
| Circuit breaker trips | • Short circuit (active wire touching neutral/earth) • Overloaded circuit |
1. Power off. 2. Inspect wiring for bare copper or pinched insulation. 3. Ensure correct wires are in correct terminals. 4. If unsure, call a professional immediately. |
| Dim or inconsistent light | • Incorrect globe type (e.g., LED on old dimmer) • Low voltage to the fitting |
1. Check if the globe is compatible with your switch. 2. Verify connections are secure. 3. This could indicate a wider wiring issue; best to have a sparky check it. |
Remember, this table is for simple diagnostics. If you’ve run through these checks and the issue persists, or if you feel uncomfortable at any point, your next and only step should be to contact a licensed electrician.
While swapping out a light fitting can be a really satisfying weekend job, a crucial part of knowing how to wire a ceiling light is also knowing your own limits. In Queensland, the line between a simple replacement and work that legally demands a professional is crystal clear.
This isn’t just about sidestepping a tricky task; it’s about following the law and, more importantly, guaranteeing the safety of your home and family.
The most important rule to remember is this: any alteration or addition to your home’s fixed wiring must be performed by a licensed electrician. That isn’t a friendly guideline; it’s a legal requirement under Queensland’s Electrical Safety Act 2002 and the AS/NZS 3000 Wiring Rules.
Some situations immediately take a job out of the DIY arena and firmly into the hands of a professional. If you come across any of these, your very next move should be to put down the tools and pick up the phone.
Trying to tackle these jobs yourself isn’t just risky—it comes with serious consequences.
Non-compliant electrical work can lead to hefty fines, but the real financial pain often comes later. If a fire or electrical fault is traced back to unlicensed work, your home insurance provider has every right to deny your claim entirely, leaving you with devastating losses.
Deciding to call a professional isn’t an admission of defeat—it’s the smartest, safest, and most cost-effective choice you can make in the long run. An electrician does more than just connect a few wires. They ensure the entire circuit is safe, compliant with current standards, and can actually handle the electrical load.
They are trained to spot underlying issues you might miss, like a deteriorating neutral link or an overloaded circuit just waiting to cause problems.
When it’s time to hire a professional, look for a local, licensed, and insured electrician. A quick search on the Electrical Safety Office (ESO) website is a great way to verify their licence details.
Always ask for a written quote, check their reviews, and make sure they understand exactly what you need. Bringing in a qualified expert gives you peace of mind that the job is done right the first time, with no shortcuts.
If you’re looking for advice or need a professional to handle your installation, learning more about how to find a trusted Brisbane electrician for your home can ensure you make the right choice. Ultimately, putting safety and compliance first is the final, and most crucial, step in any electrical project.
Even with the best guide in hand, it’s completely normal to have a few questions floating around, especially when you’re dealing with something as important as your home’s wiring. Here in Brisbane, we get asked a lot about the local rules and common pitfalls. Let’s clear up some of the most frequent queries we hear from homeowners.
This is easily the most important question, and the answer isn’t a simple yes or no. The law in Queensland is crystal clear on one thing: any electrical work involving new or altered fixed wiring must be done by a licensed electrician. That means running a new cable for a light or adding a new switch is strictly off-limits for DIY.
Now, where it gets a bit grey is with a straightforward, like-for-like replacement. This is when you’re just swapping an old, existing light fixture for a new one of a similar type, using the wiring that’s already there. While some interpret this as being permissible, it’s a risky assumption.
To be safe and 100% compliant, your best bet is always to call in a professional. Doing unlicensed electrical work can void your home insurance and land you with some hefty fines from the Electrical Safety Office (ESO). It’s just not worth the risk.
Over our 19+ years in the trade, we’ve seen it all. When homeowners tackle wiring themselves, a few classic mistakes pop up again and again. These aren’t just minor slip-ups; each one is a serious safety hazard.
The biggest blunders we come across are:
It’s impossible to give a single flat rate because every job is a little different. A professional electrician will need to look at a few things before they can give you a firm price.
The main cost factors are:
As a general guide, for a standard, straightforward replacement of an existing light in Brisbane, you can expect to pay somewhere in the range of $120 to $250. If it’s a new installation or a more complicated fixture, the price will naturally be higher. Always ask for a detailed, written quote upfront so there are no surprises.
Making sure your electrical work is safe and legal is the number one priority for any Brisbane homeowner. If you’re feeling unsure about any part of the process or just want the peace of mind that comes with a professional job, the team at DLG Electrical is here to help. Get in touch for a free, no-obligation quote on your lighting project by visiting us at https://dlgelectrical.com.au.

Master Electrician with over 30 years of experience. Founded DLG Electrical in 2005 after international project work including electrical installations at Stamford Bridge Stadium, London(Home of Chelsea FC).

Local Electricians that can fix all Electric Hot water Systems.
Motion sensor lights are a versatile addition to any home, offering nu
