83 Jean St, Grange QLD 4051
Mon-Fri 07:30 AM - 04:00 PM - Sat - 8:00 - 12 - Sunday Closed
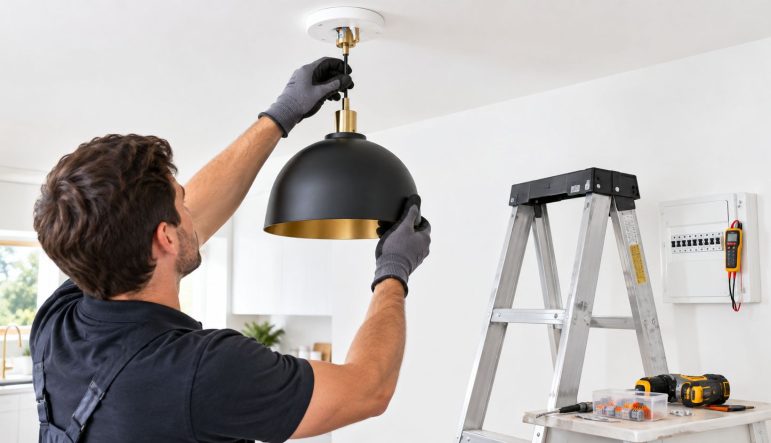
You've found the pendant you want, measured the kitchen island, and perhaps even laid out the ladder. Then the practical questions start. Will the existing ceiling point support the fitting? Is the drop safe in a Brisbane hallway? Can the old switch dim a modern LED pendant? And is a simple replacement electrical work that must be handled by a licensed electrician?
Pendant lights installation combines interior design with fixed-wiring safety. In Queensland, the fitting and the affected electrical installation must comply with the state's electrical safety rules and wiring standards. The right result is a pendant that looks intentional, hangs safely, carries its load properly and works reliably every time you use the switch.
A Brisbane homeowner recently chose a large woven pendant for a hallway renovation. On the floor, it looked ideal. At the ceiling, the existing point was slightly off-centre, the fitting was heavier than the old batten holder, and the hallway ceiling left little room for a generous drop. The design itself wasn't the problem. The installation point, support and finished clearance needed to be assessed before anyone opened the box.
That's the first distinction to make. A genuine like-for-like replacement at a suitable existing point may be straightforward for a licensed electrician, but adding a new outlet, extending cable, moving the point or installing a heavier sculptural fitting changes the job. Connecting a pendant to fixed wiring is regulated electrical work in Australia, and Queensland guidance directs homeowners to use a licensed electrician for lighting or electrical cabling work. This Brisbane electrician guide explains why the condition of the existing installation matters as much as the fitting you've selected.
Look at four things before buying:
Pendant selection also works best when it's considered alongside the rest of the room. If you're coordinating a kitchen, splashback or dining renovation, the lighting guides from Tiles Mate can help you think about fixture style, surface finishes and visual balance before installation begins.
Practical rule: Buy the pendant after confirming the ceiling point, support and clearance. A beautiful fitting is still the wrong choice if the ceiling can't carry it or the finished drop obstructs the room.
Queensland's electrical rules apply to details that aren't visible once the rose is closed. The wiring framework includes separation requirements inside ceiling structures, including installations that must be at least 25 mm away from a non-capable circuit in relevant circumstances, as set out in the Queensland Electrical Safety Regulation 2013. That's why a pendant shouldn't be treated as merely a decorative lamp.
Preparation prevents two separate failures, an electrical fault and a fitting that moves, pulls or falls. Before work starts, gather the installation instructions, the ceiling rose or canopy, suitable mounting hardware, a cord grip, terminal block or approved connector arrangement, a screwdriver, drill where required, appropriate fixings, a spirit level and a reliable voltage tester.
The mounting hardware must suit the ceiling construction and the pendant's weight. A fixing that works in solid timber isn't automatically suitable for plasterboard, and a decorative cover doesn't provide structural support by itself. Where the ceiling point needs a batten or noggin, that support must be installed and secured correctly rather than relying on the plasterboard alone.
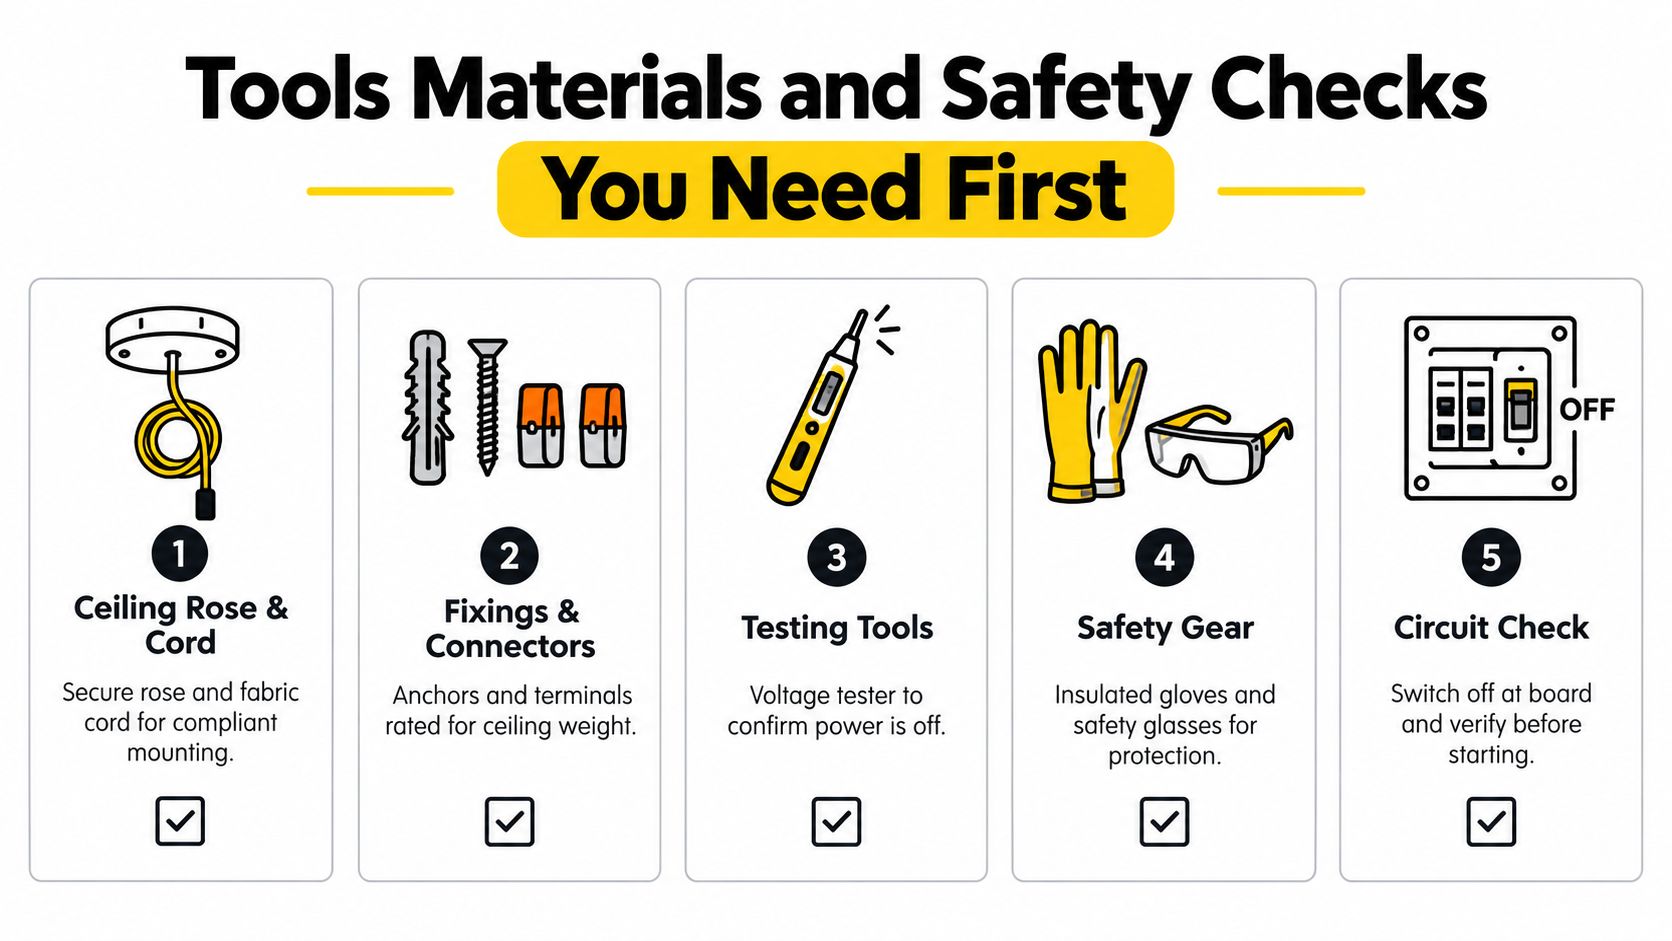
Use this sequence before touching the fitting:
A cord grip is not an optional finishing detail. It prevents the pendant flex from transferring movement or weight to the electrical terminals. The rose also needs to sit securely and cover the connections without crushing or sharply bending the conductors.
Stop immediately if the cable insulation is damaged, the connection arrangement is unclear, the ceiling support is inadequate or the fitting is too heavy for the existing point. Electrical work on fixed wiring must be carried out by a licensed worker, and final testing should confirm insulation resistance, polarity and earth continuity before the installation is put into service.
The installation sequence starts at the switchboard, not at the ceiling. The circuit is isolated, the absence of voltage is verified, and the old fitting is supported while it's removed. If the existing point contains more conductors than expected, old accessories, damaged insulation or a junction arrangement you can't identify, the safe stop point is before disconnection.
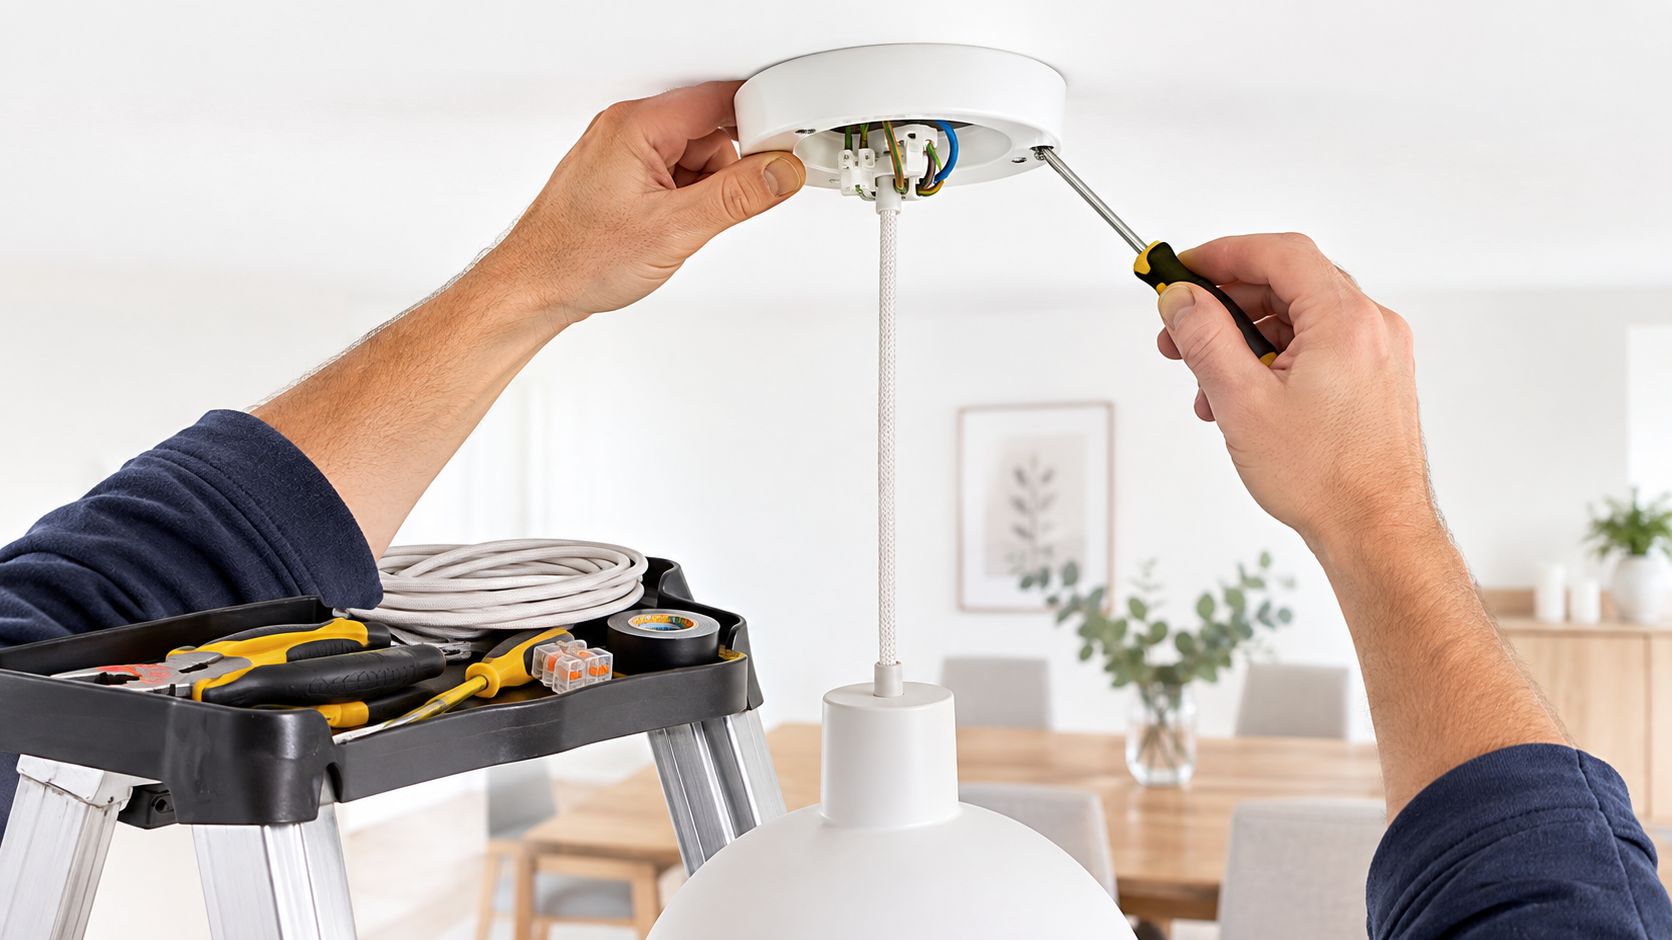
A typical ceiling rose or pendant installation involves mechanically fixing the rose to a suitable batten or noggin, then bringing the conductors into the accessory without placing strain on the terminals. The pendant flex passes through the cord grip, and the grip is tightened so the flex cannot pull through when the shade is handled or adjusted.
The electrical terminations must follow the fitting instructions and the applicable wiring rules. AS/NZS 3000 is the core wiring standard, while AS/NZS 60669.1 and AS/NZS 3100 cover accessory and equipment requirements relevant to the work. A licensed electrician will identify supply and switch conductors correctly rather than relying on assumptions based only on colour.
The sequence matters:
For a more detailed explanation of the ceiling-light wiring arrangement, see this ceiling light wiring guide. It's useful background, but it doesn't turn fixed-wiring work into a DIY task in Queensland.
Multiple pendants need more than a visual estimate. Mark the centreline, measure each drop from the same reference point and use a spirit level or laser to keep the roses aligned. On a sloped ceiling, the rose and cord grip may need a mounting solution that keeps the fitting stable while allowing the drop to hang naturally.
Don't load-test a pendant by pulling on the cable or shade. The electrician should confirm the mechanical security and then carry out the appropriate electrical testing. A fitting that wobbles, twists at the rose or pulls the canopy away from the ceiling needs correction before the lamp is energised.
For visual reference, this installation video shows the general form of ceiling-fitting work. It shouldn't replace Queensland licensing requirements or the manufacturer's instructions.
Treating every pendant as a lamp swap is the common mistake. New cabling, a new junction box, a relocated outlet or additional support turns the project into a more involved electrical installation.
A pendant can be electrically sound and still be badly positioned. The most important measurement in a hallway, living area or circulation path is the distance from the finished floor to the lowest point of the fitting. Australian guidance uses a minimum 2.1 m floor-to-bottom clearance in walkways and general living areas, as described in this Australian ceiling-height lighting guide.
That measurement includes the shade, diffuser, finial and any decorative element below the main body. In a stair landing, measure against the walking route and changing floor levels, not just from the lowest part of the ceiling. A pendant that clears the hallway floor can still interfere with a person using the top stair or turning through a narrow passage.
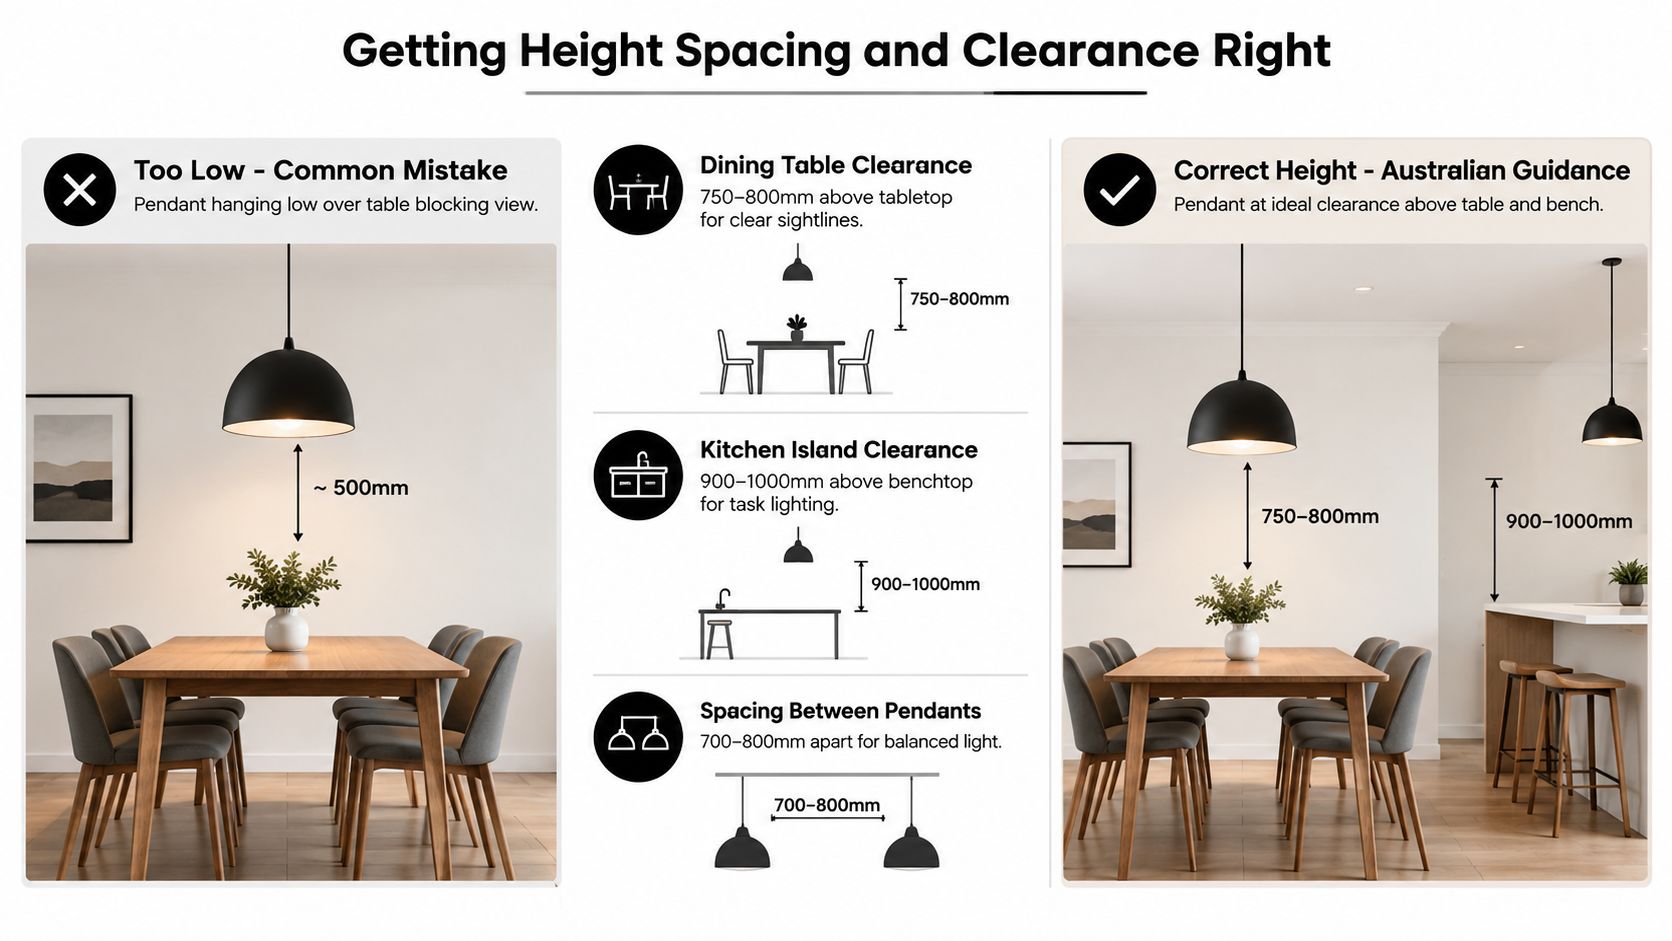
Over a kitchen island, a practical target is 75 to 90 cm above the benchtop, while a dining pendant is commonly positioned 75 to 85 cm above the table surface, based on Australian lighting guidance. The lower end creates a closer, more intimate relationship with the surface. The higher end opens sightlines and provides more room for standing activity.
| Location | Recommended clearance | Why it matters |
|---|---|---|
| Hallway or general walkway | At least 2.1 m from finished floor to the lowest point | Reduces head-strike and obstruction risk |
| Kitchen island | 75 to 90 cm above the benchtop | Balances task lighting with standing clearance |
| Dining table | 75 to 85 cm above the table surface | Keeps conversation sightlines open |
| Stair landing | Clear the full walking route and highest step | Accounts for changing floor levels |
A single pendant suits a centred round table or a compact entry zone. A pair can balance a broader island or bedside arrangement, while a row needs consistent centre points and matching drops. Don't space fittings by eye from the ceiling. Lay out the furniture, mark the working surface and check the view from seated and standing positions.
Low ceilings usually need a shorter fitting, a smaller shade or a more compact semi-flush design. Cutting the drop alone may solve the clearance problem but leave the canopy crowded against the ceiling or the shade too close to eye level. In Brisbane homes with varied ceiling heights, the right compromise often comes from changing the pendant profile rather than forcing a dramatic design into a limited void.
A hallway pendant should never narrow the circulation path. The hallway pendant placement guidance highlights the practical issue homeowners often miss, the lowest decorative part governs the usable clearance, not the point where the cord ends.
A pendant should frame the room, not become something everyone learns to avoid.
Modern pendant selection often starts with the shade, but the lamp and control gear determine how the fitting behaves. Queensland household lighting data recorded LED use in half of Queensland households by 2017, following earlier survey waves, as documented in the Queensland Household Energy Survey. That historical shift makes LED compatibility a normal part of residential lighting decisions, not a specialist afterthought.
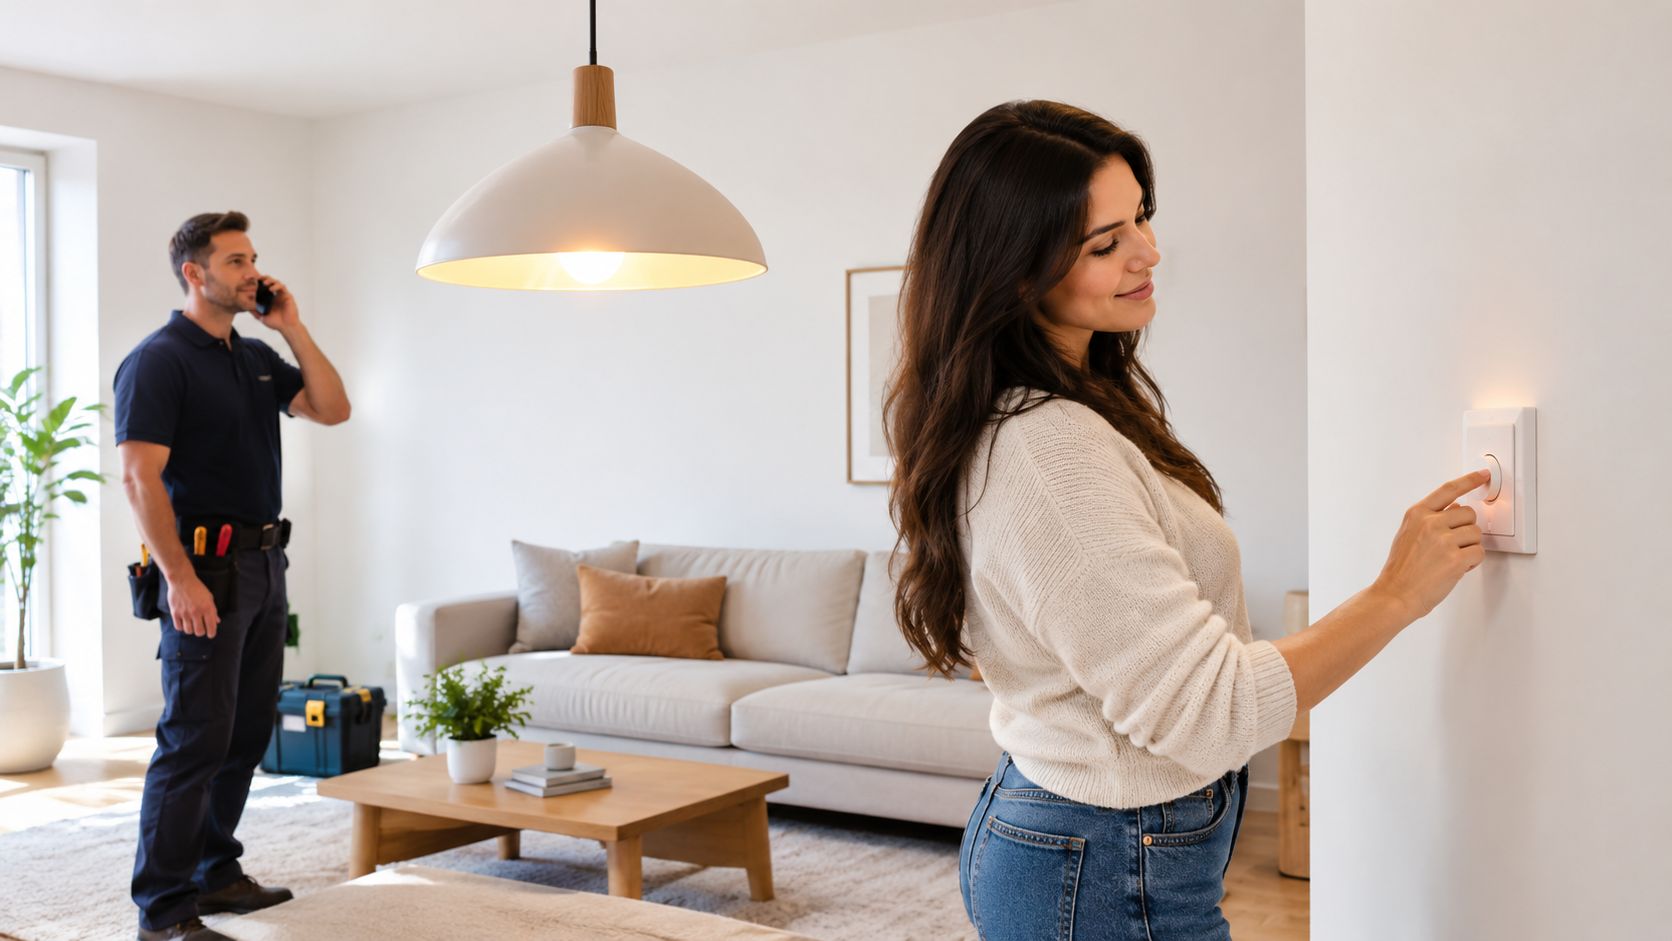
An LED lamp must be marked as dimmable before it's connected to a dimmer. The dimmer also needs to be compatible with the lamp type and the intended load. A mismatch can produce flicker, buzzing, an uneven dimming range or a light that turns off before reaching the setting you want.
Some checks are safe to make without opening the fitting:
For switch upgrades, this dimmer switch installation guide explains why compatibility and correct installation matter. Smart switches add another layer, including neutral requirements, lamp compatibility and manufacturer-specific setup.
Book a licensed electrician if you're adding a new ceiling outlet, moving the existing point, running new cable, installing a heavier fitting, changing the support structure or fitting a dimmer. The same applies to damaged cords, unexplained tripping, old wiring or any connection you can't confidently identify.
In Brisbane, ask for a clear scope before work begins. The quote should distinguish a straightforward replacement from ceiling access, support installation, new cable runs, switch changes or fault-finding. Time and cost depend on those conditions, so a site assessment is more useful than guessing from the pendant's retail price.
DLG Electrical provides residential lighting installation and electrical work in Brisbane, including pendant fitting and related switch or wiring requirements. Use the company's service information to compare the scope of professional work with your own project before deciding how to proceed.
A successful pendant installation starts before the electrician arrives or the ladder is opened. Confirm the existing ceiling point, identify whether the work involves fixed wiring, choose a fitting that suits the available support and measure the finished clearance from the right reference points.
Use this short decision check:
Queensland treats electrical safety as an ongoing legal standard, not a one-time renovation checkbox. The in-force regulation continues to be maintained over time, so compliance should be considered whenever you renovate, replace a fitting or alter a lighting circuit.
A simple replacement may need less work than a new pendant point, but the appearance of the fitting doesn't determine the electrical scope. Heavy shades, smart controls, sloped ceilings and older wiring all deserve attention before installation. Spending time on that assessment helps prevent the two problems I see most often, an unsafe connection and a pendant that looks wrong because it hangs too low, too high or off-centre.
For a Brisbane home, the best result is practical rather than merely decorative. The pendant should be supported properly, tested before use, compatible with its controls and positioned so people can move through the room naturally.
DLG Electrical can assess your existing ceiling point, install pendant lights, add suitable support, work with compatible dimmers and complete the required electrical testing across Brisbane. Visit DLG Electrical to discuss your pendant project and request a free quote for a safe, compliant installation.

Master Electrician with over 30 years of experience. Founded DLG Electrical in 2005 after international project work including electrical installations at Stamford Bridge Stadium, London(Home of Chelsea FC).

Local Electricians that can fix all Electric Hot water Systems.
Motion sensor lights are a versatile addition to any home, offering nu
