83 Jean St, Grange QLD 4051
Mon-Fri 07:30 AM - 04:00 PM - Sat - 8:00 - 12 - Sunday Closed
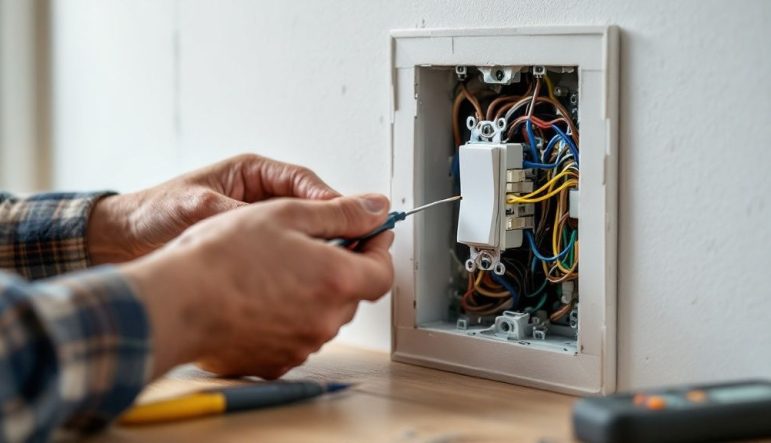
Wiring a light switch involves disconnecting power, identifying the active, neutral, and earth wires, and connecting them to the correct terminals on the new switch mechanism. It’s a fundamental electrical task, but one that demands absolute attention to safety and Australian standards.
Before you even think about touching a wire, your first and most critical action is to completely de-energise the circuit. Head to your switchboard and flick off the circuit breaker that controls the light you’re working on. If you’re not 100% sure which one it is, the safest bet is to turn off the main power switch for the entire house.
Once the power is off, the job isn’t done. You have to verify that the circuit is actually dead. This is where a non-contact voltage tester becomes your best friend. Simply hold the tip near the wires inside the switch box; if it doesn’t light up or beep, you’re clear to proceed. Never, ever trust that a circuit is off just because the light isn’t working—always test.
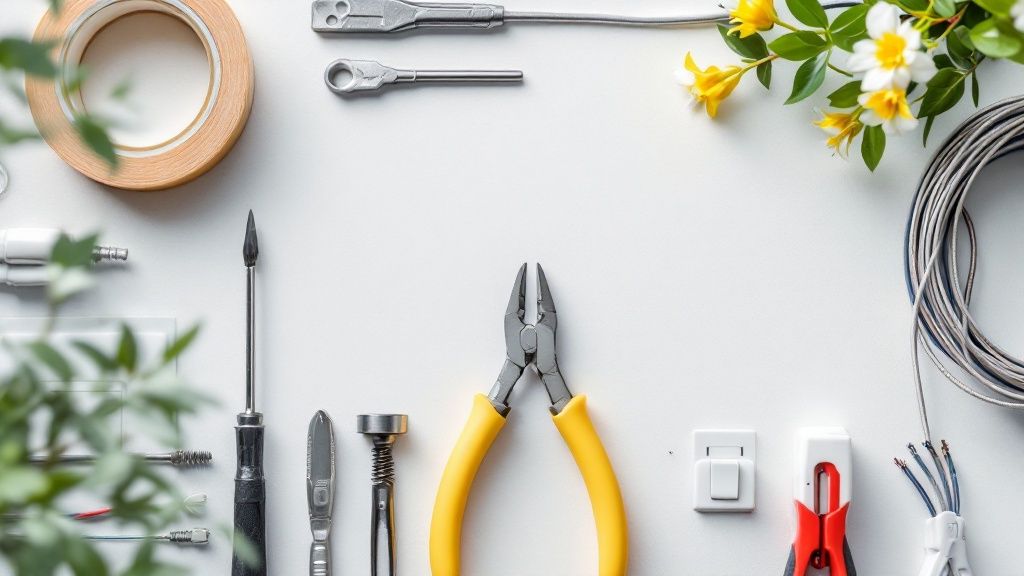
Having the right equipment on hand not only makes the job easier but much safer, too. I’ve seen firsthand how a poor connection from using the wrong tool can lead to arcing, which is a serious fire hazard.
Your basic toolkit should include:
Remember, all electrical work in Australia must be performed by a licensed electrician. This ensures the job is done safely and follows all legal requirements. Understanding these steps helps you communicate effectively with your professional.
Proper preparation is the foundation of any successful electrical job. It ensures your safety and sets the stage for a secure, long-lasting installation. For a deeper understanding of the legal framework, you can learn more about compliance with Australian Standards AS/NZS 3000 and why these rules are in place to protect homeowners. This knowledge is key to appreciating the importance of professional installation.
Alright, once the faceplate is off, you’re essentially looking at the language of your home’s electrical system, and it’s spoken in colours. From my experience, misinterpreting this language is the fastest way to cause a short circuit, or worse, create a genuinely dangerous situation.
Luckily, Australian standards keep these colours pretty consistent, which makes them easy to learn once you know what you’re looking at. Understanding what each wire does is hands-down the most critical part of wiring a switch safely.
In most modern Aussie homes, you’ll come across three main colours: brown, blue, and a green/yellow stripe. Each one has a specific, non-negotiable job to do in the circuit. You absolutely cannot mix them up.
A key thing to get your head around is the difference between the incoming ‘line’ wire and the outgoing ‘load’ wire. The ‘line’ is the active wire bringing constant power from the circuit breaker. The ‘load’ is the switched active wire that only becomes live when you flip the switch, sending power on its way to the light.
To keep things clear, here’s a quick reference table for the standard wiring colours you’ll encounter. Getting these right is fundamental to a safe installation.
| Wire Colour | Wire Name | Function |
|---|---|---|
| Brown | Active (Line/Load) | Carries the electrical current to and from the switch. |
| Blue | Neutral | Completes the electrical circuit by returning current. |
| Green/Yellow | Earth | Provides a path to the ground for safety in case of a fault. |
Memorising this table is a great first step. It ensures you can confidently identify what each wire is supposed to be doing inside the wall.
In a basic light switch setup, you’ll usually find two brown (active) wires. One is the ‘line’ (the power source coming in), and the other is the ‘load’ (the wire running out to the light). Getting these two hooked up to the right terminals is crucial for the switch to actually work.
A qualified electrician would use a multimeter to safely identify which wire is permanently live. This is a standard diagnostic step that takes the guesswork out of the equation and ensures power is being controlled correctly before finalising the connections.
Alright, let’s move from theory to practice. With the power definitely off and your tools handy, it’s time to get the wires onto a standard, single-pole switch—the most common type you’ll find in Australian homes. Wiring a switch correctly is all about making secure, lasting connections.
The whole point is to interrupt the flow of electricity along the active wire. Think of the switch like a drawbridge; flicking it up closes the circuit and lets power cross over to the light. Flicking it down opens it up, cutting the connection and turning the light off. Simple as that.
Here’s a close-up look at how the connections are made to the switch terminals.
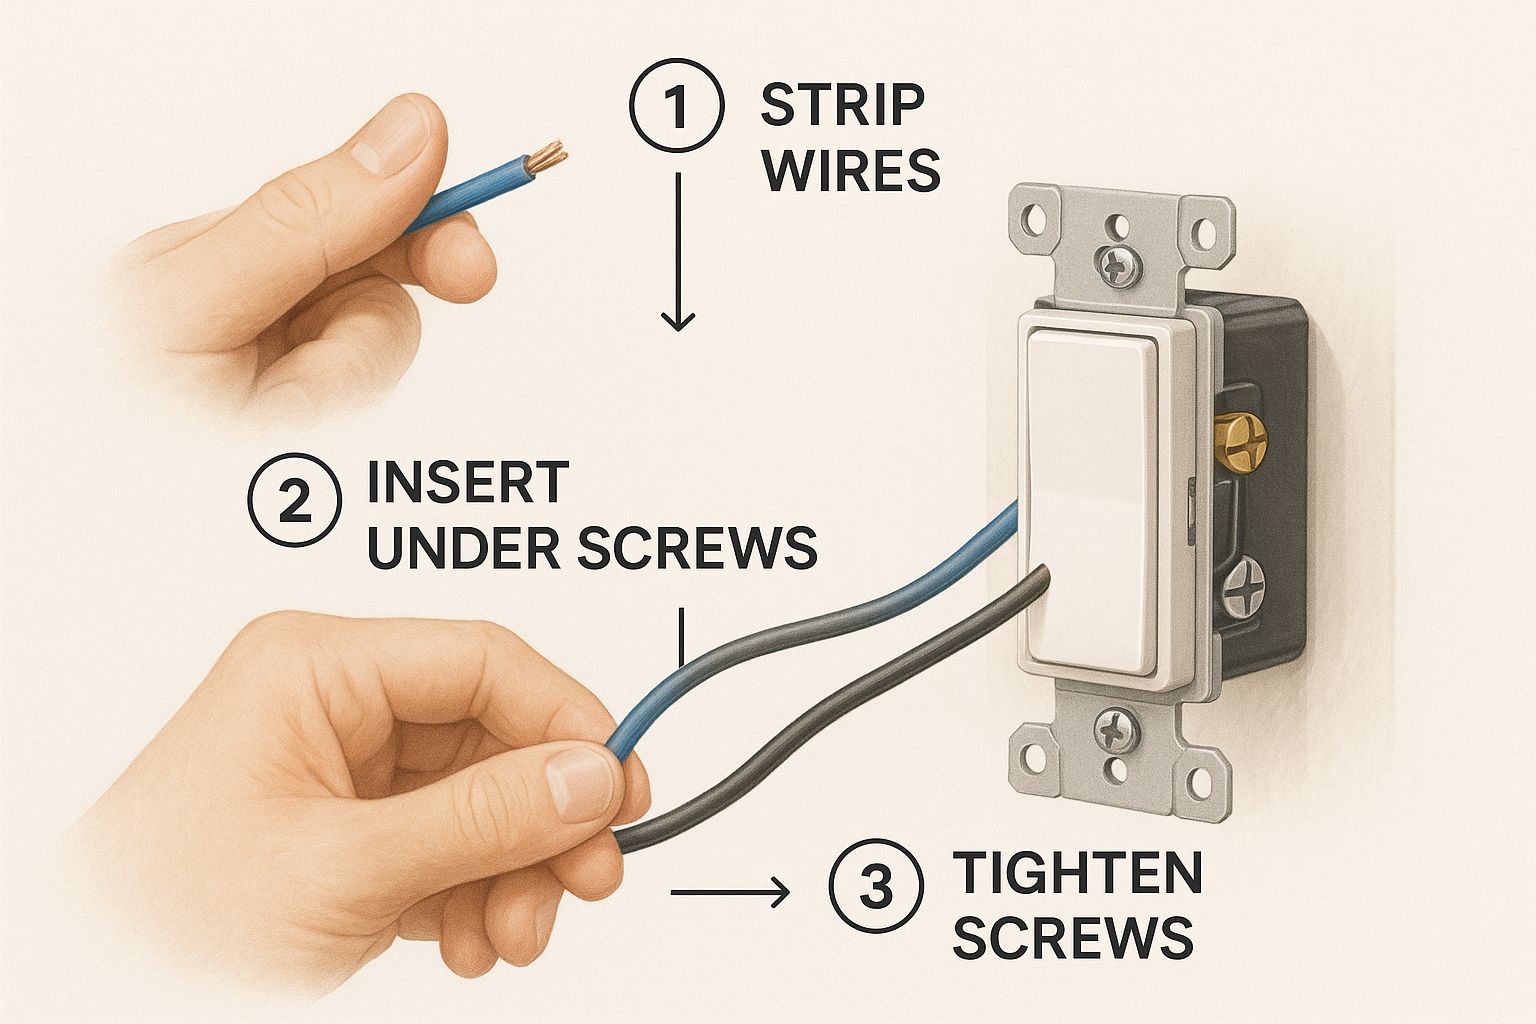
This image really highlights the right way to loop the stripped copper wire around the terminal screws—clockwise—to get a solid grip.
A standard switch mechanism has terminals that are clearly marked. Getting these connections right is basically the entire job.
Here’s a trade secret: always loop the exposed copper wire around the terminal screw in a clockwise direction. As you tighten the screw, this motion naturally pulls the wire tighter into the connection, stopping it from slipping out. If you loop it anti-clockwise, tightening the screw can actually push the wire away, leading to a loose and potentially dangerous connection.
A connection that works is good. A connection that’s durable and safe is what we’re after. The small details here make a massive difference. For starters, only strip about 10-12mm of insulation from each wire. You need enough bare copper to make a good connection, but not so much that it’s exposed afterwards.
A professional will tighten the terminal screws until they are firm, but they’ll never over-tighten them. Crushing the copper wire creates a weak spot that can break over time. The connection should just be snug enough that you can’t pull the wire out with a gentle tug. Finally, we carefully fold the wires back into the wall box in an S-shape or Z-shape to avoid putting any stress on the connections.
In Australia, wiring a switch is strictly regulated work that, by law, must be done by a licensed electrician. For a standard switch, a professional will typically have the job done in 30 to 60 minutes. Trying to do this yourself without a license can lead to fines up to $110,000, which shows just how seriously safety and compliance are taken. For more detail, you can learn about Australian regulations for wall switches on iGotoEle’s blog.
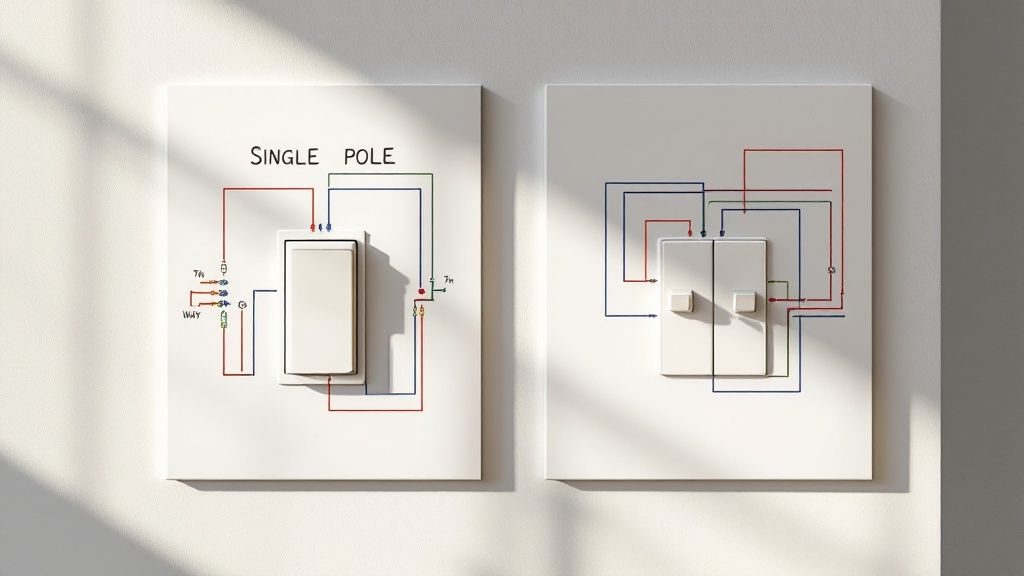
The days of a simple on/off switch being your only option are long gone. Today’s market is full of choices that can genuinely improve how you use your home’s lighting, from setting the mood in a living room to adding serious convenience.
For example, a dimmer switch is perfect for a dining room or lounge where you want to adjust the brightness to suit the occasion. If you’re looking for automation, a smart switch connects to your Wi-Fi, letting you control lights with your phone or a voice command. Just keep in mind that many smart switches need a neutral wire for constant power, which isn’t always present in older switch boxes.
While this guide explains the process of wiring a switch, it’s critical to remember that in Australia, all electrical work must be completed by a licensed electrician. This isn’t just a recommendation—it’s the law. So, your budget needs to cover both the hardware and professional labour.
The total cost can vary a lot depending on what you choose. For instance, here in Perth, replacing a standard light switch typically costs between $100 and $200. This figure usually includes the price of the switch itself and the sparkie’s installation fee.
A standard switch might only cost $20, but a high-end smart switch can easily exceed $150. This highlights the importance of balancing features with your overall project budget before calling in a professional.
Labour is the other big part of the equation. A simple swap might take 30 minutes, but more complex wiring or troubleshooting will naturally take longer. To get a better idea of what to expect for professional fees in your area, you might find our guide on how much electricians charge useful. Planning ahead ensures your upgrade is both safe and affordable.
Getting the wiring right on a new switch is important, but it’s only one piece of the puzzle. Your home’s entire electrical safety system relies on an unsung hero: the safety switch, technically known as a Residual Current Device (RCD). It’s easy to mix them up with circuit breakers, but they do completely different jobs.
A circuit breaker is there to protect your appliances and wiring. It trips when there’s an overload or a short circuit. A safety switch, on the other hand, is designed to protect you. It constantly monitors the electrical current and if it spots a dangerous imbalance—like electricity taking a path through a person—it cuts the power in milliseconds. That split-second reaction is what prevents a fatal shock.
In Australia, these devices aren’t just a good idea; they’re the law. Queensland, in particular, has strong legislation to make homes safer. Way back in 1992, new homes were required to have safety switches on all power outlet circuits.
Over the years, these rules have become much stricter. After 2000, the requirement expanded to include lighting circuits as well, offering far more comprehensive protection against electrical faults.
Today, the law in Queensland is even tougher. A safety switch must be installed on every circuit when a property is sold or a new tenancy agreement is signed. If you’re buying a home, you have 90 days from the transfer date to make sure it’s compliant.
You can explore Queensland’s safety switch requirements on the official government site to get the full picture. This focus on compliance ensures that your entire electrical system, not just one new switch, is working to keep your family safe. For a deeper dive into how the tech works, check out our guide on what is a residual current device.
When it comes to home electrical work, knowing the rules is just as important as knowing the risks. We get a lot of questions from homeowners about wiring light switches, so here are some straight answers to the most common ones we hear in Australia.
The short answer is no. In every Australian state and territory, it’s illegal for anyone without a valid electrical licence to perform any wiring work. That includes jobs that seem simple, like replacing a light switch.
This isn’t just red tape; it’s about safety. All electrical work must meet national standards, and only a licensed electrician can legally sign off on it. Attempting DIY electrical work can lead to fines of up to $110,000, and worse, it could void your home insurance policy if something goes wrong.
Wiring a switch incorrectly—say, by mixing up the active and load wires—creates an immediate short circuit. The moment you turn the power back on, your safety switch or circuit breaker will trip. That’s the best-case scenario.
If your circuit protection isn’t working correctly, a bad connection can cause an electrical arc. This is a serious fire hazard that can do major damage to your home’s electrical system. It’s simply not worth the risk.
A buzzing or warm switch is a serious warning sign. This usually points to a loose wire, an overloaded circuit, or a faulty switch. If you ever notice this, kill the power at the switchboard immediately and call a professional. It’s a significant fire risk that needs urgent attention.
A switch should never feel warm to the touch or make a buzzing or crackling sound. If it does, something is definitely wrong. These are tell-tale signs of a poor connection or an internal fault that needs to be fixed right away.
For safe, compliant, and reliable electrical solutions, trust the licensed professionals at DLG Electrical. Whether it’s a simple switch replacement or a major installation, we’ll make sure the job is done right the first time. Contact us for a free quote at https://dlgelectrical.com.au.

Master Electrician with over 30 years of experience. Founded DLG Electrical in 2005 after international project work including electrical installations at Stamford Bridge Stadium, London(Home of Chelsea FC).

Local Electricians that can fix all Electric Hot water Systems.
Motion sensor lights are a versatile addition to any home, offering nu
