83 Jean St, Grange QLD 4051
Mon-Fri 07:30 AM - 04:00 PM - Sat - 8:00 - 12 - Sunday Closed
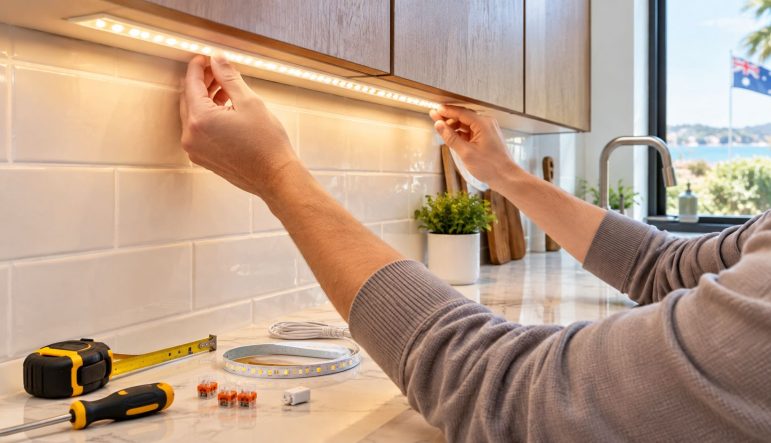
The benchtop is clean, the kettle is on, and the chopping board sits in the one shadow your ceiling lights can't reach. That's the usual reason Brisbane homeowners start searching for how to install under cabinet lighting. A well-positioned LED fitting can put light where you work, but the installation method matters just as much as the appearance.
In Queensland, a plug-in or battery-powered product can be a sensible homeowner project when you're only mounting the fitting and using its supplied connection. A hardwired fitting, a new switch, work on fixed household wiring, or an extension to a lighting circuit is different. Queensland classifies installing, altering, testing, replacing, or connecting electrical equipment as electrical work, and the Queensland Electrical Safety Office licensing guidance requires the appropriate licensed electrical worker for that work.
The chopping board, sink or coffee station often sits in the shadow cast by wall cabinets. Start by identifying the work each fitting must support. A strip above the main preparation bench should spread task light across the surface, while a short fitting over a display cabinet may only need a softer glow. Position task lighting toward the cabinet's front underside, rather than tight against the splashback, so the wall does not take the light while your hands remain shaded.
Check the kitchen while you normally cook. Mark the chopping area, sink, cooktop, coffee station and any other work surface blocked from the ceiling lights. Treat each marked area as a separate zone. This prevents an attractive continuous run from leaving the surfaces used most often poorly lit.
Homeowners can measure cabinets, mark mounting points, clean surfaces, assemble a low-voltage product according to its instructions and plug in a completed fitting. Mounting battery-powered puck lights and inserting their batteries are also generally suitable DIY tasks.
Stop before electrical work begins. Do not remove a wall plate, expose fixed wiring, connect a driver to mains conductors or extend a lighting circuit. A plug-in product remains a practical option when its supplied connection is used without alteration.
Hardwired lights require a licensed electrician, whether installed during a renovation, fitted in a new kitchen or connected to an existing circuit. Queensland treats installing, altering, testing, replacing and connecting electrical equipment as electrical work. Unlicensed work is illegal and can attract penalties of up to $40,000 for an individual, according to Queensland Electrical Safety Office licensing guidance.
Measure the full underside of each cabinet run, including sections separated by a window, rangehood or open shelving. Record cabinet depth, front lips, end panels, overhangs and the nearest suitable outlet or proposed switch position. Take photographs before purchasing the lighting. Trim, corner blocks and sink plumbing can determine where a driver or cable will fit.
For permitted mounting tasks, gather a tape measure, pencil, spirit level, clean cloth, screwdriver, suitable drill, cable clips and the manufacturer's fixing hardware. Treat wiring tools and mains connections as the electrician's work, not part of a DIY shopping list. Plan driver ventilation and future access from the start, because a concealed component that cannot be reached makes later servicing harder.
The right system depends on whether you want a reversible improvement, a small accent, or a permanent built-in result. The three common choices are plug-in LED strips, battery-powered puck lights and hardwired linear fittings.
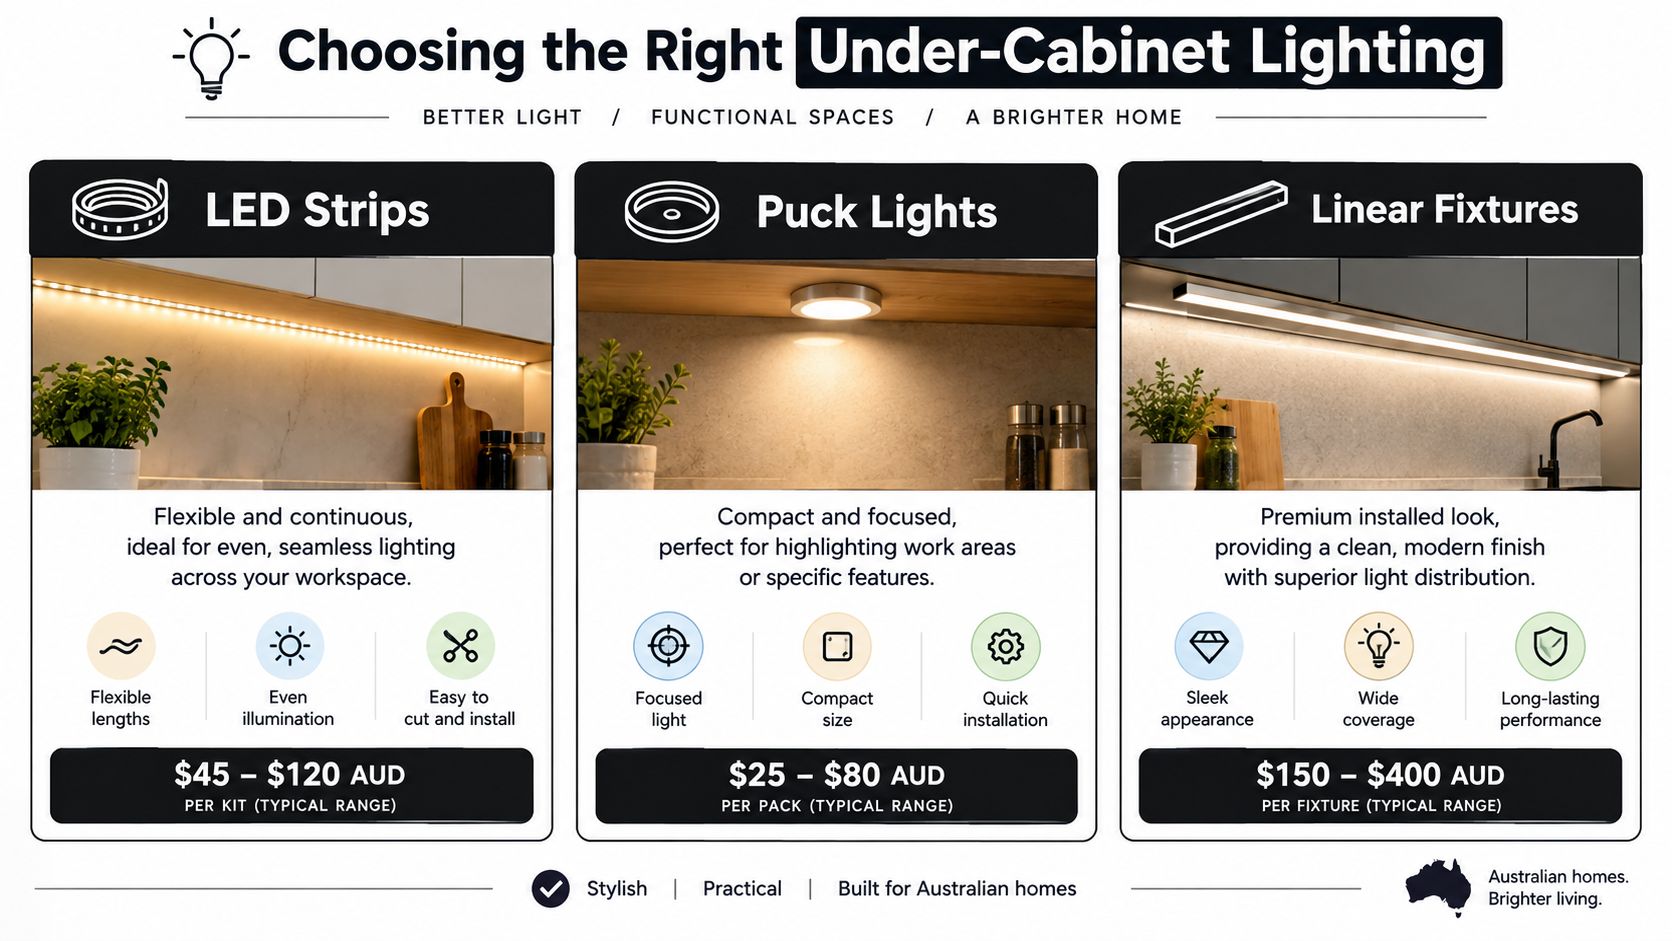
| Lighting Type | Installation Complexity | Power Source | Best For |
|---|---|---|---|
| LED strips | Low for plug-in products | Nearby outlet and supplied driver | Continuous task lighting, rentals and reversible upgrades |
| Puck lights | Low | Batteries or supplied plug-in connection | Small areas, display cabinets and locations without a convenient run |
| Linear fixtures | High when hardwired | Mains-connected driver or fixed wiring | Permanent kitchens seeking a clean, integrated finish |
A plug-in strip gives the most flexibility without opening walls. You can cut or join it only where the product allows, route the lead discreetly, and control it with its supplied switch or a compatible plug-in controller. The trade-off is visible cabling and the need for an accessible outlet. Adhesive-only mounting can also disappoint on dusty, textured or warm cabinet surfaces, so clips or an aluminium channel may provide a more dependable finish.
LED is the sensible starting point for a working kitchen. Australian Government energy guidance says lighting accounts for approximately 10% of the average household electricity budget, while LED lamps use about 75% less energy than halogen lamps and generally last five to ten times longer than halogen lamps. See the Australian Government lighting guidance for the conditions and limitations behind those comparisons.
Pucks suit a pantry, a short cabinet, or a location where running a lead would look worse than the light itself. They're quick to mount and easy to remove, but the light is usually more localised than a continuous strip. In a kitchen used for regular food preparation, remember that battery replacement becomes part of ongoing maintenance.
A linear fitting gives the cleanest appearance and consistent switching. It works well when cabinets are being replaced or walls are already open, because the electrician can plan the driver, cable route and control point with the cabinetry. It isn't the right DIY choice. Fixed wiring and mains-side driver connections require licensed electrical work in Queensland.
Countertop colour and surface reflectivity also affect the result. If you're choosing a stone splashback or benchtop, the Varun Marbles notes on onyx marble texture can help you think through how veining and translucency will respond to a continuous strip versus separate light points.
Measure the countertop run, not just the cabinet doors. Doors can be narrower than the usable bench, and a fitting aligned to door centres may leave the chopping board or sink outside the strongest light. Record each cabinet section separately, then sketch the gaps between them.
Use a pencil to mark the front lighting line underneath the cabinets. Keep it far enough back to avoid direct glare when you're standing at the bench, but forward enough to illuminate the work surface rather than only the splashback. A spirit level helps keep a linear fitting visually straight across uneven cabinet bottoms.
Place continuous lighting over the main preparation area when possible. Puck lights need more deliberate spacing, so position one over each important task area rather than just dividing the cabinet length into equal-looking points. Check the result from a standing position, because a fitting hidden behind a thick front rail may cast light onto the cabinet face instead of the bench.
Windows and open shelves create breaks. Decide whether each section should operate as one zone or independently. Separate zones can make sense where cabinet runs are disconnected, but more controls and drivers may increase complexity. For exposed low-voltage leads, plan a route behind cabinet lips or through a neat surface channel. The cable management guidance from DLG Electrical is useful when you're deciding how to keep leads supported and visually restrained.
Before fixing anything, place the fittings loosely with painter's tape. Plug in only products designed for that connection, then stand at the bench and look for glare, dark corners and reflections in glossy stone. If the layout fails with temporary positioning, adhesive or screws won't correct it later.
A kitchen can look ready for under-cabinet lighting, yet the legal boundary depends on how the product connects to power. Mounting a battery puck, securing a plug-in strip with its supplied accessories and routing a low-voltage lead without touching fixed wiring are clearly safe for a homeowner to undertake. Connecting a driver, switch or fitting to the household supply is different work.
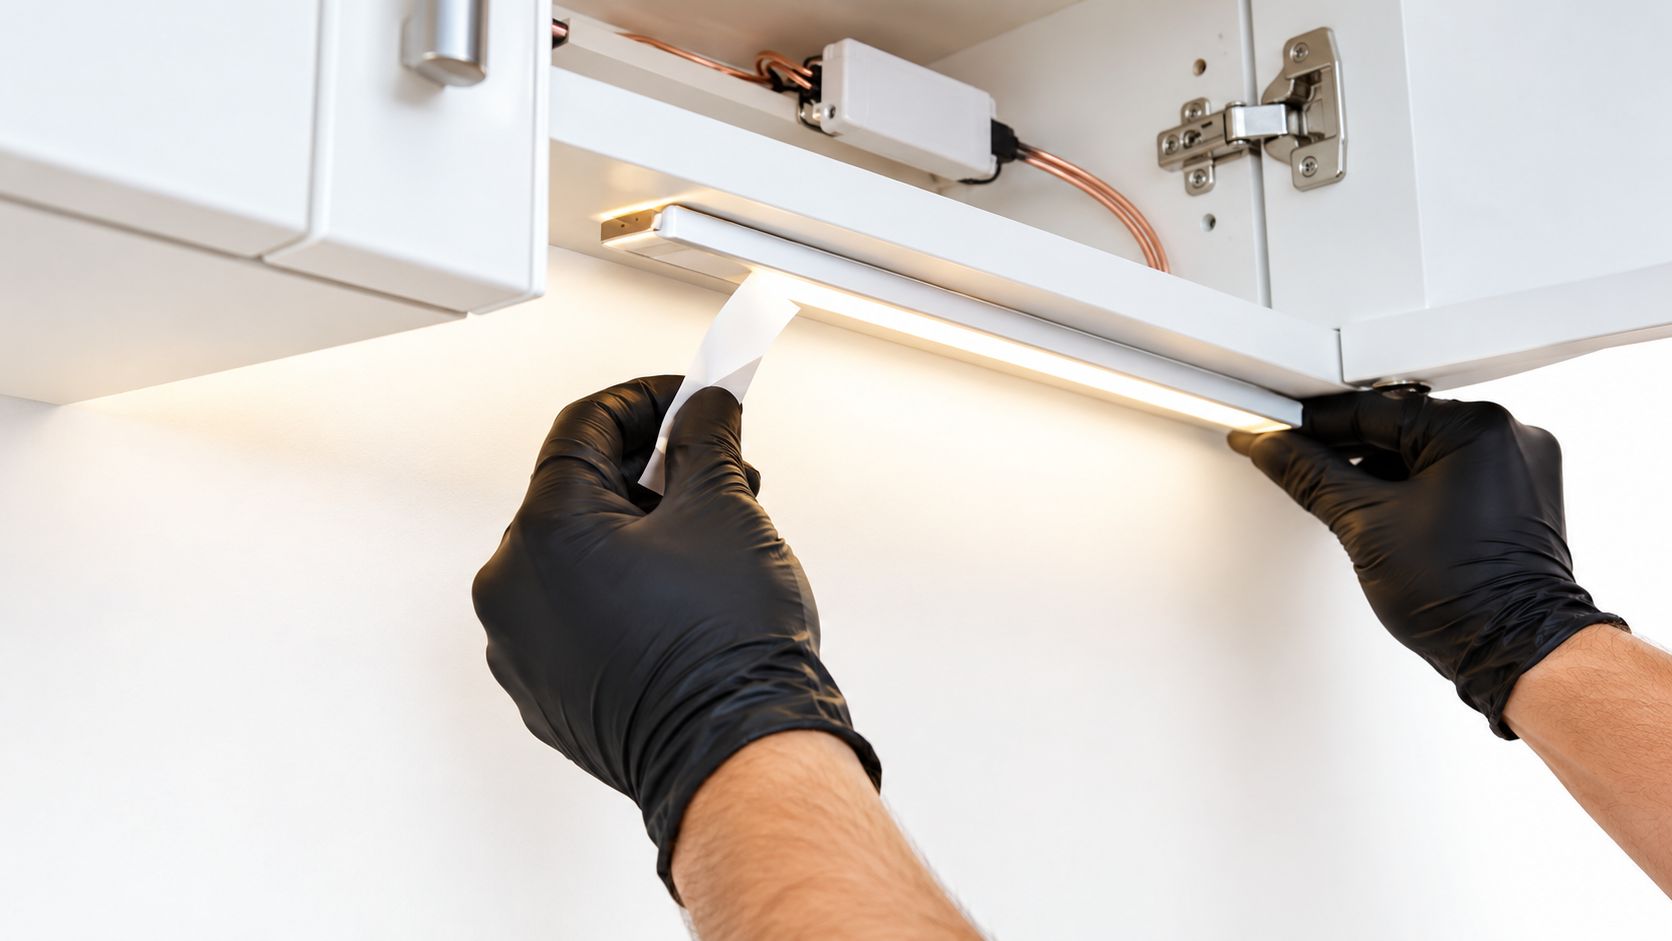
Clean the mounting surface with a suitable cloth and let it dry fully. Test a plug-in product on the bench before fixing it, then install it in short sections so the strip follows the cabinet line without twists. Use the supplied clips or channel where adhesive alone does not feel secure. Keep leads clear of hinges, heat sources, sharp edges and places where they can be caught.
Do not drill through a cabinet to conceal a lead until you have checked both sides for plumbing, existing wiring and the manufacturer's clearance requirements. A tidy route helps the finished result, but a damaged cable or pipe can create a much larger repair than a visible lead.
For practical visual ideas from outside Queensland, The Cabinet Coach's guide for South Jersey homeowners shows how mounting position and cord routing affect the finished appearance. Brisbane installations still need to meet Queensland requirements, so use that material for layout inspiration only.
Queensland Electrical Safety Office guidance treats the installation, alteration, testing, replacement and connection of electrical equipment as regulated electrical work. A hard-wired light fitting must be connected by a licensed electrician. This includes a new circuit, an added switch, a mains-side driver connection and an extension to an existing lighting installation.
A professional sequence is straightforward:
Queensland guidance also requires additional lighting or power-point circuits to have safety-switch protection. Safety switches have been compulsory on lighting and power circuits in new Queensland homes since 2000, while power-point circuits in new homes have required protection since 1992. These requirements are part of the compliance check, not an optional finishing step.
If you are reviewing the rest of the kitchen before booking work, use this home electrical safety checklist to identify other concerns for the electrician at the same visit.
A low-voltage strip is not automatically a DIY electrical project. Its mains-side driver, switch, outlet or hardwired connection can still form part of the regulated installation. Homeowners can handle plug-in and battery products within the manufacturer's instructions, but fixed wiring belongs with a licensed electrician.
Dimming works well when the fitting, driver and control are designed to work together. A plug-in strip may use an inline controller, a battery puck may use a touch or motion control, and a hardwired linear fitting may use a wall dimmer installed by an electrician. Don't assume a standard dimmer will suit every LED driver.
A mismatch often appears as flicker, buzzing, a narrow usable dimming range or lights that drop out at a low setting. Check the manufacturer's compatibility list before buying a dimmer. For fixed wiring, have the electrician select and install the control, rather than treating dimmer replacement as a simple faceplate change. The DLG Electrical guide to dimmer switch installation provides useful background on why compatibility and safe isolation matter.
Start at the simplest point. Confirm the plug is seated, the outlet is operating and any inline switch or controller is turned on. For battery products, replace the batteries with the correct type and check that the contacts are clean.
Next, inspect the visible low-voltage lead and connectors. Look for a loose join, a sharp bend, a pinched section behind a door or a connector that has been pulled sideways. If only part of a strip is dark, stop using it until the connections and product instructions have been checked.
Uneven brightness usually comes from the layout, a damaged section, an overloaded or unsuitable driver, or a poor connection. It isn't a reason to open a mains enclosure. Switch the system off and call a licensed electrician if the fault involves fixed wiring, a wall switch, heat, a burning smell, repeated tripping or unexplained flicker.
Kitchens also expose fittings to steam, splashes and cleaning products. Keep drivers accessible and dry, wipe fittings with the manufacturer-approved method, and don't place an unsuitable product directly beside a sink. A neat installation is one you can inspect and maintain without dismantling cabinetry.
The installation method usually drives the final cost more than the light fitting itself. A battery puck needs little more than a suitable mounting surface, while a hardwired system may involve cable access, a driver location, switching, circuit checks and testing. In an established Brisbane kitchen, splashbacks, closed walls and finished cabinetry can make cable routes more involved than they would be in a new kitchen planned before the cabinets go in.
Online price ranges need careful interpretation. Product costs change with strip length, light output, colour control, driver quality and mounting method. Electrical labour depends on access, the condition of the existing installation and how much testing or repair the job requires. A comparison graphic may help show broad product differences, but it should not be treated as a Brisbane installation quote.
A plug-in system generally requires the fitting, a compatible controller where needed, mounting clips or channel, and accessories to keep the lead secure. It avoids alterations to fixed wiring, which can reduce the installation cost. The trade-off is a visible cable and a switch that may look less integrated than a wall-mounted control.
Battery pucks remove cable routing from the job. They suit occasional accent lighting, but regular bench lighting brings battery replacement and a more localised light pattern. Check the battery compartment and fitting location before installation, especially where steam, splashes or frequent cleaning are expected.
Hardwired lighting adds licensed labour, compliant wiring, circuit testing, safety-switch verification and hardware that leaves the driver accessible for future service. LED fittings can also reduce ongoing energy use. Australian Government guidance identifies replacing ten halogen lamps with LEDs as a way to reduce electricity costs and greenhouse-gas emissions. That comparison does not predict the savings from a particular under-cabinet installation, because operating hours, electricity prices and the existing fittings vary.
Before accepting a quote, confirm that the electrician holds a current Queensland licence, ask who will perform the regulated connection, and check that testing and commissioning are included. Commissioning should leave the controls operating correctly, connections tested, and the driver positioned where it can be inspected or replaced without dismantling the joinery.
DLG Electrical provides residential lighting design and installation among its electrical services. The team can assess a Brisbane kitchen, plan the fitting and switching arrangement, and complete the regulated connection and testing.
DLG Electrical can help Brisbane homeowners plan and install under-cabinet LED lighting, including circuit assessment, discreet cable routing, suitable controls and compliance testing. For a safe, integrated result, contact the team through DLG Electrical to request a quote.

Master Electrician with over 30 years of experience. Founded DLG Electrical in 2005 after international project work including electrical installations at Stamford Bridge Stadium, London(Home of Chelsea FC).

Local Electricians that can fix all Electric Hot water Systems.
Motion sensor lights are a versatile addition to any home, offering nu
