83 Jean St, Grange QLD 4051
Mon-Fri 07:30 AM - 04:00 PM - Sat - 8:00 - 12 - Sunday Closed
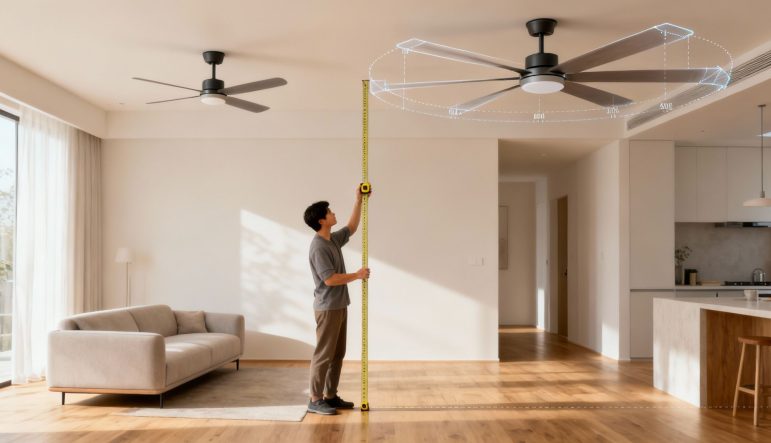
Choosing a new ceiling fan might seem like it’s all about aesthetics, but I can tell you from experience, the real secret to comfort is getting the ceiling fan size just right. A fan that’s too small for your room will just spin its blades without moving much air, while one that’s too big can create an unpleasant, gusty wind tunnel.
Getting the size correct is the key to optimal airflow, genuine energy efficiency, and a look that feels balanced in your space.
Picking the perfect ceiling fan size is much more than a design choice—it’s a practical decision that directly affects your home’s comfort and your power bill. An incorrectly sized fan simply can’t do its job properly. Think about it: a small fan in a large, open-plan living area will struggle to circulate air, leaving those annoying warm, stagnant pockets and offering little relief on a hot Brisbane afternoon.
On the flip side, cramming a massive fan into a small study or bedroom can be completely overwhelming. The airflow feels less like a gentle breeze and more like a disruptive gust, making the space uncomfortable. It can also visually dominate the room, making it feel smaller and more cluttered than it is.
At its core, a ceiling fan’s job is to move air efficiently. The correct blade span—the diameter from the tip of one blade to the tip of the opposite blade—ensures that air is distributed evenly throughout the entire room, from corner to corner. This is what creates that pleasant cooling effect on your skin.
This infographic breaks down how to match your room’s area to the right fan size for even, effective airflow.
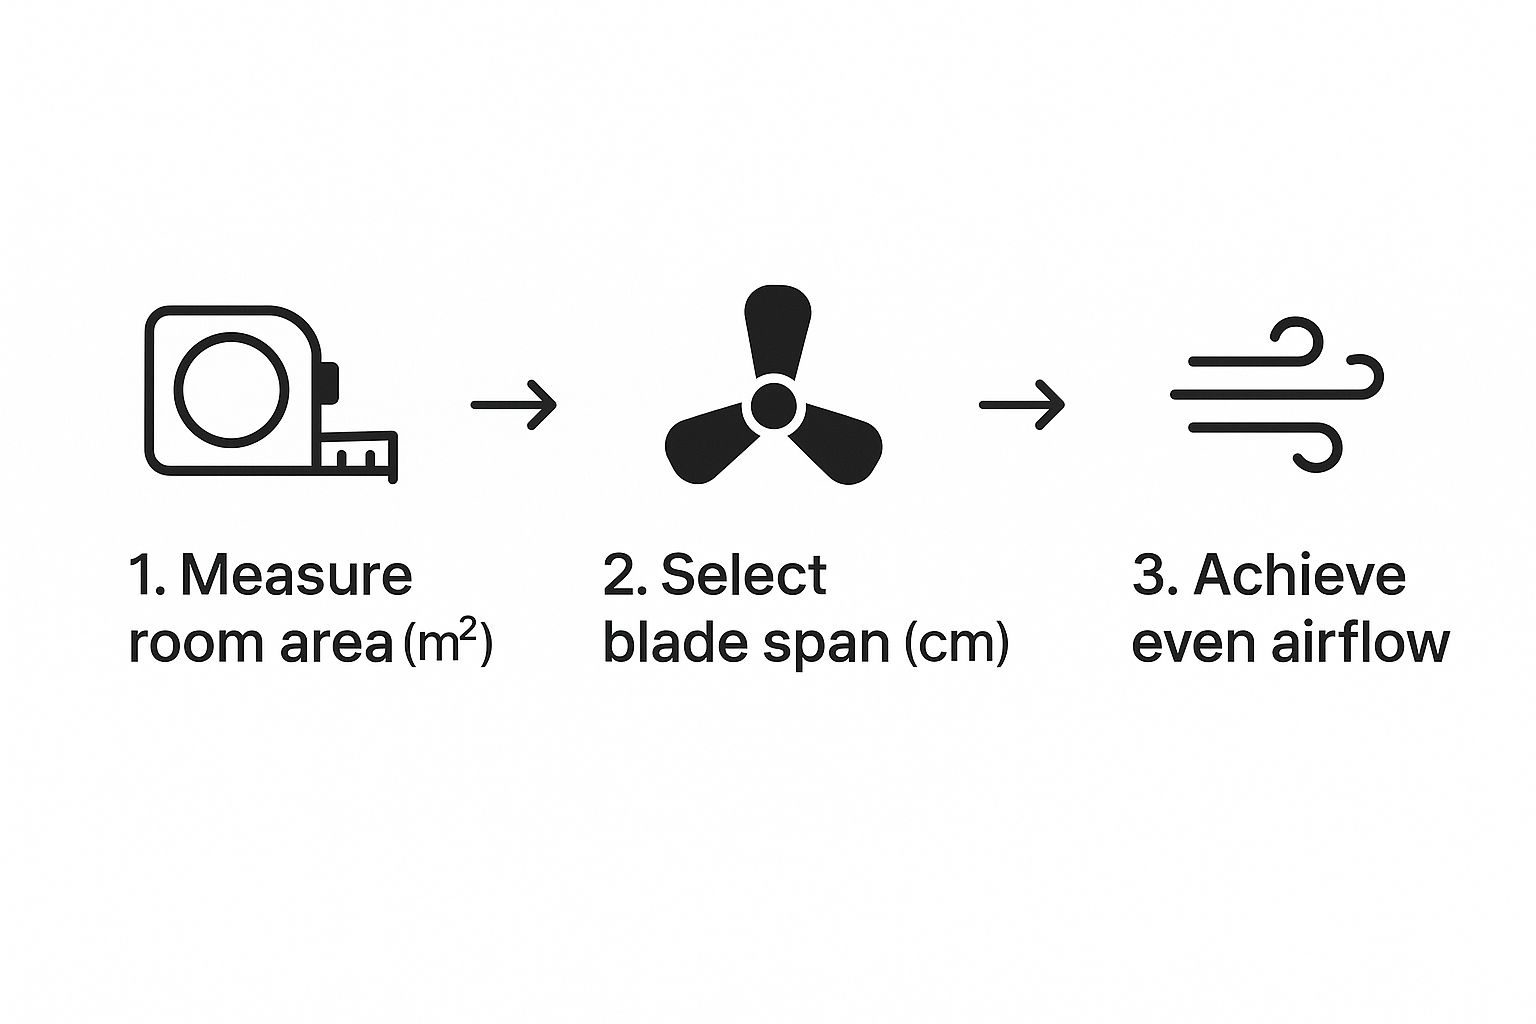
As you can see, it all starts with an accurate room measurement. That number directly tells you the blade span you need to achieve balanced, comfortable air circulation.
A properly sized fan works smarter, not harder. It can run at a lower, quieter speed while still providing effective cooling, which reduces motor noise and saves you money on energy costs over its lifespan.
Getting the ceiling fan size right also plays a huge role in supporting other energy efficient cooling systems. By pairing a correctly sized fan with your air conditioner, for example, you can often raise your thermostat setting by a few degrees without sacrificing any comfort.
If you’re looking for more ways to make your home more cost-effective, exploring these energy efficiency tips from a Northside electrician offers some fantastic, practical insights into reducing your overall power usage. You can find them here: https://dlgelectrical.com.au/dlg-blog/energy-efficiency-tips-from-a-northside-electrician/

Before you even think about fan styles or finishes, the very first thing you need to do is grab a tape measure. It might sound basic, but getting your room’s size right is the absolute foundation for choosing a ceiling fan that actually keeps you comfortable, not one that just looks the part.
This isn’t just a friendly suggestion; it’s the key to getting airflow that’s both effective and efficient.
For a straightforward square or rectangular room, the process is dead simple. Just measure the length and the width of the room in metres, then multiply those two numbers together. That gives you your total area in square metres (m²).
Length (m) × Width (m) = Total Square Metres (m²)
So, if your bedroom is 4 metres long by 3 metres wide, you’ve got a total room area of 12 square metres. This one number is what you’ll use to find the right fan size.
Getting this right ensures the fan you choose has a blade span that can actually move air across the whole space, finally getting rid of those stuffy, dead-air corners.
Of course, not every room is a perfect box. A lot of modern Aussie homes have L-shaped living areas or big, open-plan layouts that merge the kitchen, dining, and living rooms. Trying to cool a massive space like that with one fan in the middle is usually a recipe for disappointment.
For these more complex layouts, the trick is to break the space down into smaller, logical zones.
This zone-based approach means every part of your space gets the gentle breeze it needs, instead of having one jet engine of a fan creating a wind tunnel while another corner stays completely still.
By measuring zones instead of the entire open-plan footprint, you can create targeted comfort. It’s a smarter way to ensure even air distribution without creating an overpowering wind tunnel in one spot while another remains still.
Once you’ve got your numbers, you can confidently pick the right ceiling fan. The recommended fan size is tied directly to these measurements to deliver the best possible airflow.
For small Aussie rooms under 3m x 3m (like a typical small bedroom around 2.8m x 2.5m), you’ll want a fan that’s 48 inches (122 cm) or smaller.
Medium-sized rooms, anything between 3m x 3m and 4m x 4m (think average bedrooms of about 3.2m x 3.0m), are perfectly suited for fans between 48″ and 56″ (122–142 cm).
For larger spaces like master bedrooms (4m x 3.8m on average), fans up to 60″ (152 cm) are a great fit, though many people still find a 52″ model does the job without being too overpowering.
You can find more detailed advice on choosing the right fan for your room over at 360fans.com.au.
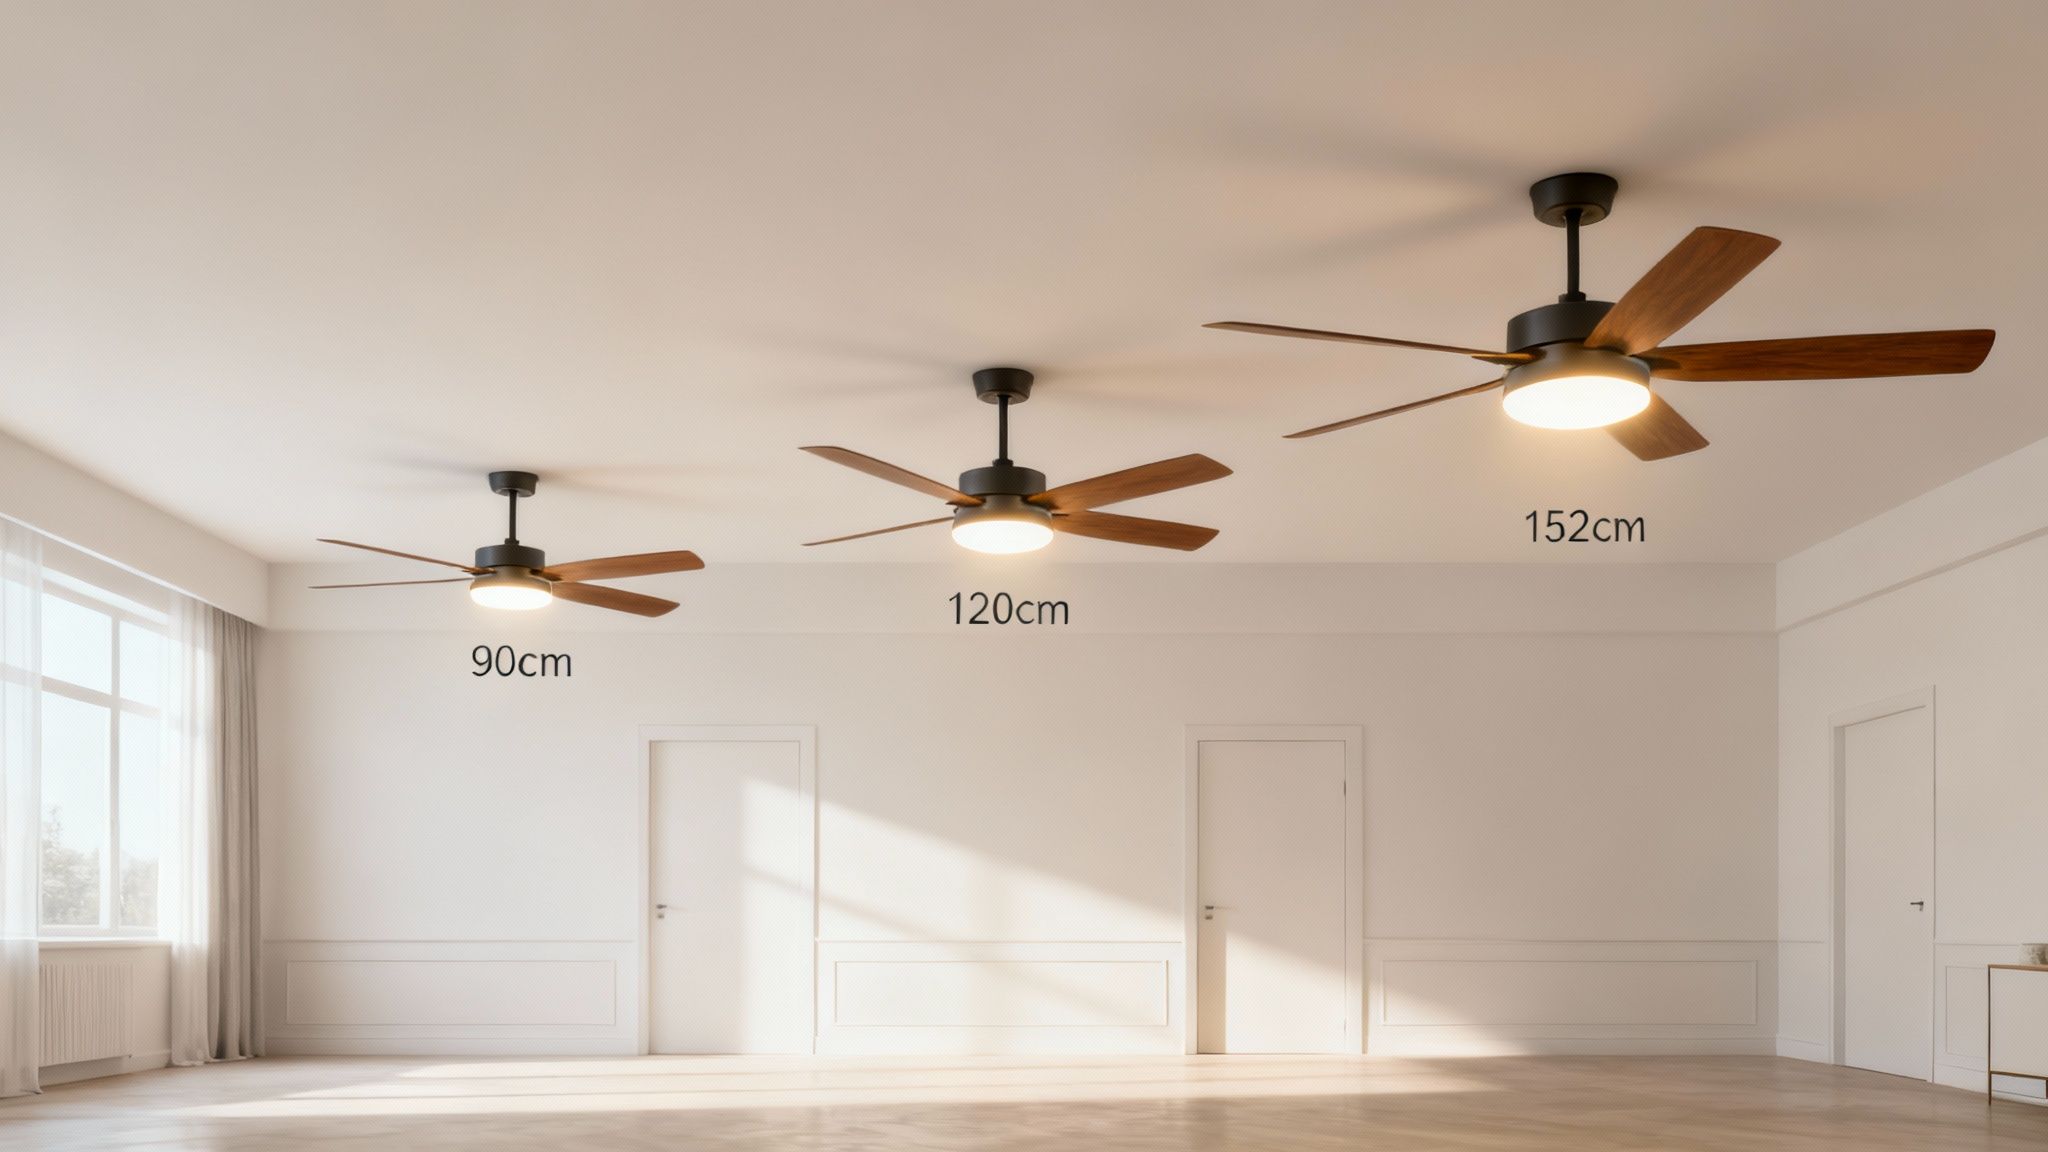
Alright, you’ve got your room’s measurements. Now comes the most important decision you’ll make: choosing the right blade span. The blade span (or diameter) is the single biggest factor in a fan’s ability to move air effectively. Get this wrong, and you’ll end up with a fan that just spins for show instead of creating that gentle, room-wide breeze you’re after.
I like to think of it like choosing a paintbrush. You wouldn’t try to paint a whole living room wall with a tiny artist’s brush, would you? The same logic applies here. Sticking a compact 90cm fan in a spacious living room just won’t cut it. It simply doesn’t have the reach to circulate air properly, leaving you with stuffy, uncomfortable pockets of warm air in the corners.
So, how do you translate your square metres into the perfect fan size? It’s pretty straightforward. There’s a direct link between a room’s area and the fan diameter needed for the best airflow. If you try to cool a large space with a fan that’s too small, you’re just forcing the motor to work overtime at high speeds. The result? More noise than breeze.
Here’s a practical guide we use to match a room’s area with the ideal blade span:
What about those really big, open-plan spaces over 37m²? In our experience, it’s often more effective to install two smaller, well-placed fans instead of one massive one. This gives you much better coverage and airflow control.
Picking the right blade span isn’t just about feeling cool; it’s about efficiency. A correctly sized fan moves a larger volume of air at a lower speed, which means it’s quieter and uses less energy.
Interestingly, this isn’t just about personal comfort—it’s actually baked into Australia’s building standards for energy efficiency. The Australian National Construction Code (NCC) specifies minimum fan sizes for certain climate zones to help homes cool down without cranking the air con.
For example, the code states that a bedroom between 9m² and 12m² must have at least one fan with a minimum diameter of 1200mm (47 inches). This just proves what we’ve known for years: fan size is directly tied to performance. You can dig deeper into these requirements by checking out the NCC’s guidelines on ceiling fans.
This official guidance reinforces what truly matters: airflow. A larger blade span moves a greater volume of air, which is measured in cubic metres per minute (CMM) or cubic feet per minute (CFM). This number is the real measure of a fan’s cooling power, not just how fast it spins. Focusing on performance metrics like this gives you the confidence to pick a fan that will actually do the job you hired it for.
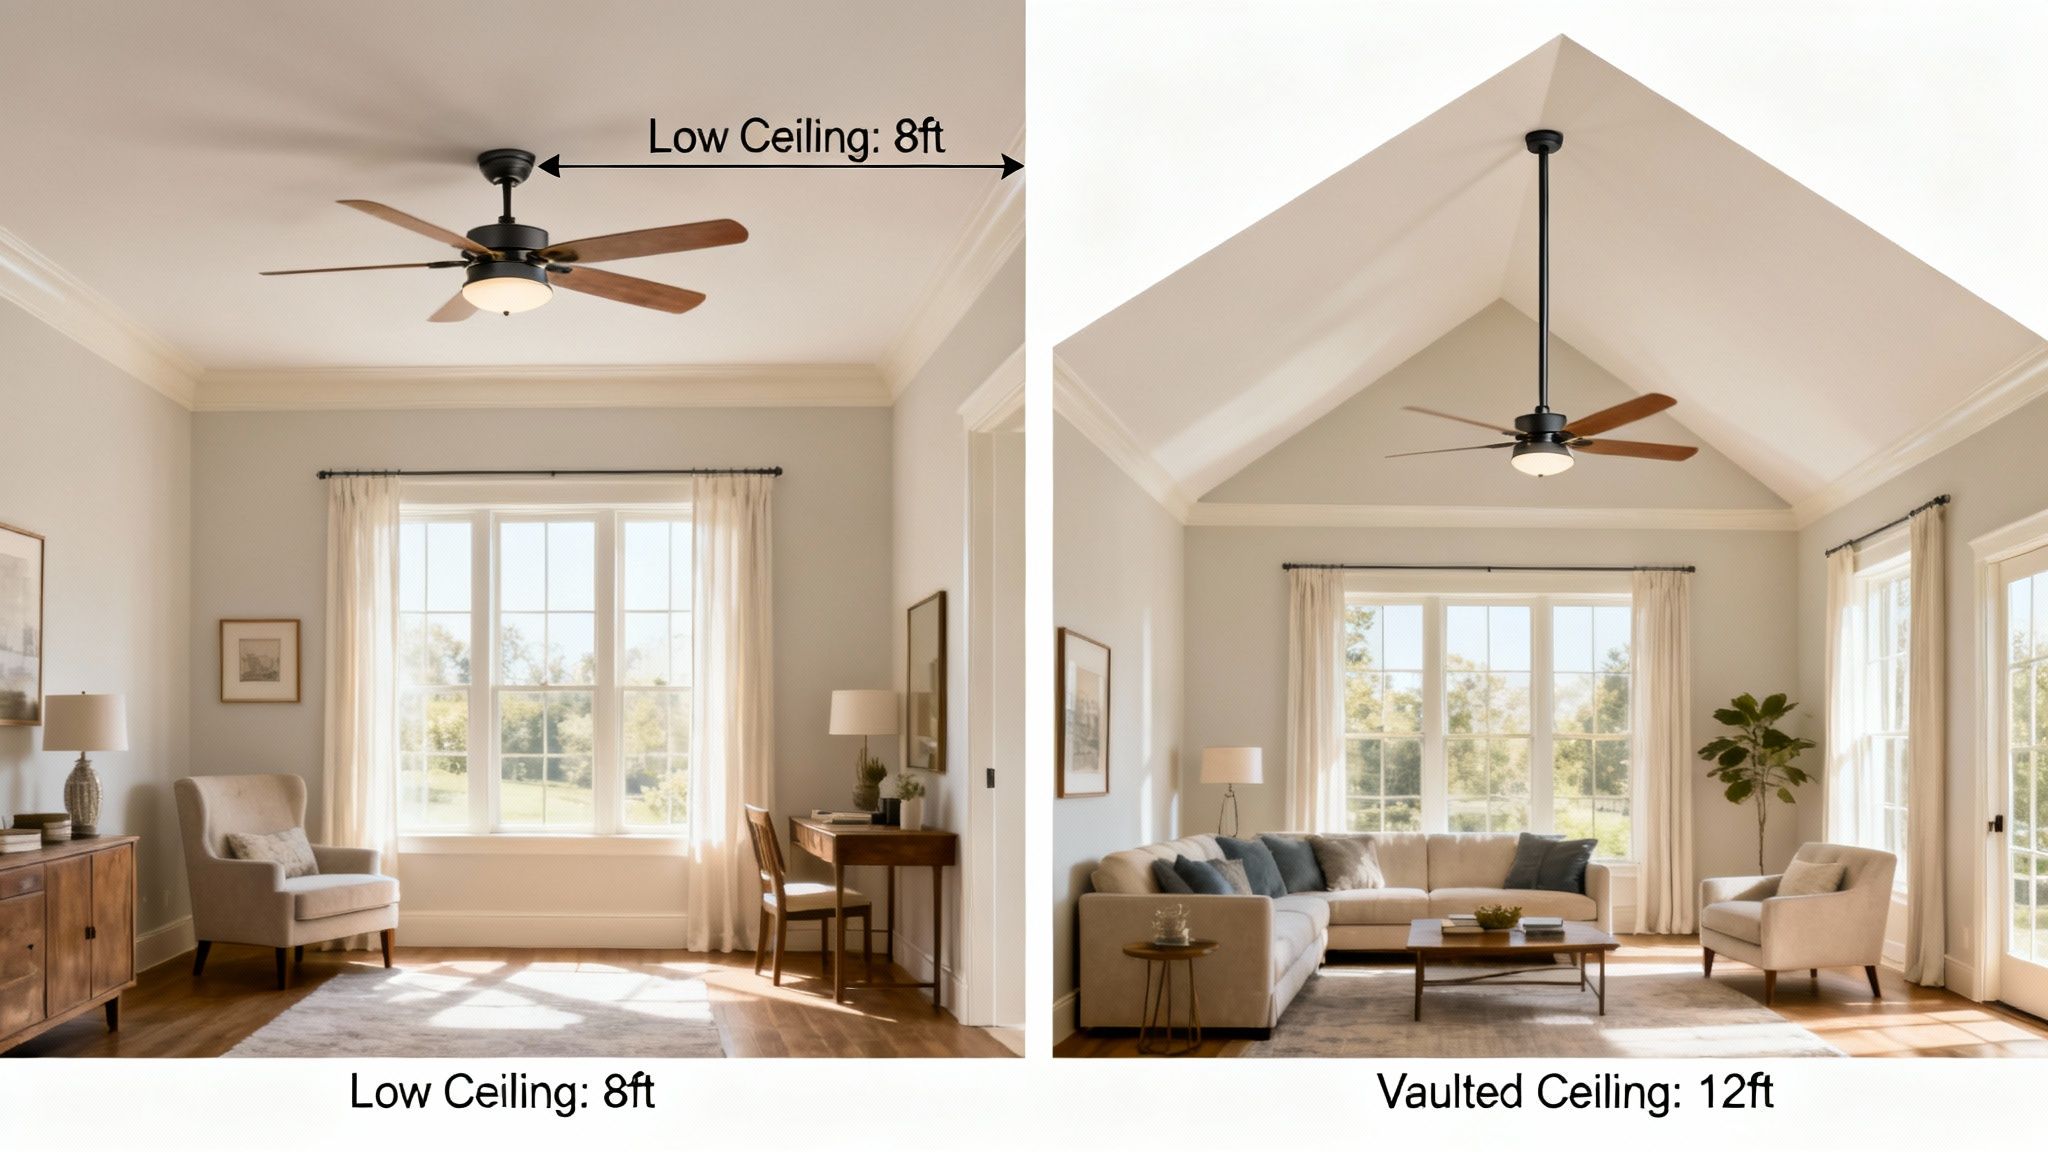
While the floor area of your room is a huge piece of the puzzle, the vertical space—your ceiling height—is just as crucial. It’s something people often overlook, but the distance between the floor and ceiling dictates not just the style of fan you can install, but how effectively it will actually circulate air. Get this wrong, and you could end up with a fan that looks great but does very little, or worse, creates a safety hazard.
For most modern Australian homes, a standard ceiling height of 2.4 metres is the norm. In these spaces, your priorities are airflow and safety clearances, which immediately narrows down your options.
With a 2.4-metre ceiling, you don’t have a lot of vertical space to play with. This is where low-profile or ‘hugger’ fans really come into their own. As the name suggests, these models are designed to mount flush against the ceiling, maximising the head-height between the fan blades and the floor.
This design isn’t just for looks; it’s essential for meeting safety regulations and making sure you don’t feel like you need to duck every time you walk underneath it. The Australian Standard (AS 4226 – 2008) is very clear: ceiling fan blades must be installed at least 2.1 metres above the floor. In a room with a standard 2.4-metre ceiling, a hugger fan is often the only way to meet this requirement. You can find out more about these installation safety standards and how they affect your choice.
If you’re lucky enough to have high, vaulted, or raked ceilings, your fan needs a bit of help to get down where it can do some good. A fan installed flush against a 3- or 4-metre ceiling simply won’t be effective at moving air down into the living space where you can actually feel it.
This is where a downrod becomes essential. A downrod is simply an extension pipe that lowers the fan from the ceiling mounting bracket, positioning it at the optimal height for air circulation.
So, how do you work out the right downrod length? The goal is always to hang the fan blades around 2.1 to 2.3 metres from the floor for the best performance. Here’s a quick way to calculate it:
This rough calculation (1.3m – 0.3m = 1.0m) suggests you’d need a 1-metre downrod. Most fans come with a short downrod in the box, but for ceilings over 2.7 metres, you’ll almost certainly need to buy a longer one separately.
A fan that’s hung too high is just as ineffective as a fan that’s too small. Using the correct downrod length is non-negotiable for getting the performance you paid for in rooms with high ceilings.
Sometimes, the overall shape of a room presents a challenge that a single fan, no matter the size, just can’t solve. Long, narrow rooms—like an enclosed verandah, a long hallway, or some rectangular living areas—are a classic example of this.
If you place one large fan in the centre of a space like that, you’ll get a great breeze in the middle, but the ends of the room will remain stagnant and stuffy. It’s a common mistake.
In these situations, the much smarter solution is to install two smaller, correctly sized fans. By spacing them evenly along the length of the room, you create overlapping zones of airflow that deliver consistent, gentle circulation from one end to the other. This approach ensures total comfort throughout the entire space, completely eliminating those frustrating dead spots.
Once you’ve settled on the perfect ceiling fan size for your room, there’s one last crucial step: making sure it actually fits safely. Getting the installation clearances right isn’t just a friendly suggestion—it’s non-negotiable for safety, performance, and preventing that annoying wobble that can drive anyone mad.
Think of these clearances as a protective bubble around your fan. If anything enters this space, whether it’s an open wardrobe door or someone climbing onto a top bunk, you risk serious damage or injury. This final check is all about giving your fan the room it needs to do its job without interference.
The most critical measurement here is the distance from the fan blades to the floor. In Australia, the standard is crystal clear: you must have a minimum of 2.1 metres of clearance. This isn’t just a best practice; it’s a safety regulation designed to keep everyone safe.
This is exactly why low-profile or ‘hugger’ style fans are often the go-to choice for homes with standard 2.4-metre ceilings. They sit flush against the ceiling, maximising headroom while staying well within that mandatory vertical clearance.
Just as vital is the horizontal space around the fan. You need to leave a generous gap between the tips of the blades and any walls or other obstacles. Without enough room, the airflow becomes turbulent and choppy, which is one of the biggest causes of a wobbly, noisy fan.
To guarantee smooth, balanced operation, stick to these guidelines:
A classic real-world mistake we see is a fan installed too close to a built-in wardrobe in a bedroom. The first time someone opens the wardrobe door, it smacks into a blade, damaging both the fan’s motor and the door. It’s a common oversight that’s easily avoided with a bit of planning.
Ensuring proper clearance is the final quality-control step in selecting your ceiling fan. It guarantees your fan will be safe, effective, and perfectly balanced from the moment you switch it on.
This focus on safety and proper installation applies to every part of your home. For example, rooms with high moisture levels require specially designed products, a topic we cover in our detailed guide on selecting bathroom ceiling fans. Taking a few extra minutes to verify these clearances is your final check to ensure years of safe, efficient, and wobble-free comfort.
Picking the right ceiling fan size can feel a bit like guesswork, but getting it wrong can leave you with a noisy wind tunnel or a useless ornament. We get a lot of questions from homeowners trying to get it right, so let’s clear up some of the most common ones.
It’s tempting to think bigger is always better, but with ceiling fans, that’s a recipe for discomfort. Putting a huge 152 cm fan in a small 3 × 3 metre bedroom, for example, will create a choppy, unpleasant gust of air instead of a gentle breeze.
It’s far better to follow the sizing charts. They’re designed to match the fan’s airflow to the room’s square meterage, ensuring you get even, quiet air circulation.
A correctly sized fan can run at a lower, quieter speed and use less energy, all while keeping you perfectly comfortable.
First things first, any fan going outdoors needs to be officially rated for damp or wet conditions. Don’t skip this step.
Once you’ve got that sorted, measure the main seating area you want to cool. For most covered patios and alfresco spaces, a blade span somewhere between 132 cm and 152 cm is the sweet spot. This size is beefy enough to handle open-air conditions and can make the area feel a good 8–15° cooler for you and your guests.
This is a common myth. The number of blades actually has more to do with the style of airflow and the noise level than raw cooling power.
Ultimately, performance comes down to the motor’s efficiency and the pitch of the blades, not just how many there are.
| Blade Count | Typical Airflow (CFM) | Sound Level |
|---|---|---|
| 3 blades | High | Moderate |
| 5 blades | Medium | Low |
| 6 blades | Lower | Very Low |
Ceiling height is a deal-breaker for a fan’s performance. For low ceilings under 2.4 m, you absolutely must go for a flush-mount or “hugger” fan. This is to meet the mandatory 2.1 m clearance needed between the blades and the floor.
If you’re lucky enough to have ceilings above 2.7 m, you’ll need a downrod to bring the fan down to an optimal height. The goal is to get the blades sitting around 2.2 m off the floor, which is the perfect zone for maximum airflow.
Great question. For long, narrow spaces like hallways or stretched-out living rooms, a single fan in the middle just won’t cut it. The ends of the room will be left feeling stuffy and stagnant.
The solution is to install two smaller fans, spaced evenly along the length of the room. This creates overlapping zones of airflow, eliminating dead spots and keeping the temperature balanced from one end to the other.
To pull it all together, here are a few final tips:
And if you want to dive deeper into motor types and efficiency, check out our guide on DC fans vs AC fans to see how you can save on energy costs.

Master Electrician with over 30 years of experience. Founded DLG Electrical in 2005 after international project work including electrical installations at Stamford Bridge Stadium, London(Home of Chelsea FC).

Local Electricians that can fix all Electric Hot water Systems.
Motion sensor lights are a versatile addition to any home, offering nu
