83 Jean St, Grange QLD 4051
Mon-Fri 07:30 AM - 04:00 PM - Sat - 8:00 - 12 - Sunday Closed
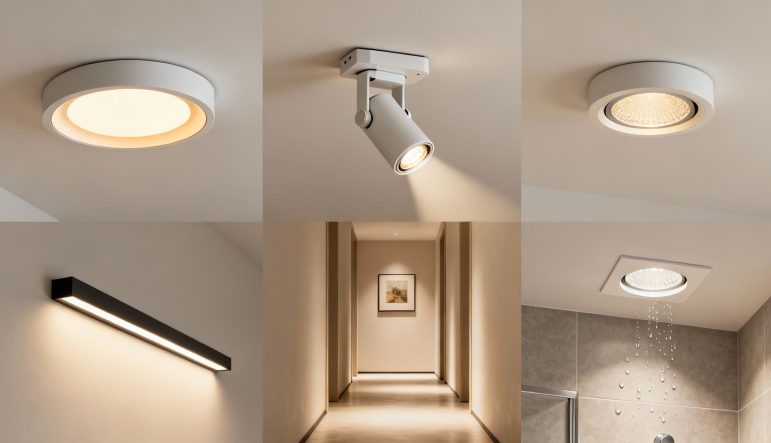
Downlights are the quiet workhorses of modern interior design. You’ll find them everywhere, from crisp, minimalist kitchens to cosy living rooms and professional office spaces. But what exactly are they, and which types of downlights are right for your project?
At their core, downlights are light fittings recessed into the ceiling, casting a clean, controlled beam of light downwards. Their magic lies in their subtlety. By hiding the fixture itself, they create an uncluttered ceiling line that makes any room feel more spacious and streamlined.
Think of them less as simple lights and more as architectural tools. Instead of relying on a single, central pendant, a thoughtful layout of downlights can wash walls with ambient light, highlight artwork, or provide focused task lighting exactly where you need it. This ability to layer and control light is why they’ve become a staple for designers and homeowners alike.
This shift towards clean, integrated lighting solutions is also driving serious market growth. In fact, Australia’s indoor LED downlight market is expected to hit a staggering USD 1,229.06 million by 2032. It’s a clear sign that Aussies are embracing smarter, more adaptable lighting. You can dive deeper into this trend by checking out the latest market research about Australian indoor lighting.
To get you started, here’s a quick guide to the main players in the downlight world.
This table breaks down the most common downlight categories, giving you a clear idea of what each one does best. It’s a great starting point before we dive into the specifics of each type.
| Downlight Type | Primary Feature | Best Application |
|---|---|---|
| Fixed Downlight | Casts light directly downwards in a set position. | General ambient lighting for living rooms, hallways, and open-plan areas. |
| Adjustable (Gimbal) | The central light can be tilted and swivelled. | Accent lighting for artwork, architectural details, or task areas like kitchens. |
| Surface Mounted | Sits on the surface of the ceiling instead of inside it. | Concrete ceilings or areas where recessed installation is not possible. |
| Low-Profile (Slim) | Has a very thin profile for tight spaces. | Ceilings with shallow cavities, obstructions like ductwork, or apartments. |
Now that you have a basic lay of the land, let’s take a closer look at each of these downlights to figure out which one is the perfect fit for your space.
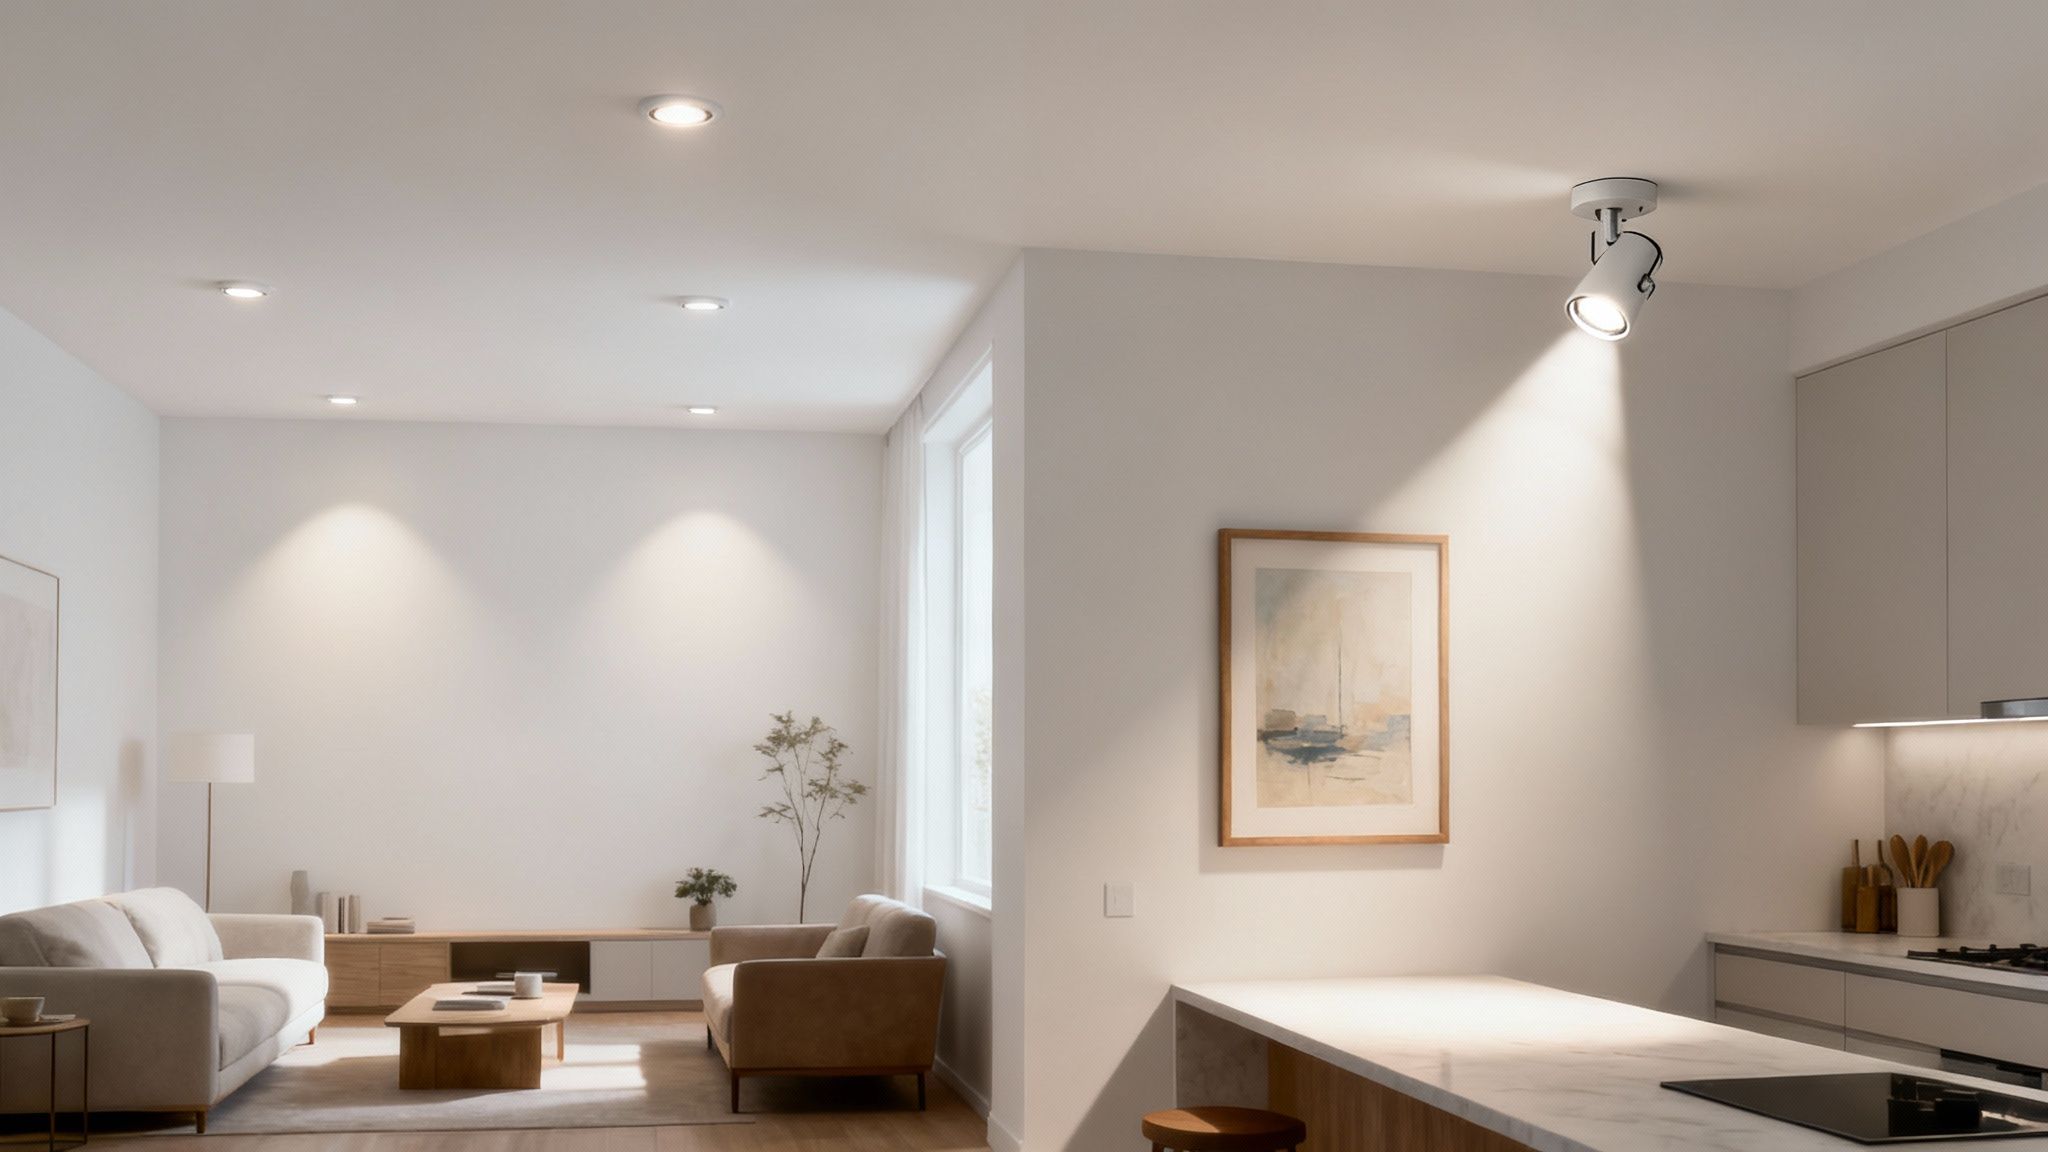
When you’re mapping out a lighting plan, one of the first big decisions is whether to go with fixed or adjustable downlights. It’s a fundamental choice that really shapes the feel of a room. Think of it like choosing between a floodlight for broad coverage and a spotlight for highlighting details—each has a distinct job to do.
Fixed downlights are the workhorses of any good lighting design. Just like the name implies, they shine a beam of light straight down, creating a wide, even wash. This makes them absolutely perfect for setting the overall base layer of light in a room, giving you consistent brightness without any fuss.
They’re the foundation you build upon. You’ll want them in any area where clear, uniform visibility is key, like hallways, laundries, and big open-plan living spaces. Their strength is their simplicity; they provide reliable light that makes a room feel instantly functional and welcoming.
Fixed downlights are masters of ambient light—that soft, general glow that fills a room so you can move around safely and comfortably. They get rid of dark corners and create a cohesive, balanced feel across the entire space.
Here’s where they really shine:
A well-planned layout of fixed downlights is the secret to making a space feel bigger and more inviting. By washing the walls and floor with consistent light, you create an open, airy atmosphere that feels professionally designed.
This is where the magic happens. Adjustable downlights, often called gimbal downlights, are the specialists. While a fixed light is locked in place, a gimbal fitting lets you pivot and tilt the light source, directing the beam exactly where you want it. It transforms the light from a general wash into a precise, targeted tool.
The main reason to use them is to add a bit of drama and function through accent and task lighting. You can aim them to draw attention to your home’s best features or to perfectly illuminate a specific workspace.
Got a piece of art you love? Tilt a gimbal downlight towards it, and suddenly it pops off the wall, turning a plain surface into a gallery feature.
This targeted approach is incredibly practical, too. In a kitchen, you can angle an adjustable downlight over your countertops to get rid of shadows cast by your own body, making chopping and prep work much safer. They’re also the go-to solution for sloped or raked ceilings, where a fixed downlight would point at the floor on an odd angle. An adjustable one can be aimed straight down, giving you proper coverage no matter the ceiling’s pitch.
Ultimately, the best lighting designs almost always use a mix of both. Fixed downlights lay the essential ambient groundwork, while adjustable models add those crucial layers of focused light for tasks, drama, and visual interest.
In the world of lighting, LED technology hasn’t just improved things—it’s completely rewritten the rulebook, especially for downlights. It wasn’t that long ago when halogen bulbs were the standard, notorious for running incredibly hot and needing what felt like constant replacement. Today, LED is the undisputed champion, and the reasons go far beyond just “energy efficiency.”
Making the switch to LED downlights is one of the smartest financial moves you can make for your property. They use up to 75% less energy than those old-school halogen globes, which translates directly into a noticeable drop in your power bills. This isn’t just a small perk; it’s a significant, long-term saving that adds up year after year. For a deeper look at the numbers, check out our comparison of LED lights vs halogen.
And then there’s their incredible lifespan. A quality LED downlight can keep shining for 50,000 hours or more. To put that in perspective, that could be well over a decade of use without ever having to drag out a ladder to change a dead bulb. It’s convenience and reliability you just don’t get from older tech.
One of the biggest advantages of LED technology is the power it gives you to control the actual feel of your light. We measure this in Kelvins (K), and it’s known as colour temperature. Think of it like choosing a warm or cool filter for a photograph—it completely changes the mood.
Another game-changing factor is the Colour Rendering Index (CRI). This is a simple scale from 0 to 100 that tells you how accurately a light source reveals the true colours of objects beneath it. A light with a low CRI can make everything look dull, washed out, or even slightly off-colour.
In any space where colour accuracy is important—like a kitchen where you need to see if your veggies are fresh, a retail store displaying products, or a bathroom where you’re applying makeup—a high CRI is non-negotiable. Always look for downlights with a CRI of 90 or higher to ensure everything in your room appears vibrant and true-to-life.
This level of control over both warmth and colour accuracy is exactly why LED has become the go-to standard. Downlights are a dominant lighting solution in Australian homes, and the innovation in the LED segment is a huge reason for that. In fact, the broader Australia LED lighting market was valued at USD 2.8 billion and is only expected to grow. You can find more insights on the booming Australian LED market.
At the end of the day, choosing LED downlights gives you superior performance, massive long-term savings, and complete creative control over the atmosphere of your space.
Once you’ve nailed down the basics of fixed versus adjustable, you’ll find there’s a whole world of specialised downlights designed for unique challenges. These aren’t your everyday options; they’re the problem-solvers you bring in when a standard approach just won’t cut it.
Think of them as the specialist tools in your lighting kit—perfect for tricky installations, ensuring safety in wet areas, or bringing your lighting into the 21st century.
One of the most useful problem-solvers we see in modern homes is the low-profile downlight, which you might hear called a ‘slim’ or ‘canless’ model. These things are an absolute lifesaver, especially in apartments or homes where ceiling cavities are notoriously tight.
Their design is incredibly thin, letting them slot into spaces just a few centimetres deep. This makes them the go-to solution for ceilings cluttered with ductwork, plumbing, or structural beams that leave no room for a traditional downlight.
Of course, not all parts of a home are dry and simple. Wet areas demand a downlight built for safety, and that’s where IP-rated models come into play. The IP (Ingress Protection) rating is a non-negotiable safety standard that tells you exactly how well a light fitting is sealed against dust and water.
Understanding the rating is simple:
For instance, an IP44 rated downlight is fine for general bathroom use, as it’s protected from splashes. But for areas directly hit by shower spray or exposed under outdoor eaves, you’ll need at least an IP65 rated fitting. It’s fully dust-tight and can handle jets of water. Using the correct IP-rated downlight isn’t just a recommendation—it’s a mandatory electrical safety requirement in Australia.
Choosing the right IP rating for bathrooms, laundries, and covered outdoor areas is a critical safety measure. It ensures your fittings are protected from moisture and corrosion, preventing electrical faults and guaranteeing long-term reliability.
The final specialist category is all about connectivity. Smart downlights are essentially LED fittings with built-in wireless tech, letting you control them from a smartphone app or with voice assistants like Google Assistant and Amazon Alexa.
This infographic gives you a quick snapshot of why advanced LED technology, like that found in smart lights, is so compelling.
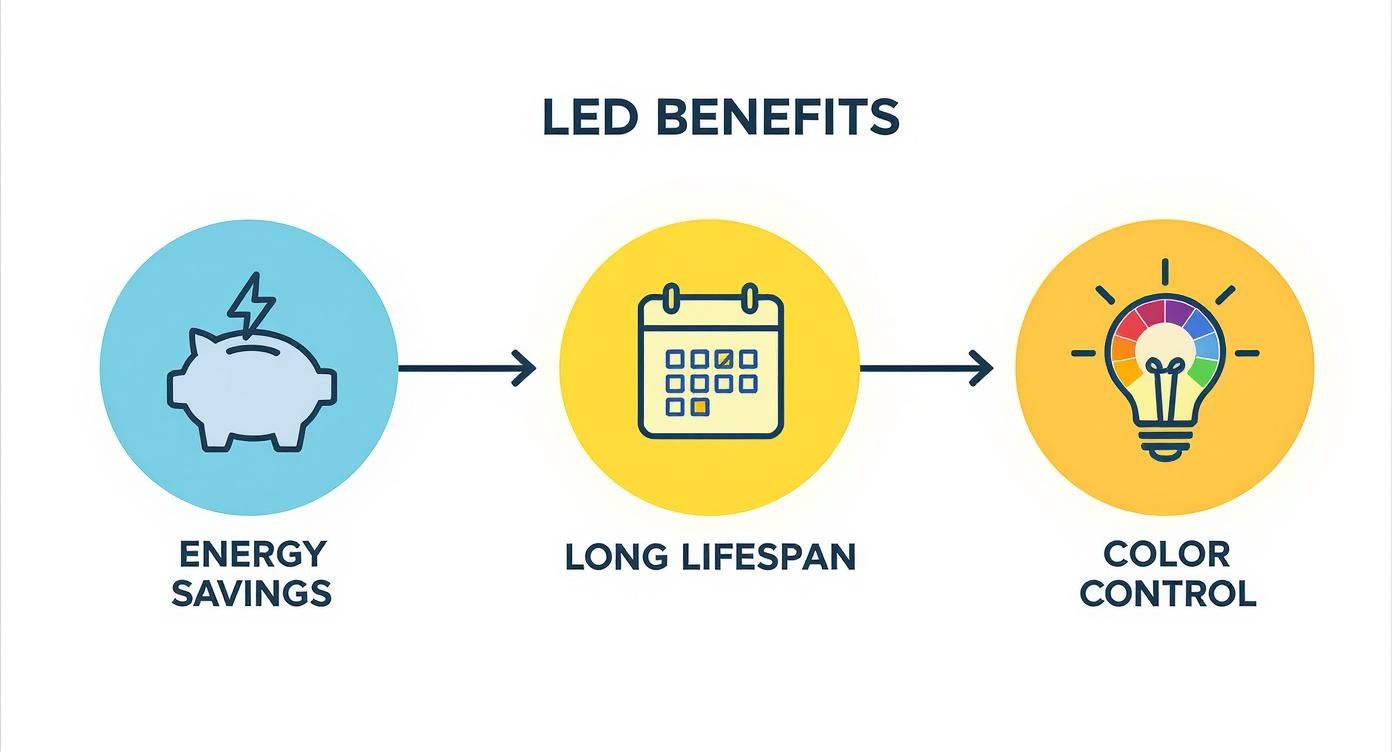
As the visual shows, modern LEDs offer a powerful combination of efficiency, durability, and advanced control that older technologies simply can’t match.
The convenience is huge. You can dim the lights, shift the colour temperature from a warm, cosy glow to a cool, crisp white, or even pick from millions of colours—all from your couch. But it’s more than just a party trick. This opens the door to powerful automation: schedule lights to wake you up gently, dim automatically for movie night, or switch off when you leave home. It’s a layer of comfort and energy efficiency that quickly becomes second nature.
To help you decide which specialist light is right for your project, here’s a quick comparison of their key features and best uses.
| Specialised Type | Key Feature | Primary Use Case | Consideration |
|---|---|---|---|
| Low-Profile | Ultra-slim design (as little as 20-30mm deep) | Ceilings with minimal clearance due to beams, pipes, or ductwork. | Often integrated LED, meaning the entire unit is replaced at end-of-life. |
| IP-Rated | Sealed housing to protect against moisture and dust | Bathrooms, laundries, under eaves, and covered outdoor areas. | The required IP rating depends on the specific zone (e.g., higher rating needed inside a shower). |
| Smart | Wireless connectivity (Wi-Fi, Bluetooth, Zigbee) | Creating automated lighting scenes, voice control, and remote access. | May require a hub or bridge for full functionality and can be more expensive upfront. |
Ultimately, whether you need to squeeze a light into a tight spot, safely illuminate a wet area, or automate your entire home, there’s a specialised downlight designed for the job.
Choosing the right downlights is a great first step, but how you place them is what really makes a room feel professionally designed. A bit of planning upfront avoids common pitfalls like harsh, unflattering shadows or creating that dreaded “airport runway” look down your hallway.
The first thing to get your head around is the beam angle. Think of it as the cone of light coming from the fitting. A narrow beam, say 25-40 degrees, acts like a spotlight. It’s perfect for creating a bit of drama, highlighting artwork, or drawing attention to a specific feature.
On the other hand, a wide beam angle of 60 degrees or more gives you a soft, broad wash of light. This is exactly what you want for general, ambient lighting that fills the whole space.
So, how far apart should they be? A solid rule of thumb is to take your ceiling height and divide it by two. For a standard 2.4-metre ceiling, that means you’ll want to space your downlights roughly 1.2 metres apart.
It’s just as important to consider the distance from the walls. Placing them about 60-80 centimetres away from the wall creates a beautiful “scalloping” effect, where light gently washes down the surface instead of creating ugly, sharp shadows.
If you want to get really precise, understanding architectural drawings can be a massive help. These plans often include electrical layouts, giving you or your sparkie a clear picture of the end result before a single hole is cut.
One of the most vital things to plan for is the insulation in your ceiling. Downlights generate heat, and if that heat meets flammable insulation, you’ve got a serious fire risk. This is where the IC rating comes into play.
An IC (Insulation Contact) rated downlight has been specifically designed and tested to be safely covered by insulation. If the downlights you’ve chosen aren’t IC-rated, your electrician must leave a clear gap all the way around the fitting to let the heat escape.
Always, always confirm you are using IC-rated downlights if they will be anywhere near ceiling insulation. This isn’t just a recommendation; it’s a non-negotiable safety measure that prevents a major fire hazard and is a standard for any modern, compliant installation.
Nailing the layout and getting the safety checks right from the start ensures your new lighting isn’t just stunning, but also completely safe. A well-thought-out plan truly is the secret to balanced, effective lighting in any room.
For a deeper dive into what the installation involves, our guide to professional LED lighting installation has all the details you need.
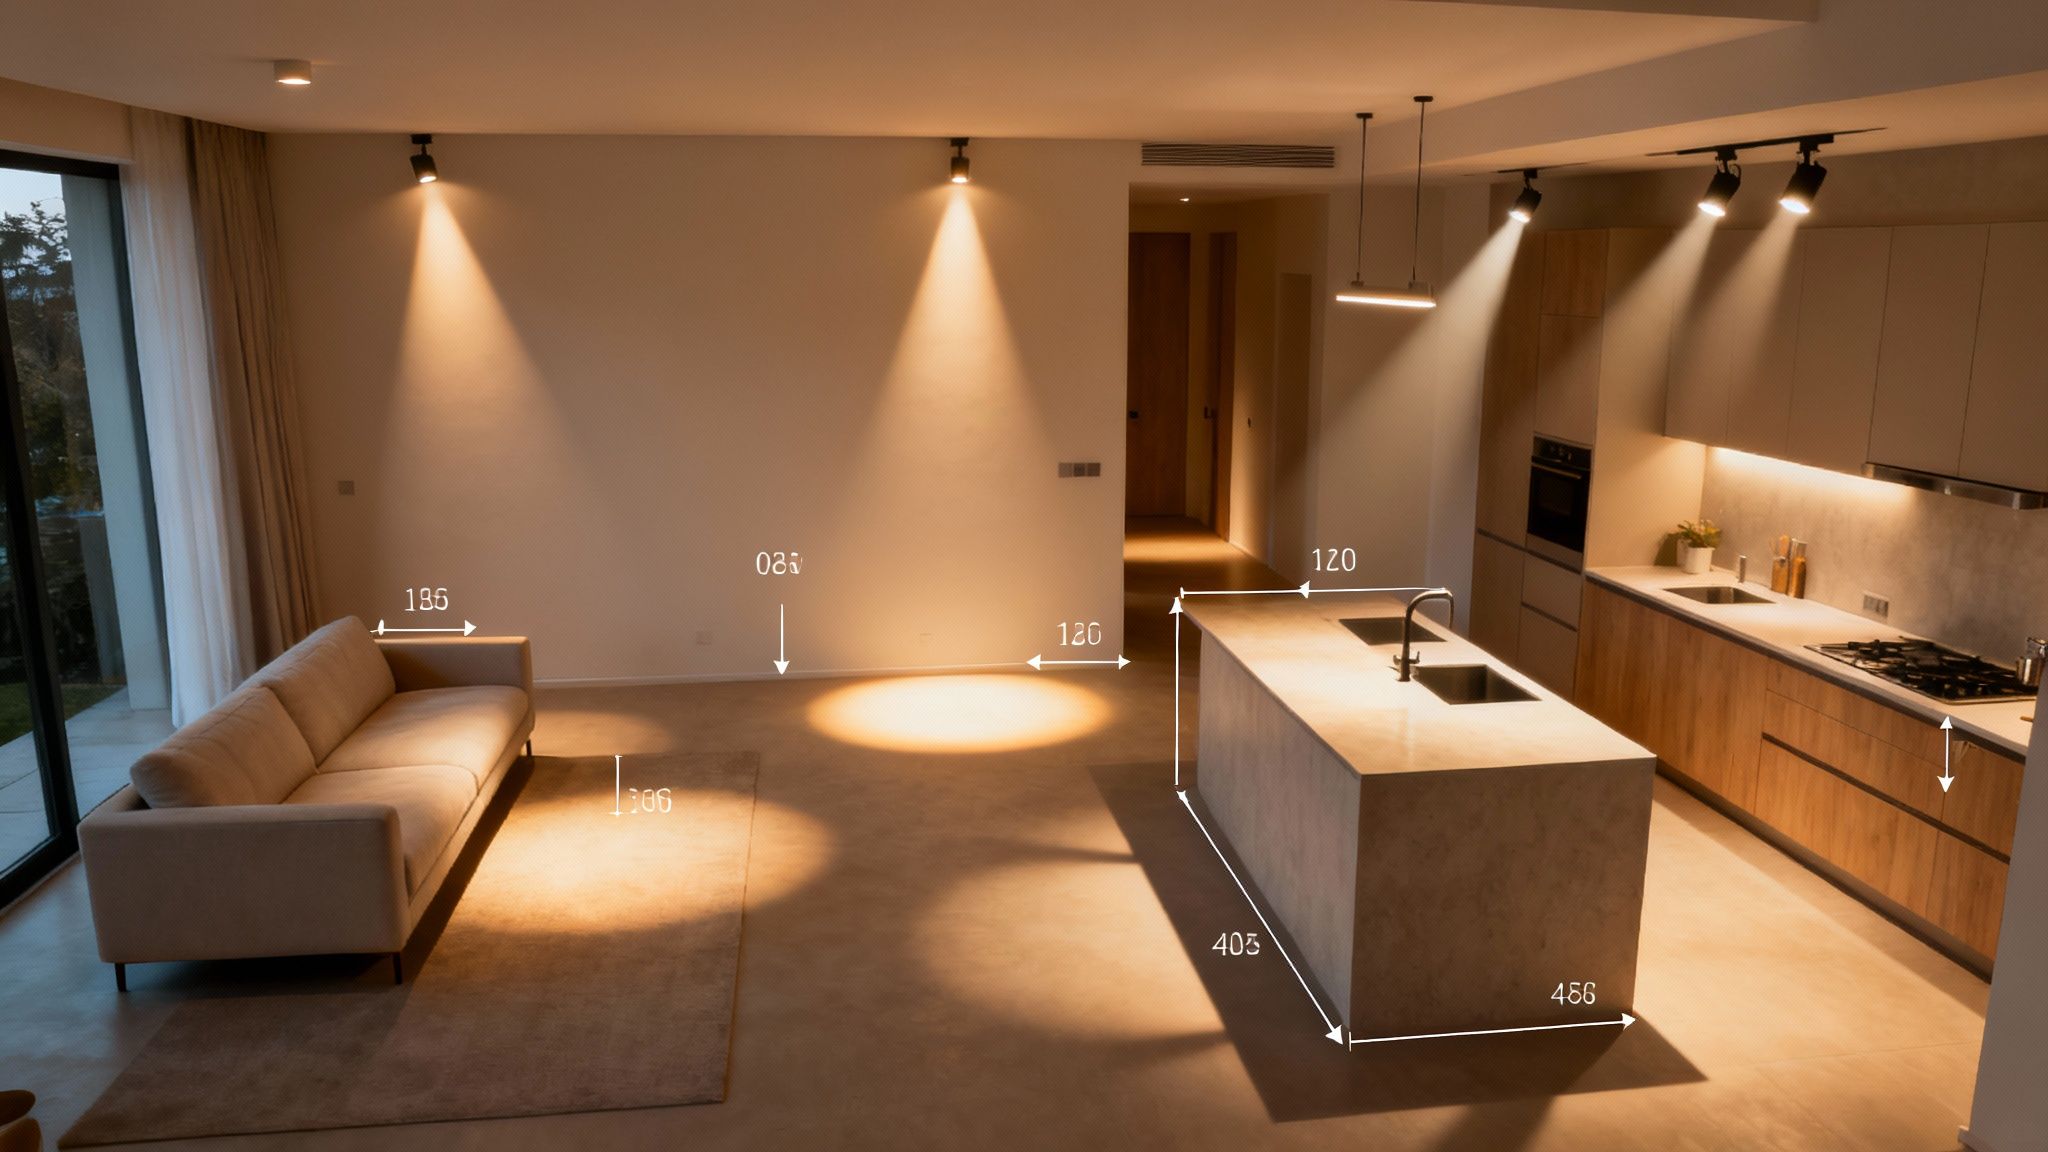
Alright, now it’s time to put all this knowledge into action. The real magic happens when you start creating a specific plan for each room in your house. What works for one space won’t necessarily work for another—you’ll be shifting from bright, functional lighting to soft, relaxing moods depending on how you use the room.
The secret to getting it right is a layered approach. Think of it like building a complete lighting scheme piece by piece, blending different downlight types until the result is both beautiful and practical.
The kitchen is the workhorse of the home, so it demands bright, clear lighting. I always start with wide-beam fixed downlights to create a solid foundation of general ambient light. Your goal here is to make sure the entire room is evenly lit, with no dark corners.
Next, you need to add a layer of focused task lighting. This is where you get specific. Use narrow-beam adjustable downlights and position them directly over your countertops, island bench, and sink. This targeted light is a game-changer because it cuts through the shadows cast by your overhead cabinets, making chopping and other food prep safer and much easier. For an even more polished look, you can explore different kitchen cabinet lighting ideas to bring extra depth and functionality to the space.
In the living room, versatility is everything. This is where you relax, watch movies, and entertain guests, so your lighting needs to adapt. Dimmable downlights with a warm white colour temperature (around 3000K) are perfect for creating that cosy, inviting atmosphere. By pairing them with a few adjustable models, you can also draw attention to artwork, a textured wall, or other architectural features you love.
When it comes to bathrooms, your priorities shift to safety and colour accuracy. You absolutely must choose IP-rated downlights (look for at least IP44) to protect against steam and moisture. On top of that, I always recommend a high CRI of 90+. This ensures colours look natural and true-to-life—a small detail that makes a huge difference when you’re applying makeup or matching an outfit.
By tailoring your downlight choices to the unique needs of each room, you can design a cohesive lighting plan that doesn’t just look good, but makes your entire home more functional and enjoyable to live in.
As you get closer to finalising your lighting plan, a few common questions always seem to pop up. It’s completely normal. Getting these last details ironed out is the key to feeling confident in your choices, so we’ve put together answers to the queries we hear most often.
This is easily the most common question we get, and the honest answer is: it depends. The right number comes down to a few key things: the room’s size, the height of your ceiling, and the brightness (lumen output) of the downlights you choose.
But you need a starting point, right? A solid rule of thumb for a standard 2.4-metre ceiling is to plan for one downlight for every 1.4 square metres of floor space.
To get that lovely, even spread of light without creating weird shadows or bright spots, spacing them between 1.2 to 1.5 metres apart is the sweet spot. Of course, always think about the room’s purpose—a kitchen or home office needs brighter, more focused light than a bedroom where you want to relax.
With older halogen lights, changing a bulb was a common task. But with modern LEDs, things are a little different. Most LED downlights today are integrated units, which means the LED chip is built right into the fitting itself. So, you can’t just swap out a bulb; the entire fixture is replaced.
Now, that might sound like a hassle, but it’s actually a massive improvement. These integrated units are designed as a complete system, built for incredible longevity. You can find out more about how long LED downlights last in our detailed guide, but with lifespans often hitting 50,000 hours, you’re looking at years and years of zero-maintenance lighting. Just remember, this is a job that must always be handled by a licensed electrician.
Are dimmable LED downlights worth the extra cost?
Without a doubt, yes. Dimmable downlights give you incredible control over your space. You can instantly shift a room’s atmosphere from bright and productive to soft and cosy. They do cost a little more upfront and require a compatible dimmer switch, but the flexibility you gain in comfort and functionality is worth every cent.
Ready to create the perfect lighting plan for your Brisbane home or business? The licensed electricians at DLG Electrical are here to help. Contact us today for a free quote

Master Electrician with over 30 years of experience. Founded DLG Electrical in 2005 after international project work including electrical installations at Stamford Bridge Stadium, London(Home of Chelsea FC).

Local Electricians that can fix all Electric Hot water Systems.
Motion sensor lights are a versatile addition to any home, offering nu
