83 Jean St, Grange QLD 4051
Mon-Fri 07:30 AM - 04:00 PM - Sat - 8:00 - 12 - Sunday Closed
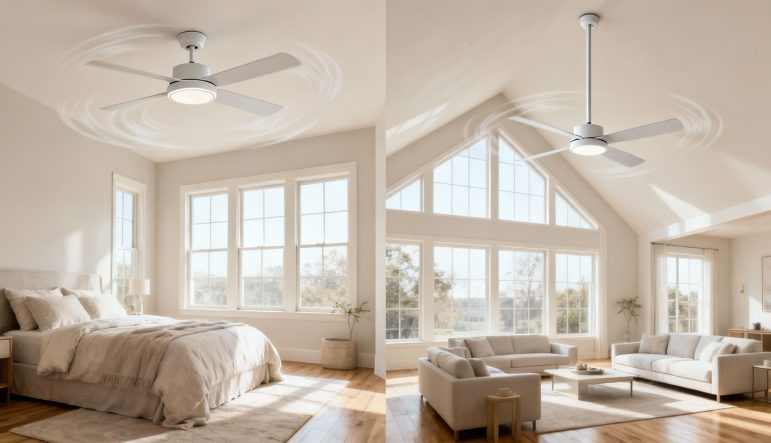
Forget what you might think about ceiling fans being just a decorative piece. A well-chosen ceiling fan is actually a savvy investment in your home’s comfort and energy efficiency, especially during a hot Queensland summer. It works by creating a wind-chill effect that makes you feel cooler, meaning you can ease off the air con without breaking a sweat.
Often pushed aside for power-hungry air conditioners, the humble ceiling fan is one of the most cost-effective ways to manage your home’s climate. It doesn’t actually cool the air like an AC unit does. Instead, it moves the air around, creating a gentle breeze that passes over your skin.
This simple air movement helps moisture evaporate from your skin faster, which is your body’s natural way of cooling down. The result? You can feel up to 4°C cooler, letting you rely less on your air conditioner. This clever trick makes a ceiling fan an essential partner for any energy-conscious household.
The real genius of a ceiling fan is just how little power it uses. It’s a classic case of getting more bang for your buck. While a split-system air conditioner chews through a massive amount of electricity to actually chill the air, a fan just needs to get it moving.
The difference in an Australian home is staggering. A modern DC ceiling fan uses as little as 15–75 watts on its highest setting. In contrast, many split-system air conditioners can pull anywhere from 1,000 to 2,500 watts. By running fans more often, you can slash your cooling-related energy use by over 50–70%. You can dig deeper into these energy-saving insights in this market research on Australian ceiling fans.
Before we go further, it’s worth quickly comparing the two head-to-head.
This table gives a quick snapshot of how these two cooling methods stack up in a typical home.
| Feature | Ceiling Fan | Air Conditioner |
|---|---|---|
| Energy Use | Very Low (15-75 watts) | High (1,000-2,500 watts) |
| Running Cost | A few cents per hour | Often $0.30 – $0.70+ per hour |
| Cooling Method | Creates a wind-chill effect | Refrigerates and dehumidifies air |
| Installation | Requires a licensed electrician | Requires a licensed electrician & refrigeration mechanic |
| Environmental Impact | Low | Higher due to energy use and refrigerants |
As you can see, while an air conditioner offers powerful cooling, a ceiling fan provides comfortable and incredibly cheap-to-run air circulation. The two actually work brilliantly together to maximise comfort while minimising your power bill.
A ceiling fan’s main job isn’t to cool a room but to make the people in it feel more comfortable. Think of it as creating a personal breeze, rather than trying to refrigerate the entire space.
While fans are a lifesaver in summer, they’re surprisingly useful all year round. Most modern fans have a reverse function, which changes the direction the blades spin. In winter, you can flick a switch to run the fan clockwise on a low speed. This gently pushes the warm air that naturally rises and gets trapped at the ceiling back down into your living area.
This simple trick helps spread the heat from your heater more evenly through the room. It makes your heating system more efficient and can even help lower your winter energy bills. This dual-season functionality is what really cements the ceiling fan’s status as a year-round investment.
Picking the right ceiling fan is about more than just looks. It’s a careful balance of performance, safety, and style, but the real secret lies in finding the right engineering for your specific space. Get it right, and you’ll be rewarded with quiet, efficient air circulation for many years to come.
The most common mistake we see homeowners make is choosing a fan that’s simply too small for the room. A small fan forced to run on its highest setting is not only noisy and inefficient but often struggles to move enough air to make a difference. On the other hand, a larger fan spinning at a slower, gentler speed moves a greater volume of air with less effort. The result? Better circulation, lower energy bills, and blissfully quiet operation.
This decision tree helps frame how a ceiling fan fits into your overall cooling strategy. It’s all about cooling people, not changing the room’s temperature.
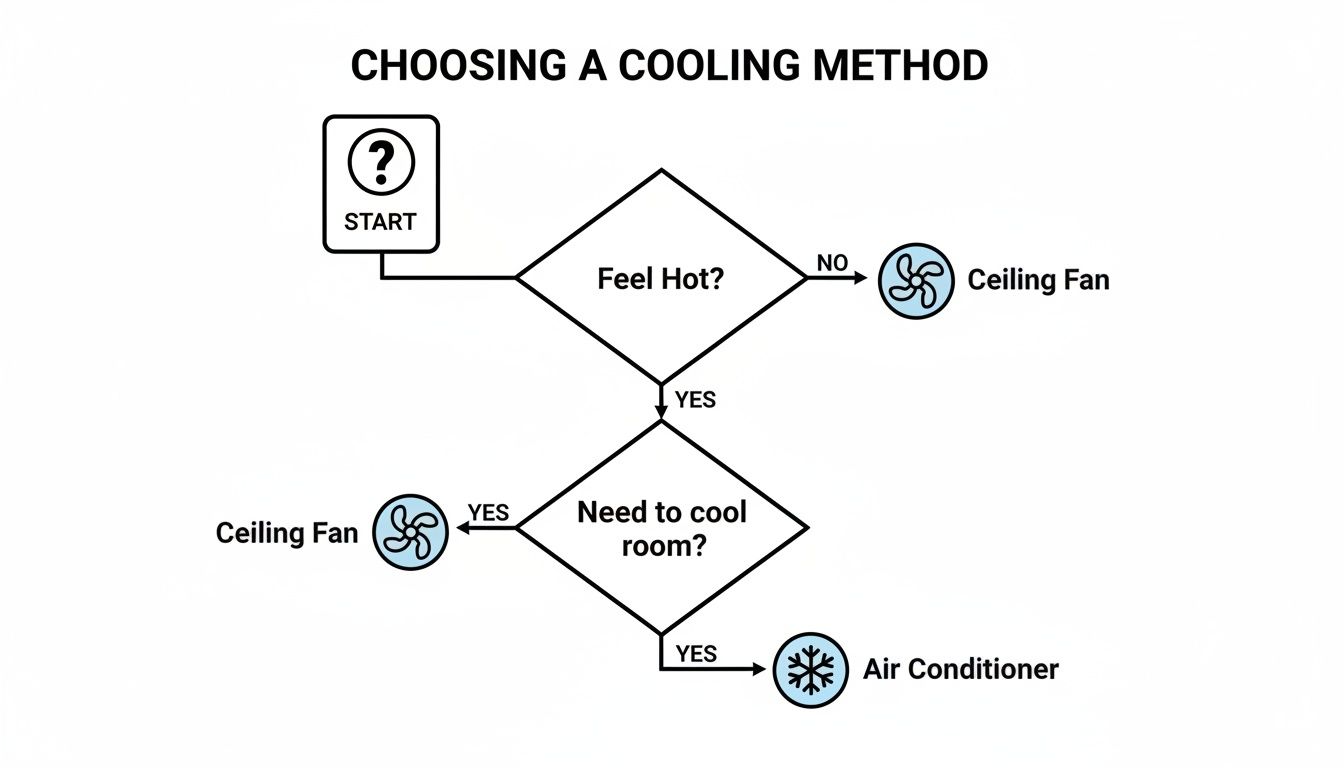
The key takeaway here is simple: if you want to feel cooler yourself, a ceiling fan is the perfect choice. If you need to cool the entire room, that’s a job for the air conditioner.
First things first: you need to measure your room to find the right fan blade span. The blade span is the full diameter of the fan, measured from the tip of one blade to the tip of the opposite one. This measurement is the single biggest factor in determining how effectively a fan can circulate air in a given area.
To get your room’s area, just multiply its length by its width. With that number in hand, you can confidently choose the right size.
Here’s a straightforward guide to get you started:
Nailing this step is absolutely critical for performance. For a more detailed breakdown, our comprehensive ceiling fan size guide dives deeper into different room dimensions and layouts.
Your ceiling height will determine what kind of mounting system the fan needs. For both safety and performance, the fan blades must be at least 2.1 metres from the floor and have at least 30 cm of clearance from the ceiling. This space allows air to circulate freely above the blades, creating the strong, steady downdraft you’re after.
Different ceilings require different solutions:
Choosing the correct mounting ensures the fan doesn’t just look right—it performs right. A fan mounted too high is ineffective, while one mounted too low is a safety hazard.
The motor is the heart of your ceiling fan. It dictates everything from efficiency and noise level to the features you get. Today, the choice really boils down to traditional Alternating Current (AC) motors versus modern Direct Current (DC) motors.
While AC motor fans might be a bit cheaper upfront, DC motors are a much smarter long-term investment. They are the undisputed winners when it comes to energy efficiency, using up to 70% less electricity than their AC cousins. That saving goes straight back into your pocket via lower power bills.
Better yet, DC motors are virtually silent, making them the obvious choice for bedrooms or any quiet living space. They also tend to offer more speed settings—often six or more—and usually include a reverse function on the remote, giving you precise control over your comfort all year round.
So you’ve picked out the perfect fan. Great! But before you even think about opening the toolbox, we need to talk about the most important part of the whole process: the installation. Here in Australia, installing a ceiling fan isn’t a weekend DIY project. It’s strictly regulated electrical work, and for a very good reason—it protects you and your home from the serious risks of fire and electric shock.
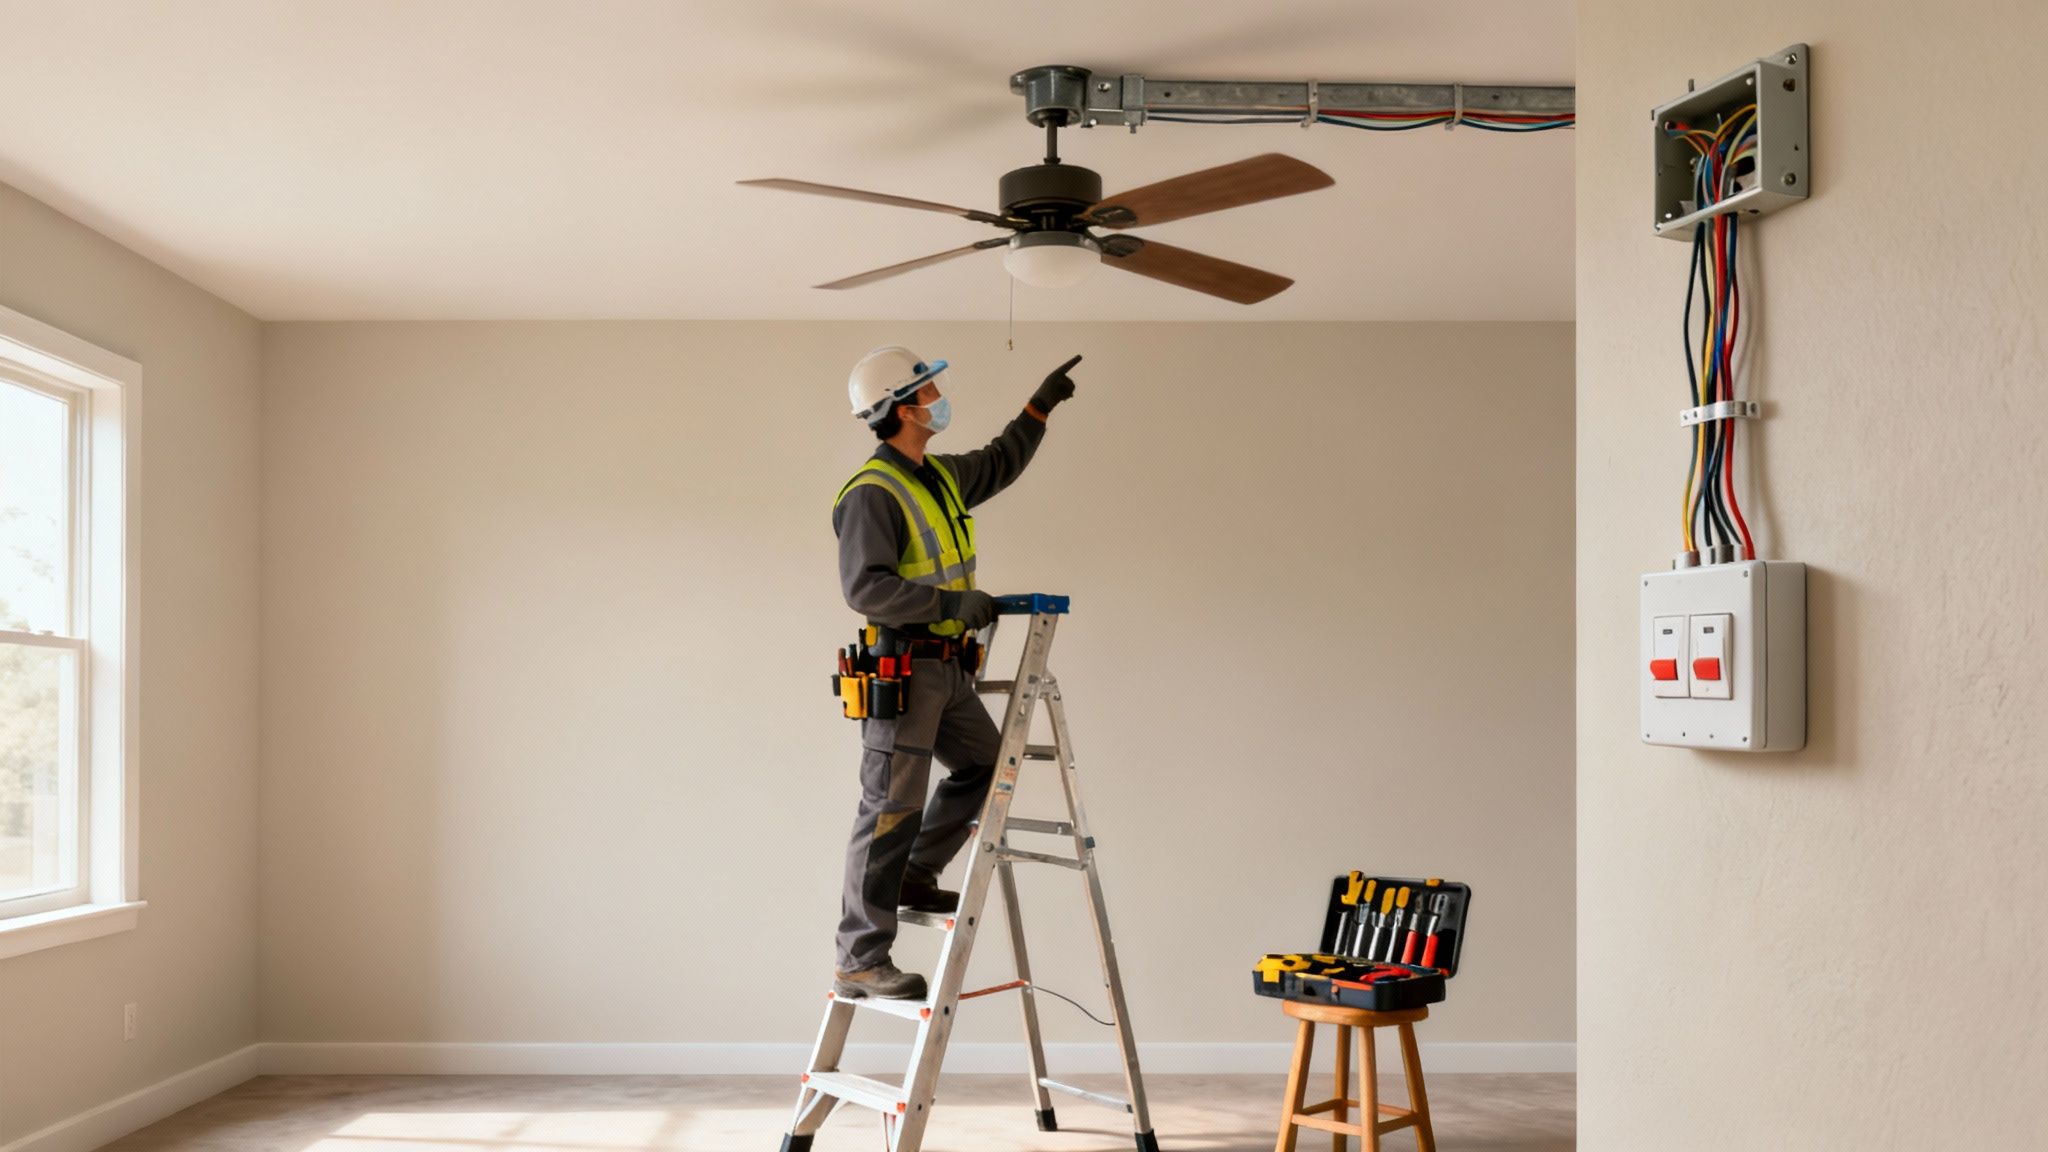
Trying to wire up a ceiling fan yourself is not just dangerous; it’s illegal right across the country. Any fixed electrical wiring, which absolutely includes connecting a fan to your home’s circuitry, must be done by a licensed electrician. This isn’t just bureaucratic red tape. It’s a non-negotiable safety measure that guarantees the job is done to national standards and keeps your home insurance valid.
A licensed sparky does a lot more than just connect a couple of wires. They’re trained to properly assess your home’s existing electrical system, confirm the circuit can handle the extra load from the fan, and make sure all the right safety mechanisms are in place. Think of their expertise as your first line of defence against electrical hazards.
The process involves critical safety checks that most DIYers would completely miss. We’re talking about things like ensuring correct polarity, proper earthing, and making sure every connection is rock-solid so it won’t work its way loose from the fan’s constant vibrations. A professional has the right gear and, more importantly, the right knowledge to get it done safely and correctly the first time.
If you’re curious about what a professional installation looks like, our guide to ceiling fan installation breaks down the exact steps a qualified technician follows.
In Australia, all electrical work is governed by a strict set of regulations, mainly the AS/NZS 3000, known in the trade as the “Wiring Rules.” These aren’t just guidelines; they’re legally enforceable standards designed to keep electrical installations safe and reliable.
When it comes to installing a ceiling fan, a few key rules always apply:
A safety switch is your electrical system’s airbag. It reacts in milliseconds to faults that could otherwise be lethal, making it an non-negotiable component of any modern and safe ceiling fan installation.
The fallout from illegal electrical work can be absolutely devastating. A dodgy wiring job can lead to short circuits, creating a massive fire risk right inside your ceiling. Worse, a fan that isn’t mounted correctly can literally fall from the ceiling, causing serious injury and expensive property damage.
Beyond the immediate physical dangers, your home insurance policy will almost certainly be voided if a fire or accident is traced back to unlicensed electrical work. Saving a few hundred dollars by not hiring a professional just isn’t worth risking your family’s safety and your home. Understanding the essential electrical safety tools and techniques involved only reinforces why this is a job best left to the experts.
Once you’ve nailed down the right size and motor, you can start looking at the features that really elevate a ceiling fan from a simple appliance to an integrated part of your home. Two of the biggest leaps forward in recent years are smart technology and seriously rugged outdoor models, both designed to add a whole new layer of convenience and durability.
Smart fans are built to talk to the rest of your home’s digital setup. Instead of reaching for a pull cord or hunting for a remote, you can just tell your fan what to do using Google Home or Alexa. Or, you can control it right from an app on your phone. This isn’t just a gimmick; it opens up real possibilities for improving comfort and saving energy.
The Australian market has jumped on this trend in a big way. In fact, dedicated research values the smart ceiling fan niche at around USD 38.8 million in 2024, and it’s projected to hit nearly USD 71.66 million by 2033. That means smart models already make up about a sixth of the total fan market. You can dig into the numbers in this in-depth market analysis of Australian smart fans.
The real magic of a smart fan isn’t just turning it on and off from your phone. It’s about automation. You can set schedules so the fan runs only when you need it, helping manage your home’s temperature without you ever touching a thing. Imagine your bedroom fan kicking on at a gentle, whisper-quiet speed an hour before bedtime, cooling the room down just in time.
These models are often paired with super-efficient DC motors, giving you incredibly fine control over speed and direction. If you want to get into the technical nitty-gritty, our article on DC fans vs AC fans breaks down the differences. This combo of smarts and efficiency is the secret to getting the best of both comfort and energy savings.
Here’s what you get with a smart fan:
There’s nothing better than relaxing on a patio or verandah with a cool breeze. But you can’t just stick any old indoor fan out there and hope for the best. Outdoor fans are specifically built to handle whatever the Aussie climate throws at them, from Queensland’s notorious humidity to dust and driving rain.
To pick a fan that will actually last, you need to check its IP (Ingress Protection) rating. This simple two-digit number tells you exactly how tough the fan is against solids (like dust) and liquids (like water).
Think of an IP rating as a fan’s weather-resistance report card. The first digit is for protection against solids, and the second is for moisture. The higher the numbers, the tougher the fan.
For any outdoor space, you’ll want a fan with one of these ratings:
When you’re budgeting for a new ceiling fan, it’s easy to focus on the price tag on the box. But the real cost includes professional installation—a non-negotiable step to ensure everything is safe, secure, and up to code. The final bill isn’t just one number; it’s a mix of the electrician’s time, how tricky the job is, and any extra bits and pieces needed to get it done right.
Think of it like hiring any skilled tradie. You’re not just paying for someone to connect a few wires. You’re investing in their expertise, their insurance, and the peace of mind that comes from knowing the job meets Australian standards, keeping your home and family safe.
The demand for ceiling fans is booming, especially with Australia’s building and renovation activities. Analysts see the industry as mature but always growing, with 2024 revenue hitting around USD 220.38 million. This is largely driven by new homes needing multiple fans. You can find more detail in this Australian ceiling fan market report.
A few key things will determine how much you end up paying for your ceiling fan installation. The biggest one? Whether you’re replacing an old fitting or putting a fan somewhere completely new.
The complexity of the job is the biggest cost driver. A simple swap might take an hour or two, whereas a new installation with fresh wiring and bracing could take half a day or more, directly impacting the final labour cost.
When a licensed electrician gives you a quote, it’ll be broken down into a few key parts. Understanding these helps you see exactly where your money is going and why it’s a worthwhile investment.
Here’s what a typical quote includes:
By getting a handle on these elements, you can budget properly and appreciate the value a professional electrician brings. They make sure your new ceiling fan is installed safely, correctly, and is ready to keep you comfortable for years to come.
Keeping your ceiling fan in top shape isn’t a huge chore, but a little routine care goes a long way. Think of it like any other hard-working appliance in your home—a quick check-up now and then ensures it runs quietly and efficiently for years to come, preventing small annoyances from turning into big headaches.
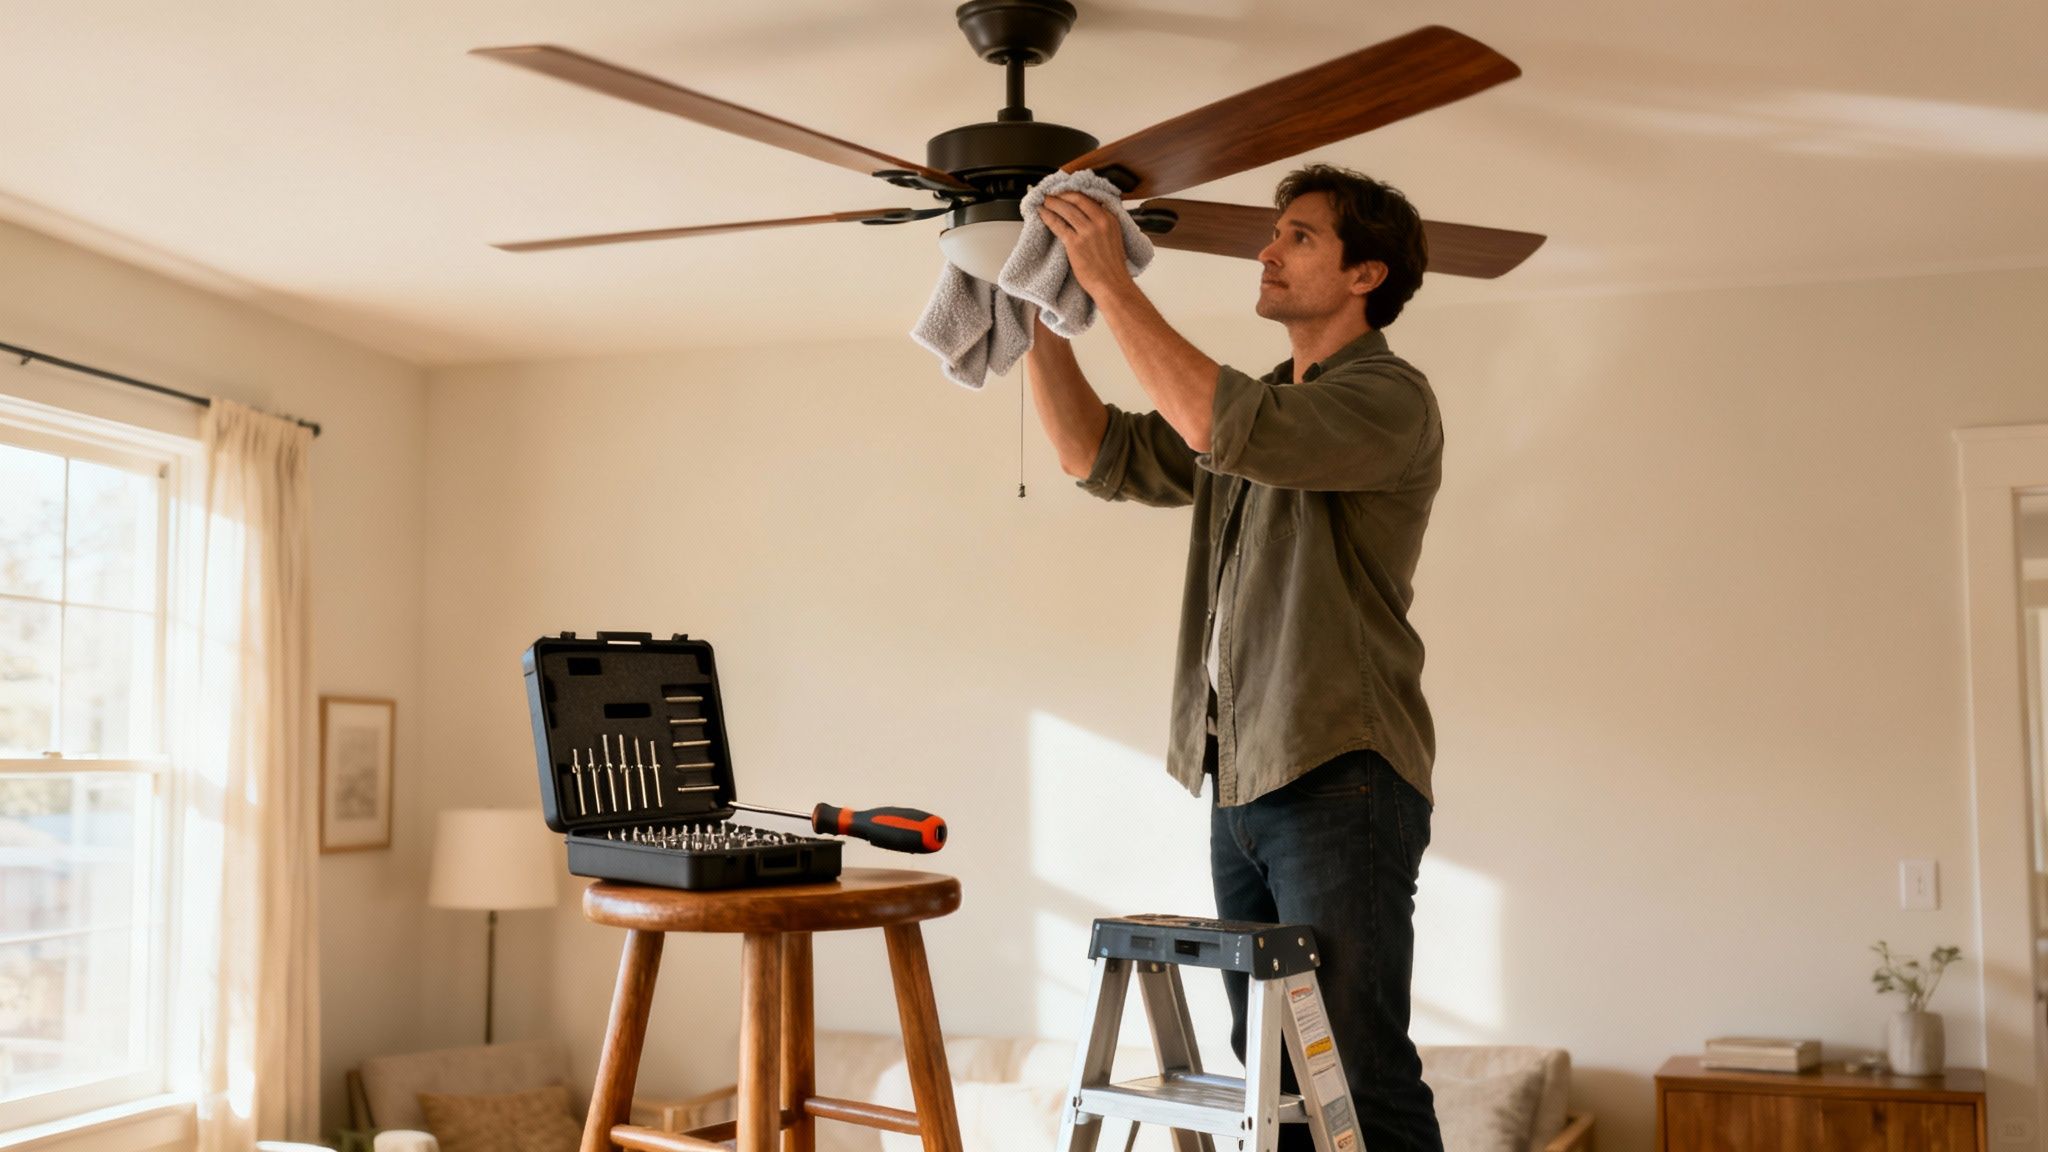
Honestly, the most important job is simply cleaning the blades. Dust might seem harmless, but as it collects on the leading edge, it throws the blades off balance. That uneven weight distribution is the number one cause of a wobbly, noisy fan.
Giving your fan a once-over every six months will keep it running like new. Just remember the golden rule: always turn the power off at the circuit breaker before you start any hands-on work.
Even with the best care, you might hit a snag. The good news is that most common problems, like a wobble or a weird noise, are surprisingly easy to fix yourself.
A wobbly fan is almost always an issue of balance. Once you’ve cleaned the blades and tightened all the screws, if the wobble is still there, it’s time to grab a blade balancing kit. These cheap kits come with a plastic clip and a few small adhesive weights. You simply slide the clip onto each blade one by one until you find the culprit, then stick a weight on to even things out.
Strange noises can often tell you exactly what’s wrong:
When to Call a Professional: While most fixes are simple, some symptoms are red flags that need a licensed electrician. If you notice a burning smell, your fan won’t turn on at all, or you hear that loud grinding noise from the motor, turn it off at the circuit breaker immediately. Call a professional for a safety inspection, as these can be signs of a serious electrical or motor fault that you don’t want to ignore.
Even after you’ve done your research, a few questions about ceiling fans might still be circling. We get it—there’s a lot to consider before you make a choice. Here are some straightforward answers to the queries we hear most often from homeowners.
You bet it can. While a ceiling fan doesn’t actually lower the room’s temperature, it creates a wind-chill effect that makes you feel cooler. This means you can nudge your air conditioner’s thermostat up by as much as 4°C and feel just as comfortable.
That simple adjustment can slash your cooling costs because your AC unit isn’t working nearly as hard. A fan on its own sips a tiny fraction of the power an air conditioner guzzles, making it a seriously efficient way to beat the heat. Using them together is one of the smartest energy-saving moves you can make.
The number of blades definitely impacts style, but maybe not performance in the way you’d expect. A sleek three-blade fan often needs to spin faster to move the same amount of air as a five-blade model.
From a design perspective, a lot of stylists lean towards three-blade fans for their clean, minimalist aesthetic. But when it comes to performance, the motor’s power and the blade’s pitch (its angle) are far more important than the blade count. A well-designed three-blade fan can easily outperform a poorly designed five-blade one.
At the end of the day, it often comes down to personal taste. More blades can mean slightly quieter operation at lower speeds, while fewer blades tend to create a more modern look.
Yes, absolutely. Most standard ceiling fan mounting kits are built to handle a ceiling slope of up to around 15 degrees. If your ceiling is steeper than that, you’ll just need to grab a special sloped ceiling adapter, sometimes called an “angle mount.”
This bit of hardware makes sure the fan hangs perfectly level, which is crucial for it to run safely and without any annoying wobbles. It’s a common, easy-to-find accessory that lets you enjoy a fan even in rooms with dramatic vaulted or cathedral ceilings.
Getting the size right is everything for good air circulation. The ideal fan size, or blade span, comes down to your room’s square meterage. A fan that’s too small will just spin its blades without making a difference, while one that’s too big can feel like a wind tunnel.
Here’s a quick guide to get you started:
Before you even start browsing, grab a tape measure and calculate your room’s area. Nailing this one step will make all the difference in how well your new fan performs.
For professional advice and a safe, compliant installation of your next ceiling fan, trust the experienced team at DLG Electrical. Contact us today for a free quote

Master Electrician with over 30 years of experience. Founded DLG Electrical in 2005 after international project work including electrical installations at Stamford Bridge Stadium, London(Home of Chelsea FC).

Local Electricians that can fix all Electric Hot water Systems.
Motion sensor lights are a versatile addition to any home, offering nu
