83 Jean St, Grange QLD 4051
Mon-Fri 07:30 AM - 04:00 PM - Sat - 8:00 - 12 - Sunday Closed
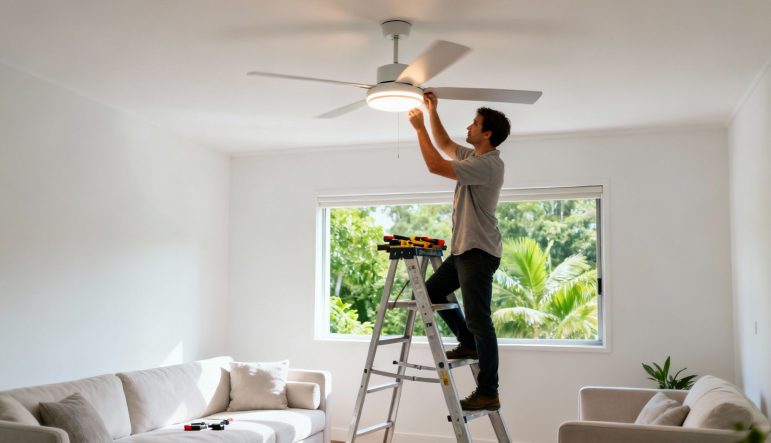
Choosing the right ceiling fan and light for your Brisbane home is about more than just looks. It’s a practical decision that needs to account for our sticky, subtropical climate. A good fan won’t just look great; it’ll keep you cool during those sweltering summer months without sending your power bill through the roof.
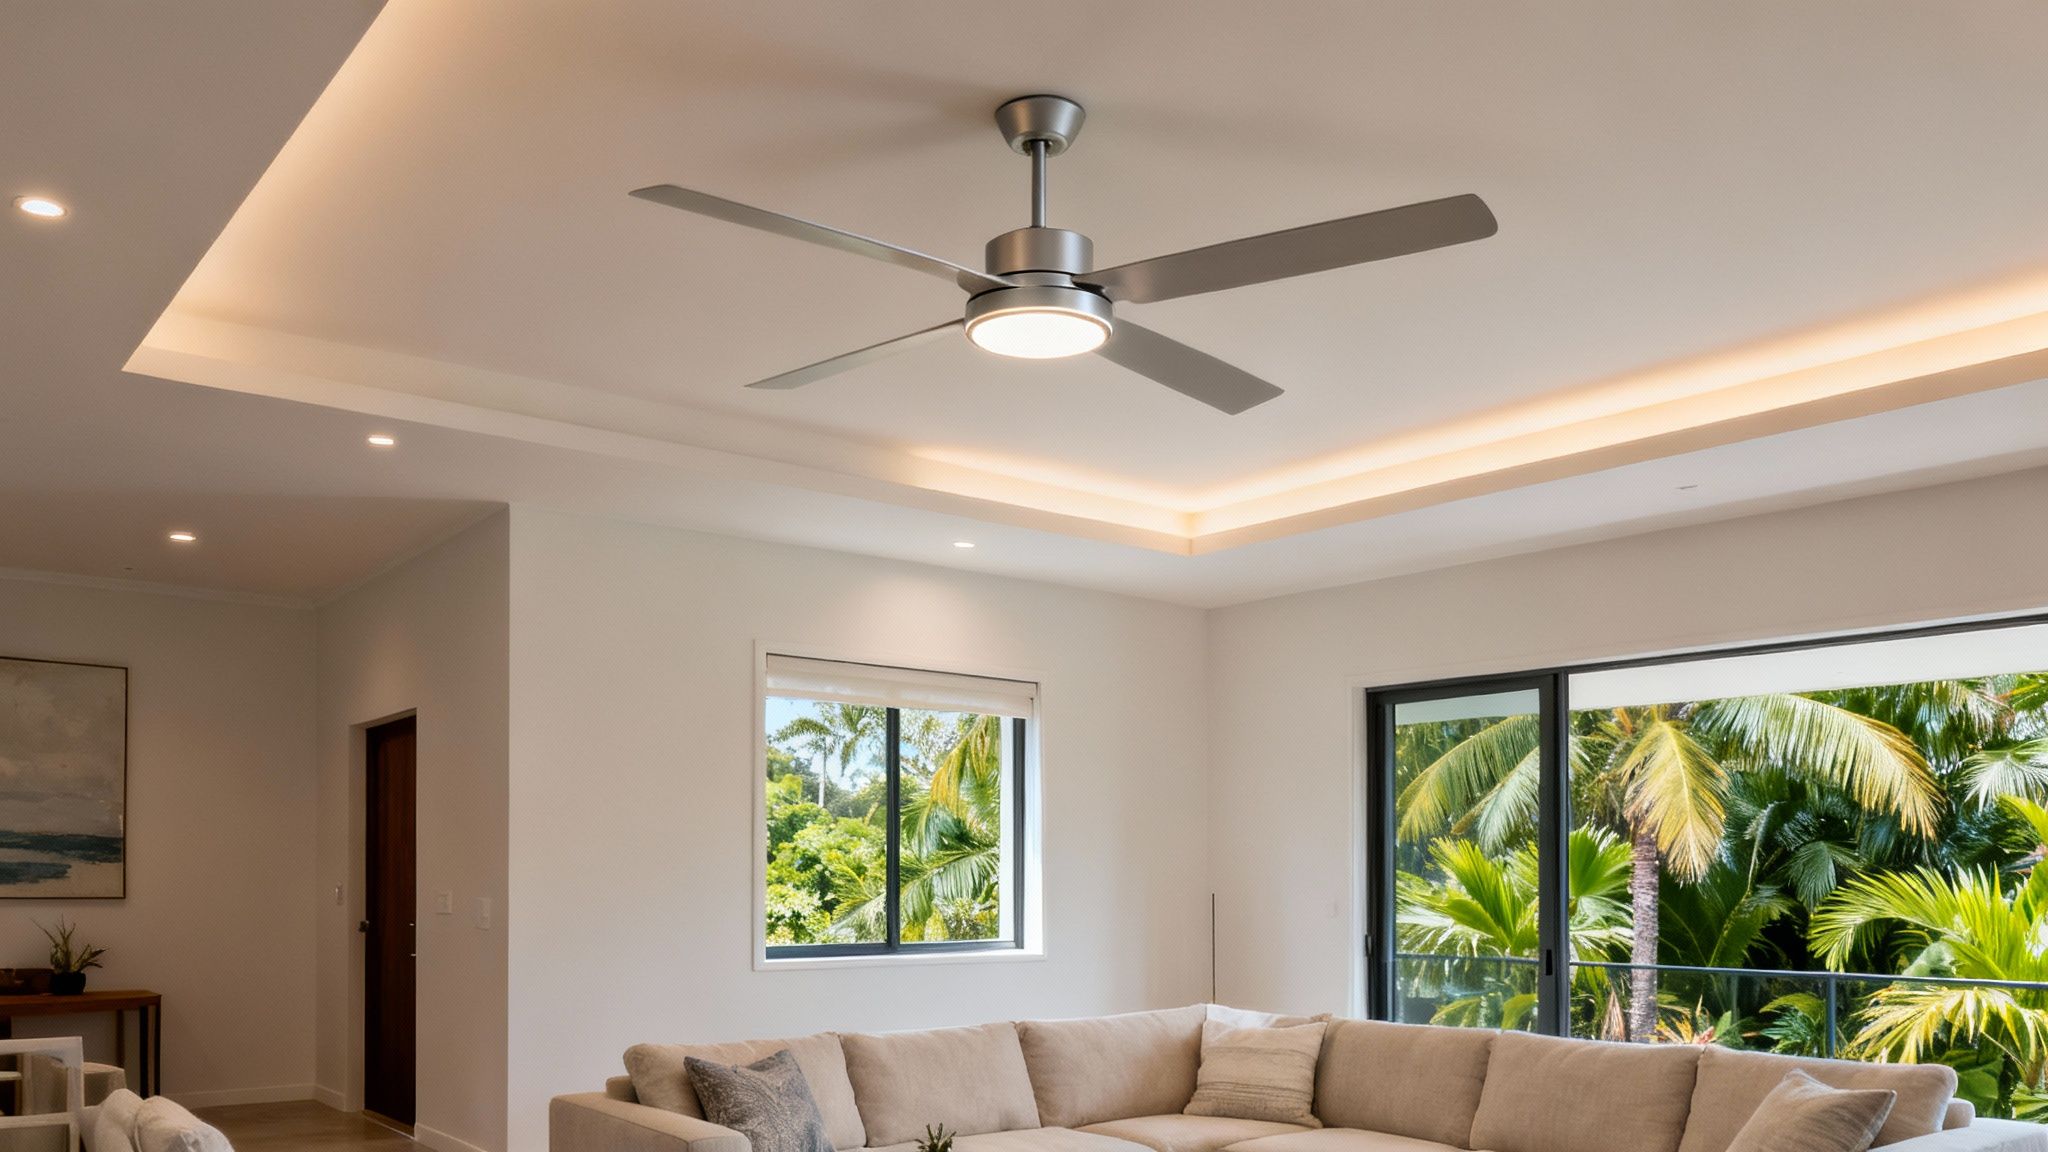
Finding that perfect fan-and-light combo is a balancing act, especially here in Queensland. You’ve got to think about everything from blade size and motor type to the materials used. Each detail plays a part in how well the fan performs, how much it costs to run, and how long it will last. Get this right, and you’re set for years of quiet, reliable comfort.
One of the most common mistakes I see is people thinking bigger is always better. The real key is to match the fan’s blade span to the room’s dimensions. This ensures you get the best possible air circulation.
Put an oversized fan in a small study, and it’ll feel like you’re in a wind tunnel. On the other hand, a fan that’s too small for a large, open-plan living area will just spin its blades without making a dent in the heat.
To make things simple, here’s a quick reference table we use to help Brisbane homeowners get the sizing right every time.
| Room Size (Square Metres) | Recommended Blade Span (cm) | Ideal Use Case |
|---|---|---|
| Up to 10 m² | 90 – 107 cm | Small bedrooms, home offices, or study nooks |
| 10 m² – 20 m² | 122 – 132 cm | Master bedrooms, medium living rooms, dining areas |
| Over 20 m² | 137 – 152+ cm | Large open-plan living areas, covered patios |
Following this simple rule helps your fan work as efficiently as possible, moving the most air without wasting energy.
Brisbane’s humidity can be brutal on home fixtures, and ceiling fans are no exception. That’s why you need to choose materials specifically designed to handle moisture.
Many homeowners, especially those closer to the coast, are now opting for fans with blades made from ABS plastic. It’s a tough, durable material that won’t warp or droop over time, which can be a real problem with other materials.
Timber blades look fantastic, but they should really be kept for indoor, air-conditioned rooms unless they’ve been specially treated. For alfresco areas, patios, or any home near the water, always look for fans with a “damp” or “wet” rating. This means they have corrosion-resistant finishes and sealed motors to keep the moisture out.
For a deeper dive, check out our comprehensive guide on https://dlgelectrical.com.au/dlg-blog/ceiling-fan-2/.
The motor is the engine of your ceiling fan, and you’ve got two main choices: the traditional Alternating Current (AC) or the more modern Direct Current (DC).
While a DC fan might cost a bit more upfront, the long-term energy savings and superior, quiet performance make it a very smart investment for any Brisbane home.
A fan’s real performance is measured in airflow, or Cubic Feet per Minute (CFM). Don’t just look at the blade size; a higher CFM rating means the fan is more effective at circulating air, providing that much-needed cooling effect on a hot day.
Let’s not forget the “light” in your ceiling fan and light combo. Modern fans almost always feature integrated LED lights, and for good reason. LEDs last an incredibly long time—often rated for tens of thousands of hours—and are far more energy-efficient than old-school bulbs.
Pay attention to the light’s temperature, measured in Kelvins (K).
Many new models even come with adjustable colour temperatures, so you can change the mood of the room with the press of a button.
It’s no surprise these efficient cooling solutions are becoming more popular. The Australian ceiling fan market has grown to nearly USD 397.88 million, driven by rising energy costs and demand in warmer regions like ours. This shows just how much ceiling fans have become a staple for Queensland homes.
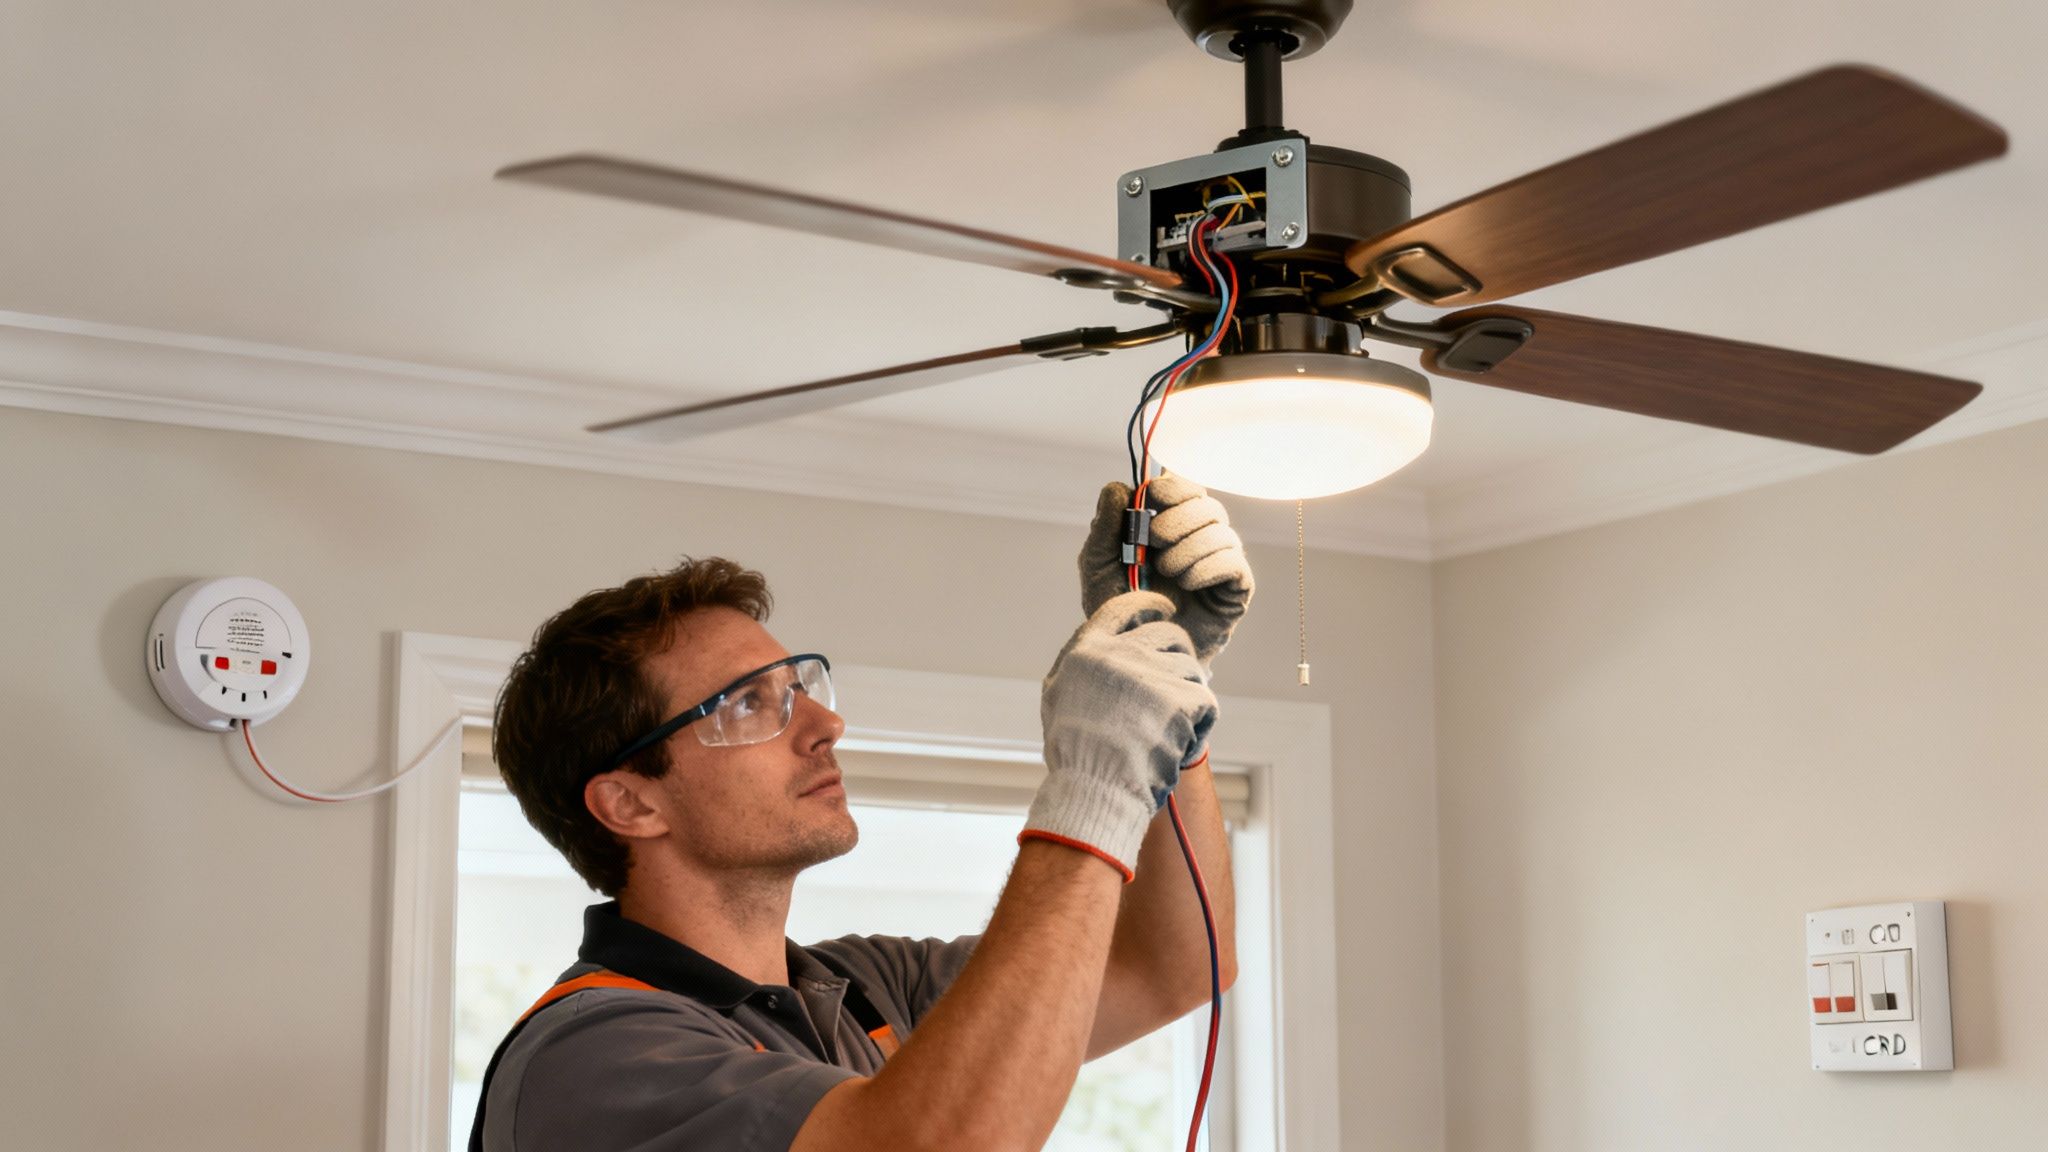
When you’re excited about a new home improvement project, like installing a ceiling fan and light, it’s easy to get caught up in the style and features. But here in Queensland, the most important part of the job is electrical safety. These rules aren’t just suggestions—they are strict legal requirements.
All electrical work in Australia must comply with the AS/NZS 3000 standards, better known as the “Wiring Rules.” This isn’t just bureaucratic red tape; it’s a critical framework designed to keep your home and family safe from electrical hazards. Thinking about tackling the wiring yourself to save a few dollars is a dangerous—and illegal—mistake.
The law is crystal clear: any task that involves fixed electrical wiring, which absolutely includes connecting a new fan, must be done by a licensed electrician. There is no grey area here.
Trying to do your own electrical work isn’t just illegal; it’s incredibly risky. Faulty wiring is a leading cause of house fires. A connection that seems fine at first can easily degrade over time, creating a serious fire hazard from overheating or arcing.
Then there are the financial consequences. If a fire or electrical fault happens because of non-compliant work, your home insurance provider is almost certain to reject your claim. You’d be left covering the entire cost of repairs yourself. The potential loss completely dwarfs any money you might have saved.
It’s a simple equation: unlicensed electrical work = void insurance policy. Professional installation is a small investment that protects your most valuable asset.
If you’re interested in the nuts and bolts, you can learn more about the strict requirements outlined in the electrical wiring standards in Australia to see exactly why professional expertise is non-negotiable.
Beyond the national standards, local Queensland rules play a huge part in a safe installation. One often-overlooked factor is how a new ceiling fan interacts with your home’s existing safety systems, especially smoke alarms.
It’s not just about making the fan spin; it’s about integrating it safely into your home’s existing electrical and safety infrastructure.
Another critical safety check involves your home’s switchboard. Many older Brisbane homes have electrical panels that just weren’t built to handle modern appliances safely.
Before installing a new ceiling fan and light, a licensed electrician will assess your switchboard to ensure it has safety switches (RCDs) protecting the right circuits. A safety switch is a literal life-saving device that cuts the power in milliseconds if it detects an electrical fault, preventing a severe electric shock.
If your switchboard is outdated or lacks the proper protection, an upgrade might be necessary before the fan can be safely installed. This isn’t an upsell—it’s a fundamental safety requirement that brings your home up to current standards and ensures your whole electrical system is robust and safe.
Ever wondered what an electrician really does when they come to install a ceiling fan and light? It’s a lot more than just hooking up a couple of wires. While the law says you can’t tackle this job yourself, understanding what goes on behind the scenes helps demystify the process and shows you why a meticulous, professional approach is so important.
Knowing these steps helps you ask the right questions and appreciate the skill involved in getting a fan that runs quietly, smoothly, and safely for years to come. It’s a precise operation from start to finish.
Let’s pull back the curtain and walk through the key stages our licensed electricians follow for every single installation.
Before a single tool comes out of the bag, the first job is a thorough site assessment. This isn’t just about finding the dead centre of the room; it’s about structural integrity and safety. The first thing an electrician looks for is a secure ceiling joist or beam.
A ceiling fan is a dynamic load. That’s a technical way of saying it’s not just heavy—it moves, it vibrates, and it’s constantly pulling downwards. The mounting point has to be rock-solid to handle that motion, day in and day out. Using a stud finder and a bit of old-fashioned know-how, an electrician will pinpoint a solid anchor point that can easily support 15-20 kilograms of weight and movement.
This initial check is what prevents the nightmare scenario of a fan working itself loose from the ceiling—a massive safety hazard.
Once a solid spot is confirmed, it’s time to carefully unbox and assemble the fan. This is a detail-oriented task where following the manufacturer’s instructions to the letter is non-negotiable. Every single screw, washer, and bracket is there for a reason, playing a vital role in the fan’s balance and stability.
The process usually breaks down like this:
With the fan motor hanging from the bracket, the electrician can then move on to the most critical part of the job: the wiring.
This is where a licensed professional’s expertise becomes absolutely essential. For a ceiling fan and light combo, the goal is usually to control them independently—one switch for the fan, another for the light. This requires some careful wiring work, both in the ceiling and at the wall switch.
An electrician will run the correct wiring from your switchboard to the fan’s location, ensuring every connection is safe, compliant with the AS/NZS 3000 standards, and configured correctly. The wires for the fan motor and the light kit are connected separately to give you that dual-switch functionality. To finish, the canopy is fitted snugly against the ceiling, hiding all the wiring and hardware for a clean, seamless look.
Choosing the right professional for this is key, much like when you’re finding reliable home renovation companies for other parts of your home.
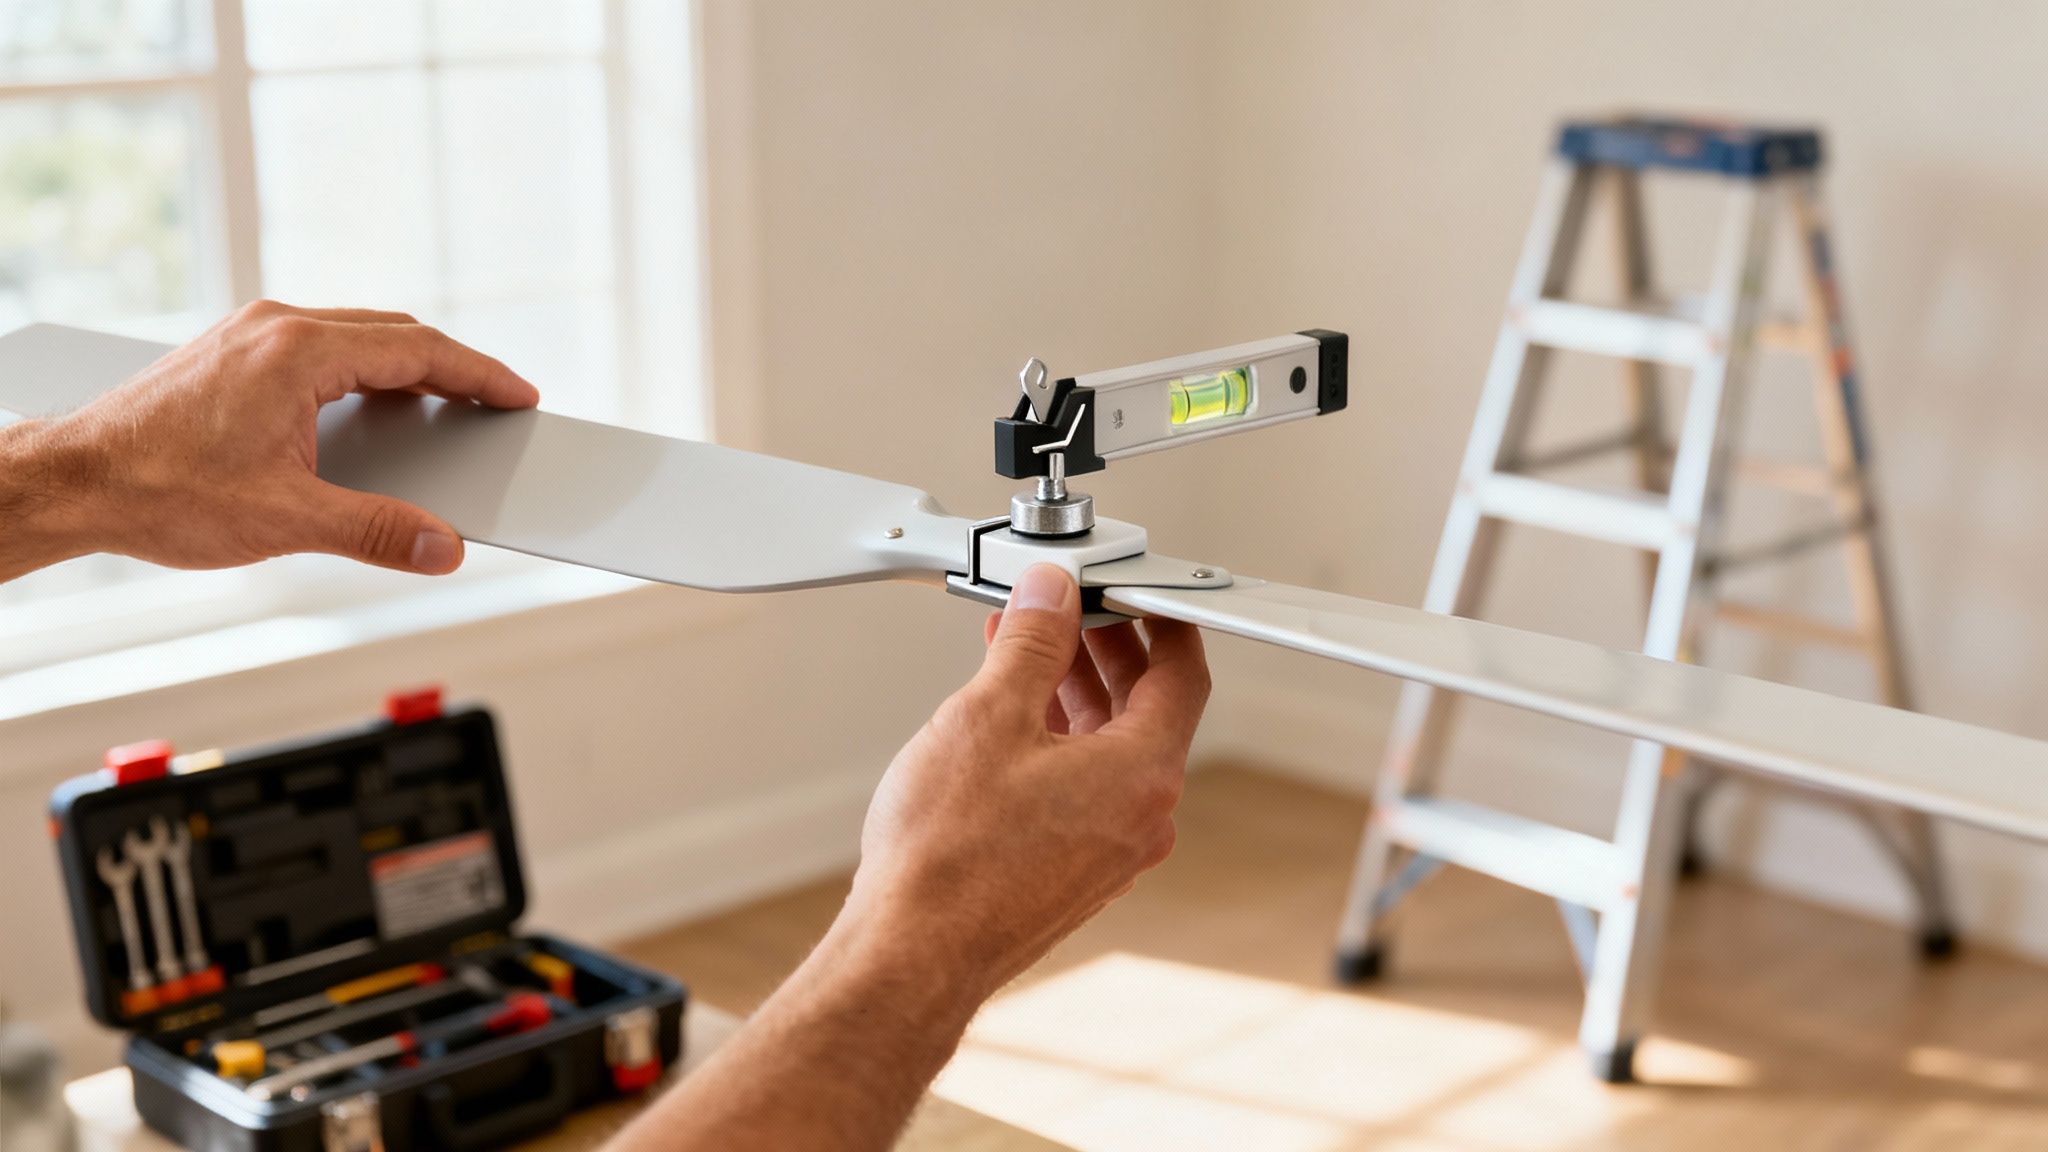
The job isn’t done just because the power is back on. The final, and arguably most important, step is balancing the blades. Even tiny weight differences between blades can cause a frustrating and potentially damaging wobble when the fan gets up to speed.
Professional electricians use a balancing kit—a simple set of clips and small weights—to systematically test each blade and make tiny adjustments. It’s a methodical process that eliminates any wobble and ensures the fan runs almost silently.
After it’s perfectly balanced, a full operational test is next. The electrician will run through all the fan speeds, flick the light on and off, test the remote control, and make sure everything is working exactly as it should. This final quality check is our guarantee of a perfect installation.
The demand for quality fan installations is definitely on the rise. The Australia-New Zealand ceiling fan market is projected to grow at a steady 4.0% CAGR through 2035, largely driven by the national push for energy-efficient cooling that suits Brisbane’s climate perfectly. This trend is especially strong here in Queensland, where fans are a core part of passive cooling designs in new builds.
Understanding these steps really highlights why getting a professional in makes all the difference. For expert advice and service, see what makes a top-rated electrician in Brisbane the right choice for your home.
The old pull-chain ceiling fan is quickly becoming a thing of the past. Today’s models are far more sophisticated, packed with smart technology that brings a whole new level of convenience to your home. We’re talking about turning your simple ceiling fan and light into a key part of your smart home setup.
Imagine adjusting the fan speed without getting off the couch or having it switch on automatically just before you arrive home.
This isn’t just about flashy tech. For Brisbane homeowners, these features are genuinely practical for managing our subtropical climate. App-based controls mean you can forget about hunting for a lost remote in the dark.
Instead, you can manage everything from fan speed to light dimming straight from your phone. Many models also link up seamlessly with voice assistants like Google Home or Amazon Alexa. A simple command like, “Hey Google, turn the bedroom fan to low,” is all it takes.
Smart fans really shine when it comes to automation. Lots of new models come with built-in temperature and humidity sensors. This allows the fan to automatically adjust its speed to maintain your ideal comfort level—a fantastic feature during Brisbane’s famously unpredictable weather.
You can also create custom schedules. For instance, you could program your fan to run at a low, quiet speed overnight and then turn off as the morning cools down. This kind of hands-free operation not only keeps you comfortable but also makes a real difference to your energy bills by ensuring the fan only runs when it’s needed.
The demand for this technology is growing fast. Australia’s smart ceiling fan market was valued at USD 6.24 million and is expected to grow at a 7.2% CAGR, driven by the smart home boom happening across the country. These advanced units are a perfect fit for homeowners who want both convenience and better efficiency.
The innovation doesn’t end with smart connectivity. Many modern fans now use ultra-quiet DC motors and aerodynamically shaped blades that push more air with far less noise. This is a game-changer for light sleepers who want a cooling breeze without the distracting hum of an older fan.
Another must-have feature for year-round comfort in Brisbane is a reversible motor.
When you’re looking at smart fans, it’s a great idea to see what the high-end builders are using. Checking out the types of modern features in luxury homes can give you some real inspiration and show you what’s on the cutting edge of home technology.
Installing one of these advanced fans properly requires a clear, structured approach to guarantee both safety and performance.
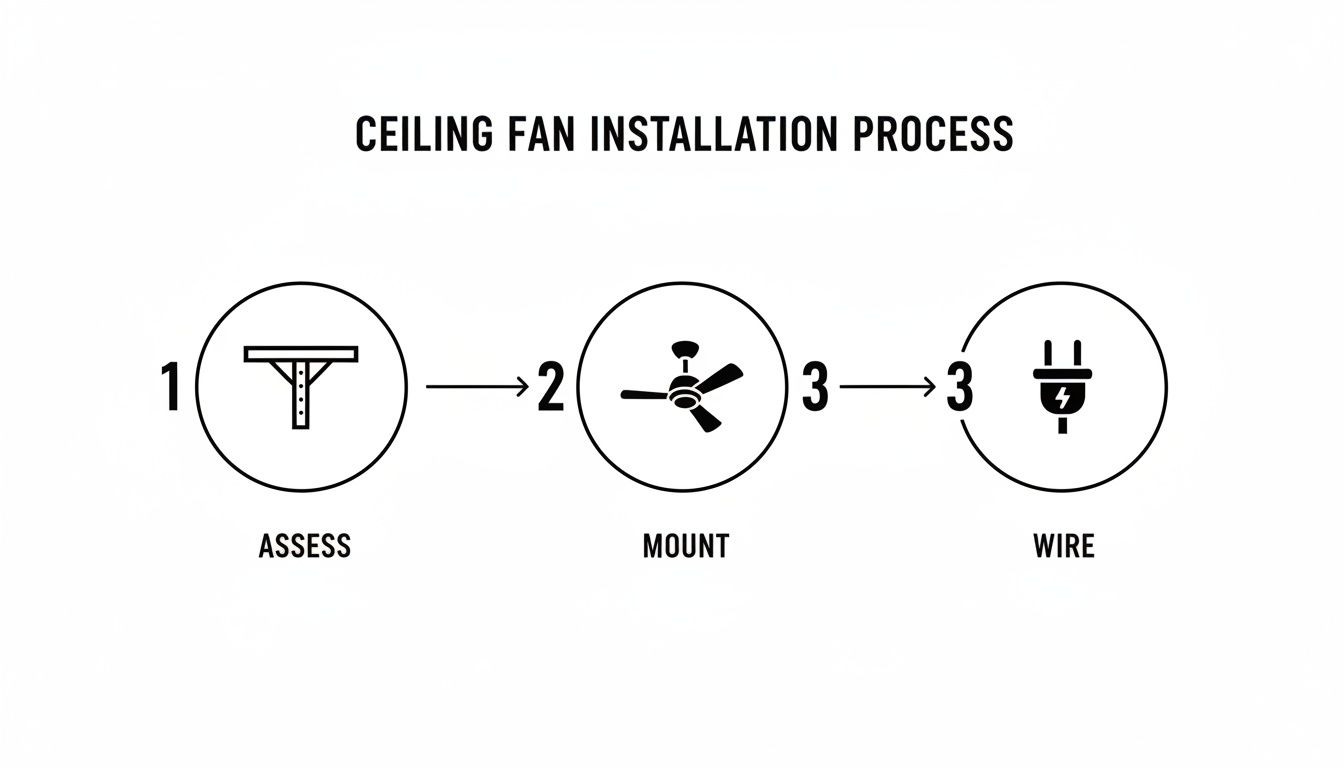
This process ensures that from the initial assessment of your ceiling structure to the final wiring, every step is handled with professional precision for a safe and reliable result.
Even the best-quality ceiling fan and light can start acting up over time. It happens. Before you pick up the phone to call a sparkie, it’s worth knowing that many of the most common issues—a wobble, a hum, a flicker—are often simple fixes you can handle yourself.
Getting familiar with a bit of basic troubleshooting can save you a service call fee and get your fan back to running smoothly in no time. The trick is knowing what to look for and, just as importantly, recognising when to put the tools down and call in a professional.
A wobbling fan is probably the number one issue we see. It’s annoying, sure, but it can also put unnecessary strain on the fan’s mounting components over the long run. The good news? It’s almost always a balance problem, not a sign your fan is about to come crashing down.
First things first: turn the fan off at the wall and give the blades a good clean. You’d be surprised how often a bit of dust buildup on one blade is enough to throw the whole thing off-kilter. A quick wipe with a soft cloth is all it takes.
If it’s still rocking, it’s time to check the screws. Vibrations can loosen them over time.
Still no luck? The fan needs balancing. Your fan should have come with a small balancing kit. It’s a simple process of clipping a small weight onto different blades to see which one smooths out the wobble. It takes a little patience, but it works.
A quiet, steady hum from the motor is pretty normal, especially with older AC motor fans. But if you’re hearing new or loud noises, something’s not right. A rhythmic clicking sound is often just a fan blade catching on a loose light shade or the canopy cover.
A loud electrical buzz, on the other hand, can be a sign of an incompatible dimmer switch. Standard light dimmers are not designed to control the speed of a fan motor and will often cause it to hum loudly and can even lead to overheating. You need a dedicated fan speed controller or a simple on/off switch.
Safety First: While tightening a few screws is a safe DIY job, anything you suspect is wiring-related—like that buzzing dimmer switch or flickering lights—is a job for a licensed electrician. Never guess when it comes to electrical work.
When the light on your fan starts to flicker, always start with the obvious: check the globe. The fan’s vibration can easily work a bulb loose over time, so make sure it’s screwed in tight. If that’s not it, try a new globe just to rule it out.
Another common culprit is using the wrong type of bulb. If you’ve put dimmable LED globes in a fan that doesn’t have a dimmer function (or vice-versa), it can cause flickering. Make sure the globe is compatible with your fan’s light kit. If a new, correct bulb doesn’t fix it, you could be looking at a loose wire inside the fan—and that’s a definite call for an electrician.
Sometimes a fan acts up and it’s hard to know where to start. We’ve put together a quick guide to help you figure out what’s going on and whether it’s something you can tackle yourself.
| Symptom | Potential Cause | What You Can Do | When to Call a Professional |
|---|---|---|---|
| Wobbling | Dust buildup, loose screws, unbalanced blades | Clean the blades, tighten all visible screws, use the balancing kit | If the fan is loose at the ceiling mounting bracket |
| Humming/Buzzing | Normal motor noise, incompatible dimmer switch | Check if the noise is excessive. Identify your wall switch. | If the hum is loud or you suspect a non-fan-rated dimmer |
| Clicking Noise | Loose part, blade hitting something | Turn off power and inspect the light cover, canopy, and blades | If you can’t find the source or suspect an internal motor issue |
| Flickering Light | Loose bulb, incompatible bulb, loose wiring | Tighten or replace the globe. Check bulb compatibility. | If a new, correct bulb doesn’t solve the flickering |
| Fan Won’t Turn On | Tripped circuit breaker, remote control issue | Check your switchboard. Change the remote batteries. | If the breaker is fine and the issue persists |
This table should give you a good starting point for most common problems. Always remember, if you’re ever in doubt about what you’re doing, the safest bet is to call a licensed professional.
We get a lot of calls about installing a ceiling fan and light, so we’ve gathered the most common questions we hear from Brisbane homeowners right here. This is all about giving you clear, straightforward answers to help you feel confident about your project.
Think of this as the final piece of the puzzle, covering those specific queries that pop up when you’re planning an installation. From costs to placement, we’ve got you covered.
This is easily the most common question, and the honest answer is: it depends. The final cost isn’t just about the fan itself; it’s about the electrical work needed to get it running safely and correctly.
A simple swap—taking out an old fan and putting a new one in its place using the existing wiring—is going to be at the lower end of the price scale. But a brand-new installation is a different beast entirely. It often means running fresh wiring all the way from your switchboard to the fan’s location, which is a much more involved job.
Other things that can affect the price include:
The only way to get a firm price is to ask for a detailed quote. A licensed electrician can pop out, assess your home’s layout and wiring, and give you an accurate, obligation-free price tailored to your exact needs.
Yes, absolutely. This is one of the most common jobs we do, and it’s a smart way to add cooling to a room without needing to run a heap of new wiring. But—and this is a big but—there’s a critical safety check a professional electrician will always perform first.
The existing electrical box in your ceiling holding the light fixture must be strong enough to support the weight and constant movement of a fan. A standard plastic light fixture box is not designed for this. It will fail.
An electrician will inspect the box and, if it isn’t fan-rated, will replace it with a heavy-duty one that bolts securely into a ceiling joist. This step isn’t optional; it’s essential for a safe, secure installation that won’t come crashing down. Never, ever hang a fan from a standard light box.
Using the right fan for the right spot is non-negotiable, especially in Brisbane’s humid climate. The difference between indoor and outdoor models boils down to how well they handle moisture and the elements.
Putting an indoor fan outside isn’t just a bad idea—it’s dangerous. It will also immediately void the manufacturer’s warranty. Always choose a fan specifically rated for where you plan to install it.
There are clear guidelines for fan height that cover both safety and performance. The blades of your ceiling fan and light must be at least 2.1 metres from the floor. This provides safe clearance so nobody gets a nasty surprise walking underneath.
For the best airflow, the ideal height is somewhere between 2.4 and 2.7 metres. In rooms with standard ceilings, the fan’s included mounting hardware usually gets you into this zone. For rooms with higher or vaulted ceilings, an electrician will use an extension rod (also called a downrod) to lower the fan into this sweet spot. This makes sure the fan actually circulates air where you can feel it, rather than just spinning uselessly high above your head.
Ready to upgrade your home with a perfectly installed ceiling fan and light? The team at DLG Electrical has the expertise to ensure your installation is safe, efficient, and looks fantastic. Contact us for a free quote today.

Master Electrician with over 30 years of experience. Founded DLG Electrical in 2005 after international project work including electrical installations at Stamford Bridge Stadium, London(Home of Chelsea FC).

Local Electricians that can fix all Electric Hot water Systems.
Motion sensor lights are a versatile addition to any home, offering nu
