83 Jean St, Grange QLD 4051
Mon-Fri 07:30 AM - 04:00 PM - Sat - 8:00 - 12 - Sunday Closed
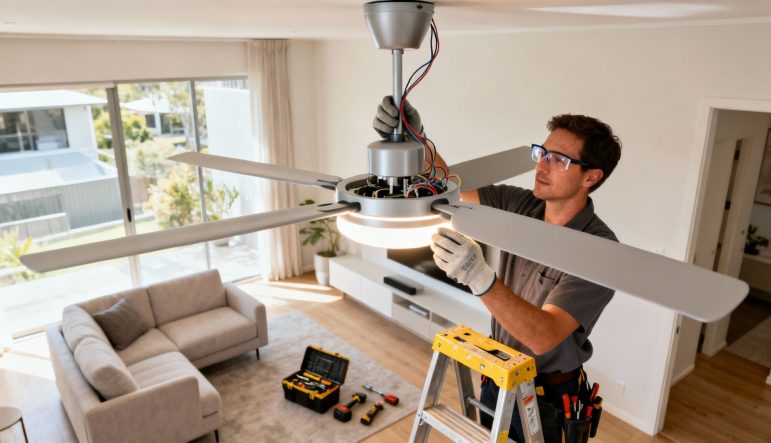
So, you’re thinking about getting a ceiling light fan. Good choice. It’s one of those practical upgrades that pulls double duty, combining a fan’s cooling breeze with a light source, all neatly packaged in one fixture. They’re a fantastic space-saver and a smart move for year-round comfort, especially in bedrooms, living rooms, and even covered outdoor areas.
Choosing and installing a ceiling light fan isn’t just a simple home improvement task; it’s a smart investment in your home’s comfort, style, and energy bills. We’ll walk you through everything, from picking the right fan for a stuffy Brisbane summer to making sure the installation is safe and compliant with Australian standards.
This guide is designed to give you the confidence you need to get the job started, whether you’re a seasoned renovator or it’s your first time tackling a project like this. A modern fan does so much more than just move air around.
In summer, it pushes cool air down, creating a welcome breeze. Come winter, flick it into reverse, and it will circulate the warm air that gets trapped up near your ceiling, which can actually help reduce your heating costs.
It’s no surprise these fixtures have become so popular. The Australian ceiling fan market is now worth around USD 224 million, and that number is still climbing. Homeowners are getting savvier about energy efficiency and looking for smarter ways to cool their homes without running the air-con 24/7. You can read more on this trend over at IMARC Group.
We’re going to cover all the bases so you can make a solid decision and ensure a safe, professional installation. Our goal is to arm you with practical, real-world advice on:
Most importantly, we’ll be crystal clear about when you need to stop and call in a professional from DLG Electrical. Getting it done right means getting it done safely and legally.
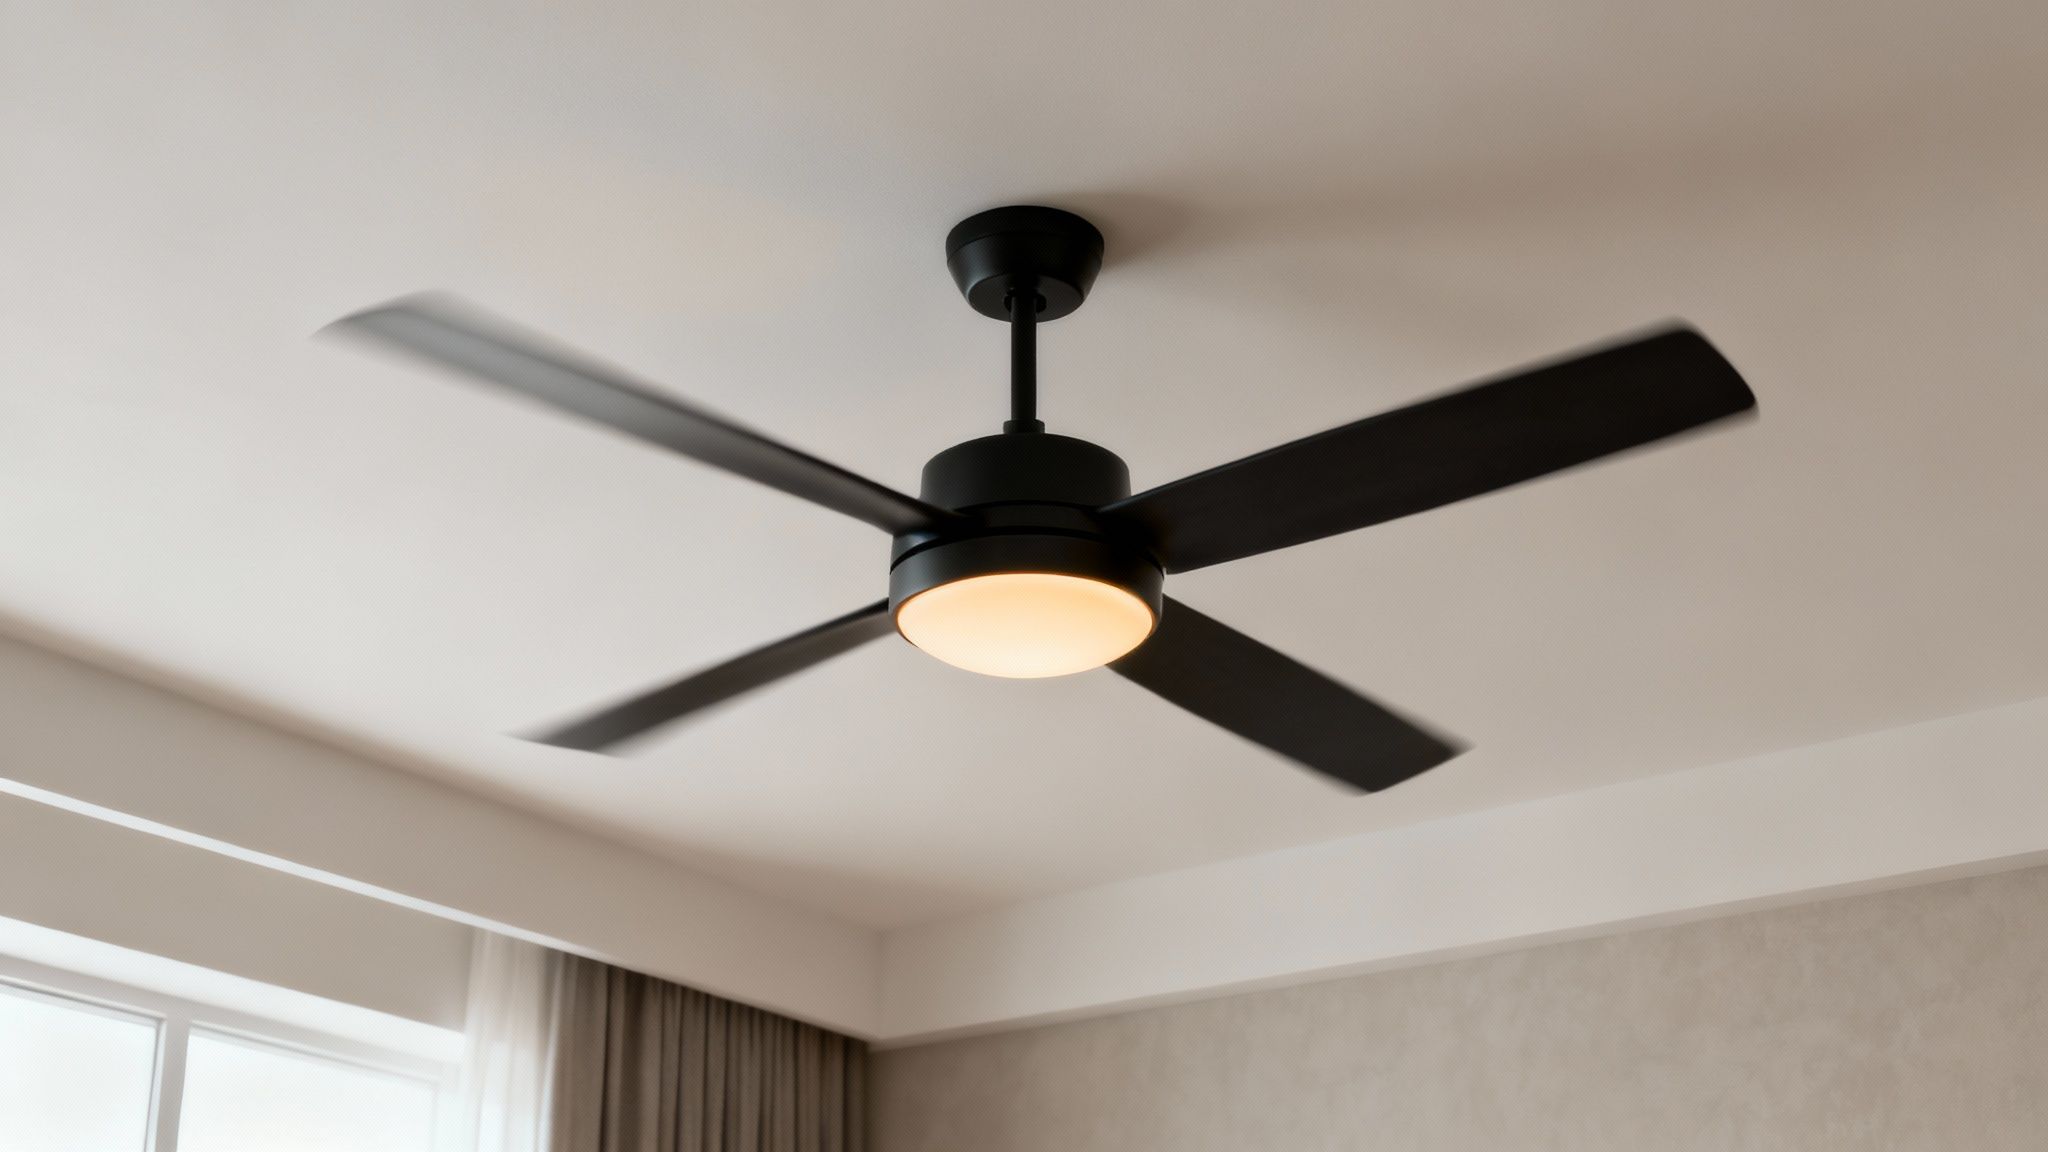
Choosing the right ceiling light fan is more than just picking one that looks good. It’s about finding that sweet spot between performance, size, and style. This is a fixture that has to work hard, complement your space, and meet the specific demands of the room. Get it wrong, and you could end up with weak airflow, poor lighting, or a fan that just feels completely out of place.
The first thing to think about is the room itself. A fan that’s too small for a big living area will barely stir the air. On the other hand, putting a massive fan in a small bedroom or study can create an annoying, gusty wind tunnel. What you’re really after is gentle, consistent air movement that keeps you comfortable.
A great starting point is to match the fan’s blade span—the full diameter from one blade tip to the opposite one—to the room’s square meterage. This is the best way to make sure the fan can move the right amount of air without struggling.
Getting the size right is easily the most important step. It has a direct impact on how well the fan cools the space and how much power it chews through.
To help you out, here’s a quick reference guide for matching the blade span to your room size. When a fan is sized correctly, it doesn’t have to work as hard, which translates to quieter operation and a much longer lifespan.
This table is a quick reference to help you match the fan’s blade span to your room’s square footage for optimal airflow and efficiency.
| Room Size (Approx. Square Metres) | Recommended Blade Span | Ideal For |
|---|---|---|
| Up to 7 m² | 75-90 cm (30-36 inches) | Small bedrooms, home offices, laundries |
| 7 – 14 m² | 107-122 cm (42-48 inches) | Medium bedrooms, kitchens, dining areas |
| Over 14 m² | 132 cm+ (52+ inches) | Living rooms, master bedrooms, open-plan spaces |
Remember that this is just one piece of the puzzle. With the right size selected, you’ll be well on your way to a comfortable and efficient space.
Your ceiling height is another massive factor. For standard 2.4-metre ceilings, a flush-mount or “hugger” fan is the way to go. If you have higher or raked ceilings, you’ll definitely need a fan with a downrod. This lowers the unit to an effective height, which for safety and proper airflow is usually between 2.1 to 2.7 metres off the floor.
The motor is the engine of your ceiling fan, and your choice between an Alternating Current (AC) and a Direct Current (DC) motor really matters for performance and running costs.
AC motors have been the industry standard for years—they’re reliable and generally cheaper to buy. But DC motors are a huge step up in fan technology. They are incredibly energy-efficient, often using up to 70% less electricity than an AC fan. They also run almost silently and give you far more speed settings for precise control over your comfort.
If you want to get into the nitty-gritty, you can check out our detailed comparison of DC vs AC fan motors.
While you might pay a bit more upfront for a DC fan, the long-term energy savings and superior performance usually make it the smarter financial choice over the fan’s lifetime.
Beyond just the size, a fan’s real-world performance is measured in airflow, which you’ll see listed as Cubic Feet per Minute (CFM). A higher CFM number means the fan is moving more air. When you’re comparing models, pay close attention to this rating. If you’re curious about the technical side, you can learn more by understanding CFM in home systems.
The blade pitch, which is just the angle of the blades, also plays a big role in how much air is moved. A steeper pitch (usually around 12-15 degrees) pushes more air, but it needs a more powerful motor to do it without wobbling or making a racket.
Let’s not forget the “light” in your ceiling light fan. Modern fans come with some brilliant lighting options:
Finally, think about style. Gone are the days of boring, utilitarian fans. The market has shifted massively towards decorative models that are designed to be a centrepiece. You no longer have to choose between function and a fan that actually looks good in your home. Whether your decor is modern, coastal, or traditional, there’s a ceiling light fan out there that will fit in perfectly.
Before a single wire gets touched, getting the space ready is the absolute bedrock of a smooth and safe ceiling light fan installation. This is about more than just shifting furniture out of the way; it’s a critical checklist to make sure your ceiling can actually handle the new fixture and that the final result is rock-solid. Believe me, rushing this stage is a one-way ticket to headaches later, from an annoying wobble you can never fix to serious safety hazards.
First things first: you have to verify that your chosen spot has the right structural support. A ceiling fan isn’t just heavier than your average light fitting; it’s a dynamic load. That means it’s creating constant force and vibration whenever it’s spinning. A standard plastic electrical box made for a simple light is simply not strong enough to cope with that stress.
Your fan needs to be mounted directly to a ceiling joist or a special fan-rated brace installed between the joists. This is what provides the solid anchor point needed to support the fan’s weight, which can be anything from 5 to over 20 kilograms, and to absorb the torque from the spinning blades. Trying to hang a fan from plasterboard alone is a recipe for disaster.
Your initial mission is to find a suitable mounting point. A stud finder is your best friend here, but you can also gently tap on the ceiling—you’re listening for a solid thud, not a hollow echo. If there’s no joist exactly where you want the fan, a licensed electrician will need to get into the ceiling cavity and install a proper fan brace.
Clearance is the next non-negotiable safety check. For good airflow and, more importantly, for safety, the fan blades need plenty of room to move.
For those planning bigger home upgrades, it’s worth understanding how structural changes can impact your space. A detailed guide to home extensions and loft conversions can offer some great insights on preparing a room’s structure for new fixtures like these.
Once the structural and clearance checks are ticked off, it’s time to look at the existing electrical setup. This is the point where you must stop and get ready for a professional electrician to take over. In Australia, all wiring work must be done by a licensed expert—no exceptions.
Before your electrician arrives, though, you can gather some handy info. Is there already a light where you want the fan? If so, that simplifies things a bit, as the basic wiring is already in place. Your electrician will still need to check that the wiring is up to code and can handle the combined load of the fan’s motor and its light.
It’s a common mistake to think you can just swap any old light for a ceiling fan. An electrician will confirm the circuit’s capacity and, crucially, install a fan-rated mounting box. This is a vital safety upgrade from a standard junction box.
If you’re putting a fan in a spot with no existing fixture, the job is a bit more involved. It means running a new cable from a power source, which could even require a new, dedicated circuit from your switchboard. This is a job that absolutely requires a professional. Having a clear idea of your room’s layout and where you want the fan will help the electrician give you an accurate quote and plan the job efficiently. Taking these prep steps makes the whole installation process a lot smoother for everyone.
When it comes to installing a new ceiling light fan, this is the one part of the job with absolutely no grey area. Here in Australia, any and all electrical wiring is strictly off-limits for DIY. Trying to do it yourself isn’t just incredibly dangerous; it’s illegal and will instantly void your home insurance.
Let’s demystify the technical side of the project and clarify why every connection must be handled by a licensed electrician. It’s all about ensuring the safety of your home and family and making sure the work is done to the highest standard.
In Brisbane, and right across the country, all electrical work is governed by a strict set of national standards. The big one is AS/NZS 3000, which everyone in the trade just calls the Wiring Rules. This isn’t a friendly set of guidelines; it’s a legal requirement that dictates how every circuit, switch, and appliance must be installed.
When a licensed sparky from DLG Electrical installs your ceiling fan, they’re working to ensure every part of the job complies with these rules. This means using the correct cable gauges, ensuring proper earthing, and confirming the circuit can handle the new load from both the fan’s motor and its light. For a deeper dive, you can learn more about the specifics in the electrical wiring standards in Australia and see why they’re so vital for home safety.
The process below shows the essential checks that have to happen before any electrical work even begins.
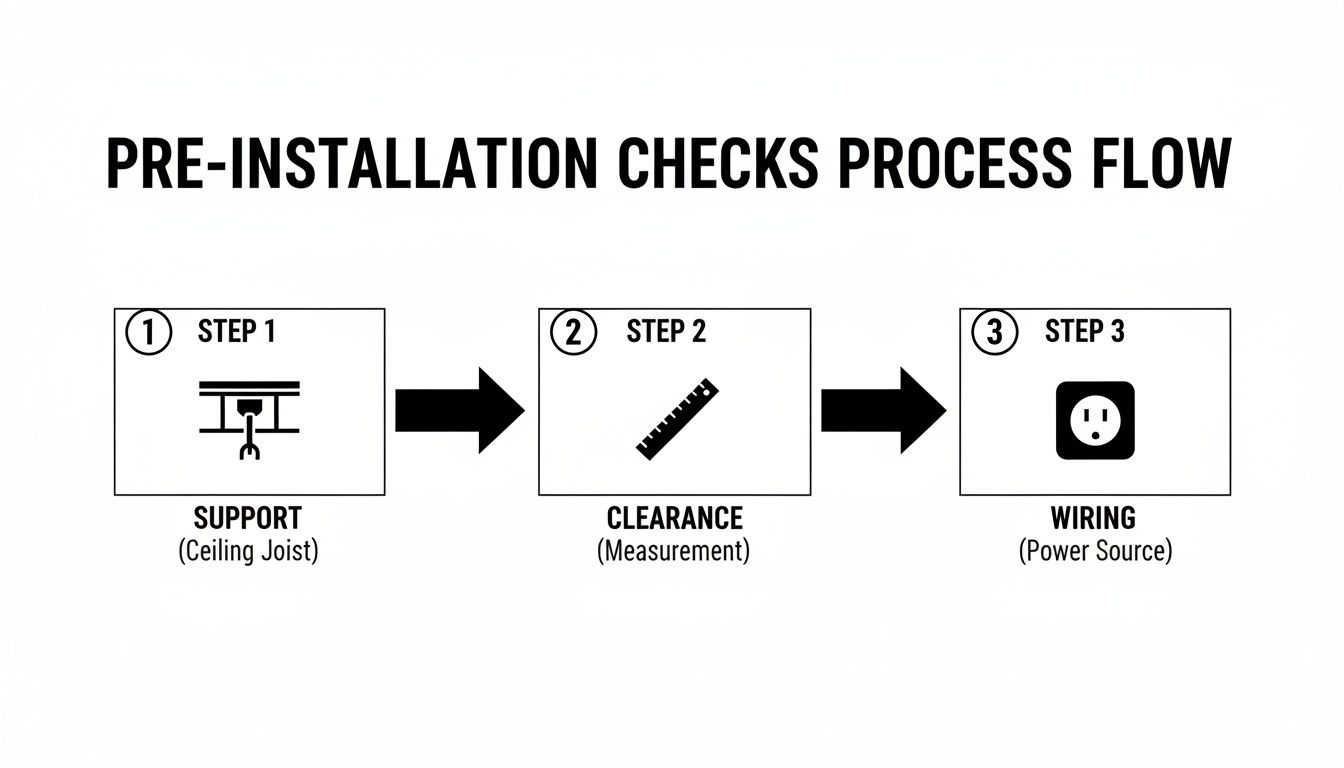
This highlights the foundational steps—support, clearance, and wiring—that form the basis of a safe and secure installation.
Hiring a professional is about more than just connecting a few wires. It’s a systematic process designed to guarantee safety from start to finish. Here’s a quick rundown of what a qualified electrician will handle during your fan installation:
Under Australian safety standards, every ceiling fan must be connected to its own isolation switch. This is typically a dedicated switch on the wall that allows you to completely cut power directly to the fan for safe cleaning or maintenance, independent of the main circuit breaker.
You might wonder why a separate switch is needed when you’ve already got one at the switchboard. The isolation switch provides a quick and accessible way to de-energise the fan without having to shut down power to the whole room or house. It’s a practical safety feature that is legally required for all fan installations.
If you’re replacing an old light fitting that only had one switch, your electrician will need to install a new switch mechanism on the wall for the fan. This might involve running a new wire from the switchboard or installing a multi-gang switch plate. Even for a fan with a remote control, a wall isolator is still required as the primary point of disconnection.
Ultimately, the electrical side of a ceiling fan installation is a job defined by precision, safety, and compliance. By entrusting this work to a licensed professional, you can be confident that your new fixture is not just a stylish addition but a safe and reliable one that will provide comfort for years to come.
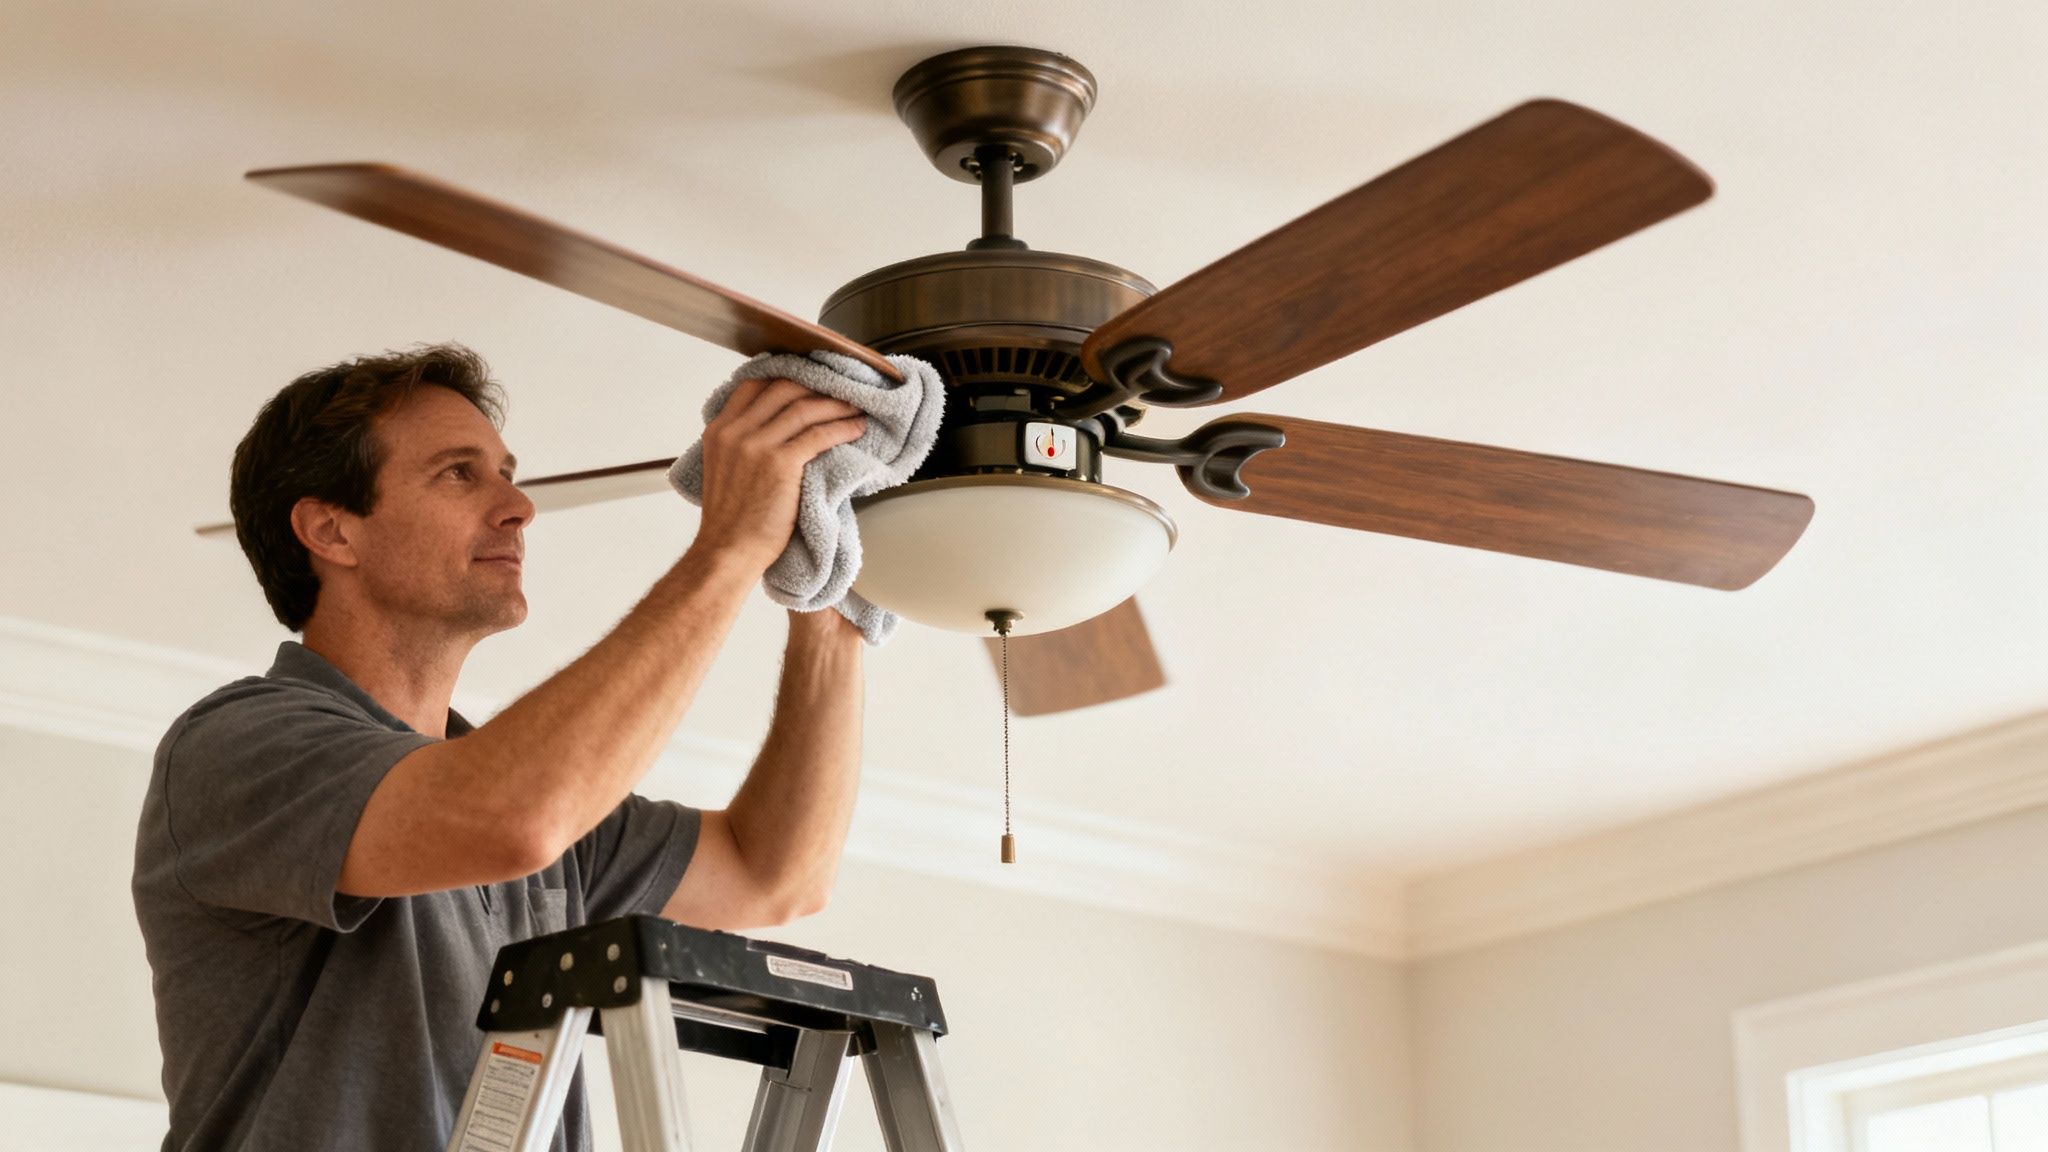
Once your new ceiling light fan is spinning quietly overhead, a little bit of routine care is all you need to keep it that way. This isn’t just about keeping it looking good; it’s about making sure it runs safely, efficiently, and without any annoying wobbles for years to come. Think of it as a quick check-up every few months to protect your investment.
The most common issue we see out in the field? Dust buildup on the blades. It might not seem like much, but even a thin layer is enough to throw the blades off balance, leading to that rhythmic wobble. That imbalance puts extra strain on the fan’s motor and mounting gear, which can shorten its lifespan.
Cleaning your fan blades is a simple job that makes a massive difference. First thing’s first: always kill the power at the wall isolation switch before you start. This is a non-negotiable safety step to ensure it can’t be accidentally switched on while you’re up the ladder.
When it comes to the actual cleaning, you’ve got a few easy options:
While you’re up there, give the light fixture a gentle wipe-down too. Dust on the glass shade or globe can really dim the light output, making your room feel much darker than it should.
Over time, the constant vibration from a spinning fan can cause screws to slowly work their way loose. This is often the culprit behind those mysterious clicking or rattling sounds you might hear. It’s a great idea to do a quick inspection about twice a year.
Again, make sure the power is off at the isolator switch. Carefully check and tighten the screws holding the blades to the blade irons (the metal brackets). You should also check the screws connecting the blade irons to the motor, along with any visible screws on the downrod and ceiling canopy. Don’t go overboard and overtighten them—just make sure they’re snug and secure.
A common mistake is thinking a wobble means a major problem. More often than not, it’s just dusty, unbalanced blades or a couple of loose screws. A ten-minute check can often fix the issue completely.
One of the best—and most underused—features of a modern ceiling fan is the reverse switch. It’s usually a small switch on the side of the motor housing that changes the direction the blades spin, optimising airflow for the season.
Making this simple adjustment helps circulate air far more effectively all year round, keeping your home more comfortable and even helping to trim your energy bills. A little bit of regular maintenance ensures your ceiling light fan stays a quiet, reliable, and valuable part of your home.
While this guide gives you a solid foundation for planning your ceiling light fan project, it’s crucial to know where your DIY efforts should stop and a professional’s work begins. Knowing when to put down the tools and call a licensed electrician isn’t just a smart move—it’s a legal and safety requirement in Brisbane.
Let’s be clear about the scenarios that instantly take this job out of the ‘prep work’ category and into ‘professional-only’ territory. If you’re hoping to install a fan where no light fixture currently exists, that’s your first sign to call an expert. This isn’t just a matter of mounting a fan; it involves running entirely new electrical wiring from your switchboard, a job that requires a deep understanding of safety codes, circuit loads, and compliance.
Another non-negotiable situation is finding old or questionable wiring. Pull back the plaster, and if you’re met with frayed, brittle, or old-school cloth-covered cables, stop what you’re doing immediately. Connecting a modern appliance to wiring that’s past its use-by date is a serious fire hazard. A licensed electrician can assess the wiring’s integrity, tell you if it needs replacing, and ensure everything is brought up to current Australian standards.
It’s not just brand-new installations that need a professional touch. Even a seemingly simple replacement can uncover hidden problems best left to a qualified sparky.
Here are some definite indicators that you need professional help:
The rule in Brisbane is simple and absolute: if the job involves touching, connecting, or altering electrical wiring in any way, the work must be performed by a licensed electrician. This isn’t a recommendation; it’s the law.
Sometimes, a fan might seem to be working fine at first, but certain signs can point to underlying issues that need immediate professional attention. Ignoring these red flags can lead to damage, danger, or a fan that simply doesn’t last.
A persistent wobble that you can’t fix by cleaning or tightening the blades is a major warning. This could mean it was improperly balanced or, worse, that the mounting is faulty, putting a huge amount of stress on the fixture. Likewise, any buzzing, humming, or grinding noises from the motor are clear signs of an internal electrical or mechanical problem that needs a professional diagnosis.
Flickering lights are another serious concern. The cause could be anything from a simple loose connection to an incompatible dimmer switch, or it could signal a much bigger electrical issue within the circuit itself. Don’t try to guess—call an expert.
With the rise of smart home tech, more and more homeowners are choosing advanced fans. Online sales are now the fastest-growing part of the ceiling fan market, with people actively seeking models offering voice control and smartphone apps. While these features are fantastic, they do add another layer of complexity to the installation. If you’re interested in these trends, you can explore the research on modern consumer expectations.
At the end of the day, your safety is what matters most. If you run into any of these situations or just feel slightly out of your depth, calling a professional like DLG Electrical is always the right call. It’s the only way to guarantee the job is done safely, legally, and to the highest standard.
Even with the best planning, a few questions always pop up when you’re installing a new ceiling fan. It’s a big decision for any room, and you want to get it right. Here are some of the most common things Brisbane homeowners ask us.
This is a big one, and the answer is usually no. It all comes down to safety.
A ceiling fan is far heavier than a standard light fitting and is in constant motion. The electrical box in your ceiling needs to be specifically fan-rated and anchored securely to a ceiling joist or a special brace. Your typical plastic light box just isn’t designed to handle that kind of weight and torque.
Before we do anything, a licensed electrician needs to have a look at your current setup. If the existing box isn’t up to scratch, we’ll install the correct fan-rated support to make sure your new fan is anchored safely for years to come.
The cost can vary a fair bit, and it really depends on the complexity of the job. A simple swap—taking down an old fan and putting up a new one in the same spot—is the most straightforward and affordable option. All the right wiring and structural supports are already there.
However, the price will go up if the installation involves:
Always ask for a detailed, itemised quote before any work starts. You should know exactly what you’re paying for, with no hidden surprises.
The biggest mistake we see is homeowners assuming a simple light-to-fan swap is a minor job. The structural and electrical requirements are completely different, and getting it wrong is a serious safety risk.
That little switch on the side of the motor is probably one of the fan’s most overlooked but useful features. It’s all about optimising airflow for the season by changing the direction the blades spin.
In summer, you want the blades turning counter-clockwise. This creates a direct downdraft, pushing cool air down and giving you that refreshing breeze.
In winter, flick the switch so the blades rotate clockwise. This action gently pulls cooler air up towards the ceiling, which then pushes the warm air that naturally rises and gets trapped up high back down into the room. It’s a brilliant way to circulate heat more evenly, making your space feel cosier and even helping to lower your heating costs. It’s a simple feature that makes your fan useful all year round.
For a safe, compliant, and perfectly installed ceiling light fan in your Brisbane home, trust the experts at DLG Electrical. Contact us today for a free quote.

Master Electrician with over 30 years of experience. Founded DLG Electrical in 2005 after international project work including electrical installations at Stamford Bridge Stadium, London(Home of Chelsea FC).

Local Electricians that can fix all Electric Hot water Systems.
Motion sensor lights are a versatile addition to any home, offering nu
