83 Jean St, Grange QLD 4051
Mon-Fri 07:30 AM - 04:00 PM - Sat - 8:00 - 12 - Sunday Closed
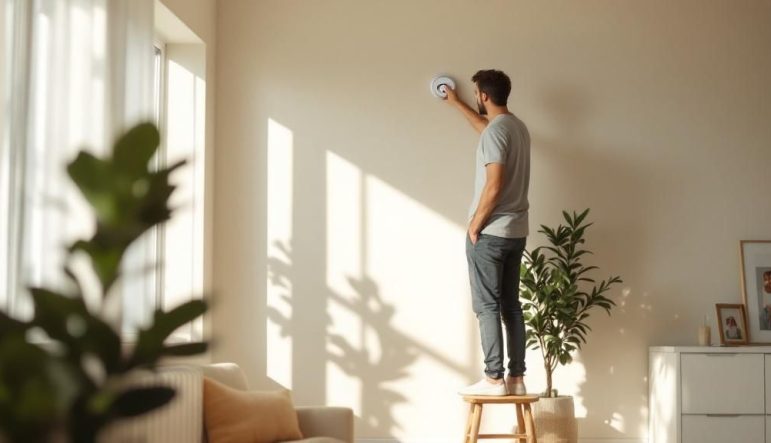
That little device on your ceiling is your first and best line of defence in a house fire. Knowing how to test it properly involves a bit more than just a quick push of a button. For any of us here in Australia, this isn’t just another chore to tick off the list—it’s a critical, life-saving habit.
Let’s be honest, it’s easy to forget about that small, circular device on the ceiling. But ignoring it is a gamble you really can’t afford to take. A working fire alarm massively boosts your chances of getting out of a house fire safely, giving you those precious seconds of warning you need to escape.
The hard truth is that most house fires in Australia aren’t the big, explosive ones you see in movies. They’re often slow, smouldering fires that start from things like electrical faults or dodgy heating appliances.
This is where the type of alarm you have makes all the difference. You’ve generally got two choices:
Because of this, photoelectric alarms are what you really want in your home. Pushing the test button once a month confirms the battery and the alarm’s circuitry are still alive, but it doesn’t tell you if the sensor can actually do its job and detect smoke.
Don’t just take my word for it. Research from Fire & Rescue New South Wales drove this point home in a big way. They ran simulated house fires—the kind that actually happen in Aussie homes—and found that photoelectric alarms consistently gave a much earlier warning for smouldering fires than ionisation ones did. It’s this kind of detailed research that really shows why regular checks are so important to make sure your alarm will work when you need it most.
“A non-working smoke alarm is just a piece of plastic on your ceiling. It offers zero protection. Regular testing is the only way to transform it from a decoration into a lifesaver.”
It’s also crucial to know what your responsibilities are, whether you own your home or you’re renting. Homeowners are legally on the hook for installing and maintaining compliant smoke alarms. If you’re a landlord, that duty extends to making sure the alarms in your rental properties are working perfectly at the start of every new lease and are kept that way. For a deeper dive into your specific obligations, have a look at our complete guide to smoke alarms.
Knowing how to test a fire alarm is one of those basic skills that every single person should have. It’s your first and most important line of defence, and this simple monthly check takes less than a minute. Think of it as a tiny investment of time that could literally save your life.
Before you start, just give everyone in the house a quick heads-up. The sound is designed to be loud and jarring for a reason, so a little warning goes a long way in preventing startled kids or panicked pets. Once everyone’s ready, find the ‘Test/Hush’ button on your alarm.
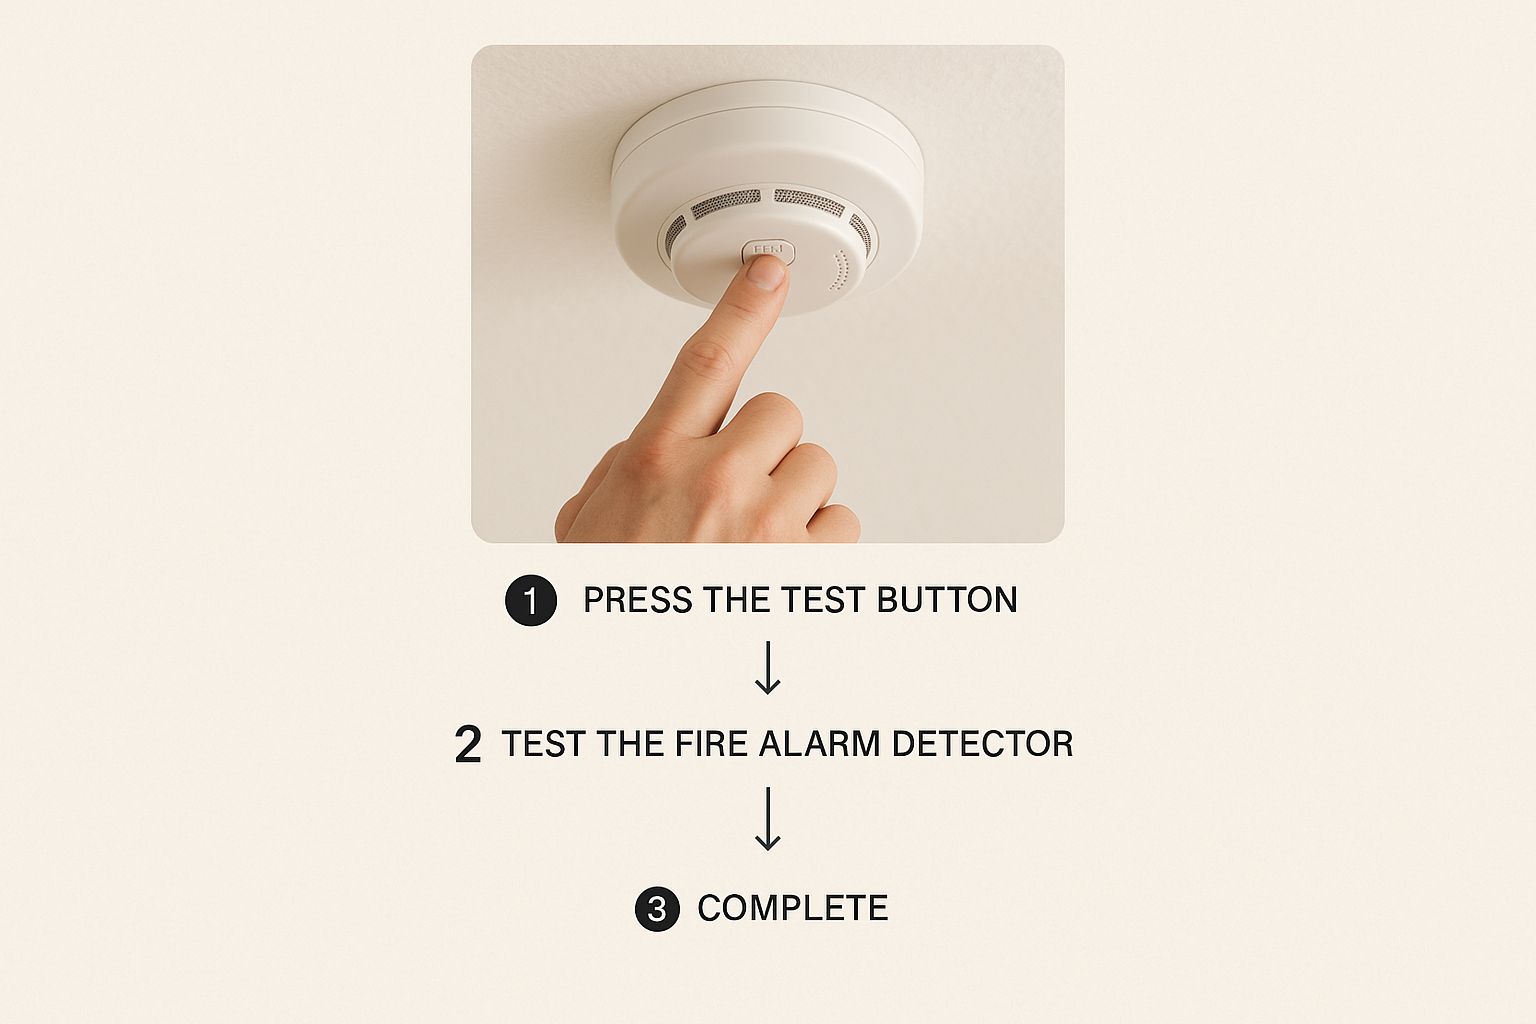
Go ahead and press the test button firmly, holding it down for a few seconds. You’re listening for a loud, ear-piercing siren. It should be immediate and strong.
If you get a weak sound, a series of chirps, or nothing at all, that’s a major red flag. This almost always means the battery is on its last legs and needs replacing immediately. Don’t put it off—a low battery won’t have the power to alert you when you need it most.
A fire alarm with a dead or weak battery is no better than having no alarm at all. This monthly test is your chance to catch this common but dangerous problem before it becomes a tragedy.
What if you have more than one alarm? This is where it gets really important. When you test one alarm, every other alarm in your home should go off at the same time. This is a critical feature, especially in larger homes, ensuring a fire detected in the kitchen can wake someone sleeping in a back bedroom. If they don’t all sound, there’s a problem with their connection. You can learn more about how these interconnected systems work in our guide on wireless linked smoke alarms.
To make sure you never forget, I always recommend tying this check to another monthly routine. Maybe do it on the first of every month or the day you pay a recurring bill. Making it a habit is key.
To help you get into the swing of things, here’s a simple checklist to follow each month.
| Check | Action | Expected Outcome |
|---|---|---|
| Alert Household | Let family members and pets know you’re about to test the alarms. | Everyone is prepared for the loud noise. |
| Press and Hold | Firmly press and hold the ‘Test/Hush’ button for at least 5-10 seconds. | A loud, consistent siren sounds from the alarm being tested. |
| Check Interconnection | If you have linked alarms, listen for all other units to sound off. | All interconnected alarms activate simultaneously. |
| Listen for Issues | Note any weak sounds, chirping, or silence. | The alarm should be loud and clear. If not, replace the battery. |
| Stop the Test | Release the button. The alarm(s) should stop sounding within a few seconds. | The system returns to its normal standby mode. |
Following these simple steps just once a month ensures your alarms are ready to do their job, giving you and your family invaluable peace of mind.
While a quick monthly test is great for checking the power, your annual maintenance is where you really dig in to ensure the alarm will work reliably for the long haul. It’s about going deeper than a simple button press to keep your alarm in peak condition, ready to protect you year after year.
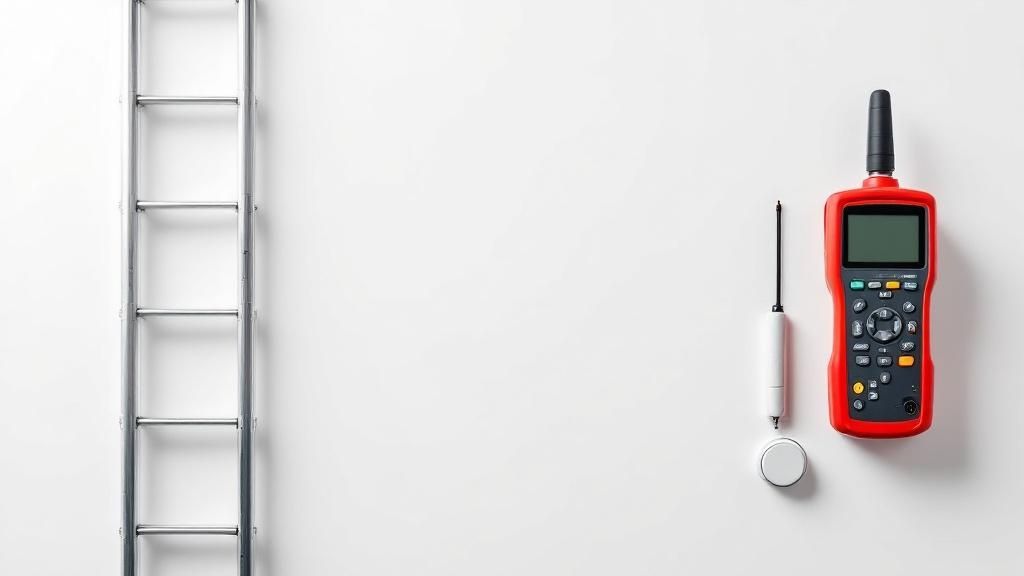
I always tell people to get into the habit of changing the batteries once a year, no matter what the package says. It’s the cheapest insurance you can buy. A fresh battery means you know for certain the alarm has all the power it needs. Here’s a pro-tip: before you pop the new battery in, grab a permanent marker and write the date on it. That way, there’s never any guesswork.
Over the course of a year, all sorts of things can find their way into your smoke alarm’s vents—dust, cobwebs, and even tiny insects are common culprits. If that buildup gets too thick, it can actually block the sensor and stop it from detecting smoke properly.
To prevent this, give your alarms a gentle clean once a year. The easiest way is with a vacuum cleaner using the soft brush attachment to carefully go over all the vents. This simple step keeps the sensing chamber clear and ready to do its job.
Every smoke alarm has a use-by date. They must be replaced every 10 years from the date they were manufactured. An expired alarm just isn’t reliable because its sensors lose sensitivity over time.
Check the back or side of the alarm for the manufacture or expiry date. If it’s past that 10-year mark, replacing it isn’t a suggestion—it’s absolutely critical for your safety.
Finally, remember that meeting the minimum legal requirement is just a baseline. Australian laws might only require one alarm per level, but bodies like Fire and Rescue NSW strongly recommend a much safer setup. Their research points to the lifesaving benefits of having interconnected alarms in every bedroom, hallway, and living space.
Upgrading your system and testing it diligently is how you move from basic compliance to creating a truly safe home. You can learn more about these enhanced safety standards on the FRNSW website.
https://www.youtube.com/embed/k8oOBH_Td44
For landlords and strata property managers, knowing how to test a fire alarm goes far beyond a simple monthly button push. Your legal responsibilities are much stricter, and they’re all designed to guarantee the safety of everyone in the building. This is where professional servicing isn’t just a good idea—it’s non-negotiable.
The rules are black and white, and ignoring them can lead to serious penalties. While your own checks are great for catching immediate issues, they don’t come close to meeting the comprehensive legal standards required for rental and commercial properties in Australia. You absolutely need an accredited professional to handle the heavy lifting of compliance.
A professional inspection is a world away from a basic function test. An accredited fire safety practitioner does far more than just see if the battery works; they dive deep into the entire system’s health and integrity.
They cover critical tasks that are impossible to do on your own, such as:
These checks are so important because they confirm the system will actually do its job in a real fire. To get a better feel for the sheer detail involved, it’s worth looking over a comprehensive fire alarm inspection checklist.
Here in Australia, everything is largely governed by Australian Standard AS 1851, which lays out the strict routines for servicing fire protection systems. This standard dictates the frequency, procedures, and documentation required for inspections, especially for residential and commercial buildings classified from Class 1b to 9. If you own one of these properties, you’re required to keep detailed records and can face hefty fines for non-compliance.
The ultimate goal of all this professional work is the Annual Fire Safety Statement (AFSS). This is the legal document that proves a qualified expert has inspected, tested, and verified that every fire safety measure on the property performs as it should. Only an accredited practitioner can issue an AFSS, making their role absolutely indispensable for property owners.
Even the best fire alarms can have their moments. From those annoying chirps to full-blown false alarms, knowing how to sort out these little quirks is just as vital as your regular testing routine. Let’s walk through some of the most common issues you might face and how to fix them.
That maddening, random ‘chirp’ is by far the most frequent issue we hear about. It’s easy to get frustrated, but remember: the alarm is trying to tell you something. In 9 out of 10 cases, it’s simply a low battery warning. Your first move should always be to pop in a fresh, high-quality battery.
If a new battery doesn’t do the trick, check the expiry date on the unit. Most alarms have a lifespan of 10 years, and that chirp could be its end-of-life signal, letting you know it’s time for a complete replacement.
There’s nothing more startling than a false alarm, but they’re often triggered by something simple. Things like cooking fumes, steam from the shower, or even just high humidity can sometimes fool the sensor.
If your alarm goes off while you’re cooking up a storm, don’t disconnect it! Instead, look for the ‘Hush’ or ‘Silence’ button. This feature temporarily lowers the alarm’s sensitivity for about 10 minutes, giving the air a chance to clear without leaving your family unprotected.
An alarm placed too close to a kitchen or bathroom is a recipe for nuisance alerts. As a rule of thumb, a unit should be at least three metres away from cooking appliances and steamy bathrooms to prevent these issues.
It’s also worth remembering how modern systems work, especially for those in Queensland with interconnected alarms. One trigger sets them all off – a critical safety feature. You can learn more about the requirements for interconnected smoke alarms in QLD to get a better handle on your setup.
If you’ve tried these simple fixes and the problem persists, it’s probably a sign that it’s time to call in a professional.
Even with a consistent testing schedule, it’s completely normal to have a few nagging questions. Let’s be honest, getting the details right when it comes to fire safety is what really counts for protecting your property and the people in it.
A common query I hear is about the difference between testing a hard-wired alarm and a simple battery-operated one. Your hard-wired units are connected to your home’s main power, but they always have a backup battery. This is non-negotiable, as it’s what keeps the alarm working if the power goes out. You need to test them in the exact same way as a battery-only model to make sure that crucial backup is ready to go.
What about using that canned smoke you see for sale? It seems like a more “real” test, right? While it has its place for certain commercial systems, you should steer clear of using aerosol smoke on your home alarms. It’s designed for different types of sensors and can leave behind an oily film. Over time, this residue can attract dust or even damage the sensor, making it less effective when you actually need it. Stick to the test button—it’s designed to confirm the whole unit is operational.
Here’s something many people overlook: your smoke alarm has an expiry date. Every single alarm is designed with a lifespan of 10 years from the day it was made. After that, the internal sensor just isn’t reliable anymore.
To check yours, you’ll need to gently twist the alarm off its base. Look for a sticker on the back or side with a manufacture date. If that date was more than 10 years ago, you need to replace it straight away. It doesn’t matter if it still beeps during a test; an expired alarm is a major safety risk.
Thinking beyond just the test itself is also smart. What’s your plan when an alarm actually goes off for real? For homeowners looking to build a comprehensive safety plan, you can learn more about creating effective alarm response measures.
For professional advice on installing modern, compliant smoke alarm systems, you can trust the team at DLG Electrical. We’ll make sure your home is up to all current Australian safety standards. Get in touch for a free quote at https://dlgelectrical.com.au.

Master Electrician with over 30 years of experience. Founded DLG Electrical in 2005 after international project work including electrical installations at Stamford Bridge Stadium, London(Home of Chelsea FC).

Local Electricians that can fix all Electric Hot water Systems.
Motion sensor lights are a versatile addition to any home, offering nu
