Before we even think about touching a wire, let’s get one thing crystal clear: wiring a light switch in Australia is a job strictly for a licensed electrician. Full stop.
This guide is designed to walk you through what a professional ‘sparky’ does, so you know what to expect and can have an informed chat with them. It is absolutely not a DIY manual. Understanding the proper process helps you appreciate the skill and safety standards that go into even a seemingly simple job.
Understanding Australian Light Switch Wiring
How to Wire a Light Switch Australia: Easy Step-by-Step Guide 5
So, why are the rules here so tough? In some countries, swapping a light switch is seen as a simple home task. Not in Australia. Here, all electrical wiring work—no matter how minor it seems—must legally be done by a licensed electrician. This isn’t just bureaucratic red tape; it’s a critical safety measure designed to protect lives and property from the very real dangers of electricity.
Getting it wrong is a massive risk. An incorrectly wired switch can easily lead to a short circuit, creating a serious fire hazard. Worse, it poses an immediate threat of electric shock, which can cause severe injury or even be fatal.
Why You Must Hire a Licensed Electrician
Trying to tackle this job yourself has consequences that go way beyond the immediate physical dangers. It’s worth knowing exactly what you’d be up against:
Hefty Fines: If you’re caught doing unlicensed electrical work, you can face substantial fines. Depending on the state, these can run into the thousands of dollars.
Voided Insurance: Imagine a house fire is traced back to your DIY wiring job. Your home and contents insurance policy will almost certainly be voided, leaving you to foot the bill for the entire disaster.
Selling Your Home Becomes a Nightmare: Uncertified electrical work is a red flag for any building inspector. It can derail a sale or force you to pay a professional to fix it all anyway.
When a licensed electrician finishes a job, they don’t just pack up their tools. They issue a Certificate of Compliance. This document is your official guarantee that the work is safe, meets Australian Standards, and has been done professionally.
A Quick Look Inside Your Wall
To really get why a pro is needed, it helps to understand the basic wiring of a standard Aussie lighting circuit. When a sparky opens up that switch plate, they’re not just connecting two wires; they’re working with a whole system.
In Australia, the most common setup is what’s called a “loop at the switch” system. This means the main power cable from your circuit breaker runs directly to the switch box first, before it goes to the light fitting. The switch is the central control point for the power.
Inside the cable, your electrician will be working with three core wires:
Active (Red or Brown): This is the live wire, carrying the electrical current from the source.
Neutral (Black or Light Blue): This wire completes the circuit, allowing the current to return to the source.
Earth (Green/Yellow): This is the most important one for safety. It protects you from electric shock if there’s a fault.
Knowing this makes it obvious that wiring a light switch is about safely integrating it into a regulated electrical system. This is the expertise you’re paying for—a professional who knows the Australian Wiring Rules (AS/NZS 3000) inside and out and can guarantee a safe, compliant job. The peace of mind you get from that is priceless.
Know The Risks And Follow The Rules
How to Wire a Light Switch Australia: Easy Step-by-Step Guide 6
Let’s move past general warnings and talk about the real-world risks and the strict regulations that govern all electrical work in Australia. This isn’t about scaring you; it’s about having a healthy respect for the power you’re dealing with. It’s also about understanding the professional standards created to keep everyone safe.
When a licensed electrician tackles a job, even one as common as wiring a light switch, their every move is guided by a deep knowledge of these risks and rules.
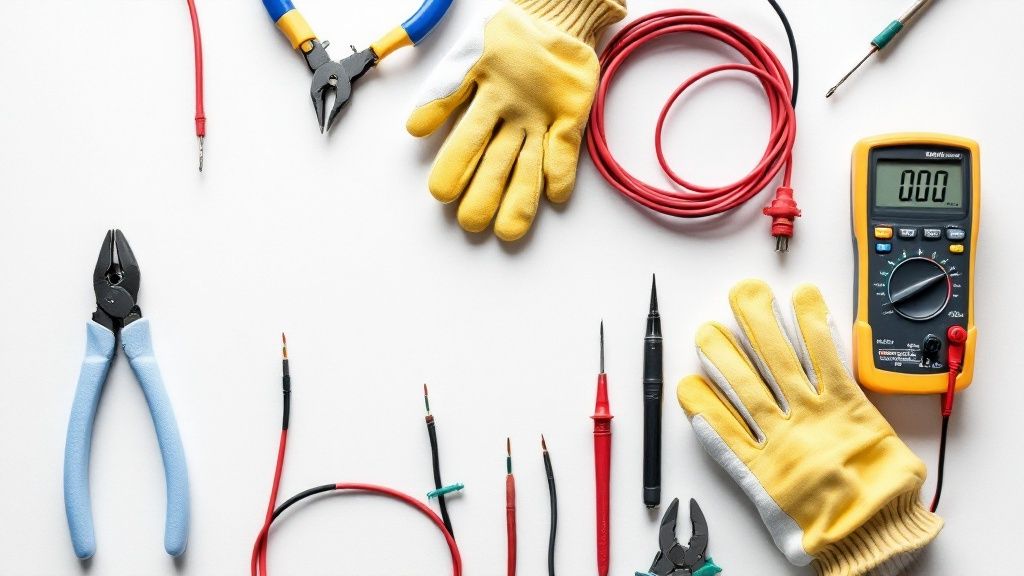
The simple truth is that electricity is incredibly dangerous. One small mistake can lead to electrocution, fire, or destroyed appliances. This is why a sparkie’s toolkit contains much more than just screwdrivers and pliers—it’s packed with specialised testing and safety equipment.
The Electrician’s Safety Toolkit
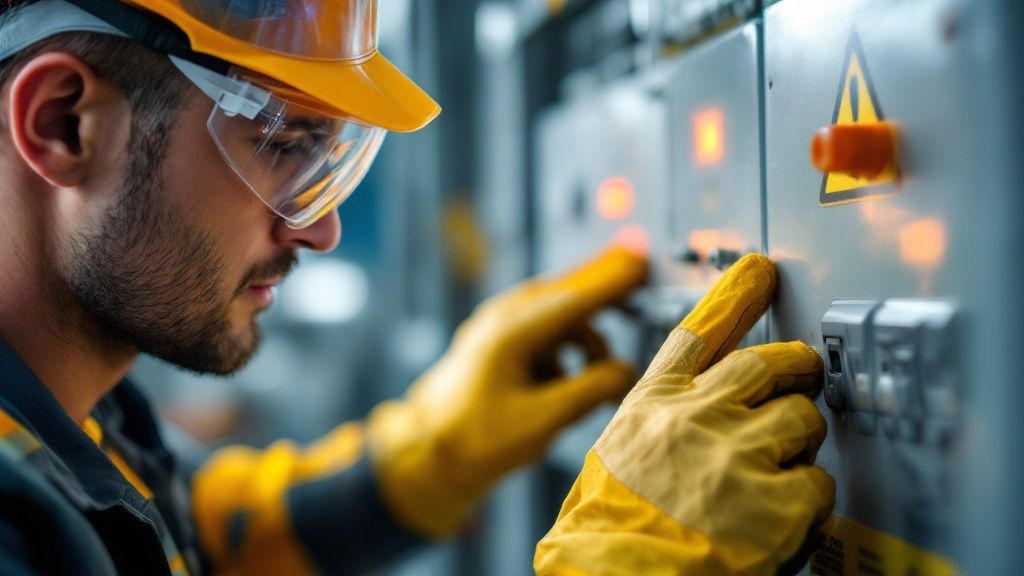
Before touching a single wire, a professional’s safety-first mindset takes over. This means using specific gear and following methodical procedures that are never skipped on a job site.
Personal Protective Equipment (PPE): This is non-negotiable. Insulated gloves, safety glasses, and the right footwear are the first line of defence against accidental contact with live electricity.
Voltage Testers: A good electrician never assumes a circuit is dead just because a switch is off. They’ll first use a non-contact voltage tester (a “volt stick”) for a quick check, then follow up with a multimeter to confirm a definitive reading of zero volts.
Lockout/Tagout (LOTO): This is a critical safety step. After turning off the circuit breaker, a physical lock is placed on it to prevent anyone from accidentally flipping it back on. A tag is attached to warn others that work is in progress.
These steps create a controlled, de-energised work area. It’s the only safe way to even begin a job like wiring a light switch in Australia.
Understanding The AS/NZS 3000 Wiring Rules
The bible of electrical safety in this country is the AS/NZS 3000:2018, better known as the Australian Wiring Rules. This isn’t just a best-practice guide; it’s the legally enforceable standard for every single electrical installation, from a new build to a simple switch replacement.
This document dictates everything from the type and size of cable required to the exact way connections must be made inside a terminal. It provides a comprehensive framework to ensure every job is designed, constructed, and verified for safety.
While it’s the ultimate authority, navigating its complexities can be a challenge. In fact, some research shows that 78% of electrical contractors find it difficult to keep up with inconsistencies between different state and territory regulations.
The Wiring Rules go far beyond just connecting the right coloured wires. They cover crucial details like proper earthing, preventing strain on cables, and ensuring enough insulation is in place to stop short circuits before they happen.
How The Rules Apply To A Simple Light Switch
So, what does all this mean for your light switch? The AS/NZS 3000 sets out specific requirements that your electrician will follow to the letter.
Secure Connections: All terminals must be tightened correctly. Loose wires are a massive fire hazard because they can cause arcing.
Correct Wire Stripping: Only the right amount of insulation can be removed. Too much exposed copper is a shock risk, but too little means a poor, unreliable connection.
Segregation of Wires: The rules even specify how wires need to be organised inside the wall box to prevent them from getting damaged over time.
This meticulous attention to detail is what separates a professional, compliant job from a dangerous DIY gamble. If you want to dive deeper, you can learn more about the specifics in our guide on electrical wiring standards in Australia.
Ultimately, these regulations and procedures all exist for one simple reason: to prevent accidents and ensure the electrical systems in our homes are safe for our families.
Essential Tools and Materials for the Job
Any licensed electrician worth their salt arrives with a specific toolkit, and for good reason. Every tool plays a crucial role in getting the job done safely, precisely, and in line with strict Australian standards. Having the right gear isn’t just about being quick; it’s about eliminating risks and ensuring a professional finish that lasts.
When it comes to a job like wiring a light switch, your sparky will have a dedicated set of tools and materials ready to go. Understanding what they use—and more importantly, why—gives you a real appreciation for the skill involved. This isn’t just about connecting a few wires; it’s about creating secure, compliant connections that will perform safely for decades.
Hand Tools Built for the Trade
The first thing you’ll notice is an electrician’s hand tools look a bit different from your average set from Bunnings. They’re purpose-built for electrical work, with safety baked into their design.
Insulated Screwdrivers: This is non-negotiable. These screwdrivers feature a thick, non-conductive coating that runs almost to the very tip, shielding the user from electric shock if they make accidental contact with a live part.
Wire Strippers: Sure, you could technically use a knife, but a dedicated wire stripper is all about precision. It cleanly removes the outer plastic sheath without nicking or damaging the delicate copper strands inside, which is vital for a solid connection.
Pliers (Combination and Long-Nose): A good set of insulated pliers is essential for twisting wires together securely before termination, as well as for cutting and bending cables inside the tight space of a wall box.
The Right Materials for an Australian Home
Beyond the tools, the materials themselves must comply with Australian standards. The type of switch and the cable used are clearly specified by the AS/NZS 3000 Wiring Rules to guarantee safety and long-term reliability.
The most common cable your electrician will use for lighting circuits is Thermoplastic-sheathed (TPS) cable. This cable neatly contains the three necessary cores—active, neutral, and earth—all protected by a tough outer PVC sheath.
It’s a common misconception that all light switches are the same. In Australia, the switch mechanism must meet specific safety standards and be rated for our 230-volt system. Using an incompatible switch bought online or from overseas is not only illegal but extremely dangerous.
Choosing the Correct Light Switch
Not all switches do the same job. Your electrician will choose the right type based on what you want to achieve, and knowing the difference helps you explain your needs clearly. From a simple on/off to controlling a light from two ends of a hallway, the switch mechanism is key.
Here’s a quick rundown of the common switches you’ll find in Australian homes.
Australian Light Switch Types and Their Uses
Switch Type
Common Name
Typical Application
Wiring Complexity
Single-Pole
Standard Switch
Controls one light from a single location.
Basic
Double-Pole
Isolator Switch
Often used for appliances like ovens or heat lamps.
Basic
Two-Way Switch
Staircase Switch
Controls one light from two different locations.
Intermediate
Dimmer Switch
Dimmer
Allows for variable brightness control of a light.
Intermediate
So, if you want to control your hallway light from both ends of the hall, you’d ask your electrician for a “two-way switching” setup. They’ll use the correct switches and run the necessary “strapper” wires between them. This is a far more involved job than a simple one-for-one swap of a standard switch.
Understanding these basic components helps you see why knowing how to wire a light switch in Australia professionally involves much more than just a screwdriver and a bit of guesswork.
How a Professional Wires a Light Switch
Right, let’s get into the nitty-gritty. This is how a licensed sparky actually wires a light switch here in Australia. It’s a methodical process where every single step is guided by safety, compliance, and years of hands-on experience. We’re not just twisting a few wires together; we’re creating a safe, reliable, and legally sound installation that will last for years.
The job starts long before a screwdriver even touches the switch. The first and most critical priority is to make the work area completely safe by de-energising the circuit. An experienced electrician never, ever assumes a circuit is dead just because the light is off. We always go straight to the source.
Isolating and Proving the Circuit is Dead
The first moves happen at your switchboard. A professional will systematically find the specific circuit that feeds the light switch we’re working on. In newer homes with everything neatly labelled, this is usually straightforward. In older places with cryptic or non-existent labels, it can take a bit of detective work.
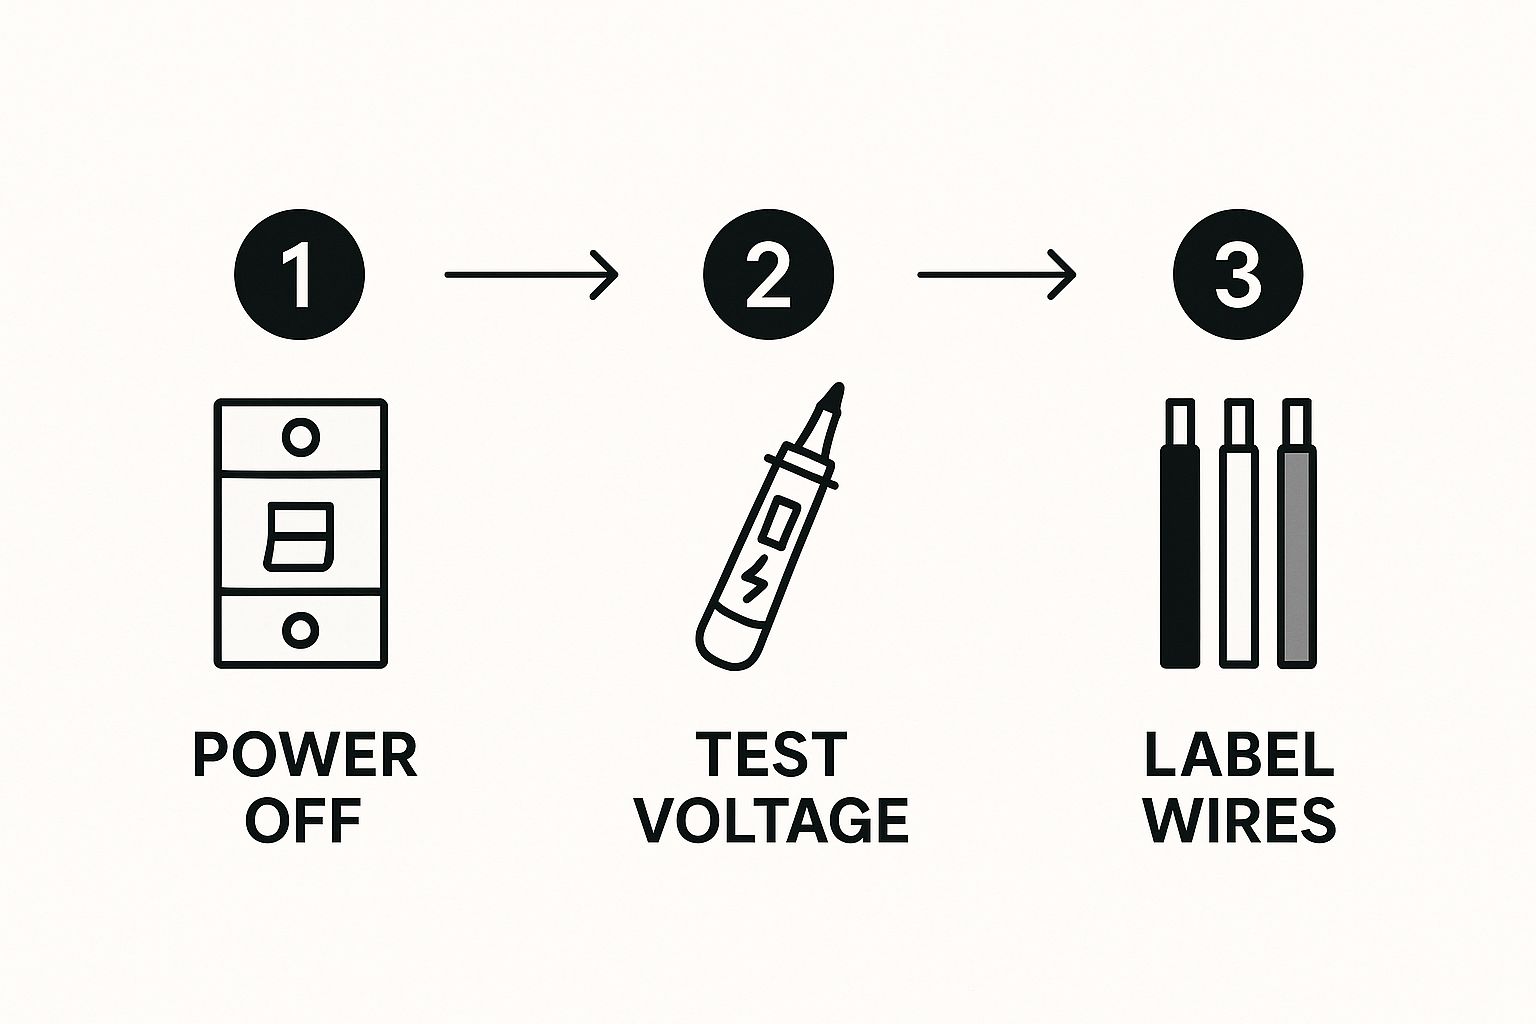
Once the right circuit is found, the electrician will:
Kill the Power: The circuit breaker is flicked to the ‘OFF’ position. If it’s an old-school fuse box, the ceramic fuse for that circuit is pulled out completely.
Lock It Out: This is non-negotiable. A physical lock (a lockout/tagout device) is clamped onto the breaker switch. This stops anyone from accidentally turning the power back on while someone is working on the circuit. A warning tag is hung right alongside it.
Test, Then Test Again: Back at the light switch, a voltage tester is the next tool out of the bag. A quick check with a non-contact “voltage pen” is followed by the definitive test with a multimeter. We need to see a reading of zero volts between all conductors—active, neutral, and earth. Only when that meter reads zero is it safe to touch a single wire.
This infographic shows the fundamental safety steps that every single professional takes before starting.
How to Wire a Light Switch Australia: Easy Step-by-Step Guide 7
This isn’t just “best practice.” It’s a life-saving routine that is the foundation of all professional electrical work.
Preparing the Wires for a Clean Connection
With the power confirmed off, the old switch plate comes off, exposing the wiring inside the wall box. The first thing we do is give the existing cables a good look-over for any signs of brittleness, heat damage, or deterioration.
Assuming everything looks okay, it’s time to prep the wires for the new switch. Using a pair of quality wire strippers, we carefully strip about 10-12mm of the coloured insulation off each core. The goal is to expose just enough copper for a solid connection inside the terminal, without leaving any live copper showing once it’s screwed down.
One of the most common DIY mistakes is nicking or cutting the copper conductor while stripping the insulation. A damaged wire can create a hot spot, overheat under load, or even snap off inside your wall—a massive fire risk. This is where a sparky’s precision really counts.
Getting Your Head Around the “Loop at the Switch”
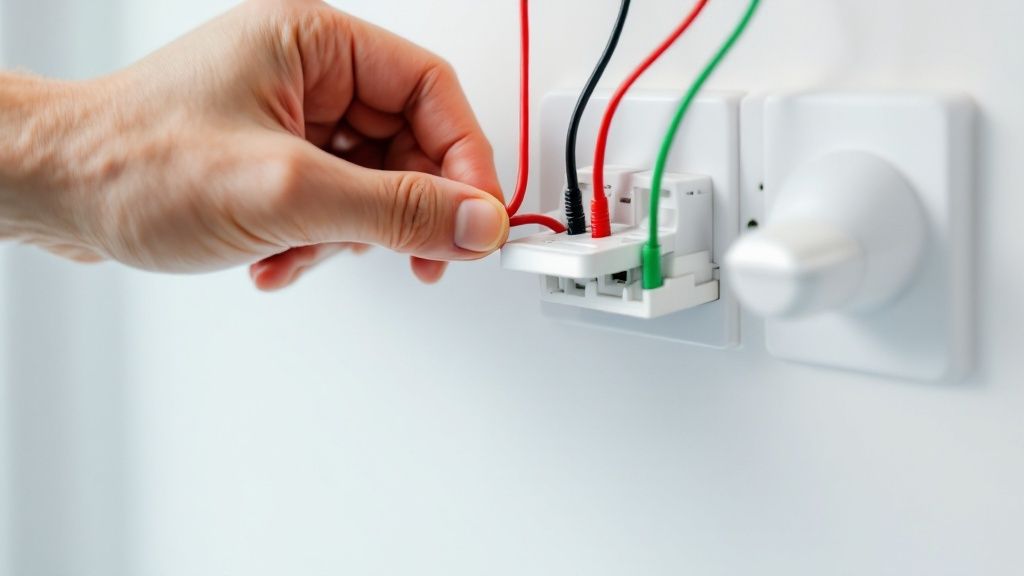
In most Aussie homes, we use a wiring method called “loop at the switch.” It just means that the main power cable from the switchboard and the cable running up to the light fitting both meet inside the wall box behind the switch.
This is why you’ll often see a jumble of wires that can look confusing. A qualified electrician knows exactly how to identify and manage them:
Permanent Active: This is the live wire that brings power into the switch from the switchboard.
Switched Active: This wire takes the power out of the switch and up to the light fitting when you flick it on.
Neutral Wires: These are usually just joined together in a connector and tucked away. They don’t connect to a standard light switch.
Earth Wires: All the green and yellow earth wires must be connected to the earth terminal on the new switch mechanism and the metal mounting bracket for safety.
Making the Final, Secure Connections
With all the wires identified and prepped, making the final connections is a straightforward but crucial step.
For a standard, single light switch, the permanent active wire is terminated into the terminal marked ‘C’ (for Common) or sometimes ‘1’. The switched active wire (heading to the light) goes into the other terminal, usually marked ‘2’. All earth wires are screwed down tightly into the dedicated earth terminal.
Every single screw is tightened firmly. A loose connection is one of the biggest causes of electrical faults. It can lead to arcing, overheating, and eventually fire. Once tightened, we give each wire a gentle tug to make sure it’s locked in solid.
Any Brisbane electrician worth their salt will tell you that spending an extra 30 seconds double-checking every terminal is a non-negotiable part of the job.
Finally, the wires are neatly folded back into the wall box, and the new switch and faceplate are screwed into place, ready for testing.
Final Checks and Safety Verification
How to Wire a Light Switch Australia: Easy Step-by-Step Guide 8
The job isn’t finished just because the new faceplate is on the wall. A professional sparky’s work is only complete once they’ve methodically tested and verified that the new installation is 100% safe and functional.
This final commissioning stage is a non-negotiable part of any professional job, providing the ultimate assurance that the work complies with all Australian standards and won’t cause problems down the track.
Physical Inspection Before Power-Up
Before heading back to the switchboard, your electrician will give the switch one last look-over. It’s a meticulous final check of their own handiwork, because a trained eye can spot potential faults even when the switch is fully assembled. This quick but critical inspection is the first line of defence against common installation errors.
Secure Terminals: A final gentle tug on the wires ensures every connection is tight and secure. No wiggle room here.
No Exposed Copper: The electrician verifies that no stray copper strands are visible outside the terminals, eliminating a potential shock or short-circuit hazard.
Proper Seating: They check that the switch mechanism sits flush and isn’t pinched or strained inside the wall box.
Faceplate Fit: The cover plate should be snug against the wall, with no gaps that could allow dust or moisture to creep inside.
This detailed physical review confirms the mechanical integrity of the installation. Only after this is complete is it time to safely re-energise the circuit. It’s a methodical approach for a reason—data shows that between 2003 and 2013, contact with electricity accounted for 15% of all construction fatalities in Australia, which underscores why these final checks are so critical.
Restoring Power and Operational Testing
With the lockout tag and lock removed from the switchboard, the circuit breaker is carefully switched back to the ‘ON’ position. This is the moment of truth.
Back at the switch, the final operational tests are performed to confirm everything is working exactly as it should. A professional will systematically flick the switch on and off multiple times, listening and feeling for any signs of trouble.
A correctly installed light switch should operate silently and smoothly. Any buzzing, humming, or crackling sounds indicate a serious problem, most likely a loose connection arcing inside the wall. If this occurs, a professional will immediately de-energise the circuit and rectify the fault.
The final checks also involve observing the light fitting itself. Does the light turn on instantly, or is there a delay? Is there any flickering? These are all signs the electrician is looking for to certify the job is done right.
This also includes ensuring safety devices like RCDs are functioning correctly. To understand more about these crucial life-saving devices, you can read our article about what a Residual Current Device is. This complete verification process provides the peace of mind that your new light switch is safe, compliant, and ready for years of reliable service.
Got Questions About Light Switch Wiring?
Even if you know you need to call a professional, it’s completely normal to have a few questions about how it all works. Understanding the rules, the lingo, and the potential costs helps you feel more confident when you chat with your electrician.
We get asked about this stuff all the time. Here are some straight answers to the most common queries we hear from homeowners around Australia.
Can I Legally Wire a Light Switch Myself in Australia?
This is easily the number one question, and the answer is a hard no.
In every single state and territory in Australia, it’s illegal for anyone who isn’t a licensed electrician to perform any electrical wiring. That definitely includes what might seem like a simple job, such as swapping out an old light switch for a new one.
This isn’t just red tape; it’s about safety. All electrical work must be done by a licensed professional to comply with the AS/NZS 3000 Wiring Rules. Trying to DIY this can have serious consequences:
Hefty Fines: Getting caught doing unlicensed electrical work can cost you thousands of dollars in fines.
Voided Home Insurance: If a fire starts and it’s traced back to your DIY wiring, you can bet your insurance company will refuse the claim.
Serious Safety Hazards: The risk of electrocution or fire from one wrong connection is incredibly high. It’s just not worth it.
What’s the Difference Between One-Way and Two-Way Wiring?
You’ve probably heard these terms thrown around. They simply describe how many switches can control a single light.
A one-way switch is the most common setup you’ll find – one switch on the wall controls one light. Simple.
Two-way wiring is for when you want to control the same light from two different spots. Think of a hallway or a room with two entrances, or the classic example: the top and bottom of a staircase. The wiring is a bit more involved as it needs extra “strapper” wires running between the two switches to make it work.
How Much Does It Cost to Have an Electrician Replace a Light Switch?
For a simple, like-for-like replacement of a standard light switch, you can generally expect the cost to be somewhere between $100 and $200. This usually includes the electrician’s call-out fee and their first hour on the job.
However, the price can climb if the job gets more complicated. Factors that will add to the final cost include things like:
Installing a new dimmer or a smart switch.
Needing to run new cables to the switch.
Discovering and having to fix very old or dodgy wiring behind the wall.
Changing a one-way switch into a two-way setup.
Why Is My New Light Switch Buzzing or Getting Warm?
A buzzing, humming, or warm light switch is a massive red flag. This is absolutely not normal and signals a dangerous electrical fault that needs immediate attention.
A buzzing noise is often caused by electrical arcing—where electricity is literally jumping across a loose connection. This generates intense heat and is a major fire hazard.
If you notice your switch is warm or making any kind of noise, go to your switchboard and turn that circuit off right away. Then, call a licensed electrician. Don’t even think about using that switch again until a professional has inspected and fixed it. It’s a clear sign that something is seriously wrong inside the wall.
For any light switch installations, repairs, or safety checks in Brisbane, the fully licensed team at DLG Electrical is here to help. We make sure every job is done safely and to the highest industry standard. Contact us for a free quote today.
David Gilmour
Master Electrician with over 30 years of experience. Founded DLG Electrical in 2005 after international project work including electrical installations at Stamford Bridge Stadium, London(Home of Chelsea FC).