83 Jean St, Grange QLD 4051
Mon-Fri 07:30 AM - 04:00 PM - Sat - 8:00 - 12 - Sunday Closed
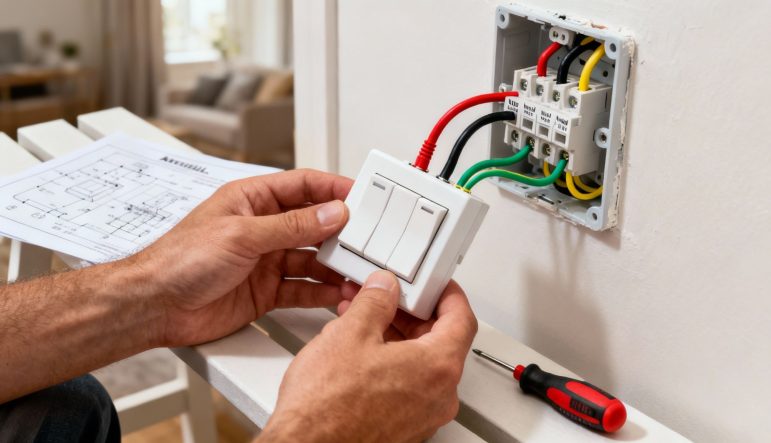
Before you even think about touching a wire, let’s talk about the absolute non-negotiables: safety and preparation. Getting this right isn’t just about having a list of tools; it’s about adopting a mindset of caution and precision from the moment you start. A successful—and safe—wiring job is built on this foundation.
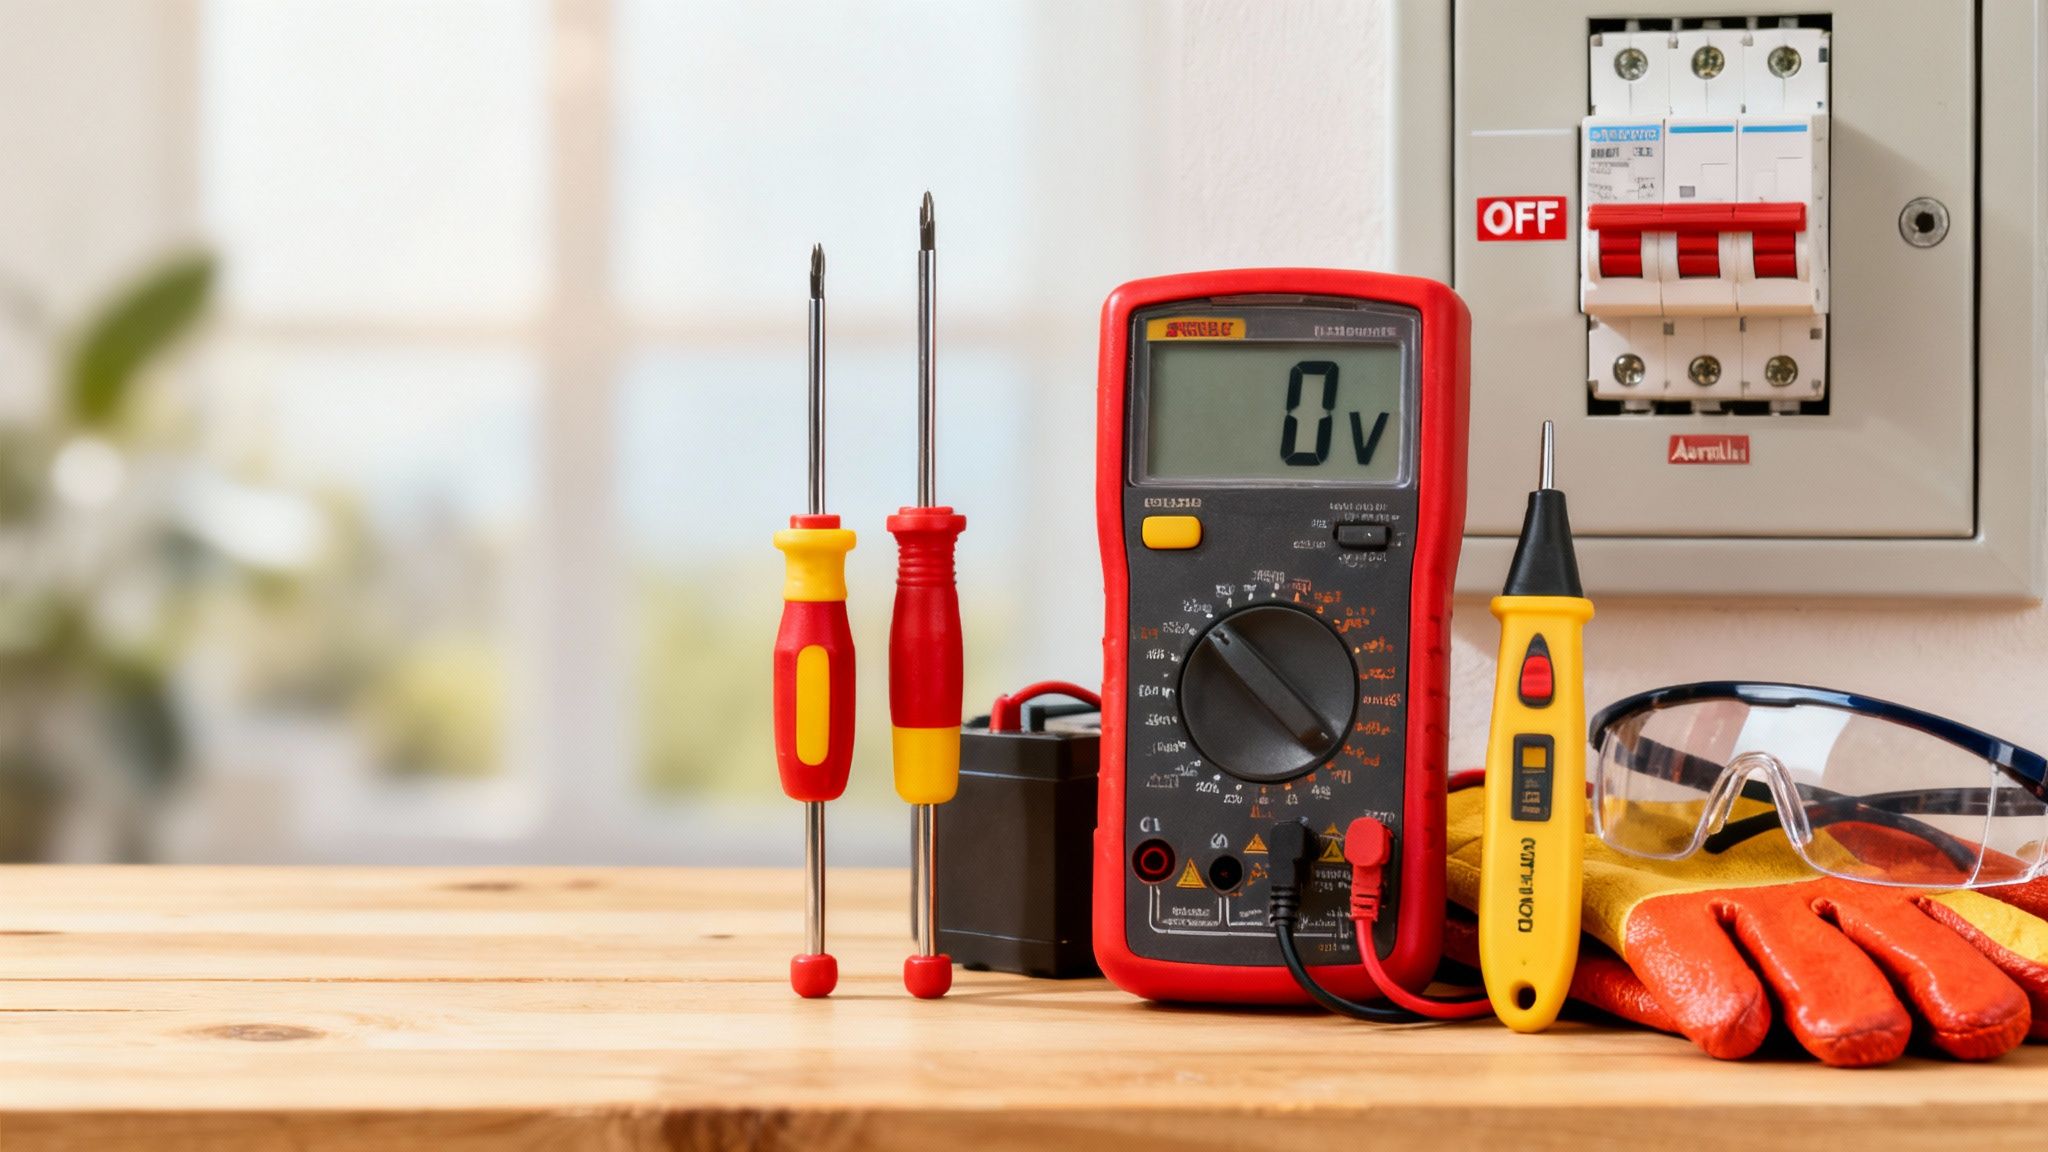
Jumping into any electrical work without the right gear is just asking for trouble. Your first line of defence should always be a quality non-contact voltage tester and a reliable multimeter. These aren’t optional—they’re essential for confirming a circuit is completely dead before you Wire a Switch.
And remember: It is illegal to perform Electrical work if you are not a licensed Electrician.
Take it from me, never assume a circuit is off just because you’ve flipped a breaker. Always, always double-check with your tester directly on the wires you plan to work on. This simple check takes two seconds and is single-handedly the most important thing you can do to prevent a nasty electric shock.
Having a well-stocked toolkit makes the job smoother and, more importantly, a whole lot safer. Before you even unscrew a faceplate, make sure you have these items ready to go:
Your first move, every single time, is to walk over to your switchboard and turn off the power to the circuit you’re working on. If you’re even slightly unsure which breaker it is, play it safe and shut off the main switch.
It also pays to understand the basics of your home’s electrical system. Knowing what a residual current device is and how it keeps you safe is invaluable knowledge. There’s a reason the demand for professional electrical services in Australia remains strong—safe, compliant work is critical. It’s also a good idea to familiarise yourself with some general safety guidelines for a broader perspective on keeping your projects safe.
When you look behind a light switch, that jumble of wires can seem pretty intimidating. Luckily, Australia has a standard, colour-coded system that makes electrical work much safer and more logical. Getting your head around these colours is the first step to properly reading any wire a switch diagram. It’s the basic language of the trade.
Each colour plays a specific, non-negotiable role in the circuit. Think of them as traffic lights for electricity, safely directing power from your switchboard to the light fitting and back again. Mixing them up isn’t a small mistake—it’s a serious safety hazard that can lead to short circuits, damaged appliances, or worse.
In most standard lighting circuits, you’ll come across three core colours: Red, Black, and a Green/Yellow stripe. Let’s break down what each one does.
Key Takeaway: The golden rule in Australian wiring is to always switch the Active (Red) wire. This ensures that when the switch is in the ‘off’ position, no power is flowing to the light fixture, making it safe for tasks like changing a lightbulb.
To make this even clearer, here’s a quick reference table for the standard Australian wiring colours. It’s a handy guide to keep in mind whenever you’re dealing with electrical circuits.
| Wire Colour | Function | Description |
|---|---|---|
| Red | Active (Live) | Carries the electrical current from the source to the load (e.g., light or switch). This wire is considered “hot.” |
| Black | Neutral | Completes the circuit by providing a return path for the current back to the source. |
| Green/Yellow | Earth | A safety wire that connects to the metal casing of fixtures and provides a path to ground in case of a fault. |
Having this basic colour knowledge turns a confusing tangle of wires into a clear roadmap, helping you understand exactly what’s happening inside your walls.
Flip over a standard light switch, and you’ll notice small markings next to the terminals. These are there to tell you exactly where each coloured wire goes. A common setup you’ll see is ‘C’ (Common) for the incoming active wire, ‘1’ for the switched active wire going out to the light, and sometimes a ‘Loop’ terminal if another switch is being powered from the same point.
Matching the right colour to the right terminal is where theory meets practice. For anyone wanting to get a deeper understanding, it’s always a good idea to familiarise yourself with the official electrical wiring standards in Australia. This ensures everything you do is fully compliant and, most importantly, safe.
Now that you’re familiar with the colour language of Aussie wiring, let’s apply that knowledge directly to a wire a switch diagram. This is where the theory hits the tools, turning a technical drawing into a practical, easy-to-follow roadmap for what’s happening behind your wall. We’ll stick with the single-pole switch for now, as it’s the most common type you’ll find controlling a light in just about any room.
At its core, a switch is just a gatekeeper for electricity. Its only job is to safely break the flow of power along the Active (Red) wire—the “hot” one carrying the current. When you flick the switch on, you’re closing the gate, letting electricity continue its journey to the light. Flip it off, and you open the gate, cutting off the power.
This infographic breaks down the basic flow and the job of each wire in a standard lighting circuit.
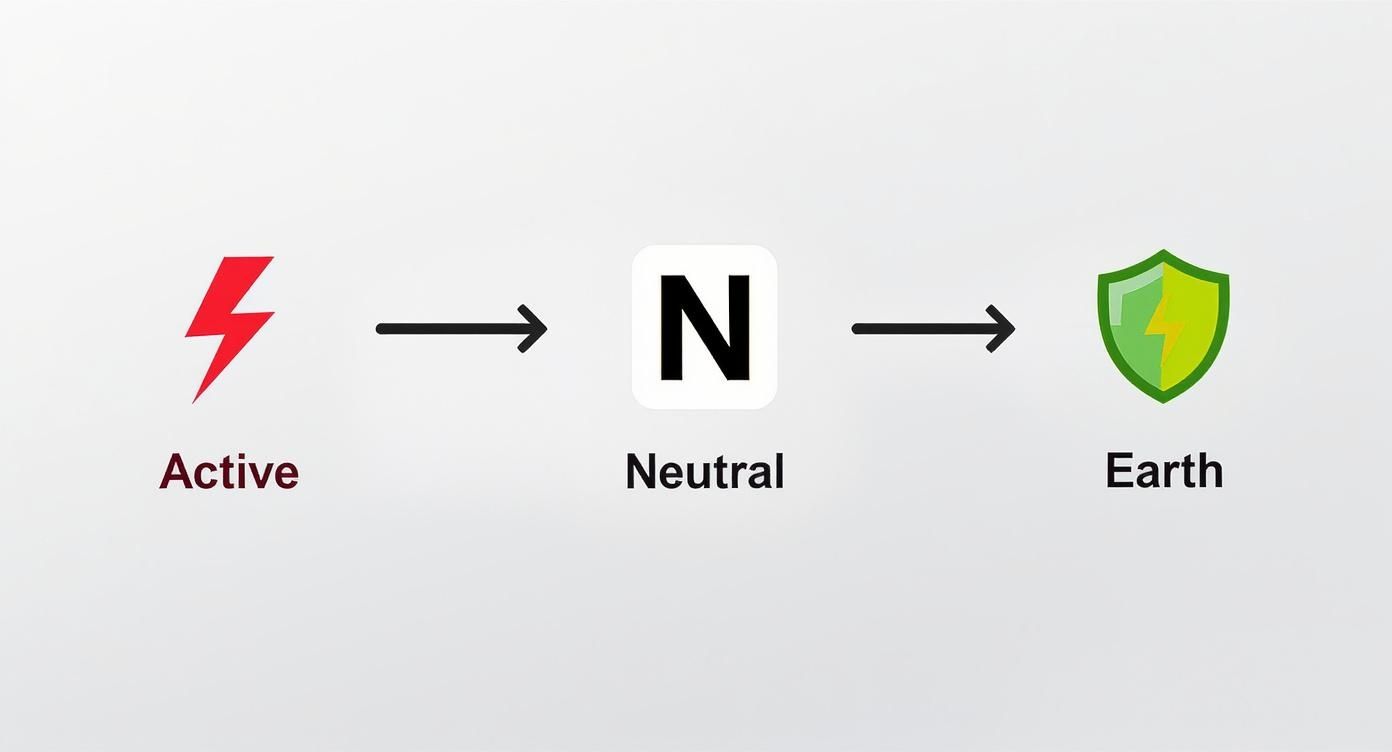
Seeing it visually really cements the specific role each coloured wire plays, from the power-carrying Active wire to the life-saving function of the Earth wire.
Let’s follow the journey of electricity on a simple diagram. You’ll typically see one cable coming into the switch box from your power source and another cable heading out towards the light fitting itself.
In Australia, the golden rule is to always ‘switch the active’. This is a critical safety practice. It ensures that when the switch is off, the entire light fitting is de-energised, making it totally safe to handle for something as simple as changing a bulb. You should never, ever interrupt the Neutral or Earth wires with a switch.
This simple connection is the foundation of almost every lighting circuit in a modern home. Of course, the quality of the components, especially the cables, is non-negotiable. The Australian electric cable and wire manufacturing industry had a market size of about $2.2 billion in 2025, with low-voltage cables making up the biggest slice of that revenue. This just goes to show how fundamental these parts are for safe, reliable electrical systems in the construction game. You can dig into more data about Australia’s cable manufacturing industry on ibisworld.com.
Once you understand this straightforward path, the diagram stops being a confusing puzzle and becomes a logical guide.
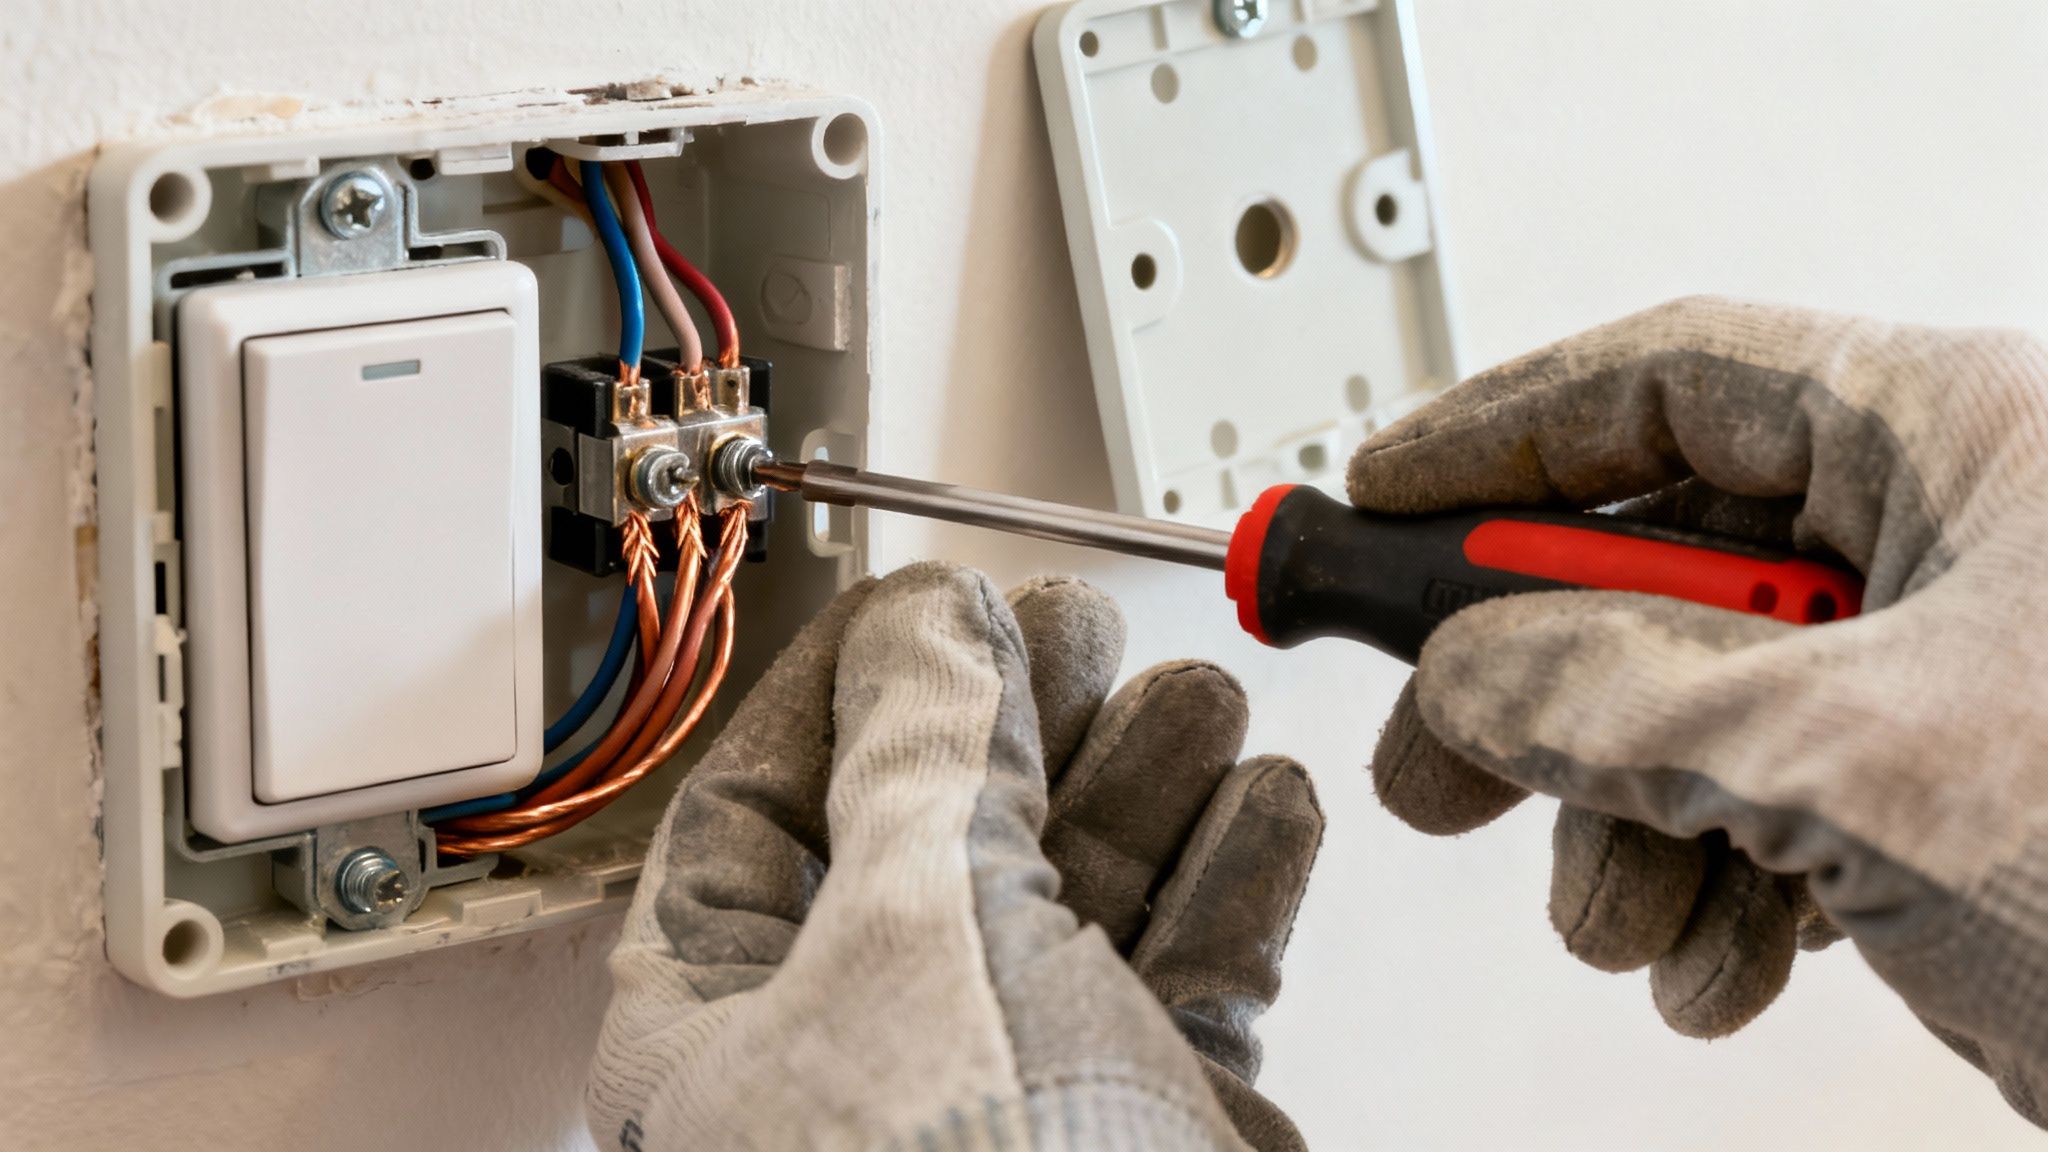
Alright, with a clear wire a switch diagram in your head, it’s time to get on the tools and make those connections. This is where the theory becomes reality, and it’s the small details that make the difference between a dodgy job and a professional, safe result. How well you do this part determines whether the switch works reliably for years to come.
First things first, let’s prep the wires. When you strip the insulation, you’re aiming for about 10-12mm of bare copper. Any less and the terminal screw won’t get a solid grip. Any more, and you risk leaving exposed live wire floating around inside the wall box—a massive hazard.
One of the most common mistakes I see is people nicking the copper strands when they strip the wire. A good pair of wire strippers with the correct gauge notches is your best friend here. A damaged wire is a weak point that can overheat or snap off down the track.
Once your wire is stripped, give the copper strands a neat little twist to keep them from splaying out. Make sure every single strand goes into the switch terminal. A stray strand is all it takes to cause a short circuit. After tightening the screw, give the wire a gentle but firm tug. You want to be sure it’s locked in and not going anywhere.
Pro Tip: When you tighten those terminal screws, think “firm,” not “forced.” Overtightening can strip the screw, crack the terminal, or damage the wire itself, leading to a poor connection that can fail later on.
It’s worth remembering that the humble wires you’re working with are part of a huge national infrastructure. In fact, Australia’s electrical wires and cables market was worth around USD 5.39 billion in 2023, with low-voltage cables making up nearly 44% of that. This just shows how vital they are in everyday jobs like this one. You can read more in this in-depth Australian wires and cables market analysis.
Before you shove the switch back into the wall, take a moment to gently fold the wires. An accordion or “S” shape works best. This simple technique stops the wires from getting pinched or crushed by the switch mechanism when you screw it in.
It also makes it far easier to seat the switch correctly so the faceplate sits perfectly flush against the wall. A clean finish is the hallmark of a job well done. Taking your time on these little steps is what separates an installation that just works from one that’s done right—safe, secure, and built to last.
With your connections secure and the switch mounted, it’s time for the final check. This isn’t just about flicking the switch; it’s a methodical process to make sure your work is safe and sound. Before you do anything else, give it one last visual inspection. Make sure no bare copper is exposed and that all the wires are tucked neatly inside the wall cavity.
Once you’re satisfied, you can head back to the switchboard and restore power to the circuit. Now for the moment of truth. Go back to your newly installed switch and test it out. A solid, crisp click and a light turning on mean you’ve nailed it and followed your wire a switch diagram perfectly.
But what if nothing happens, or the light flickers? Don’t panic. This is usually something simple. The most common culprit I see is just a loose connection. Immediately turn the power off again at the switchboard, then go back and carefully re-check each terminal screw, making sure it’s firmly tightened.
If tightening the connections doesn’t solve the issue, it’s time to look a little deeper. Here are a few other common culprits:
Even with a perfect diagram in front of you, it’s natural for questions to come up. This is especially true when dealing with Australian electrical standards and the different types of switches you might find behind the wall plate. Getting these things straight is crucial for understanding the job and, most importantly, for keeping everyone safe.
Let’s tackle a couple of the most common queries we hear from our clients.
Let’s be crystal clear on this one: the answer is a hard no.
Across every single state and territory in Australia, it is illegal for an unlicensed person to perform any electrical wiring. That includes something that seems as simple as swapping out a light switch. Trying to do this yourself is not just against the law; it’s incredibly dangerous and will almost certainly void your home insurance policy if something goes wrong.
This guide is purely for your education—to help you understand what’s involved—not to encourage you to do the work yourself.
Good question. A one-way switch is your standard, everyday switch. It has one job: to turn a light (or group of lights) on and off from a single location. Simple.
A two-way switch is a bit more clever. It works in a pair to control the same light from two different spots. The classic example is at the top and bottom of a staircase, or at either end of a long hallway. The wiring is more complex because it needs an extra “strapper” wire running between the two switches to create the circuit.
If you ever take off a switch plate and find the terminals are marked differently to what you expect (for instance, ‘A’ for Active or ‘Loop’ instead of ‘C’ for Common), it’s time to stop. Guessing with electrical wiring is a recipe for disaster, creating a serious fire and shock hazard. When in doubt, always call a licensed professional.
For any electrical job that goes beyond just understanding how it works, you need an expert you can trust. DLG Electrical provides fully licensed and insured services, ensuring your home’s wiring is safe, compliant, and done right the first time.
Get in touch for a free quote at https://dlgelectrical.com.au.

Master Electrician with over 30 years of experience. Founded DLG Electrical in 2005 after international project work including electrical installations at Stamford Bridge Stadium, London(Home of Chelsea FC).

Local Electricians that can fix all Electric Hot water Systems.
Motion sensor lights are a versatile addition to any home, offering nu
