83 Jean St, Grange QLD 4051
Mon-Fri 07:30 AM - 04:00 PM - Sat - 8:00 - 12 - Sunday Closed
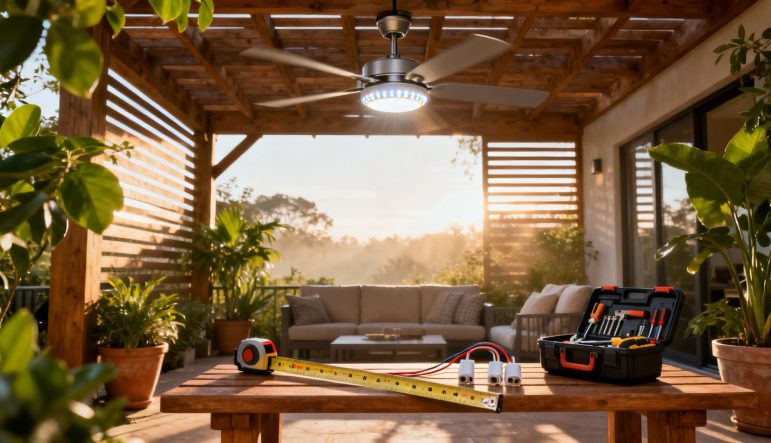
An outdoor ceiling fan is your best defence against Brisbane’s sticky heat, providing a welcome breeze that makes patios, decks, and alfresco areas enjoyable all year round. But choosing the right one is about more than just looks. It comes down to matching its weather rating (wet vs. damp) to your space’s exposure and getting the size right for the best possible airflow. Throw in modern features like ultra-efficient DC motors and smart controls, and you can seriously upgrade your outdoor comfort.
Finding the perfect outdoor ceiling fan in Brisbane isn’t as simple as picking a style you like. It’s a practical decision driven by our city’s infamous humidity and sudden downpours. A fan that isn’t built to handle these conditions won’t just fail early; it can become a serious safety hazard.
The single most important factor is the fan’s official weather rating. This isn’t a suggestion—it’s a critical specification that dictates where it can be safely installed.
Trying to use an indoor fan outside, even in a spot that seems protected, is a recipe for disaster. Its internal parts will rust out, and the blades, often made from wood composites, will absorb moisture, warp, and throw the whole unit dangerously off balance.
Still not sure? This quick comparison should help you pinpoint the right rating for your specific outdoor spot.
| Feature | Damp-Rated Fan | Wet-Rated Fan |
|---|---|---|
| Best For | Covered patios, verandas, screened-in porches | Pergolas, gazebos, uncovered decks |
| Exposure Level | Protected from direct rain; can handle humidity and moisture in the air | Can handle direct exposure to rain, snow, and the elements |
| Motor Housing | Moisture-resistant but not fully sealed | Completely sealed and waterproof to prevent water ingress |
| Blade Material | Typically ABS plastic or treated wood to resist warping from humidity | All-weather materials like ABS plastic or treated aluminium |
| Common Use Case | A covered alfresco kitchen that gets steamy but stays dry | An open-air deck that gets hit by Brisbane’s afternoon storms |
Ultimately, the choice comes down to exposure. If rain can hit it, you need a wet-rated fan. If not, a damp-rated fan will do the job perfectly.
Once you’ve nailed the rating, it’s time to match the fan’s size to your space. A fan that’s too small will feel like it’s doing nothing, leaving you hot and bothered. On the other hand, a fan that’s way too big for a small patio can create an annoying, gale-force wind tunnel.
The measurement that matters is the blade span (the full diameter from blade tip to blade tip). Here’s a simple guide for outdoor areas:
| Patio Size (Square Metres) | Recommended Blade Span (cm) |
|---|---|
| Up to 13 sq m (approx. 3.5m x 3.5m) | 112 cm – 122 cm |
| 13 to 37 sq m (approx. 6m x 6m) | 127 cm – 142 cm |
| Over 37 sq m | 152 cm+ or consider multiple fans |
For a long, rectangular alfresco area, installing two smaller fans spaced about 2.5–3 metres apart is often a much better solution than one massive fan. It gives you more consistent and comfortable airflow across the whole space. An outdoor fan should be seen as a key part of your overall outdoor living space design, enhancing both comfort and style.
The materials your fan is made from will have a huge impact on how long it lasts. You really want to look for blades made from ABS plastic. It’s tough, a breeze to clean, and won’t start drooping in the humidity. For all the hardware and the motor housing, look for corrosion-resistant materials like 316 marine-grade stainless steel, especially if you live in one of Brisbane’s coastal suburbs where salt air is a constant battle.
Beyond just tough materials, it pays to look for features that make life easier and more efficient:
This push for creating comfortable and functional outdoor areas is exactly why the market is growing. The Australian outdoor ceiling fan market was valued at USD 224.0 million in 2024 and is expected to keep climbing, which just shows how much we Aussies value our outdoor lifestyle. Homeowners are willing to invest in quality, high-performance fans to make sure their alfresco spaces are usable all year long.
Before you even think about cracking open the box for your new outdoor ceiling fan, there are a few critical checks you need to run through. Getting this groundwork right is the difference between a smooth, safe installation and a project that’s riddled with problems down the track.
Think of it as the prep work any good sparkie would do—it guarantees the fan will be secure, compliant, and work properly for years to come.
First things first: is your ceiling actually strong enough? An outdoor ceiling fan isn’t just a static weight; when it’s spinning, it creates constant force and vibration. It needs a rock-solid anchor point.
You absolutely must locate a ceiling joist directly above where you want the fan. Attaching it straight to a ceiling panel or plasterboard is a recipe for disaster and is incredibly dangerous. If there isn’t a joist in the perfect spot, a timber brace will need to be installed between two joists to create a secure mounting surface.
A standard ceiling fan weighs anywhere from 7 to 23 kilograms, and the rotational force adds a surprising amount of stress. Your mounting point has to support this weight indefinitely without sagging or weakening.
A common mistake we see is people assuming any ceiling structure is strong enough. Never, ever mount a fan directly to plasterboard or thin panelling. The fan’s weight and movement will eventually cause it to pull free, creating a serious safety hazard.
Getting this structural check right ensures the fan stays exactly where you put it, protecting your family and your home.
Once you’ve confirmed the structure is solid, the next checks are about making sure the fan is positioned safely and has the right electrical supply. Australian standards are very strict on this stuff, and for good reason.
The most important measurement is the distance from the floor to the fan blades. For safety, you must have a minimum clearance of 2.1 metres. If your ceiling is any lower than that, you simply can’t install a fan there safely. For higher alfresco ceilings, you’ll use a downrod to lower the fan to its optimal height, which is usually between 2.4 and 2.7 metres from the floor for the best air circulation.
Just as critical is the electrical setup. An outdoor fan needs to be connected to a circuit that can handle the load and is properly protected from the weather.
Verifying these electrical components are in place and up to code is essential. If you have any doubt at all about your existing setup, especially in an older home, it’s a clear sign to stop what you’re doing and call a professional electrician before you go any further.
Okay, with the safety groundwork out of the way, it’s time to get down to the hands-on part. A rock-solid outdoor ceiling fan installation really comes down to two critical things: a bulletproof mechanical mounting and a completely weatherproof electrical connection. Nail these two, and your fan will run safely and reliably for years, even in the tough Brisbane climate.
The mounting bracket is literally what holds the fan to your ceiling. It has to be anchored into a solid structural member, which for most patios or alfresco areas means a timber ceiling joist. This isn’t a job for standard screws. We use heavy-duty, weather-resistant screws long enough to get a deep, solid bite into the joist. This ensures the bracket can handle not just the fan’s dead weight but also the constant rotational force when it’s running.
Got a solid concrete ceiling? The approach is different. This job calls for drilling into the concrete and using specialised masonry fasteners like expansion bolts or sleeve anchors. These create an incredibly strong anchor point that won’t vibrate loose over time.
Using the wrong screws is one of the most common—and dangerous—mistakes we see. Standard indoor screws will rust out in no time when exposed to Brisbane’s humidity, weakening the whole setup and creating a massive safety hazard.
You absolutely must use hardware rated for outdoor use. We typically recommend one of two options:
This simple process flow covers the essential safety sequence a professional follows, ticking off the structural, clearance, and electrical checks before a single wire is connected.
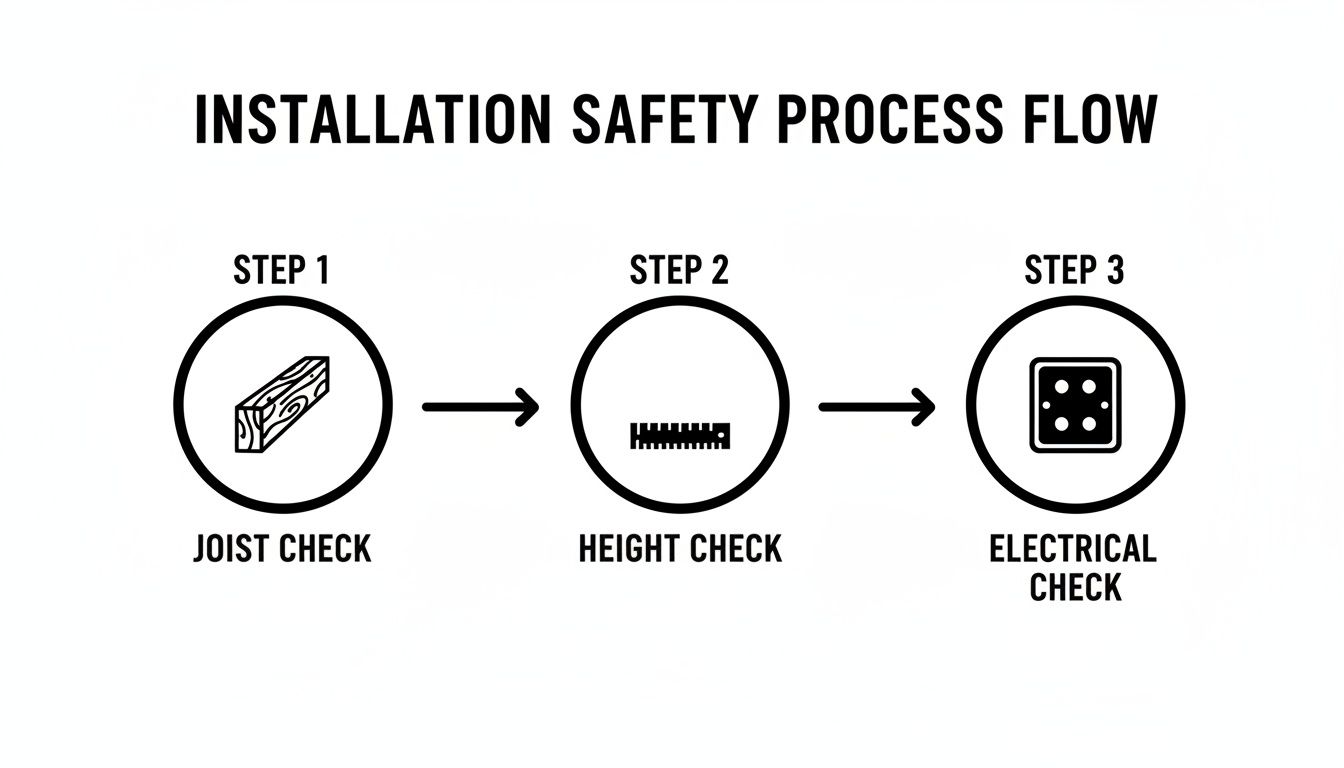
Following this order ensures nothing critical gets missed before we move on to the final wiring.
Once the bracket is securely mounted, it’s time for the wiring. This is where things get serious, and in Queensland, it’s a task that must legally be done by a licensed electrician. The first, non-negotiable step is to kill the power at the source.
A professional sparkie will head straight to your switchboard, switch off the correct circuit breaker, and then double-check the wires at the ceiling with a multimeter to be 100% sure the power is off. It’s a life-saving habit.
Connecting the fan isn’t just about twisting a few wires together, especially outdoors.
I can’t stress this enough: using indoor-style wire connectors outside is the single biggest electrical mistake you can make. Standard terminal strips or wire nuts just aren’t designed to keep moisture out. Humidity will find a way in, leading to corrosion, short circuits, and a serious fire risk.
To do it right, we use waterproof wire connectors. These are filled with a silicone gel that creates a perfect, watertight seal around the connection, protecting it from the elements for good.
Proper grounding is just as vital. That green or green-and-yellow earth wire is a critical safety feature. It provides a safe path for electricity to go in case of a fault, stopping the fan’s metal body from becoming live. In a damp outdoor environment, a solid earth connection is what protects you from electric shock. You can read more about what a professional installation entails in our guide covering the steps for a ceiling fan installation.
Finally, any wall switch or remote controller for the fan also has to be officially rated for outdoor use. Queensland’s electrical safety rules are very strict about this. An outdoor-rated switch has internal seals to keep water out, ensuring it works safely in any weather. When a professional does the job, you know every single component—from the mounting bolts to the wall switch—is fit for purpose and compliant with Australian Standards.
When it comes to outdoor electrical work in Australia, the rules are strict for a very good reason—your safety. Installing an outdoor ceiling fan isn’t as simple as connecting a few wires. It means following a precise set of regulations designed to protect your home, family, and investment from serious electrical hazards, especially in our tough climate.
For anyone in Brisbane and across Queensland, these rules aren’t just suggestions; they’re legal requirements you can’t ignore.
The core document that governs all electrical work here is the AS/NZS 3000 Wiring Rules. Think of it as the electrician’s bible. It lays out everything from the specific type of cable needed for outdoor use to the mandatory circuit protection that prevents electric shocks. It’s a complex standard that ensures every installation can handle whatever the weather throws at it.
Under Queensland law, it’s black and white: any electrical work involving your home’s fixed wiring—which absolutely includes hardwiring an outdoor fan—must be done by a licensed electrician. This isn’t about gatekeeping the trade; it’s a critical safety measure. An unqualified person might miss a seemingly small detail, like using the wrong weatherproof connector, which could lead to a catastrophic failure down the track.
A licensed sparkie has the training, tools, and experience to:
Attempting this yourself not only puts you and your family at immense risk but can also void your home insurance policy. If an electrical fire is ever traced back to unlicensed DIY work, your insurer will almost certainly reject your claim, leaving you to foot a massive bill. Beyond our local rules, a solid understanding of the principles behind a safe, efficient electrical installation is fundamental for any home project, and this is no exception.
Once your new outdoor fan is up and spinning, the job isn’t truly finished until you have a Certificate of Compliance (CoC) in your hands. This is a legal document your electrician is required to provide after completing the work.
Think of the Certificate of Compliance as your official receipt for safety. It’s your proof that the installation was performed by a licensed professional and that it meets all Australian safety standards. Hold onto this document—it’s incredibly important.
This certificate is vital for a few key reasons. For your insurance, it proves you followed the correct legal process for the installation. If you ever sell your home, it gives the new owners an official record that the electrical work was done correctly and safely.
Without a CoC, you have no official verification that the work is compliant, which can create huge headaches later on. Insisting on it ensures accountability and gives you complete peace of mind.
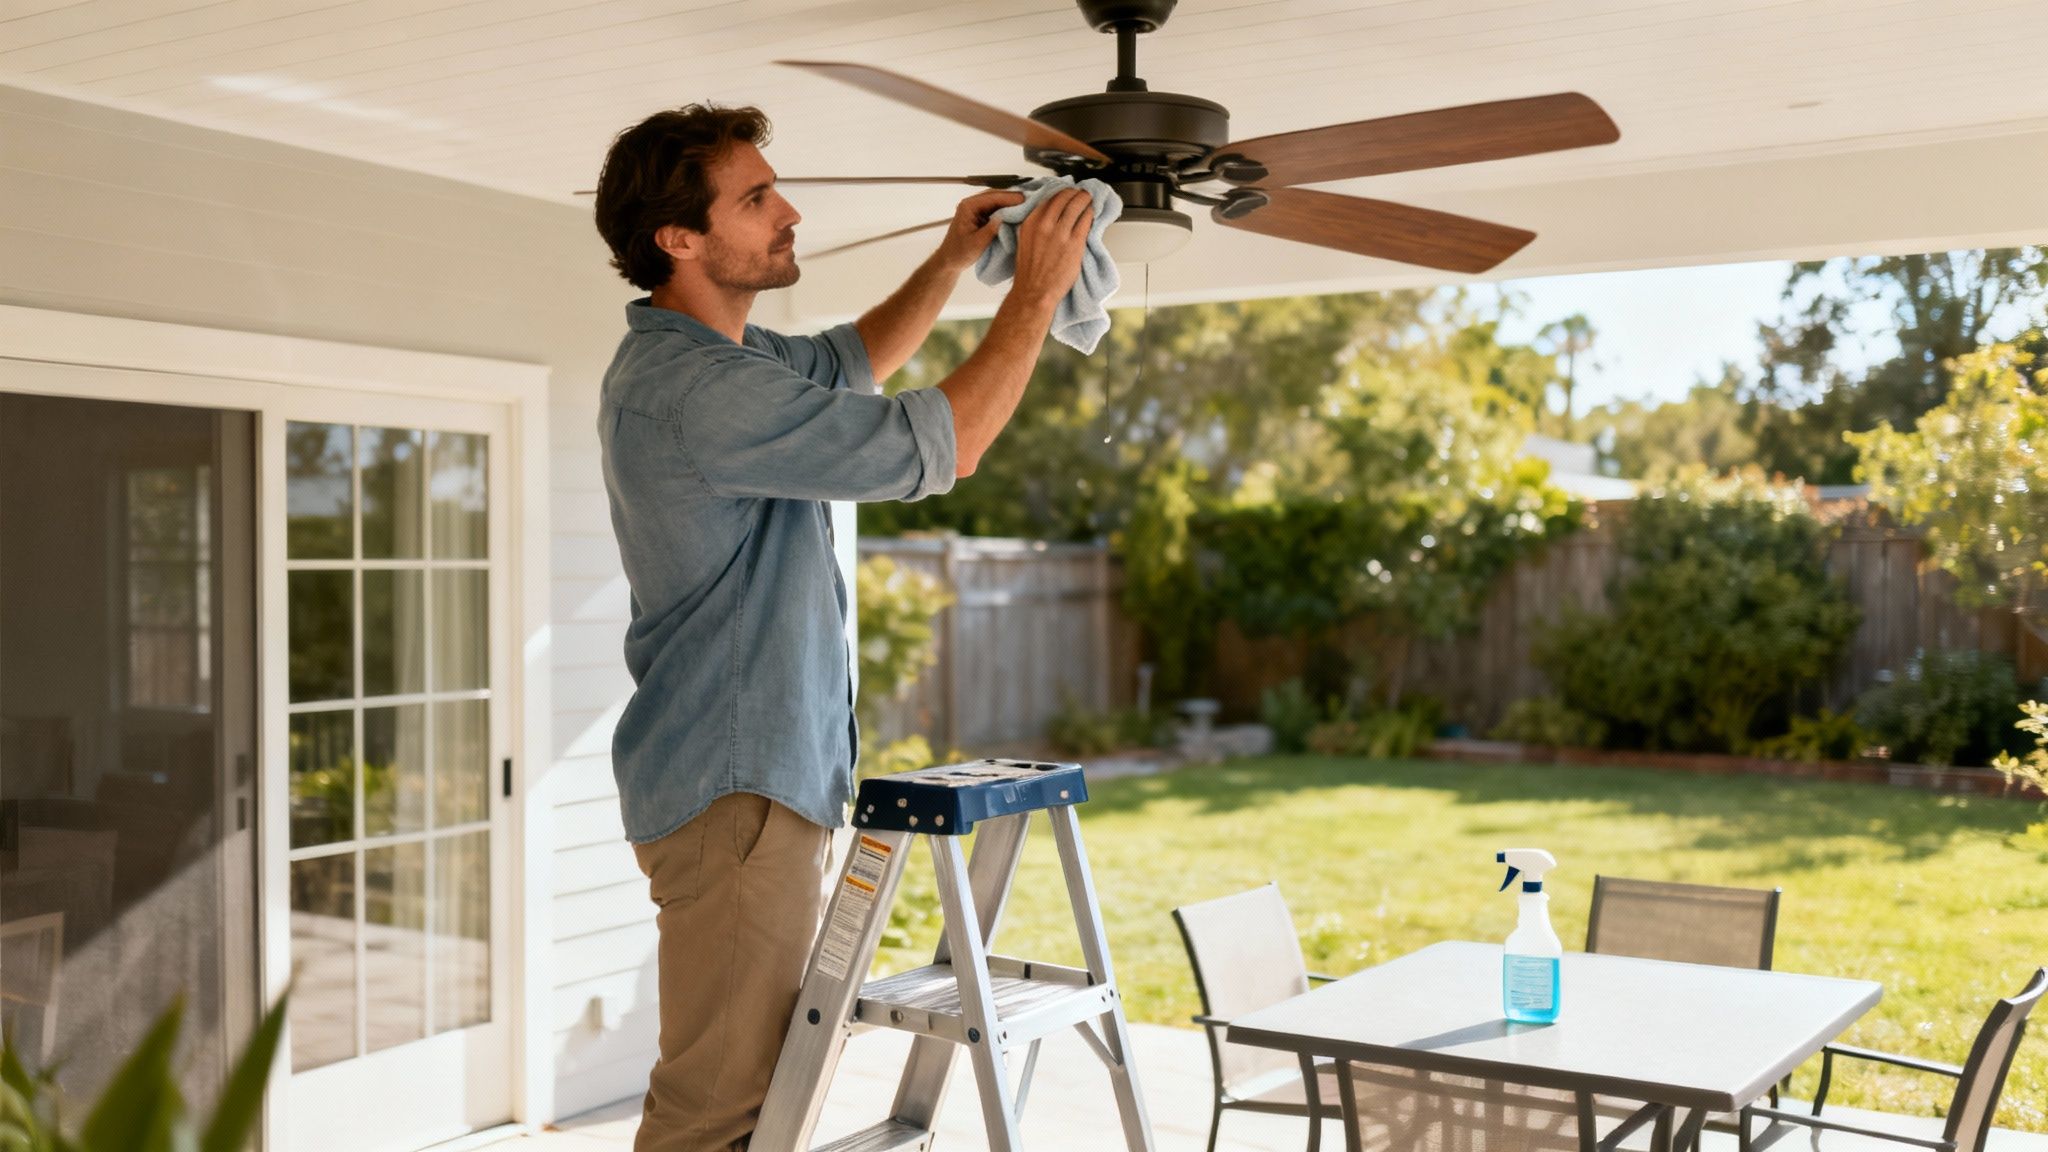
Alright, your new fan is up and running, but the job isn’t quite finished. To get the most out of your investment, a little bit of regular maintenance goes a long way. This is especially true here in Brisbane, where high humidity and surprise storms can really put outdoor fixtures to the test.
Think of it as a small investment of your time to protect the fan you’ve just spent good money on. The best part? These simple checks don’t require calling an electrician – just a bit of attention each season.
Staying on top of this keeps your fan running efficiently and extends its lifespan, which is a big reason why so many Aussies are embracing them. In fact, with rising power costs, the Australian ceiling fan market is projected to hit USD 265.07 million by 2030, driven by homeowners seeking more energy-efficient cooling. You can read more about the growth of the Australian ceiling fan market.
The easiest way to stay on track is to create a simple, repeatable checklist. Just a couple of quick checks a year—we recommend at the start of spring and again in autumn—will help you spot small issues before they turn into big headaches.
Here’s what your routine should cover:
This whole process shouldn’t take more than 15 minutes, but it makes a massive difference to your fan’s performance and safety.
A wobbly fan isn’t just an annoyance; it’s a clear warning sign. The wobble puts unnecessary strain on the motor and the mounting hardware, which can lead to premature wear and tear, or even failure. Often, a simple blade clean is all it takes to get it back in perfect balance.
While you can easily handle the routine stuff, getting a licensed electrician to give it a once-over annually is a smart move. A professional has the trained eye to spot subtle problems you might miss, like hidden wiring issues, internal corrosion, or wear on the motor bearings.
It’s particularly important to call for a professional check-up if you notice any of these red flags:
These symptoms often point to internal electrical faults that need an expert’s attention. A yearly inspection ensures your outdoor ceiling fan remains a safe, reliable, and effective part of your Brisbane home for many years to come.
There’s a great sense of accomplishment that comes with a weekend DIY project. But let’s be blunt: electrical work isn’t the place to have a go and see what happens. When it comes to installing an outdoor ceiling fan, the line between a manageable task and a job for a pro is crystal clear—and in Australia, it’s defined by law.
In Queensland, the rules are unambiguous. If the job involves connecting anything directly to your home’s fixed wiring, you must hire a licensed electrician. There are zero exceptions. This isn’t about gatekeeping a trade; it’s a non-negotiable safety standard to protect your home, your family, and your investment.
Trying to tackle unlicensed electrical work yourself isn’t just dangerous. It can invalidate your home insurance, leaving you completely exposed if an electrical fault causes a fire or other damage.
It might seem simple enough to swap out an old outdoor light for a fan, but the job is often far more involved than it looks. A licensed electrician is always legally required for any hardwired installation, but their expertise becomes absolutely essential in a few common situations.
Here are the times when calling a professional isn’t just a suggestion—it’s the only safe and legal path to take:
The biggest risk with DIY electrical work isn’t that it won’t work—it’s that it might work, but dangerously. A poor connection or improper grounding can create a ticking time bomb that only reveals itself through a short circuit, electric shock, or fire weeks down the track.
Choosing the right electrician is the key to getting your outdoor fan installed safely and to the highest standard. Don’t be shy about asking questions before you hire someone; any reputable professional will be more than happy to give you the answers you need.
Use this checklist to hire with complete confidence:
Following these steps ensures you’re partnering with a qualified, insured, and trustworthy professional. It’s the smartest way to guarantee your new outdoor ceiling fan is a safe and enjoyable addition to your Brisbane home for years to come.
When it comes to picking the right fan for your outdoor area, a few common questions always pop up. Getting the right advice is key to making a smart purchase and ensuring your fan is safe and effective for your Brisbane home. Let’s tackle some of the most frequent queries we hear from homeowners.
We get this one a lot, and the short answer is a hard no. You should never, ever use an indoor-rated ceiling fan outside, even if it’s in a well-covered spot like a veranda.
Indoor fans simply aren’t built to handle the constant humidity and temperature swings we get here in Brisbane. Their internal parts, like the motor and wiring, will corrode from moisture in the air. Worse, the blades, often made from materials like MDF, can soak up humidity, causing them to warp, sag, and throw the fan dangerously off balance. Always, always insist on a fan that is at least damp-rated for any outdoor area.
Understanding this is probably the most crucial part of choosing an outdoor fan. The rating you need comes down to how much direct weather exposure the spot gets.
Damp-rated fans are your go-to for covered outdoor spaces. Think of a standard patio, alfresco kitchen, or a screened-in porch. These are areas where the fan is shielded from direct rain but still has to deal with ambient moisture and high humidity.
Wet-rated fans are the heavy-duty option. You’ll need one of these for any location where the fan could get hit directly by rain, like in a pergola, on an open-air deck, or under a gazebo. They feature totally sealed motor casings and all-weather blades to stop any water from getting in and causing damage.
The cost for a professional to install an outdoor ceiling fan can vary a fair bit. If you’re just swapping out an old fan where the wiring is already in place, it might only set you back a few hundred dollars.
However, the job gets bigger—and more expensive—if a new circuit needs to be run from your switchboard or if the mounting surface is tricky, like a concrete ceiling. To avoid any nasty surprises, it’s always best to get a detailed, written quote from a licensed electrician before you commit to the work.
Yes, they’re surprisingly good at it! A good outdoor fan can definitely help keep mosquitoes and other annoying, weak-flying insects at bay. The strong, steady downdraft creates turbulent air that makes it incredibly difficult for pests like mozzies and flies to fly around.
While it won’t create a completely bug-free zone, a ceiling fan makes a huge difference. It helps make your time outdoors much more comfortable without having to reach for the chemical sprays.
For a safe, compliant, and professional installation of your new outdoor ceiling fan, trust the experts at DLG Electrical. Our fully licensed and insured team has been serving Brisbane for over 19 years. Visit us online at https://dlgelectrical.com.au to get your free quote today.

Master Electrician with over 30 years of experience. Founded DLG Electrical in 2005 after international project work including electrical installations at Stamford Bridge Stadium, London(Home of Chelsea FC).

Local Electricians that can fix all Electric Hot water Systems.
Motion sensor lights are a versatile addition to any home, offering nu
