83 Jean St, Grange QLD 4051
Mon-Fri 07:30 AM - 04:00 PM - Sat - 8:00 - 12 - Sunday Closed
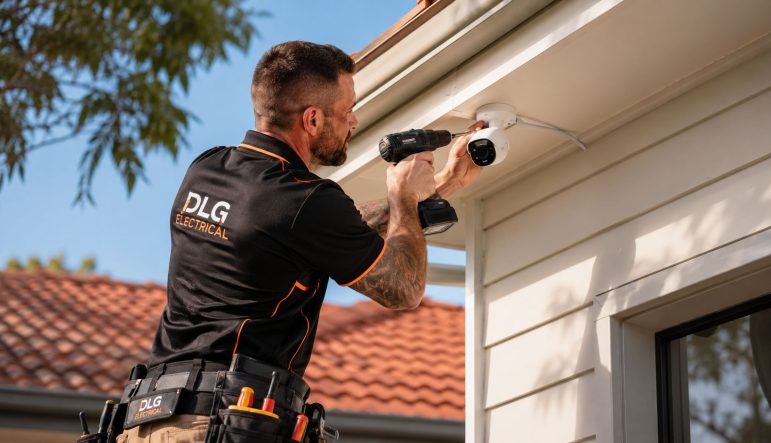
You're probably here because you want the same thing most Brisbane homeowners want. A clear view of what's happening around the house, a phone alert when something looks off, and the confidence that your security system will help if something goes wrong.
That sounds simple until you start looking at cameras, apps, wiring, storage, licences, privacy rules, and wildly different price points. Home security camera installation isn't just about buying a few cameras online and sticking them under the eaves. In Queensland, the legal and insurance side matters just as much as the picture quality.
A lot of homeowners are making this decision now because home security is becoming standard, not niche. The Australian home security systems market reached USD 2.2 Billion in 2025 and is projected to reach USD 5.3 Billion by 2034, growing at a 9.70% CAGR, according to IMARC's Australia home security systems market report. If you're also weighing alarms, app control, and integrated devices, this guide on smart home security systems is a useful companion read.
Brisbane homes present a specific mix of challenges. High sun exposure, summer storms, wide frontages, side access, detached garages, weatherboard cottages, rendered brick homes, and modern builds with narrow side paths all need a different camera plan. Generic advice written for overseas homes usually misses that.
The first mistake people make is choosing hardware before deciding what problem they're solving. If your main concern is parcel theft, the front entry matters most. If you've got a corner block, side access and driveway coverage usually matter more. If you back onto a park or laneway, rear boundary coverage becomes part of the conversation. The right system starts with risk, not with brand names.
A good home security camera installation should do four things well:
A camera system only helps when the footage is clear, the placement is right, and the install stands up legally.
That's why homeowners get the best result when they think through layout, power, storage, and licensing as one job instead of four separate decisions.
Most problems in home security camera installation begin before the first hole is drilled. The layout is where the job is won or lost.
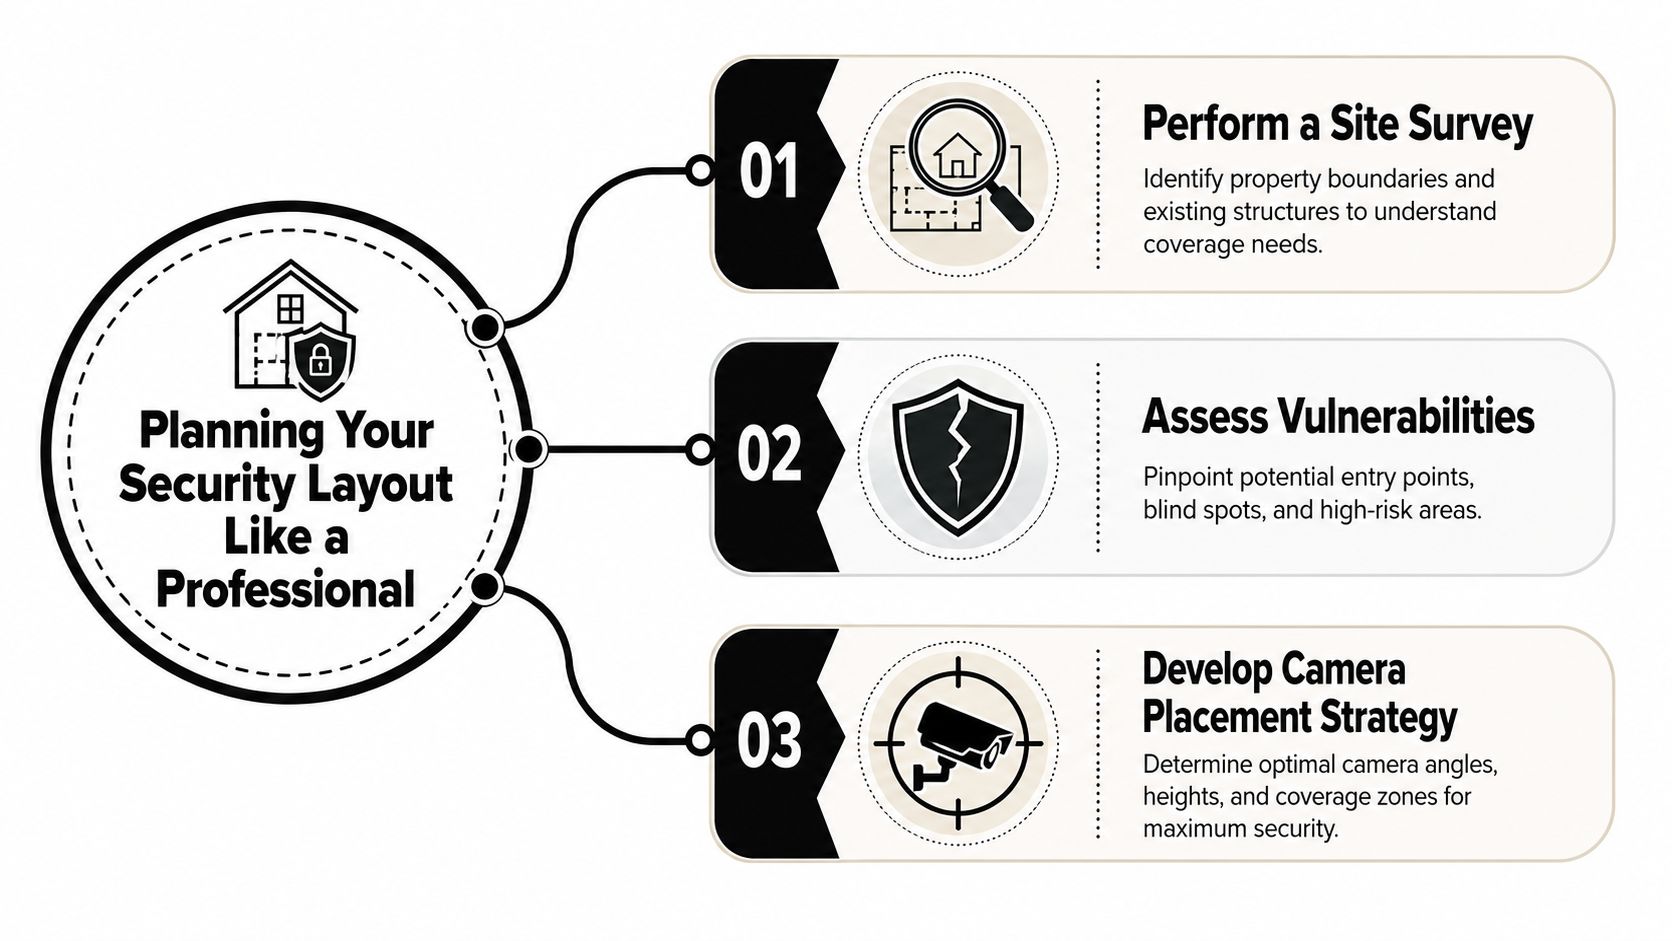
Walk your property in daylight and again after dark. Don't just stand on the front path and look at the house. Move the way someone else would move. Check gates, fence lines, side passages, rear patios, garages, sheds, and any point where someone could approach without being obvious from the street.
On a typical Brisbane property, the highest-value camera positions are usually:
People often ask how many cameras they need. That's not the best question. Ask what each camera can see.
Each camera creates a cone of vision. Too wide, and you see everything poorly. Too narrow, and you miss the approach. The goal is to cover each entry path with enough detail to recognise what happened, while avoiding dead zones between cameras.
Two common planning mistakes show up all the time:
A better approach is to let each camera own one job. One protects the front door. One watches the driveway approach. One covers the gate and side path. That's organised coverage.
The legal side starts with placement, not paperwork. In Australia, recommended home CCTV setup includes mounting cameras at least 2.5 metres high, covering areas such as front doors, backyards, and driveways without creating overlapping blind spots, and keeping the view focused on your own property rather than neighbouring homes or public footpaths, as outlined in CTC Communications' CCTV setup guide.
Practical rule: If a camera needs to see your neighbour's yard or the public footpath to do its job, it's probably in the wrong position.
That one decision solves a lot of later problems. It also tends to produce cleaner footage, because the camera is focused on the approach points that matter.
Once the layout is clear, the hardware choices become much easier. A lot of marketing noise can, however, complicate the selection process. The best camera for your home isn't the one with the longest spec sheet. It's the one that suits the position, the lighting, and the way you want the system to run day to day.
Bullet cameras are the obvious, visible option. They suit front perimeters, driveways, and side access where you want the camera to act as a deterrent as well as a recorder. They're easy to aim, but they're also more noticeable.
Dome cameras are neater and more discreet. They're often used under patios, near entry points, and in sheltered areas where aesthetics matter. The downside is that some dome housings can become harder to keep visually clean outdoors.
Turret cameras are a strong all-round choice for many homes. They're practical, compact, and often easier to live with in outdoor conditions because they avoid some of the issues that can affect enclosed dome styles.
Don't get stuck on jargon. Focus on how the camera performs in your actual conditions.
A few examples:
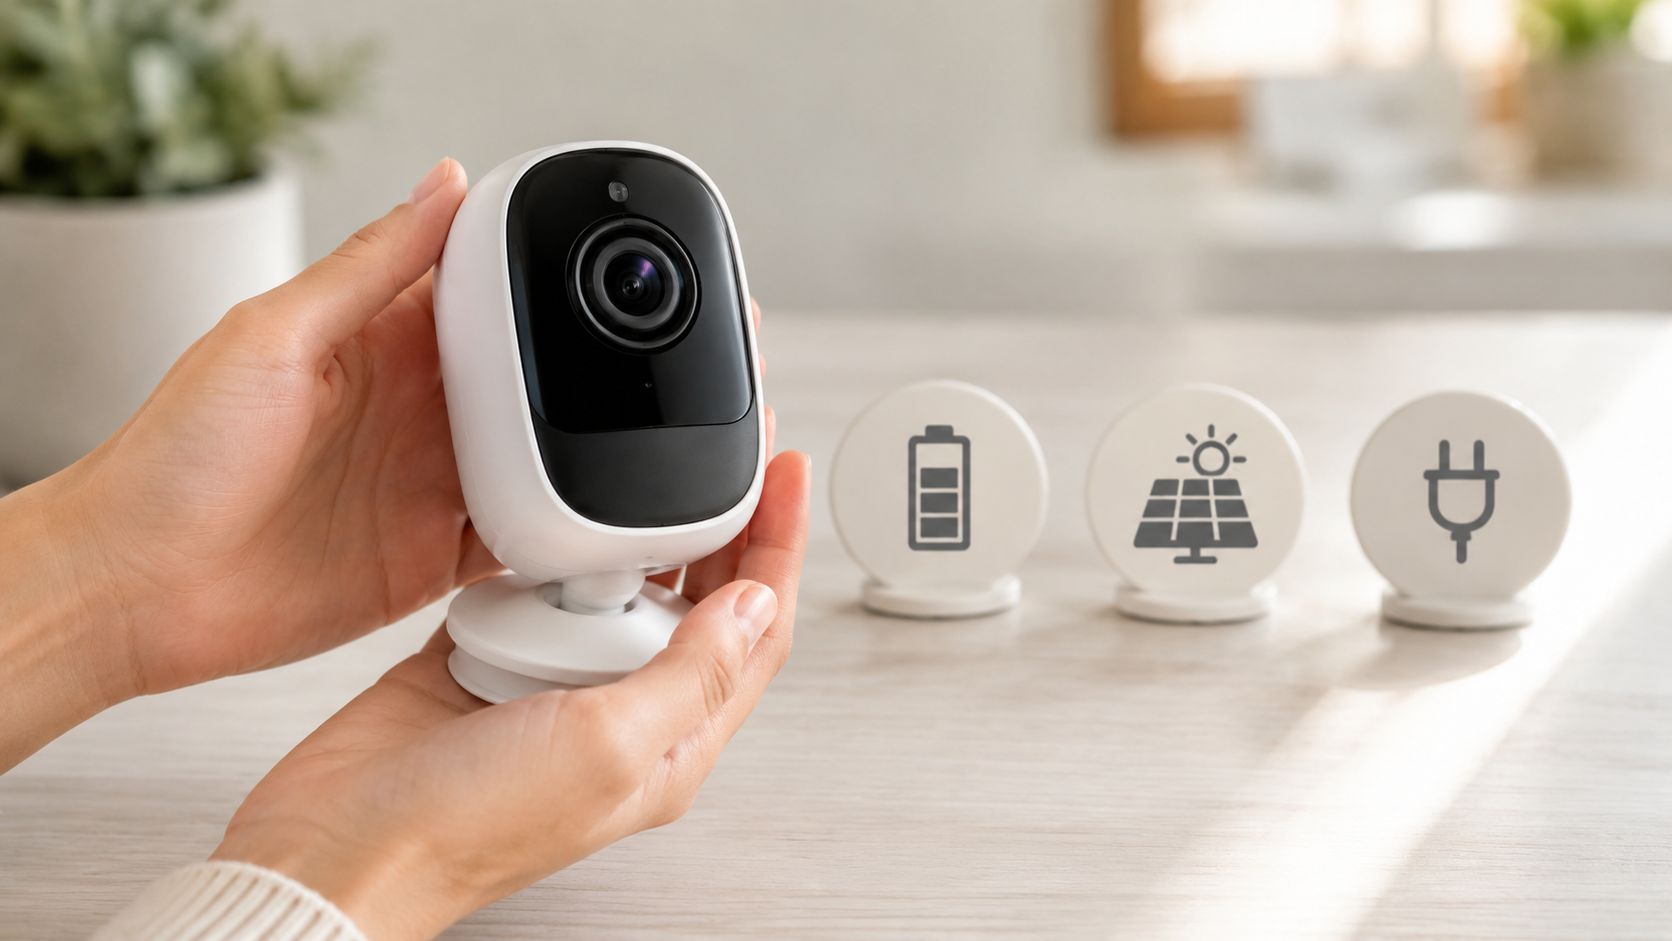
The decision often shifts from simple to serious at this stage. Different power options suit different types of homeowner.
| Option | Best for | Strengths | Limitations |
|---|---|---|---|
| Battery or solar | Basic DIY setups | Fast to install, no cable run | Ongoing charging, placement constraints, variable reliability |
| Plug-in or mains powered | Selected fixed locations | Stable power, fewer battery concerns | Needs suitable power access and safe cable routing |
| PoE (Power over Ethernet) | Full hardwired systems | Reliable power and data on one cable, clean professional finish | More planning, more cabling, better suited to professional installation |
If you're considering extra power outdoors for cameras, lights, or network gear, this guide on outdoor power point installation helps explain what should and shouldn't be done around external power access.
If you want the least maintenance, hardwired usually wins. If you want the least upfront effort, battery systems win. Most homeowners eventually discover those two goals rarely line up.
For a small unit or townhouse, a simple wireless setup may be enough. For a larger family home with multiple access points, detached structures, or patchy Wi-Fi at the edges, a hardwired system usually gives a more dependable result.
That's the trade-off. DIY-friendly systems can work well in a narrow use case. A broader home security camera installation needs stronger planning, stronger power, and fewer compromises.
A clean install is about more than getting cameras onto the wall. It's about stable mounting, weather protection, tidy cable paths, and testing the image before everything is locked in place.
A camera should be fixed to a stable surface and aimed at a clear task. Brick, concrete, weatherboard, eaves, and steel all need slightly different mounting methods, but the principle stays the same. The base must stay firm through wind, vibration, and heat movement.
If the camera is too low, it's easier to tamper with. If it's too high and angled too steeply, you get the top of heads and not much else. Good placement balances protection with recognition.
A few mounting principles hold up across most homes:
Wireless cameras are popular because the word “wireless” sounds easy. In reality, many still need power, still need a strong signal, and still need sensible placement. The app side may be simple. The physical side often isn't.
Hardwired systems take more effort upfront, but they solve a lot of recurring frustrations. Concealed cabling, proper terminations, weatherproof entries, and tidy equipment placement make a major difference to reliability and appearance.
For homeowners who want an extra practical perspective, Networking2000's home CCTV guide gives a useful overview of the steps involved before you commit to a DIY route.
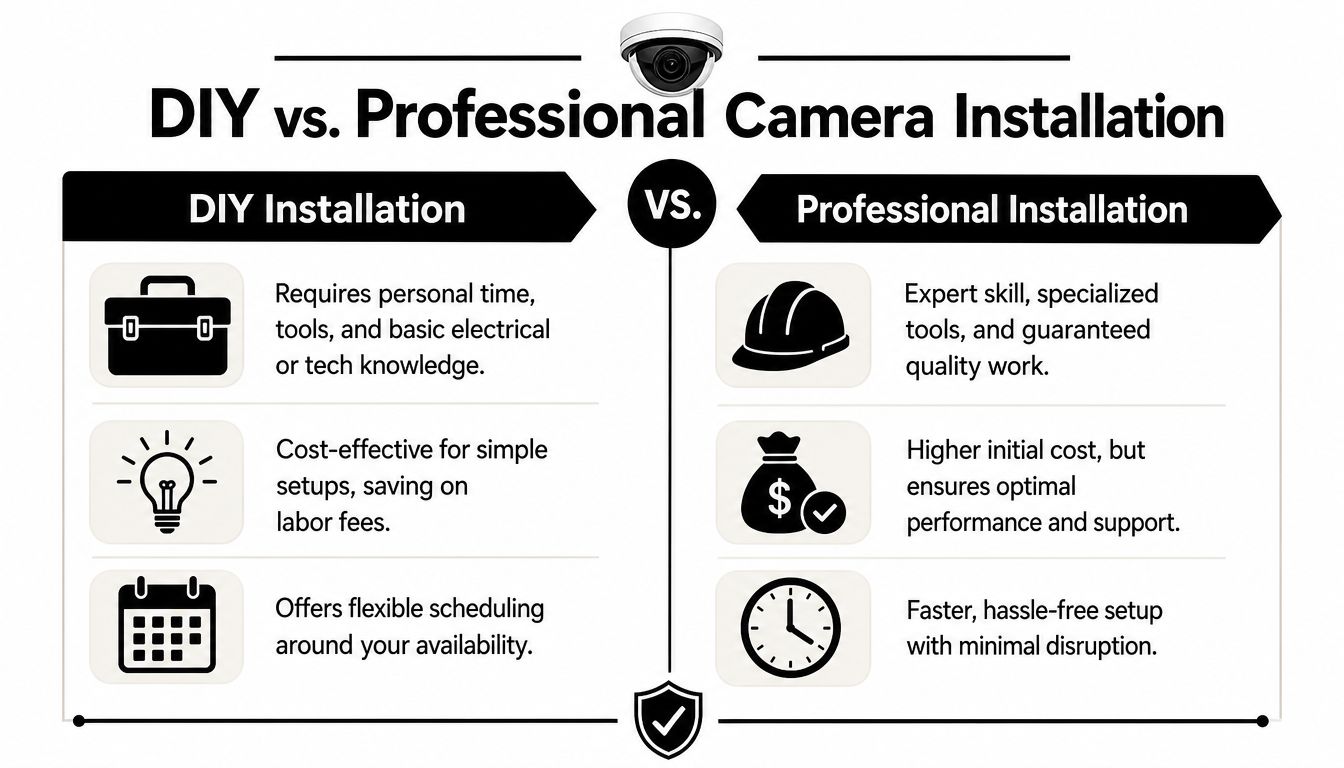
This visual explainer shows the practical differences between a DIY job and a professional install.
The most common DIY problems aren't dramatic electrical failures. They're image problems that only show up later. Cameras get mounted too close together, one camera's infrared spills into another camera's view, or the daytime picture looks fine but the night image becomes useless.
CTC Communications notes that poorly angled setups can reduce image clarity by up to 40%, and highlights common issues such as IR glare between nearby cameras and failing to test the live view at night before final mounting. That's covered in the earlier planning source, so it's worth taking seriously during installation as well.
Test the live image in daylight, at dusk, and at night before you call the job finished.
That one step saves a lot of frustration. It also separates a camera that merely records from one that records something usable.
Once the cameras are mounted and powered, the digital side begins. This part doesn't get much attention in DIY marketing, but it affects your day-to-day experience more than people expect. A camera system with poor network setup feels unreliable even when the hardware itself is fine.
Most systems are configured through a phone app, web interface, or recorder menu. The aim is straightforward. Get each camera online, name it clearly, set the right time zone, confirm notifications, and make sure remote viewing works when you're away from home.
The problems usually come from weak signal strength, inconsistent device naming, and rushed app setup. If every camera is just called “Camera 1” or “Device A”, the system becomes annoying to use. It's much easier to manage alerts when devices are labelled by location, such as Front Door, Driveway, Side Gate, or Rear Patio.
A stable setup usually includes:
The next decision is where your footage lives. There isn't one right answer. There is only the right fit for how you want to balance convenience, control, and ongoing cost.
| Storage option | What it suits | Upside | Trade-off |
|---|---|---|---|
| SD card in the camera | Small standalone setups | Simple and low fuss | Limited capacity and harder to manage across multiple cameras |
| NVR | Full multi-camera systems | Centralised recording, strong control, good for permanent systems | Higher upfront setup complexity |
| Cloud storage | App-first users | Easy remote access and offsite backup | Usually tied to recurring subscription fees |
For a single front-door camera, onboard storage may be enough. For a proper multi-camera home security camera installation, local recording to an NVR is often the more dependable long-term choice because all footage is managed in one place.
Cloud backup can still make sense, especially if you want footage available offsite. The catch is that convenience often comes with ongoing fees and dependence on the manufacturer's platform. Before buying, check whether the brand lets you record locally, use cloud storage, or combine both. Flexibility matters more than flashy packaging.
Footage you can't easily find, review, or export isn't much use after an incident.
This is the part most generic guides skip. They'll tell you where to mount a camera and which app to download, but they won't tell you what happens if the install isn't compliant, the work crosses into licensed territory, or your insurer starts asking questions after a break-in.
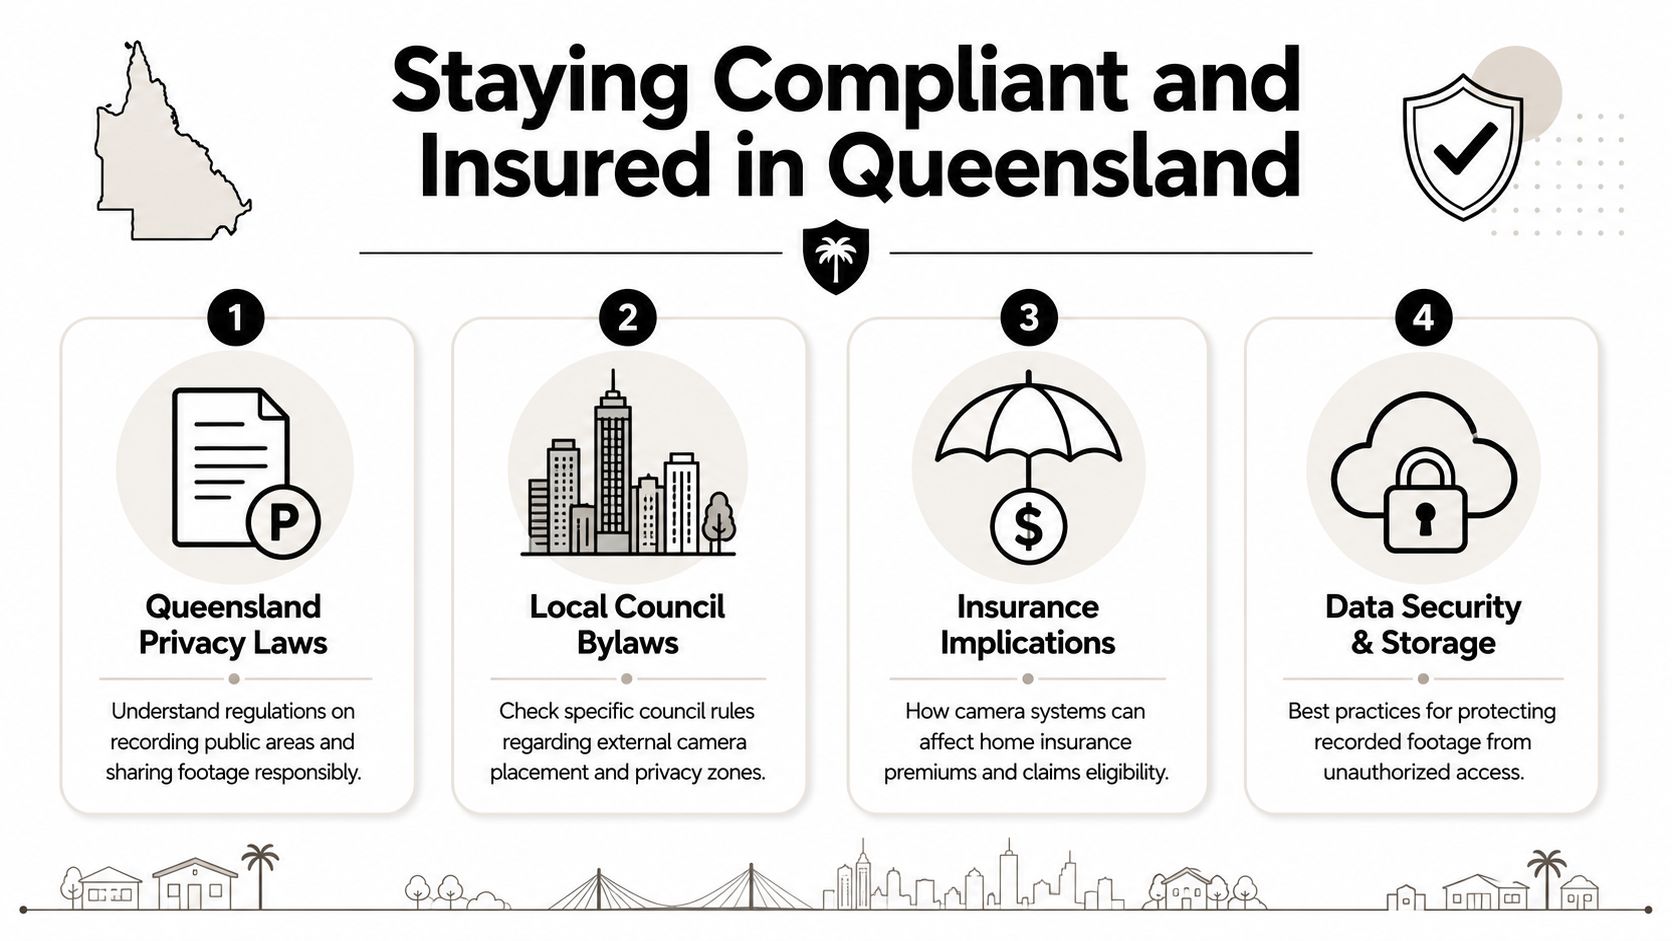
Queensland homeowners need to be careful about what their cameras capture. If your system records public areas or neighbouring property unnecessarily, you can create privacy headaches very quickly. That's why layout discipline matters so much. The safest approach is simple. Aim cameras at your own entries, access paths, and boundaries only.
Councils, neighbours, and insurers won't care that the app was easy to set up. They'll care whether the system was installed and used appropriately.
According to Dawson Electric's guide on who can legally install security cameras, 68% of insurance claims involving security breaches are denied when cameras lack professional installation credentials. The same source explains that compliant installation in Queensland may require both electrical and Class 2C security licences, and that unlicensed electrical work can lead to severe fines.
That changes the DIY conversation completely.
A lot of people compare a retail camera kit with a professional quote and assume the only difference is labour. It isn't. Instead, the difference may include:
Mounting a battery camera inside your own property is one thing. Running new powered equipment externally, integrating hardwired devices, or carrying out work that requires licensed electrical handling is another. Such scenarios can lead homeowners into risky territory without realising it.
The cheapest system is the one that still protects you when you need to rely on it.
That's the point many people miss. A non-compliant install can leave you with cameras on the wall, footage in an app, and very little protection when the issue becomes legal or financial.
Cost matters, but it helps to compare like with like. A basic DIY kit and a properly installed hardwired system aren't the same product in practice.
According to Night Vision CCTV's Australian installation cost guide, professional installation of a 4-camera wired home security system in Australia typically costs between $1,800 and $2,100, inclusive of cameras and labour. The same guide notes that basic 2-camera Wi-Fi DIY kits may start around $149. If you want a broader breakdown of what affects pricing, this article on the cost of security cameras installation is worth reading.
The gap in price reflects the gap in scope. One is a simple consumer product. The other is usually a fixed security system with stronger coverage, more reliable power, and a more durable finish.
A camera system also needs light maintenance. Not much, but enough to matter:
Call a professional when the job involves hardwired power, external cable runs, recorder setup, poor Wi-Fi at the boundary, privacy concerns, or any uncertainty about licensing. That's usually the point where DIY stops being good value and starts becoming a gamble.
If you want a home security camera installation that's planned properly, installed safely, and set up to comply with Queensland requirements, speak with DLG Electrical. The team can help with system design, licensed installation, and practical advice specific to your Brisbane property, with a free, no-obligation quote to get you started.

Master Electrician with over 30 years of experience. Founded DLG Electrical in 2005 after international project work including electrical installations at Stamford Bridge Stadium, London(Home of Chelsea FC).

Local Electricians that can fix all Electric Hot water Systems.
Motion sensor lights are a versatile addition to any home, offering nu
