83 Jean St, Grange QLD 4051
Mon-Fri 07:30 AM - 04:00 PM - Sat - 8:00 - 12 - Sunday Closed
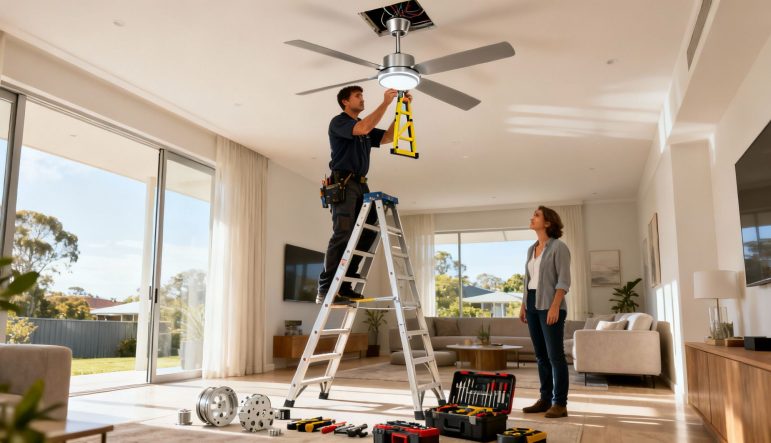
Choosing a ceiling fan with installation isn’t just about picking a style you like; it’s a serious investment in your home’s comfort and energy efficiency. When you bring in a professional, you’re getting more than just a fan screwed to the ceiling. You’re getting the peace of mind that it’s securely mounted, correctly wired, and running perfectly from day one—giving you a powerful, cost-effective way to beat the heat without blasting the air con 24/7.
Honestly, leaving the job to a licensed expert is the only way to guarantee safety, compliance, and years of wobble-free, reliable performance.
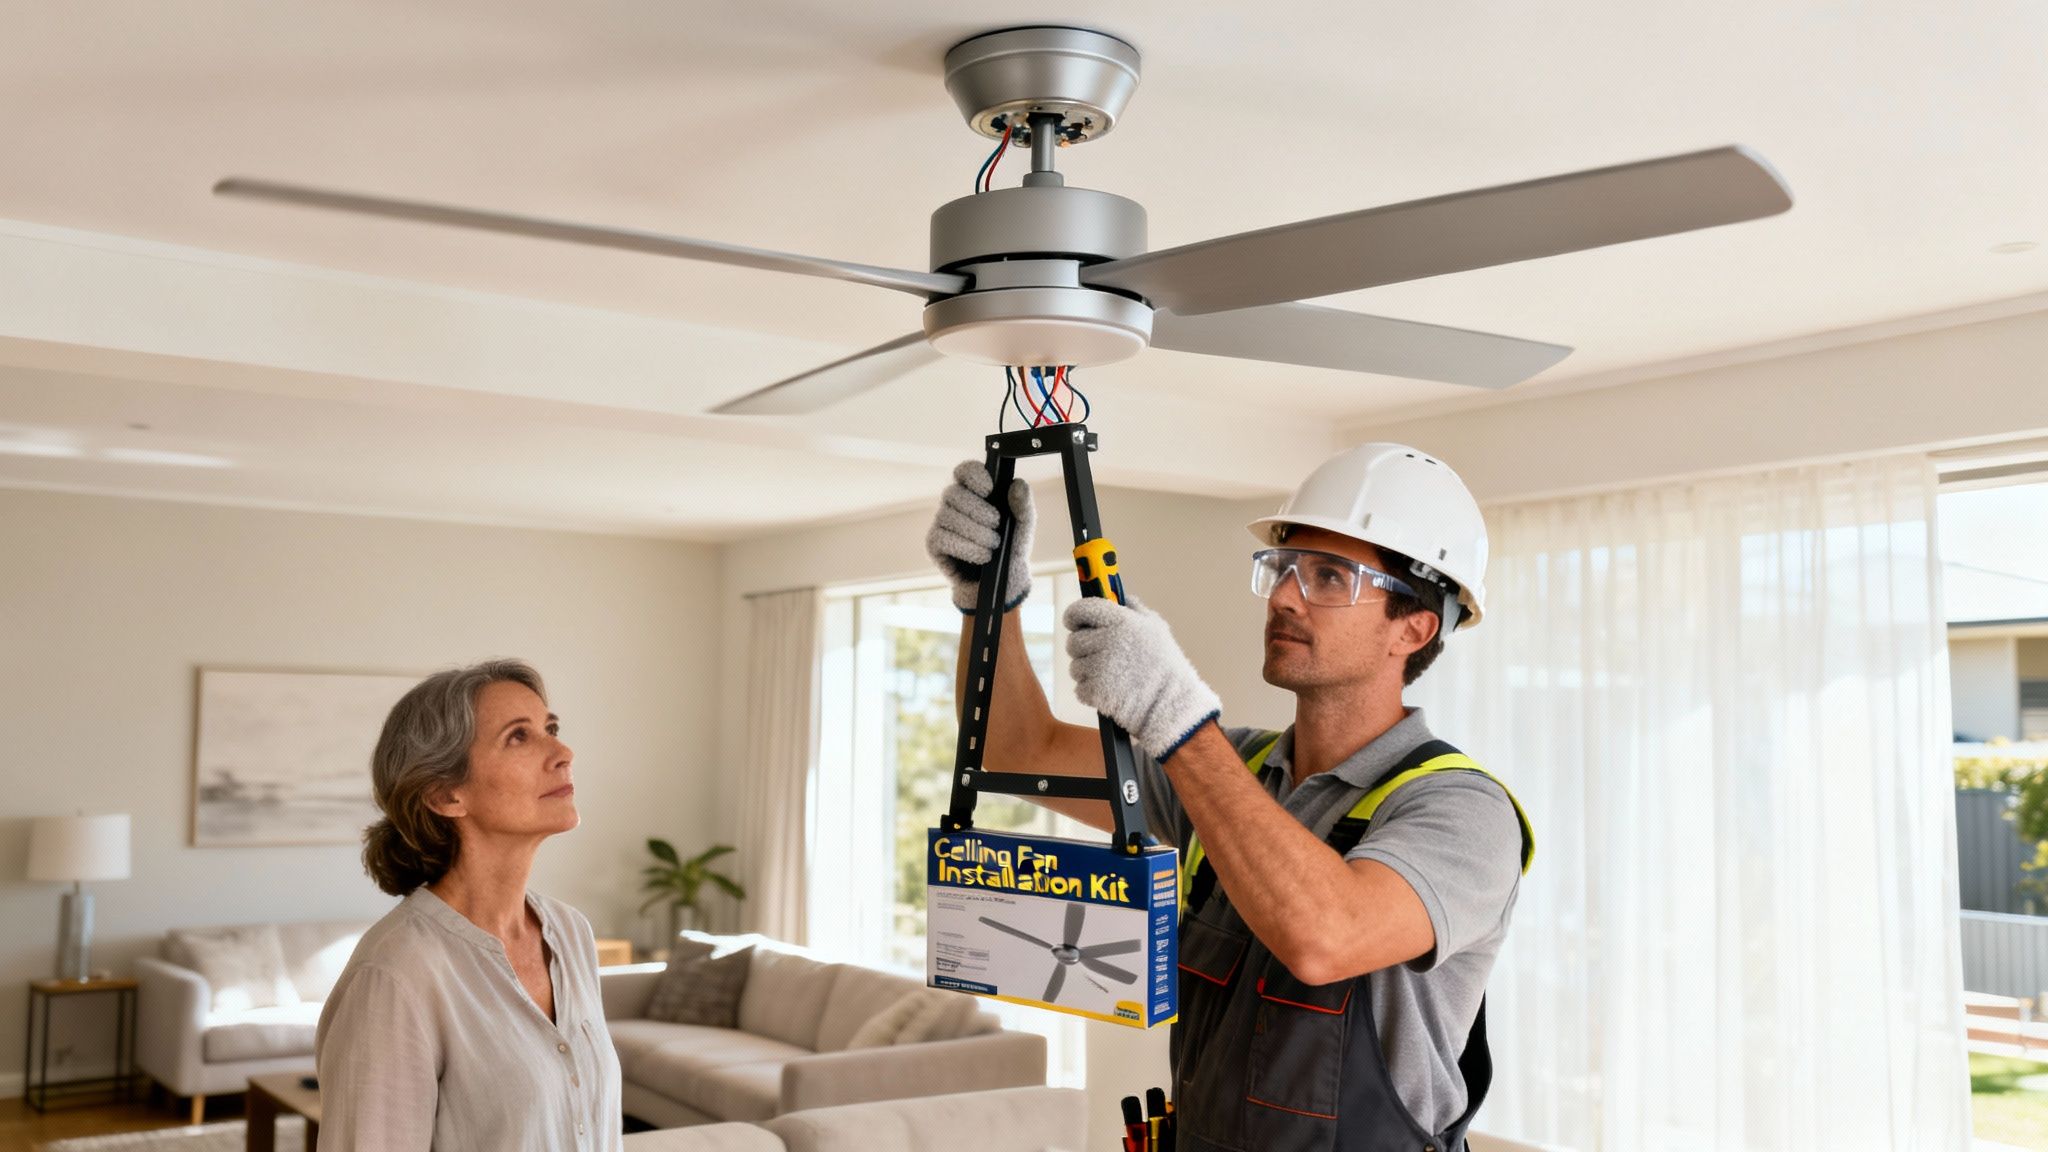
Under the relentless Brisbane sun, a ceiling fan isn’t a luxury—it’s a household staple. It’s the unsung hero of energy efficiency, helping slash power bills by taking the load off your air conditioner. It’s no surprise the Australian ceiling fan market hit USD 224.0 million recently and is set to keep growing as more of us look for smarter ways to stay cool.
But the real value isn’t just in the fan itself. It’s all in the quality of the installation.
Trying to install a ceiling fan yourself might seem like a straightforward way to save a few bucks, but the risks are huge. Think about it: a ceiling fan is a heavy, spinning appliance that hangs right over your family. If it’s not mounted properly, you could be dealing with a dangerous wobble or, worst-case scenario, the entire unit could come crashing down.
Beyond the obvious physical risks, the electrical side of things is surprisingly complex. Get the wiring wrong, and you could be facing:
A DIY job might look okay for a week or two, but only a professional installation can guarantee it will hold up to the constant vibration and stress of daily use. It’s the difference between a temporary fix and a permanent, safe solution for your home.
In Australia, hiring a licensed electrician for this kind of work isn’t just a good idea—it’s the law. A professional brings proven expertise and full accountability to the job, ensuring every single step meets our strict national safety standards. When you dig into the importance of hiring professional home services, it quickly becomes clear that it’s all about getting quality results and total peace of mind.
When you book a professional for your ceiling fan installation, you’re really investing in your family’s safety. A qualified sparky will install the correct fan-rated support brace in your ceiling, handle all the tricky wiring, and perfectly balance the blades to get rid of any annoying wobbles or noises. This careful, by-the-book approach is what ensures your fan runs safely and efficiently for its entire lifespan. If you want to know more about finding local experts, check out our guide on what to look for in an electrician in Brisbane.
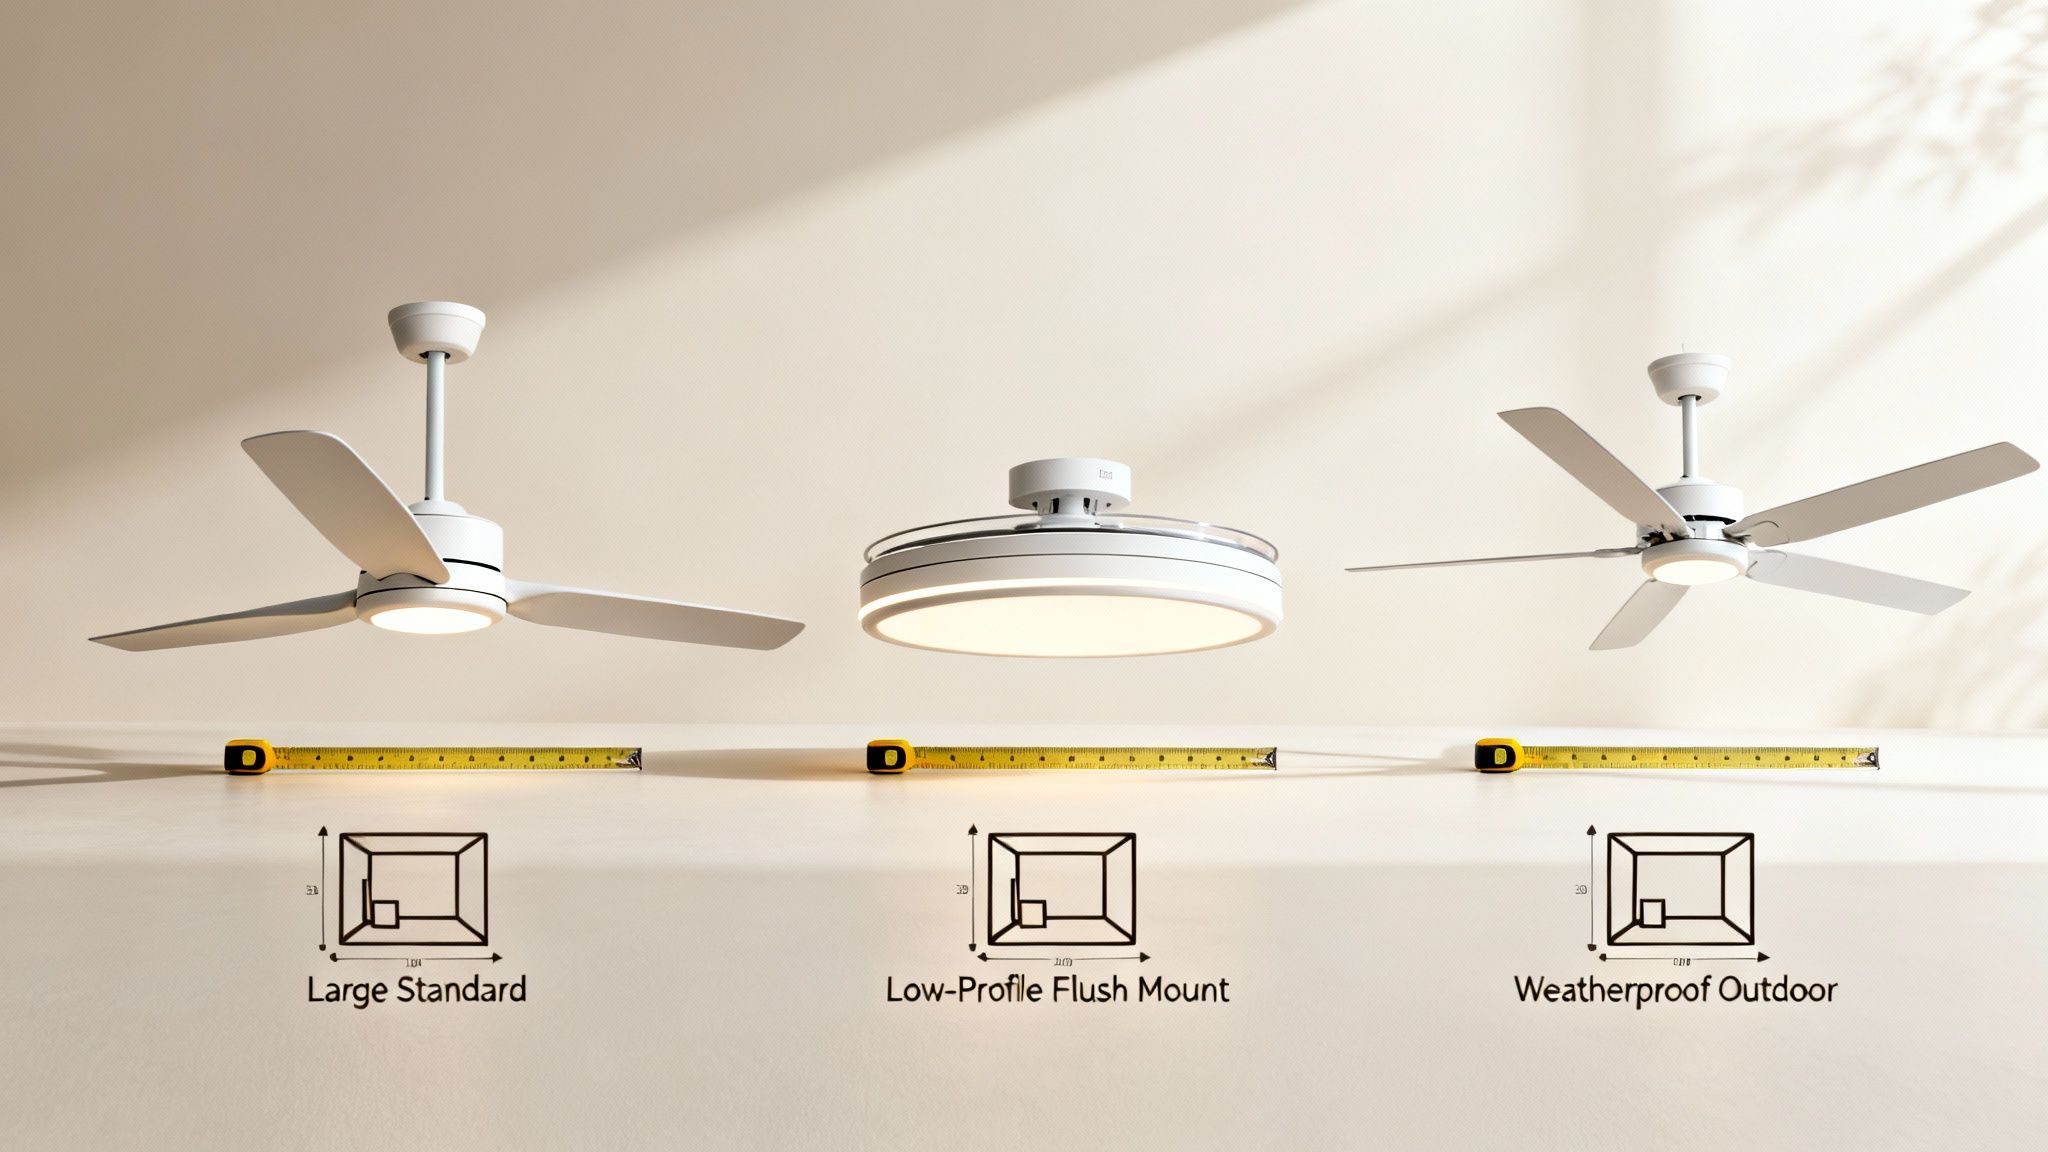
Walking into a showroom or browsing online for a ceiling fan can be a bit dizzying. But finding the perfect one is actually pretty straightforward once you know what you’re looking for. I always tell clients to break it down into three simple parts: size, type, and features.
Nailing these three things means you’ll end up with a fan that not only looks great but does its job perfectly for years to come. Getting this choice right from the get-go is the first and most important step in any ceiling fan with installation project. It all starts with matching the fan’s blade span to your room’s size to get that airflow just right—not too breezy, not too weak.
This is hands-down the most common mistake I see people make. A fan that’s too small for a big living room will just spin its heart out without making a dent in the heat. On the flip side, a massive fan in a small bedroom can feel like you’re trying to sleep in a wind tunnel.
The trick is to match the blade span—that’s the full diameter from one blade tip to the opposite one—to the square metreage of your room. It’s a simple formula that guarantees comfort. A correctly sized fan just works better, runs quieter, and moves air more efficiently.
If you want to dive deeper and get the measurements spot on, we’ve put together a comprehensive ceiling fan size guide. It takes all the guesswork out of the process.
To make it even easier, here’s a quick reference table to get you started on choosing the right size for efficient air circulation in your space.
| Room Size (Square Metres) | Recommended Fan Diameter (cm) | Ideal Room Type |
|---|---|---|
| Up to 14 m² | 107 cm – 122 cm | Bedrooms, Studies, Small Kitchens |
| 14 m² to 21 m² | 122 cm – 132 cm | Living Rooms, Master Bedrooms |
| 21 m² to 37 m² | 132 cm – 142 cm | Large Living Rooms, Open Plan Areas |
| Over 37 m² | 142 cm or larger | Great Rooms, Large Patios |
This guide gives you a solid starting point. Remember, a well-chosen fan is one you’ll hardly notice, but you’ll definitely appreciate the comfort it brings.
Once you’ve got the size sorted, it’s time to pick a type that suits your ceiling height and where you’re putting it. Each style is engineered for a specific job to ensure it’s safe and performs at its best.
A great design tip I always share is to make the fan blend in. For a clean, minimalist aesthetic, pick a fan that matches your ceiling colour. A matte white fan on a white ceiling, for example, becomes a seamless part of the room instead of a distracting feature.
Ceiling fans have come a long way from just being noisy, wobbly blades on a motor. The Australian market is buzzing with smart technology and super-efficient designs. In fact, the smart ceiling fan market here was valued at USD 38.8 million and is on track to nearly double by 2033. This growth is all thanks to innovations like whisper-quiet DC motors, voice control, and smartphone apps. You can read more about the Australian smart ceiling fan market if you’re interested in the trends.
This brings us to one of the most important decisions you’ll make: choosing between an AC (alternating current) and a DC (direct current) motor. Think of it like the difference between an old, thirsty V8 and a modern, efficient hybrid engine.
While DC fans might cost a bit more upfront, the energy savings and superior performance make them a fantastic long-term investment for any Brisbane home. Pair a DC motor with smart features, and you’ve got total control over your home’s comfort right from your phone or with a simple voice command.
Knowing what a professional ceiling fan with installation service involves on the day can make all the difference. It’s not about having your home turned into a chaotic work site; it’s a smooth, methodical process from start to finish. When our licensed electrician arrives, you’ll see a clear, systematic approach designed for perfect performance and, above all, safety.
The whole process is much more than just hooking a fan up to the ceiling. It’s a precise sequence of checks and tasks that ensures your new fan is not only working but is completely safe and secure for years to come. This is the real difference between a quick DIY job and a professional installation that’s guaranteed and compliant.
The first thing our electrician will do isn’t to start unpacking the box. Instead, they’ll carry out a thorough site assessment. This is a critical safety and planning step. They’ll confirm the spot you’ve chosen for the fan and chat about any specific needs you have, like where you want the wall switch to go.
This initial assessment covers a few key things:
This quick review sets the stage for the entire job, flagging any potential issues before the tools even come out.
Once the checks are done, the hands-on work begins. This is where a professional’s expertise really shines through, as they follow a sequence that puts safety and precision first. While the exact steps might vary a little depending on the fan model, you can find general installation guides that give a good overview, though a pro will always adapt to the unique needs of your home.
Here’s a typical breakdown of how the installation flows:
A professional installation isn’t just about making the fan spin. It’s about ensuring every component, from the hidden brace in the ceiling to the final screw on the blade, is perfectly fitted for long-term safety and performance.
A true professional leaves your home just as they found it. After the installation is complete and you’re happy with how the fan is running, the electrician will clean up the work area, taking all the packaging and any debris with them.
Finally, they’ll walk you through how to operate your new fan, explaining the remote or wall controls. This is the perfect time to ask any last-minute questions so you feel completely confident using your new appliance. This complete, end-to-end service is what sets a professional ceiling fan with installation apart—it’s not just a product, but a total, worry-free solution.
Trying to get your head around the cost of a professional ceiling fan with installation is the first step to budgeting properly and seeing exactly what you’re paying for. The final number on a quote isn’t just pulled out of thin air; it’s a careful calculation based on what your specific job needs. The biggest decider? Whether we’re swapping out an old fan or putting a brand-new one where nothing existed before.
Think of it this way. Replacing an old fan is like changing a tyre on your car—the wheel, the bolts, the basic structure is all there. But a new installation is more like adding a sunroof to a car that never had one. It’s a bigger job that involves cutting, running new wires, and making sure everything is structurally sound.
A professional installation is a methodical, three-step dance: first, we inspect the site, then we do the physical install, and finally, we balance the fan to make sure it runs smoothly and silently.
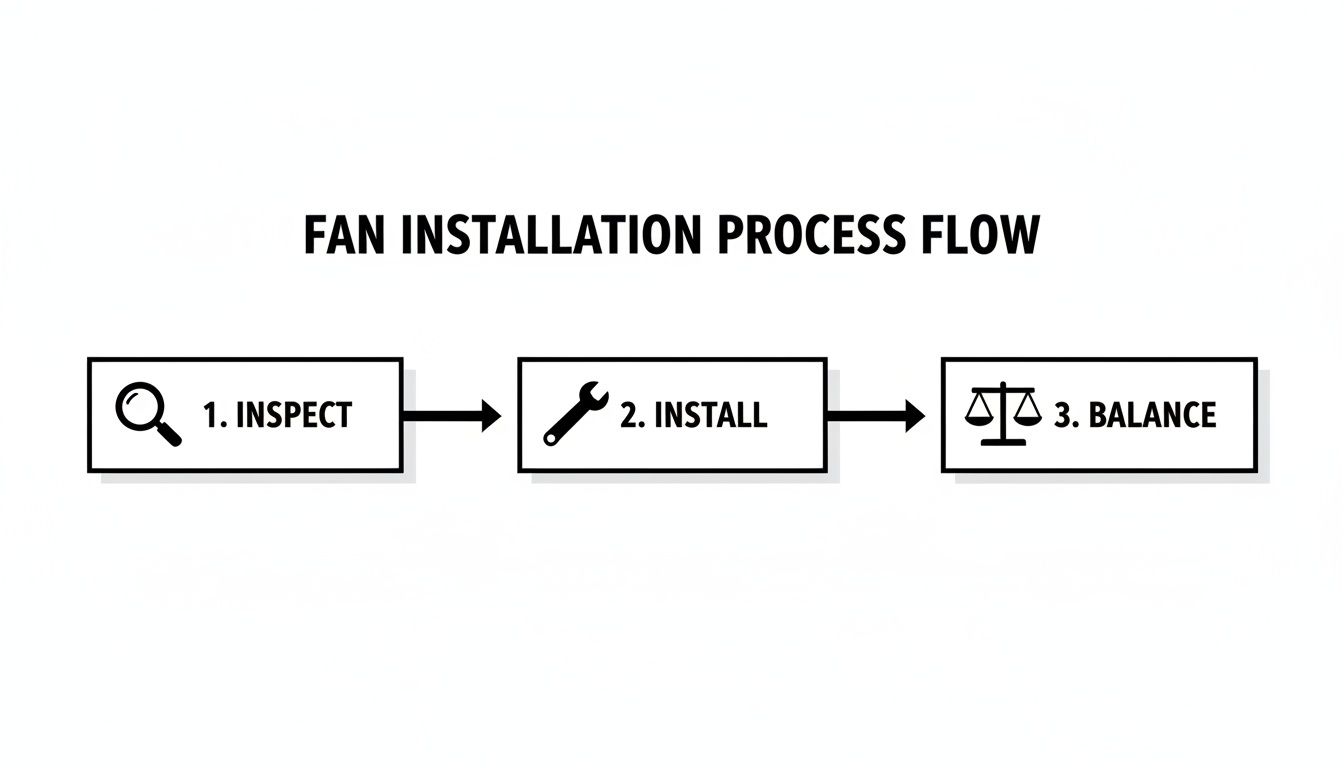
This process shows that it’s about much more than just screwing a fan into the ceiling. It’s a job that demands precision and electrical know-how.
A few key variables can move the needle on the final cost of getting your ceiling fan installed. If you understand these, an electrician’s quote will make a lot more sense.
You’re not just paying for an hour or two of someone’s time. You’re investing in a licensed professional’s expertise, their public liability insurance, their deep knowledge of Australian safety standards, and the peace of mind that the job is done right the first time.
To give you a clearer picture, let’s walk through some typical job scenarios for a professional ceiling fan with installation here in Brisbane. These figures are a guide, of course, but they should give you a realistic starting point for your budget.
For a more detailed look at what goes into an electrician’s rates, our guide on how much electricians charge is a great resource.
Here’s a table outlining what you might expect to pay for different types of installations.
| Installation Scenario | Estimated Labour Cost Range (AUD) | Key Considerations |
|---|---|---|
| Standard Replacement | $200 – $350 | This assumes you have safe, existing wiring and a solid mounting point. The job is simply to disconnect the old fan and hook up the new one. |
| New Installation (Standard Ceiling) | $450 – $700+ | This covers running new wiring from the switchboard, installing a fan-rated ceiling brace, and fitting a new wall controller. Price varies with how tricky it is to access walls and ceilings. |
| Installation on a High Ceiling | Adds $100 – $250+ to base cost | This covers the extra time, safety measures, and specialised gear (like scaffolding) required to work safely on ceilings over three metres high. |
It’s important to remember these costs are for the installation labour only; the price of the actual fan isn’t included. The best way to get a firm price is always to get a detailed, written quote from a qualified sparky who has seen the job.
When it comes to electrical work in Australia, the rules aren’t just suggestions—they are strict, legally binding requirements put in place to keep you and your family safe. Installing a ceiling fan isn’t a casual weekend project; it’s a prescribed task that, by law, must be handled by a licensed electrician.
This isn’t about gatekeeping the trade. It’s about dealing with the very real risks that come with 240 volts of electricity. A DIY installation might seem like a way to save a few dollars, but it opens the door to serious dangers, from immediate electrocution to the long-term threat of an electrical fire caused by one loose connection. These are consequences no homeowner should ever have to face.
Every licensed electrician in the country works from a specific set of guidelines known as the AS/NZS 3000, or as we call it in the industry, the “Wiring Rules.” This comprehensive standard is the bedrock of electrical safety in Australia, dictating everything from the type of cable we use to how connections are secured.
Think of the Wiring Rules as the official recipe for electrical safety. Just like a chef follows precise measurements to guarantee a perfect dish, an electrician sticks to these standards to make sure every installation is safe, reliable, and built to last. For your ceiling fan, this means:
Following these rules isn’t optional; it’s the minimum legal requirement for any electrical work in an Australian home.
After a licensed professional from DLG Electrical completes your ceiling fan installation, they will provide you with a Certificate of Compliance (CoC). This document is far more than just a receipt for the job.
The Certificate of Compliance is your official, legally recognised proof that the electrical work performed in your home meets all Australian Standards. It is your ultimate assurance of safety and quality workmanship, signed off by a licensed expert.
This certificate is crucial for a few reasons. It documents exactly what work was done and confirms it was tested and found to be safe. More importantly, it’s essential for your home insurance. In the unfortunate event of an electrical fire, your insurer will ask for this certificate. Without it, they could have grounds to deny your claim, arguing that uncertified, non-compliant work voided your policy.
The legal and safety frameworks are crystal clear. The rules for installing ceiling fans in Australia are governed by strict safety and compliance standards that must be met by a qualified electrician. In fact, the push for professionally installed, energy-efficient appliances is a growing trend. You can discover more about Australia’s ceiling fan market trends on grandviewresearch.com.
Ultimately, hiring a professional for your ceiling fan installation isn’t an expense—it’s an investment in your property’s safety, your family’s wellbeing, and your own legal and financial protection. It’s the only way to ensure the job is done right, the first time.
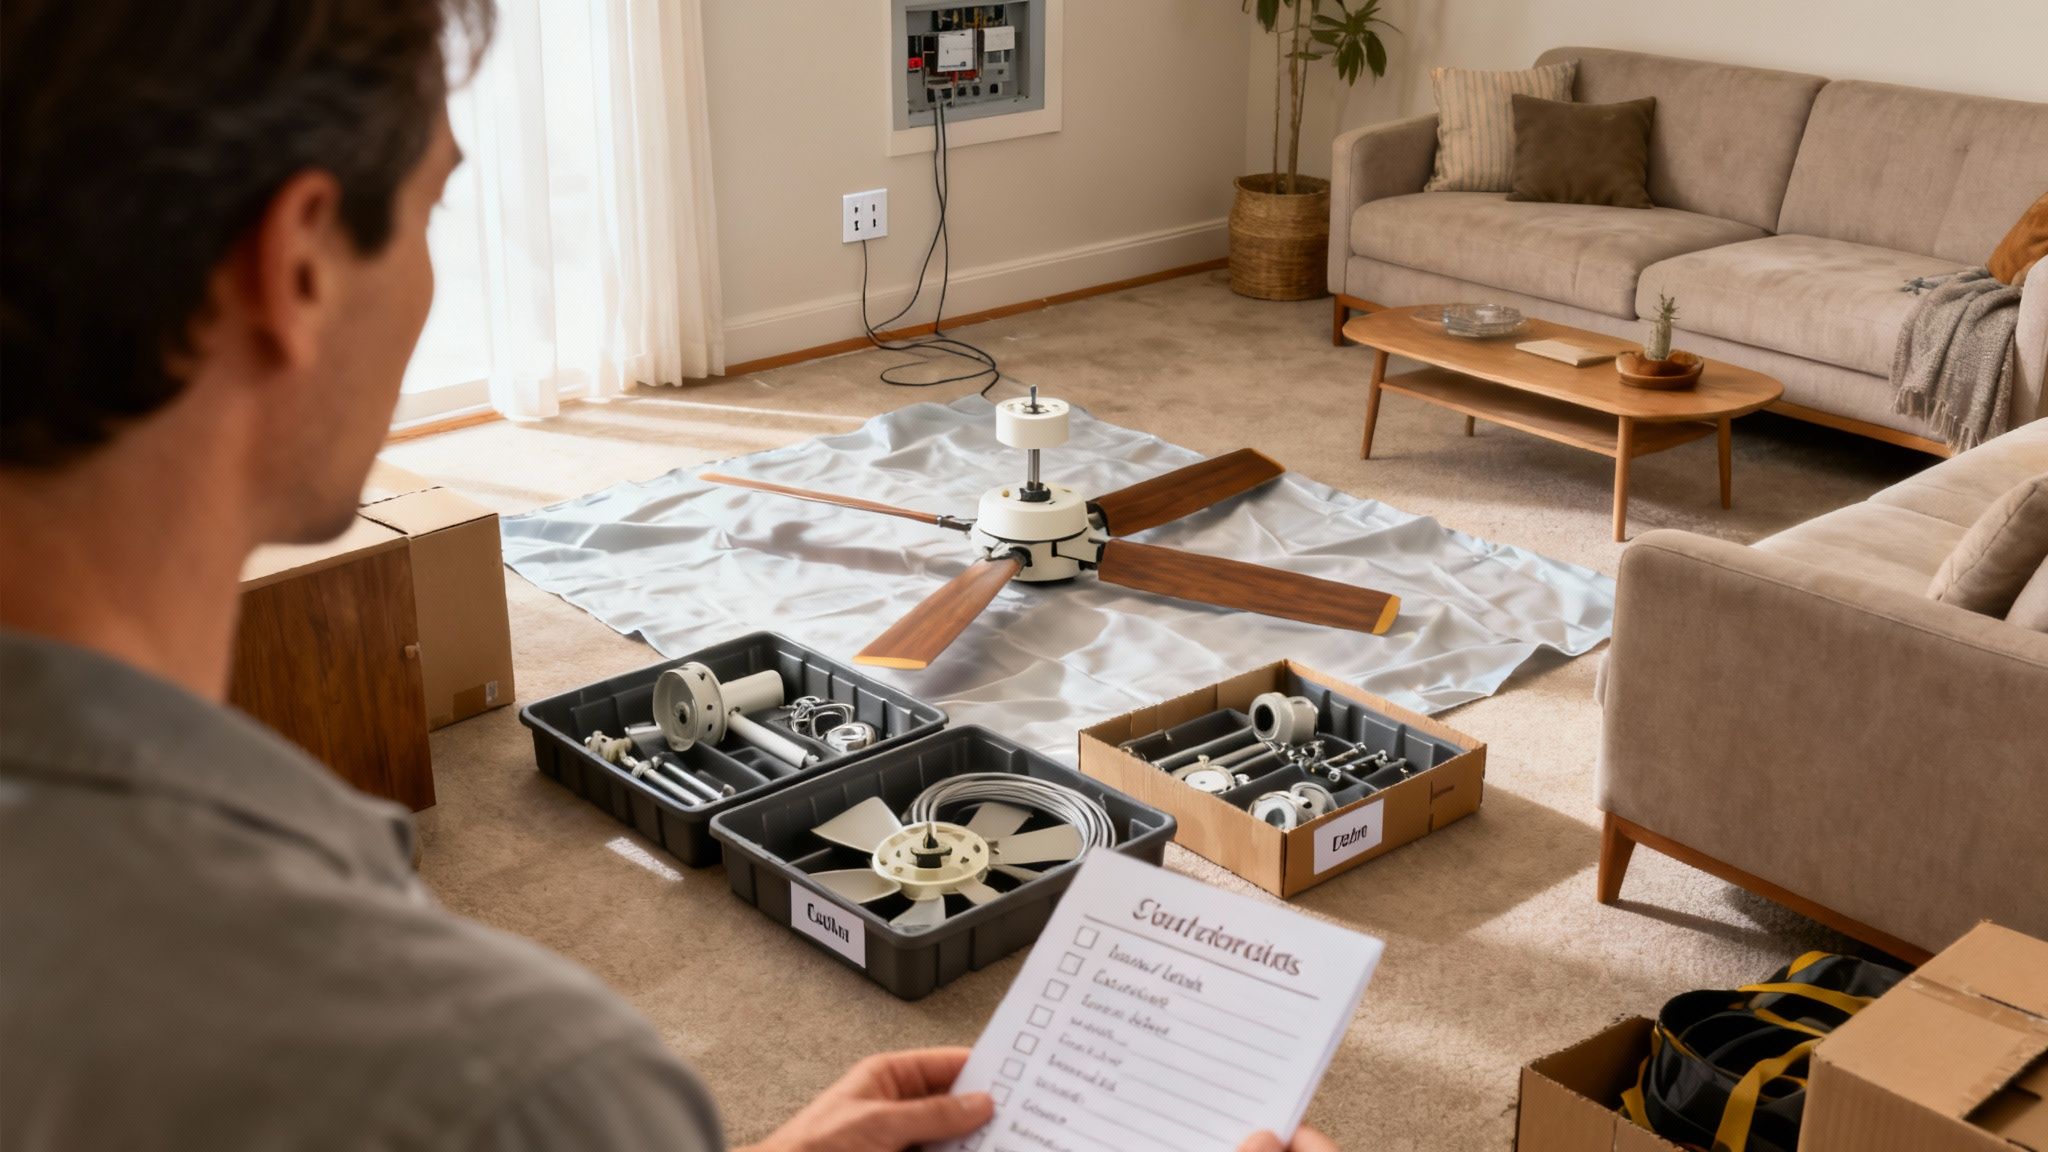
A little prep work goes a long way on installation day. Taking a few simple steps before our electrician arrives makes the whole process faster, safer, and a lot less disruptive to your day. Think of it as setting the stage—a clear, accessible space lets our expert focus entirely on the technical side of the job without any hurdles.
When you prepare your home, you become an active partner in your ceiling fan with installation project. This simple teamwork helps us deliver the safe, high-quality result you’re after and gets your new fan spinning sooner.
To help our electricians work safely and efficiently, we’ve put together this quick checklist. Running through these simple points the day before your appointment will guarantee a hassle-free experience for everyone.
By taking just 15-20 minutes to prepare, you can significantly cut down the total installation time. A clear and accessible workspace is the single biggest factor in helping an electrician get the job done without any delays.
With the room ready to go, there are just a couple more things you can do to really streamline the process.
First, if you’ve supplied the fan yourself, it’s a great idea to carefully unbox it and check that all the parts listed in the manual are there. Laying the components out not only makes assembly quicker but also flags any missing pieces before we’ve even started.
Finally, take a moment to jot down any last-minute questions you have for us. Whether it’s about operating the remote, changing fan direction, or the best way to clean the blades, having your questions ready means you’ll get all the info you need right on the spot.
Even after covering the basics, it’s completely normal to have a few questions rattling around. We get it. This is an investment in your home’s comfort, and you want to be sure about every detail.
Here are the answers to the most common queries we hear from Brisbane homeowners. Think of it as a quick chat to clear up any lingering uncertainties before the big day.
Yes, absolutely! This is one of the most popular and often most straightforward ways to add a new fan. The wiring is already there, which gives us a great head start and can make the whole process smoother.
But it’s not just a simple swap. The first thing a qualified electrician will do is check the existing junction box in the ceiling. Standard light fixture boxes aren’t built to handle the weight and constant movement of a fan. If it’s not up to the task, we’ll replace it with a new, sturdy fan-rated brace box to ensure your new fan is mounted securely and safely for the long haul.
The time it takes really depends on the job at hand. No two installations are exactly the same.
Things like extra-high ceilings or a particularly tricky fan model can add a bit more time to the job, too.
A professional’s goal isn’t just speed; it’s precision and safety. While a straightforward job might be quick, the time taken reflects the care required to ensure every connection is perfect and every component is secure for long-term, wobble-free performance.
Blade balancing is that final, crucial touch that separates a silent, smooth-running fan from a wobbly, annoying one. You’d be surprised how even the tiniest difference in the weight or angle of the blades can cause the whole unit to shake and create a constant, irritating noise.
After we’ve put the fan together, we run it through all its speeds to spot any hint of instability. If there’s a wobble, we use a small, specialised balancing kit—it’s just little weights and clips—to make tiny adjustments until it spins perfectly. It’s this meticulous step that guarantees quiet comfort and prevents extra strain on the fan’s motor, helping it last much longer.
You definitely do. Putting a standard indoor fan outside on a patio or verandah is a major safety risk and a recipe for disappointment. It just won’t last. The moisture, humidity, and temperature swings will cause the blades to warp, the metal to rust, and the motor to fail prematurely.
For any outdoor area, you need to pick a fan with the correct rating:
Getting the right fan ensures it will run safely and reliably for years, letting you enjoy your outdoor space in comfort.
Ready to enjoy the comfort and efficiency of a professionally installed ceiling fan? The expert team at DLG Electrical is here to help. Contact us today for a free, no-obligation quote and experience the difference that quality workmanship makes.

Master Electrician with over 30 years of experience. Founded DLG Electrical in 2005 after international project work including electrical installations at Stamford Bridge Stadium, London(Home of Chelsea FC).

Local Electricians that can fix all Electric Hot water Systems.
Motion sensor lights are a versatile addition to any home, offering nu
