83 Jean St, Grange QLD 4051
Mon-Fri 07:30 AM - 04:00 PM - Sat - 8:00 - 12 - Sunday Closed
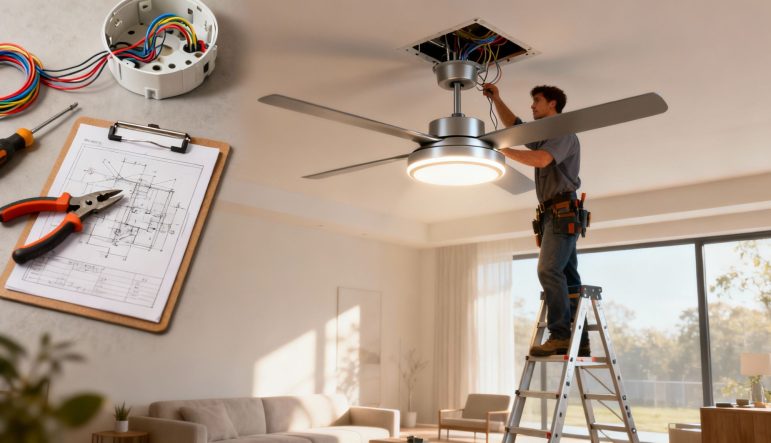
Picking the right ceiling fan and light combo isn’t just about what looks good. It’s about finding that sweet spot where performance, style, and comfort all come together. The right choice can be a functional centrepiece for a room, providing efficient cooling and the perfect amount of light. Especially here in Brisbane, where a good fan is non-negotiable, making a smart choice is key to staying comfortable all year round.
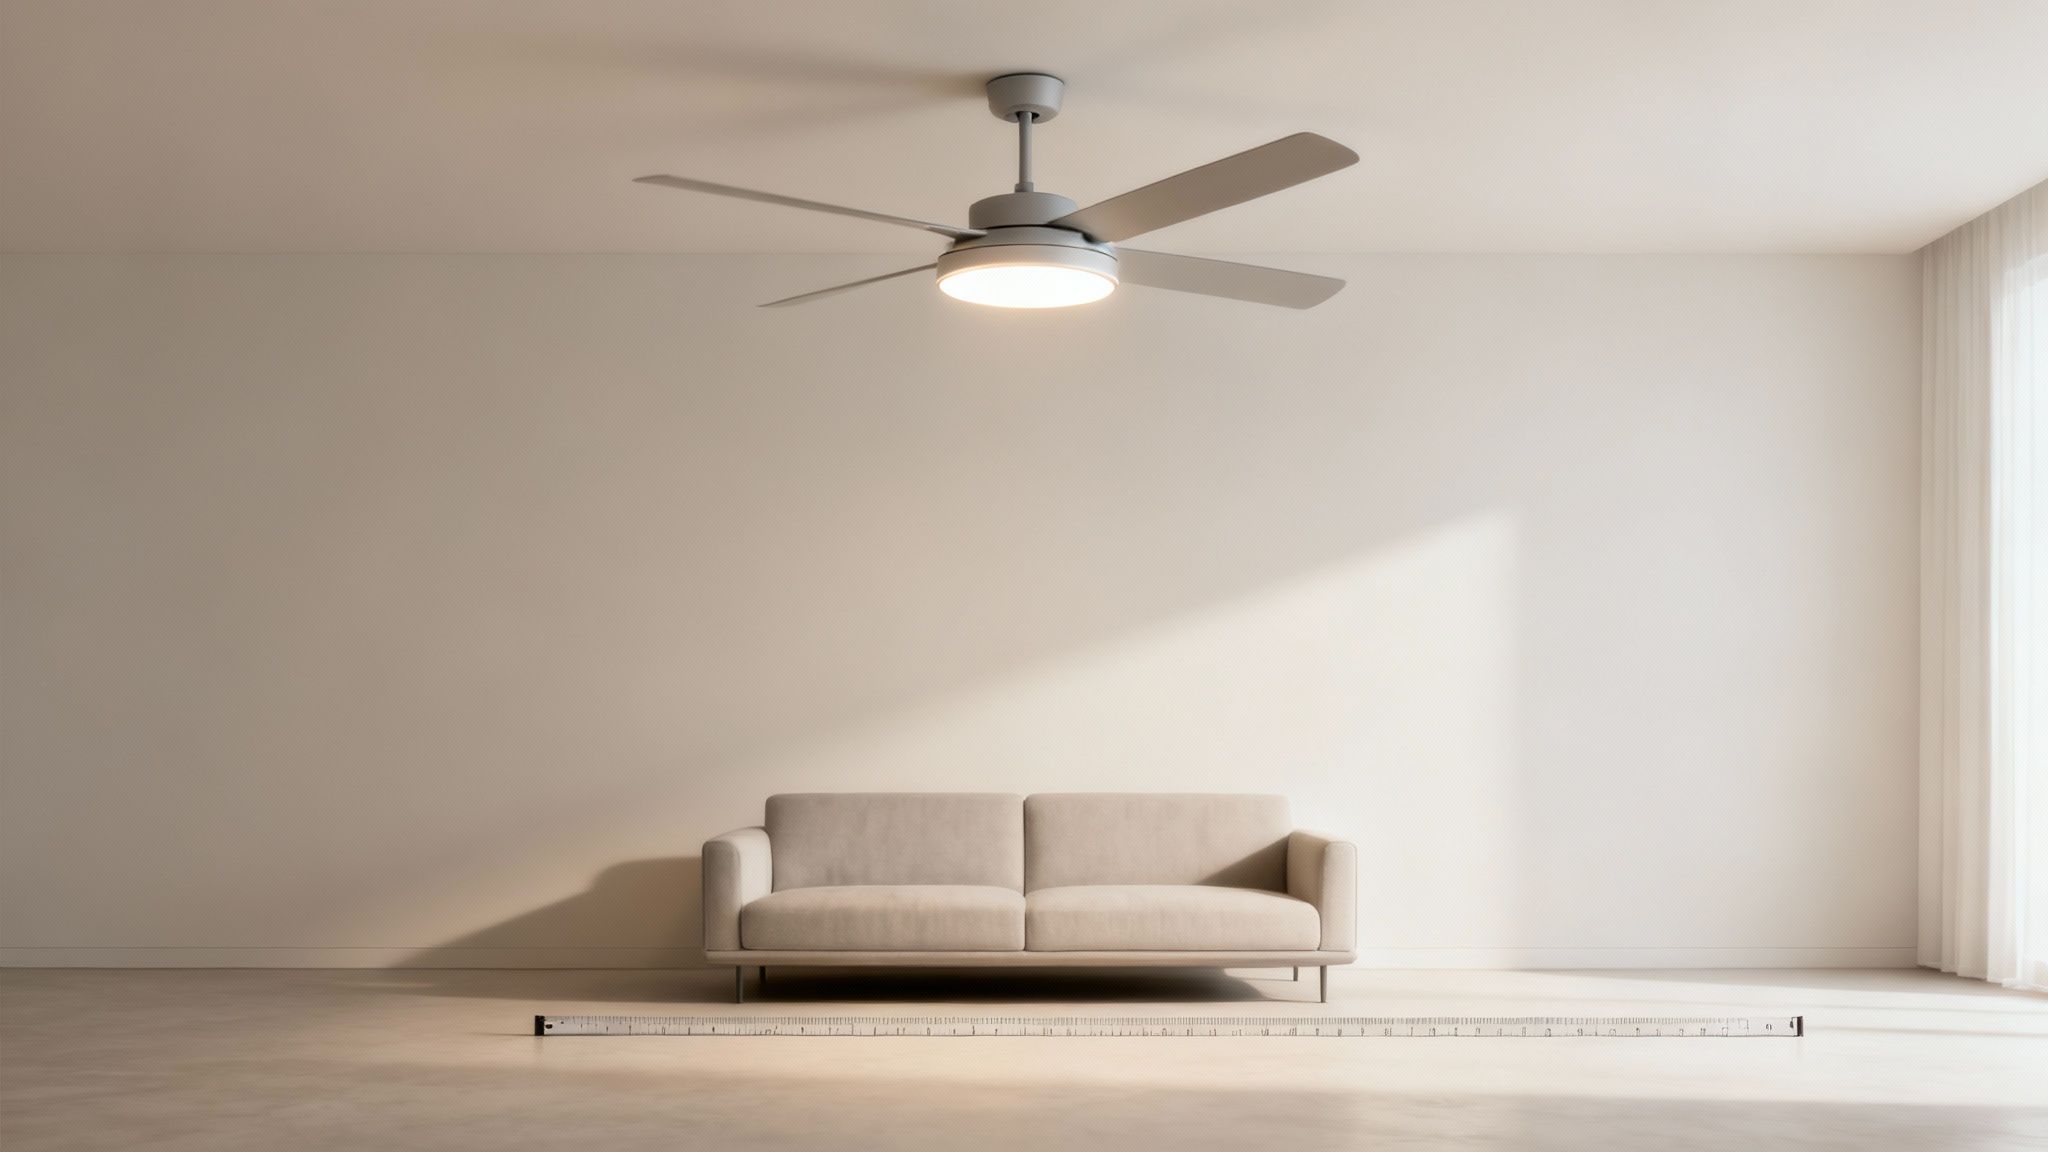
When you’re looking for a new ceiling fan with a light, it’s easy to get caught up in the aesthetics. But the decision goes much deeper than just picking a nice-looking fixture. You’re making a practical choice that will affect your room’s airflow, the quality of your lighting, and even your power bills. While style is definitely part of the equation, it’s the technical specs that really determine if a fan is the right fit for your home.
First things first, you have to match the fan’s blade span to the size of your room. This is the most critical step. Get it wrong, and you’ll feel it. A fan that’s too small for a big living area will just spin its blades without moving much air, leaving you with frustrating hot spots. On the flip side, a massive fan in a tiny bedroom can create a wind tunnel effect that’s just plain uncomfortable.
Nailing the size ensures you get the best possible performance and energy efficiency. It’s not just about making the fan work; it’s about making it work smart. We’ve actually put together a detailed guide on how to select the proper ceiling fan size for any room to help you get this spot on.
Expert Tip: Want your fan to do its job without stealing the show? Match the colour of the fan to your ceiling. A white fan on a white ceiling practically disappears, letting your other design features shine. It’s all about functionality without the visual clutter.
Use this quick guide to find the ideal fan blade span for your room to ensure efficient and effective air circulation.
| Room Size (Square Metres) | Recommended Blade Span (cm) | Ideal For |
|---|---|---|
| Up to 10 m² | 91 – 107 cm | Small bedrooms, home offices, studies |
| 10 – 20 m² | 122 – 132 cm | Master bedrooms, medium living rooms |
| 20 – 30 m² | 132 – 142 cm | Large living areas, open-plan spaces |
| Over 30 m² | 142 cm + | Alfresco areas, large open-plan rooms |
Getting the blade span right is the foundation for a comfortable and efficient space.
The motor is the engine of your ceiling fan, and the technology has come a long way. You’ll mainly find two types on the market: Alternating Current (AC) and Direct Current (DC).
For our Brisbane climate, a DC motor fan is a no-brainer. Yes, the upfront cost might be a little higher, but the long-term savings on your energy bills combined with the quiet, superior performance make it a fantastic investment.
The demand for these smarter, more efficient models is booming. The Aussie ceiling fan market is expected to hit around USD 508.7 million by 2030, largely because people want energy-saving tech like DC motors and smart home features.
With a fan and light combo, the “light” part is just as important as the fan itself. To get the lighting right, you need to get your head around two key terms: lumens and Kelvin.
Choosing a model with an integrated LED that clearly states both its lumen output and Kelvin temperature gives you total control over the room’s atmosphere. To see how the right fixture can pull a whole room together, it’s worth checking out some aesthetic room decoration ideas for a bit of inspiration.
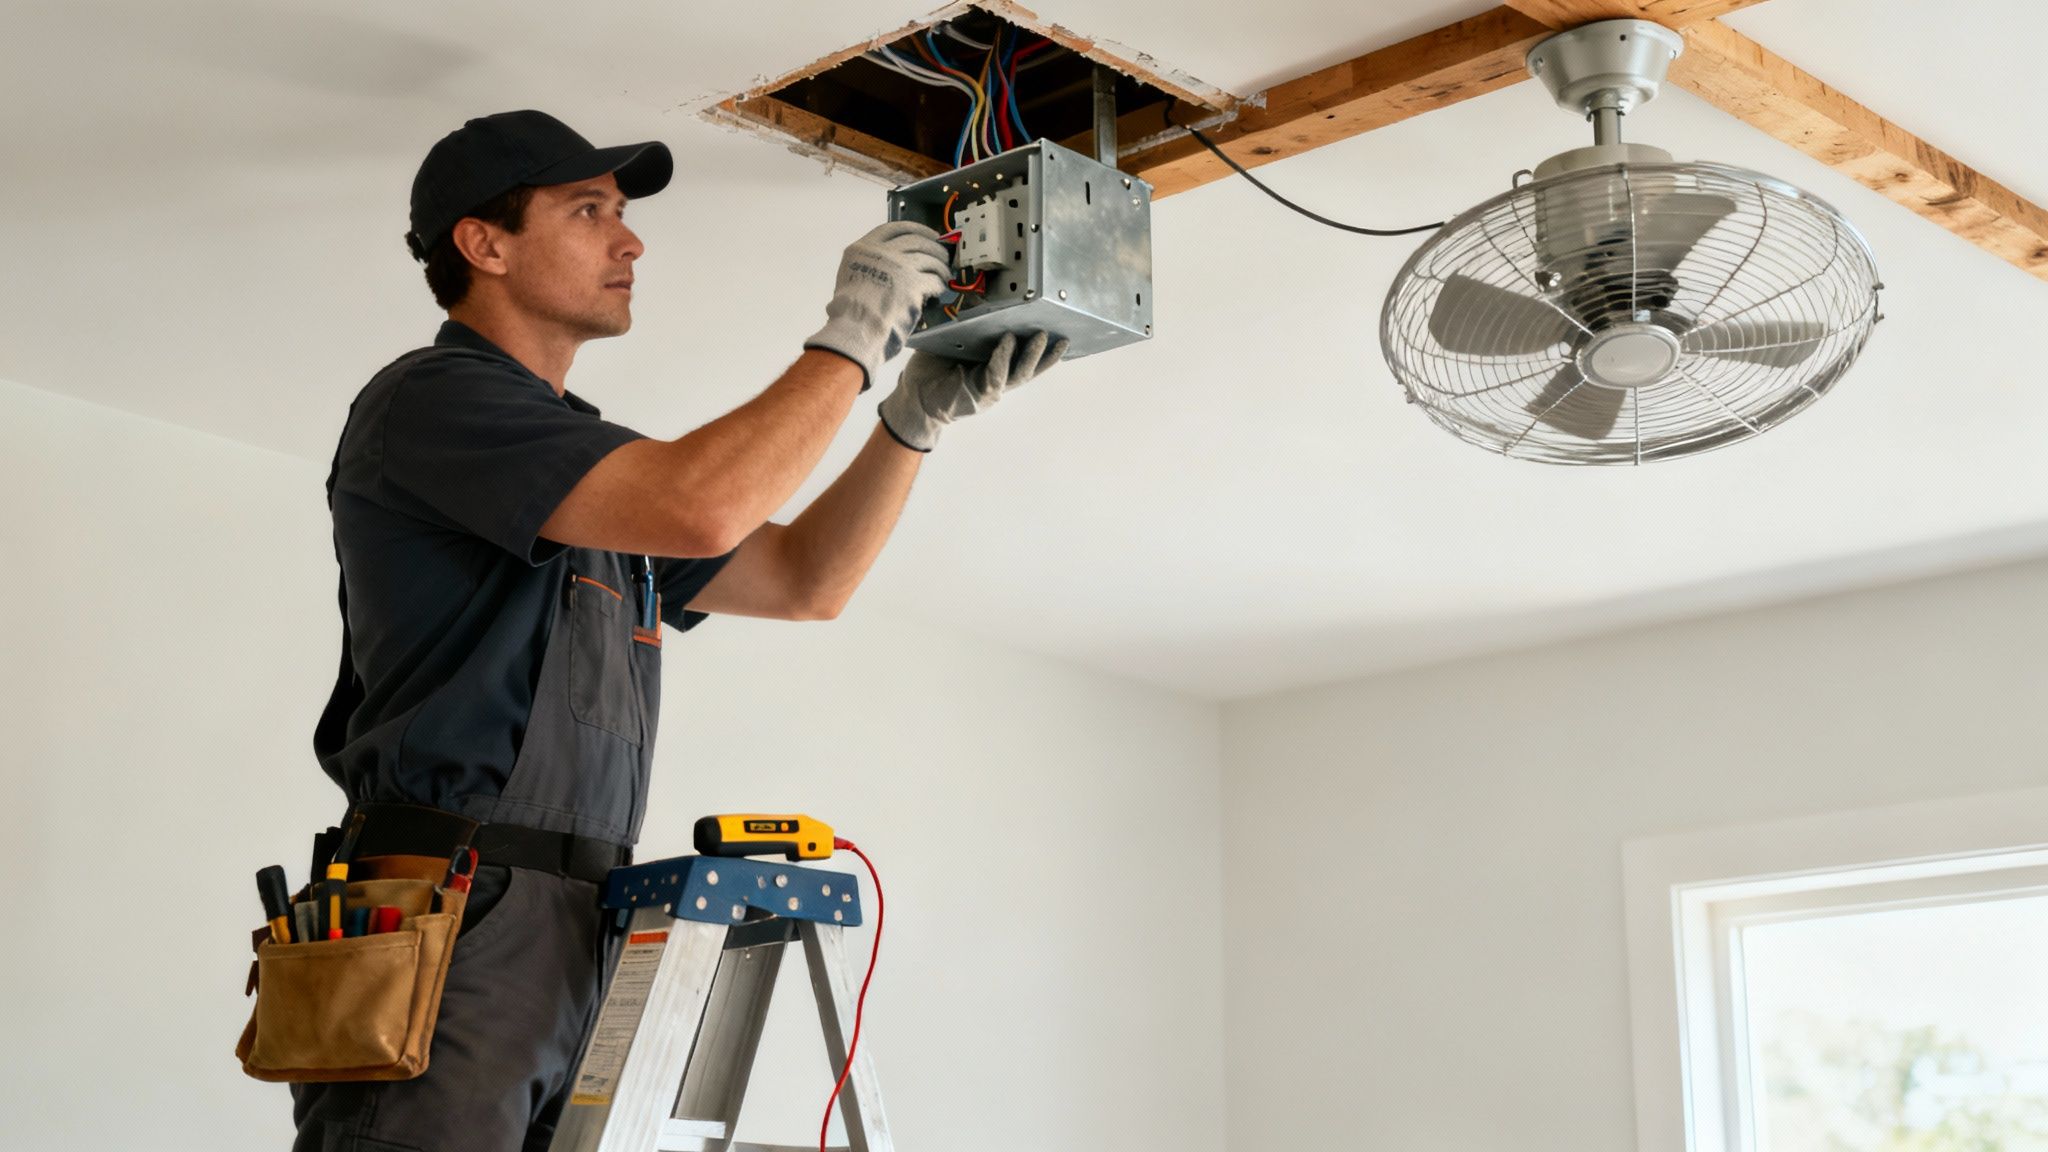
Before you even think about cracking open the box for your new fan, we need to talk about the groundwork. These non-negotiable checks are the difference between a safe, silent fan and a genuine hazard. This isn’t just about ticking boxes; it’s about making sure your home’s structure and electricals are actually ready for the job.
The first port of call is the junction box in your ceiling. If you’re just swapping out an old light fitting, it’s tempting to think the existing box will do. That’s a classic and dangerous mistake. A standard light box is only rated to hold the static weight of a small fitting, which is next to nothing.
A ceiling fan is a different beast altogether. It brings two powerful new forces into play: significant weight and constant, dynamic vibration. You absolutely need a fan-rated box, which is a heavy-duty metal enclosure engineered to mount directly to a ceiling joist or a specialised brace. It’s built to handle both the dead weight and the wobble, stopping the whole unit from working its way loose over time.
Getting your ceiling ready involves more than just the box. Australian Standards lay out some very specific clearances to ensure both safety and proper airflow. Get this wrong, and the fan will be ineffective at best, and dangerous at worst.
Here are the key structural and clearance rules:
These checks are doubly important if you’re working on an older Brisbane home where the framing might not be standard. If you’re in the middle of a larger project, looking at some essential ideas for renovating an old house can help put these structural needs into context with other modern upgrades.
From years of experience, I can tell you the number one point of failure in DIY fan jobs is an improperly secured mounting. The fan either vibrates itself loose over weeks and months or, in a worst-case scenario, falls. This is exactly why this kind of work is restricted to licensed sparkies.
Once the structure is sorted, we need to look at the wiring. A licensed electrician will check that the circuit can handle the combined electrical load of the fan’s motor and the new light. They’ll also inspect the existing wiring to make sure it’s in good nick and compliant with today’s standards.
The most critical electrical safety check is for a safety switch, also known as an RCD. An RCD is designed to shut the power off in milliseconds if it detects a current leak, dramatically cutting the risk of electric shock. If your switchboard doesn’t have one protecting the circuit, installing one is a mandatory first step. To get your head around this vital bit of kit, our guide explains what a Residual Current Device is and why every Australian home needs them.
These pre-installation checks are precisely why installing a ceiling fan is a job strictly for a licensed electrician. They have the tools and expertise to properly assess everything, make the necessary upgrades, and guarantee your new fixture is safe, secure, and ready for years of service.
While Aussie law is crystal clear that you can’t install a ceiling light and fan yourself, it’s still incredibly useful to understand what a licensed sparkie is actually doing up there. Knowing the steps helps you ask the right questions, appreciate the skill involved, and spot a quality job from a dodgy one.
This isn’t just about screwing a fan to the ceiling; it’s a careful, methodical process that puts safety, structural integrity, and long-term performance first. Let’s pull back the curtain on what a professional installation looks like, from the moment we cut the power to that first satisfying spin of the blades.
Before any tool comes out, the first thing a professional electrician does is make the area electrically safe. And no, that doesn’t just mean flipping the light switch off. It involves a formal lock-out tag-out (LOTO) procedure right at your home’s switchboard.
Your electrician will find the specific circuit breaker that feeds the light you’re replacing (or the new fan location) and switch it off. To make absolutely sure nobody can accidentally flick it back on while they’re working, a physical lock and a clear warning tag are attached to the switchboard.
This is a non-negotiable safety step. It guarantees the wires are completely dead, removing any risk of electric shock. We then use a voltage tester right at the ceiling fixture itself to triple-check that the power is off before touching a single wire.
With the power safely isolated, the focus shifts to the physical mounting. Honestly, this is where most DIY attempts go wrong, leading to wobbly, noisy, or downright dangerous fans. As we’ve said, plasterboard alone will never support the weight and constant motion of a fan.
The first job is to find a solid timber ceiling joist. We use a stud finder or a few well-practised taps on the ceiling to locate this main structural beam. The fan’s mounting bracket must be screwed directly into this joist with heavy-duty screws. This ensures it can handle the fan’s weight and the vibration for years without breaking a sweat.
“A common shortcut we see in failed DIY attempts is the use of plasterboard anchors. These are designed for hanging picture frames, not a 10kg appliance that’s constantly in motion. A secure mount into a joist is the only safe and compliant method.”
What if there isn’t a joist in the perfect spot? A pro will install a specialised fan-rated brace or some timber blocking between two joists. This creates a brand-new, solid anchor point exactly where it’s needed. This is the secret to a perfectly balanced, whisper-quiet ceiling light and fan. An insecure mount is the number one cause of annoying wobbles and noises.
Once the bracket is firmly in place, it’s time to wire it all up. This is where a deep understanding of Australian electrical standards (AS/NZS 3000) is absolutely essential. We’ll typically assemble the main fan motor and canopy on the ground before carefully lifting it into position.
Most mounting brackets have a handy temporary hook. The fan hangs on this, freeing up our hands to make the electrical connections safely and precisely.
In a standard Aussie home, you’ll find three key wires:
We connect these wires from your ceiling to the right terminals on the fan’s receiver or motor. The wires for the light kit are connected here, too. Every connection is secured tightly inside a terminal block and properly insulated to prevent any chance of a short circuit. If you’re keen to understand the basics, our guide on how to wire a light switch in Australia explains the principles behind these connections.
With the wiring done, the fan’s canopy is pushed up flush with the ceiling and secured to the bracket. This neatly hides all the wiring and hardware for a clean finish. Next, we attach each fan blade to the motor, making sure every screw is tightened to the manufacturer’s exact specifications. You’d be surprised how often a wobble is caused by nothing more than unevenly tightened blades.
Before turning the power back on, we do one last visual check of all connections. Only then is the lock and tag removed from the switchboard and the circuit turned on.
The final stage is a full test run. We’ll cycle through every fan speed, check the light, and test the reverse function if it has one. We watch and listen for any hint of imbalance, scraping, or motor hum. If there’s even a slight wobble, we’ll use the balancing kit that came with the fan—a simple set of weights—to make tiny adjustments to the blades until it runs perfectly smooth. That final balancing act is the hallmark of a true professional job.
Here in Brisbane, any kind of electrical work is serious business. It’s not the place for a weekend DIY project—it’s a strictly regulated trade governed by laws designed to keep you and your property safe. Installing a ceiling light and fan definitely falls into this category. It’s far more than just connecting a few wires; it’s about making sure the whole setup is secure, safe, and legally compliant.
The government classifies this type of job as prescribed electrical work. In simple terms, this means it’s illegal for anyone other than a Licensed Electrical Contractor to even attempt it. Trying to install it yourself not only opens you up to the risk of serious injury or fire but can also lead to some hefty legal and financial penalties.
At the core of every single compliant electrical job in Australia is a standard known as AS/NZS 3000, or what we in the trade simply call the Wiring Rules. This isn’t just a friendly set of guidelines; it’s the legal benchmark that every electrician must follow to guarantee an installation is safe.
Think of it as the official rulebook for your home’s entire electrical system. It dictates everything, from the correct type of wiring to use and how circuits must be protected, right down to the specific requirements for securely mounting heavy fixtures like a ceiling light and fan. A licensed sparkie knows these rules inside and out, ensuring your new fan doesn’t just work—it’s safe for years to come.
Once your new fan is up and running, the job isn’t truly finished until your electrician hands you a Certificate of Compliance. You might also hear it called an Electrical Safety Certificate. This document is your official, legally recognised proof that the work was done by a licensed pro and meets all current Australian standards.
This certificate is so much more than a piece of paper. It’s your formal assurance of safety and a critical document for your home insurance. If there was ever an electrical fault or fire, your insurer will ask for this certificate to validate your claim. Without it, you could find your policy is voided, leaving you to foot the bill for all the damages.
This infographic gives you a good idea of the core steps a professional follows to ensure everything is done by the book.
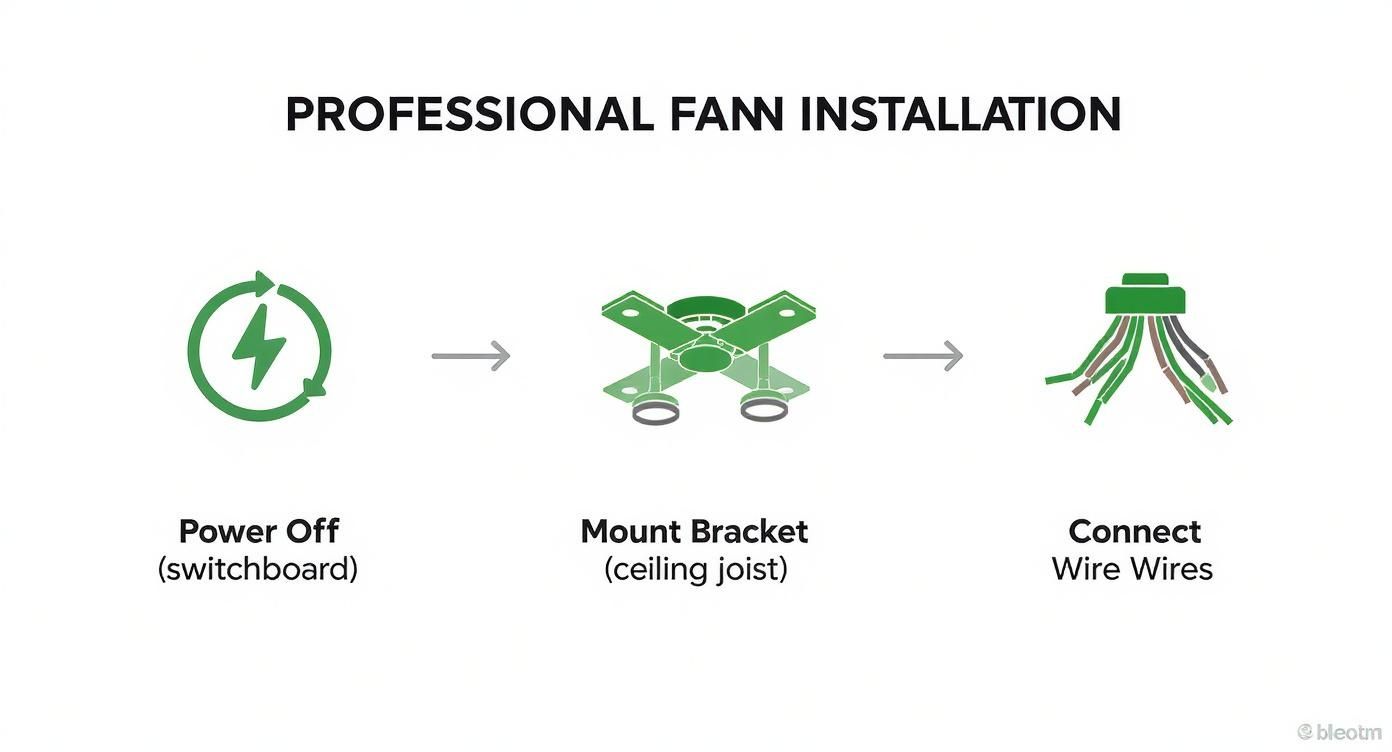
Every single stage—from safely isolating the power and securely mounting the unit to correctly connecting all the wires—is a non-negotiable part of the safety and compliance process.
Navigating all these rules might seem a bit overwhelming, but for us, it’s just another day at the office. When you hire DLG Electrical, you’re not just getting a fan installed. You’re getting the peace of mind that comes with a fully compliant and professionally guaranteed job.
We take care of all the compliance details, ensuring:
Choosing a licensed professional isn’t just about following the law—it’s about protecting your biggest investment.
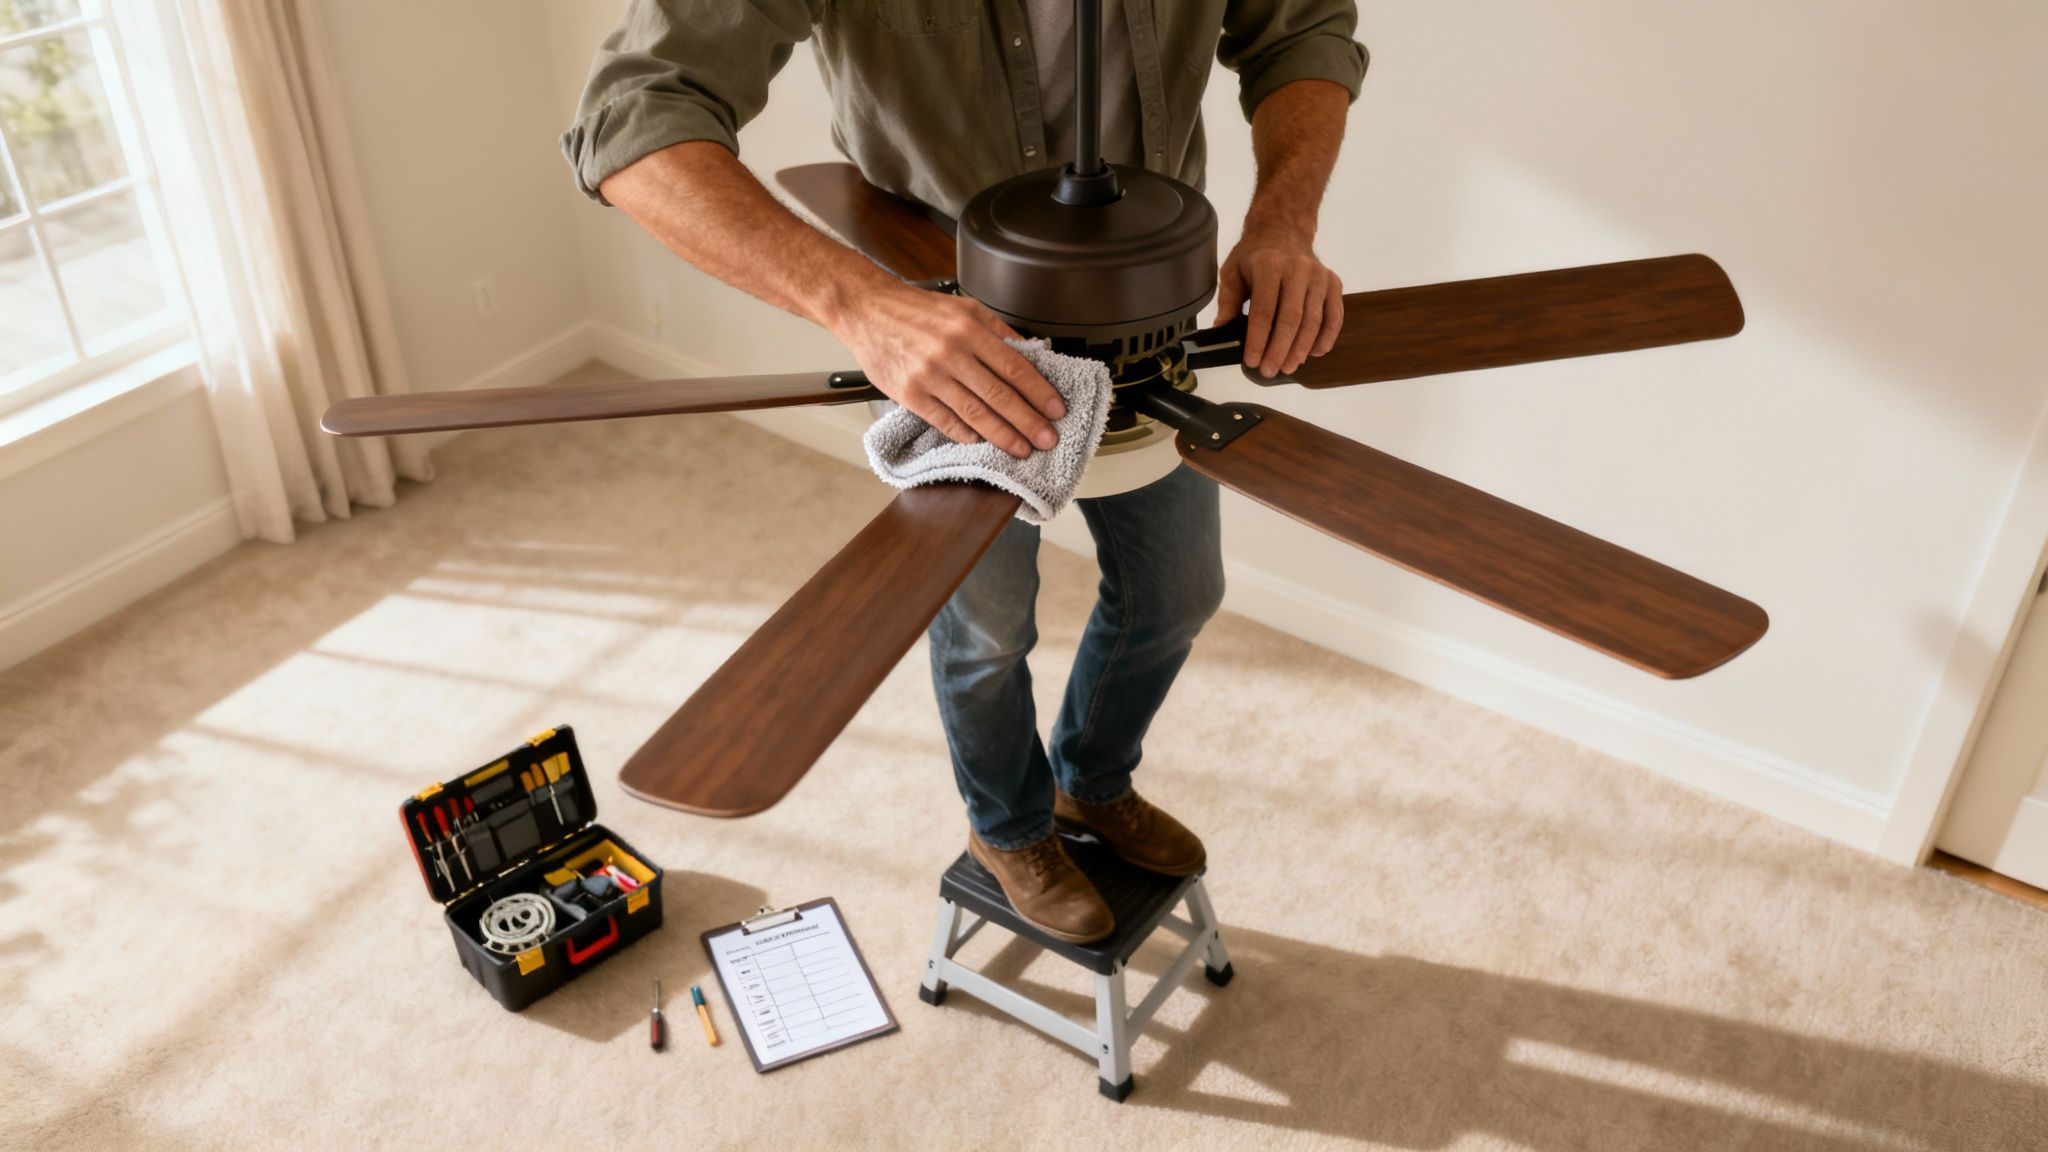
Thinking about the total cost of a ceiling light and fan goes beyond just the price tag on the box. You need to consider the professional installation, the incredibly low running costs, and the little bits of upkeep that keep it spinning smoothly for years. Let’s look at the real-world numbers and what it takes to get the most out of your investment.
One of the best things about a modern ceiling fan is how cheap it is to run. Here in Australia, you’re typically looking at a cost between 0.17 cents and 1.9 cents per hour. Run that over a hot 90-day Brisbane summer, and it’s a tiny fraction of what you’d spend on air conditioning. It’s an incredibly smart way to stay cool without the bill shock. You can dig deeper into these running costs over at Grand View Research.
The biggest factor influencing your upfront cost is what’s already in your ceiling. Swapping an old fan for a new one in the exact same spot is pretty straightforward. But if we’re putting a fan where a simple light used to be—or in a brand new spot—the job gets a bit more involved.
Here’s a rough guide to professional installation costs in the Brisbane area:
Remember, these are just for the installation labour—the ceiling light and fan unit itself is a separate cost. It’s always best to get a detailed, fixed-price quote from a licensed sparky before any work starts.
Our Pro Tip: When you’re getting quotes, ask if the price covers any potential plaster repair. Sometimes we need to make a small cut in the ceiling to run new wires, so it’s good to know upfront if patching that up is included or an extra cost.
A little bit of TLC will keep your fan running whisper-quiet for years. In our experience, nine times out of ten, annoying clicks, wobbles, and hums are caused by a simple lack of maintenance.
Just follow this easy routine:
That’s it. This tiny bit of effort will seriously extend the life and performance of your fan.
Even a well-cared-for fan can have an off day. Before you pick up the phone, here are a few things you can check yourself. This quick guide covers some of the most frequent hiccups we see with ceiling fans.
Below is a quick reference table to help you identify what might be going on with your fan and what to do about it.
| Problem | Potential Cause | Recommended Action |
|---|---|---|
| Fan Wobbles | Dust on blades, loose blade screws, or blades are out of balance. | Turn the power off. Clean the blades thoroughly and check that all blade screws are tight. If it still wobbles, use the balancing kit that came with the fan. |
| Light Flickers | The bulb may be loose or nearing the end of its life. If it’s a new LED, it could be a dimmer compatibility issue. | Ensure the bulb is screwed in tightly. Try a new bulb. If the problem persists with an LED light, the issue might be an incompatible wall dimmer switch. |
| Motor Hums Loudly | May be normal on some AC motors at certain speeds. Could also be an issue with the wall controller or receiver. | Try different speed settings. If the hum is loud and persistent, it’s best to call a professional to check the electrical components. Never open the motor housing yourself. |
| Fan Won’t Turn On | The remote batteries may be dead, or the circuit breaker could have tripped. | Replace the batteries in your remote control first. Then, check your switchboard to see if the breaker has tripped. If neither works, it’s time to call an electrician. |
If you’ve run through these simple checks and your fan is still misbehaving, it’s a sign of a deeper electrical issue. For your own safety, that’s when you call a licensed professional like DLG Electrical to diagnose the problem properly.
Even after you’ve picked the perfect fan, a few questions can pop up. And when it comes to installing a ceiling light and fan, it pays to have clear answers before you start. We’ve been fitting these in Brisbane homes for close to two decades, so we’ve heard just about every question there is.
Here are the straightforward answers to the queries we get most often from homeowners just like you.
This is easily the number one question we’re asked, and in Australia, the answer is a firm no. It’s not just illegal for an unlicensed person to do this kind of electrical work—it’s incredibly dangerous. The logic is simple: the junction box holding your old light fitting was only ever meant to support a few hundred grams. A ceiling fan weighs kilograms and is in constant motion.
You need a licensed electrician, not just to handle the wiring according to Australian Standards (AS/NZS 3000), but to make sure the fan is properly anchored to a structural ceiling joist. This is the only way to stop the fan from vibrating loose and potentially falling, which is a serious safety hazard.
For most Brisbane homeowners, our answer is a definite yes. There’s a good reason DC motor fans have become the new standard. They use up to 70% less energy than the old AC models, which means you’ll see a real difference in your power bills over the fan’s lifetime.
But the benefits go well beyond just energy savings:
So while you might pay a bit more upfront, the long-term energy savings and far better performance make it a fantastic investment.
This clever feature, usually found on DC fans with a remote, simply reverses the direction the blades spin to change how the air moves. It’s a simple trick that makes your home more comfortable all year round.
Installation costs in Brisbane really depend on how complex the job is. A straightforward swap—taking an old fan down and putting a new one in its place—is the simplest scenario. On the other hand, putting a brand new ceiling light and fan where there’s never been one before takes a lot more work.
Here’s a general guide to what you can expect:
Always make sure you get a detailed, upfront quote so there are no surprises when the work is done.
If you’ve got more questions or you’re ready for a fixed-price quote on your ceiling fan installation, the team at DLG Electrical is here to help. Contact us today for expert advice and professional service you can trust.

Master Electrician with over 30 years of experience. Founded DLG Electrical in 2005 after international project work including electrical installations at Stamford Bridge Stadium, London(Home of Chelsea FC).

Local Electricians that can fix all Electric Hot water Systems.
Motion sensor lights are a versatile addition to any home, offering nu
