83 Jean St, Grange QLD 4051
Mon-Fri 07:30 AM - 04:00 PM - Sat - 8:00 - 12 - Sunday Closed
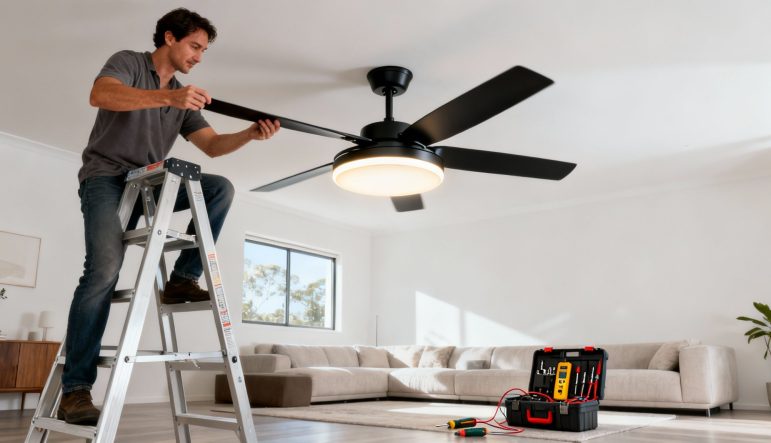
Before you even touch a screwdriver, the most important part of any ceiling fan project is picking the right unit. This decision is huge for any Brisbane home. A great choice will keep you cool through our sticky summers and light up your room perfectly. The wrong one? It’s just a recipe for disappointment and wasted energy.
This is about more than just looks; it’s about matching the fan’s features to our unique Queensland climate and the way we live.
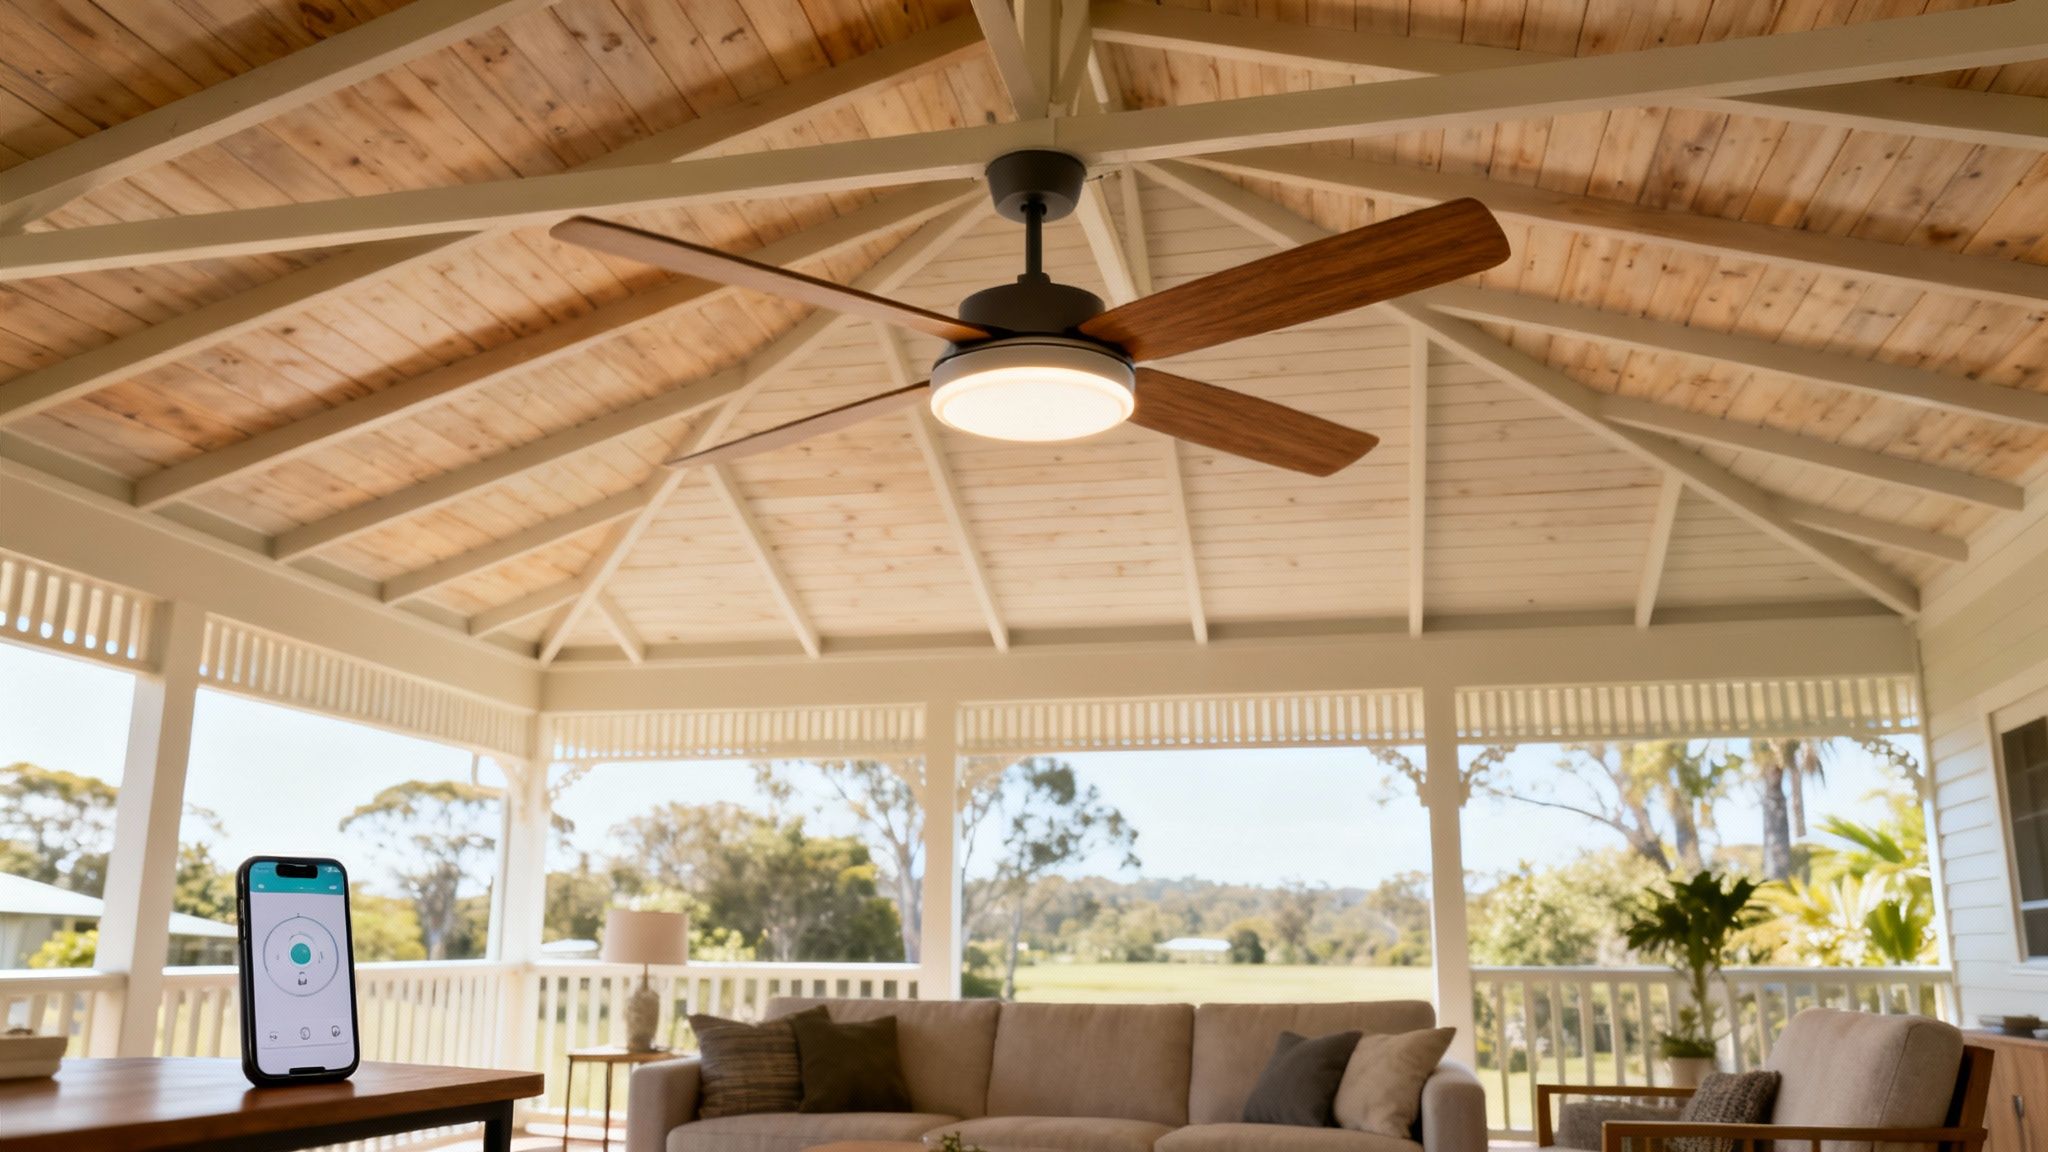
Finding the perfect fan goes way beyond what catches your eye in the showroom. Here in Brisbane, where humidity is a year-round reality, the fan blade material is a massive deal. I’ve seen plenty of beautiful timber blades warp and droop over time. That’s why I always point clients towards models with ABS polymer blades—they’re built to handle moisture without breaking a sweat, making them a solid choice for living rooms and even covered patios.
Then there’s the motor. Your standard AC (alternating current) motor is fine, but the newer DC (direct current) motors are a game-changer. They can be up to 70% more energy-efficient and run almost silently. If you’re putting a fan in a bedroom or a quiet study, that near-silent operation is worth its weight in gold. Plus, DC motors usually come with more speed settings, giving you much finer control over the airflow.
The size of the fan, or its “blade span,” is everything when it comes to performance. A small fan in a big living room is just going to spin its heart out without moving much air. On the other hand, a massive fan in a small bedroom can feel like you’re in a wind tunnel. You have to get this right. For a complete breakdown, check out our detailed ceiling fan size guide to match the right dimensions to your room.
Thinking about how a fixture integrates into a space is just good practice. Interestingly, the same principles of placement and performance apply to other ceiling installations. For those who are curious, this professional guide to in-ceiling loudspeaker installations touches on similar concepts that are quite insightful.
Ceiling fans aren’t just simple spinning blades anymore; smart technology is taking over. In fact, smart ceiling fans are one of the fastest-growing segments in the Aussie market. Projections show the smart fan market is set to explode from USD 38.8 million in 2024 to USD 71.7 million by 2033. It’s easy to see why—features like app control and voice commands offer a level of convenience we could only dream of a decade ago.
A Quick Tip for Outdoor Areas: If you’re choosing a fan for a patio or deck, you absolutely must check its IP (Ingress Protection) rating. Look for a “damp-rated” fan at a minimum. It’s designed to handle Brisbane’s humidity and moisture without corroding or causing dangerous electrical faults.
We’ve put together a quick table to help you cut through the noise and compare the features that really count in our climate.
Use this table to quickly compare key features and find the best fan with light ceiling for your space and needs.
| Feature | Why It Matters | Ideal For |
|---|---|---|
| DC Motor | Up to 70% more energy-efficient and virtually silent operation. More speed options. | Bedrooms, quiet living areas, and energy-conscious homes. |
| AC Motor | A reliable, budget-friendly option that gets the job done. | General use, secondary rooms, and rental properties. |
| ABS Polymer Blades | Durable, warp-resistant, and perfect for handling Brisbane’s humidity. | All indoor areas, covered patios, and alfresco spaces. |
| Timber Blades | Offers a classic, natural aesthetic but can be prone to warping in high humidity. | Drier, well-ventilated indoor spaces only. |
| Smart Controls | App and voice control for ultimate convenience, scheduling, and smart home integration. | Tech-savvy households and hard-to-reach installations. |
| Damp/Wet Rating | Essential for safety and longevity in outdoor or moisture-prone areas. | Covered patios, decks, and bathrooms. |
Ultimately, selecting the right fan with light ceiling is about finding that sweet spot between style and smart, practical features that are built for Brisbane. By focusing on the right materials, an efficient motor, and the smart tech that fits your lifestyle, you’ll end up with a fan that delivers comfort and value for years to come.
Getting a new ceiling fan installed successfully starts long before you even open the box. A bit of proper preparation is what separates a frustrating, potentially dangerous job from a smooth one that goes off without a hitch. This groundwork really sets you up for success from the get-go.
First things first, take a good, hard look at where you plan to hang it. Just because there’s an old light fixture there doesn’t mean you’re good to go. A fan with light ceiling fixture is a whole different beast—it’s much heavier and creates constant movement. The standard junction box for a light just isn’t built to handle that kind of stress. You absolutely have to confirm the ceiling box is braced securely to a joist and is officially rated to support the dynamic weight of a fan. Skipping this step is asking for trouble down the line.
If you’re simply swapping out an old fan for a new one, you’re probably in good shape. But if it’s just a light you’re replacing, that mounting almost certainly needs to be reinforced. This is often where a simple project gets a bit more involved, but trust me, it’s a non-negotiable safety requirement.
There’s nothing worse than being halfway through a job, perched on a ladder, and realising you need a different screwdriver. Having the right tools ready to go saves you from those annoying trips back and forth to the garage. You don’t need a professional workshop, just a few key items to get the job done safely and efficiently.
Here’s a practical list of what you’ll actually need:
Never, ever rely on just a wall switch to kill the power to a circuit. Always double-check with a proper voltage tester to confirm the wires are dead before you go near them. Safety first, always.
Before you even think about touching a single screw, you have to shut off the power at the source. That means heading to your home’s switchboard (or fuse box) and flipping the circuit breaker for the room you’re working in.
Just flicking the wall switch off isn’t good enough—it’s downright dangerous. Someone could easily flip it back on, or it could be wired incorrectly in the first place. Once you’ve turned the breaker off, I always recommend putting a bit of tape over it with a note, just so nobody accidentally powers it back up while you’re in the middle of the job.
With the breaker off, head back to the room and flick the light switch a few times to make sure the power is definitely off. Then, for the final confirmation, use your non-contact voltage tester directly on the wires inside the ceiling box. This double-check process is the only way to guarantee your safety.
For a deeper dive into the specifics, you can learn more about the complete process of a ceiling fan installation in our detailed guide. Taking these prep steps seriously ensures your project is not only successful but, more importantly, completely safe.
Jumping into the wiring of a new appliance can feel like the most intimidating part of the job, but the core principles are actually pretty straightforward. Once you understand what each coloured wire does, the whole process becomes much clearer, helping you make sure every connection is safe and correct. A typical fan with a light uses a logical system that really does make perfect sense once you get the hang of it.
Essentially, the wiring in your ceiling is designed to deliver power safely from point A to point B. You’ll usually find three main types of wires coming from your home’s electrical circuit, and each one has a specific role.
The live wire (usually red or brown in modern Aussie homes) is the one carrying the electrical current from your switchboard to the fan. Then you have the neutral wire (black or light blue), which completes the circuit by carrying that current back to the source. Finally, the all-important earth wire (green and yellow stripes) is your critical safety net, designed to protect you from electric shock by giving the current a path to the ground if a fault occurs.
Your new ceiling fan will come with its own set of wires ready to be connected to your home’s wiring. These usually include separate wires for the fan motor and the light kit, which is what allows you to control them independently if you have the right kind of wall switch.
To give you a better idea of how these connections fit into the bigger picture of a safe installation, the diagram below lays out the essential prep work.
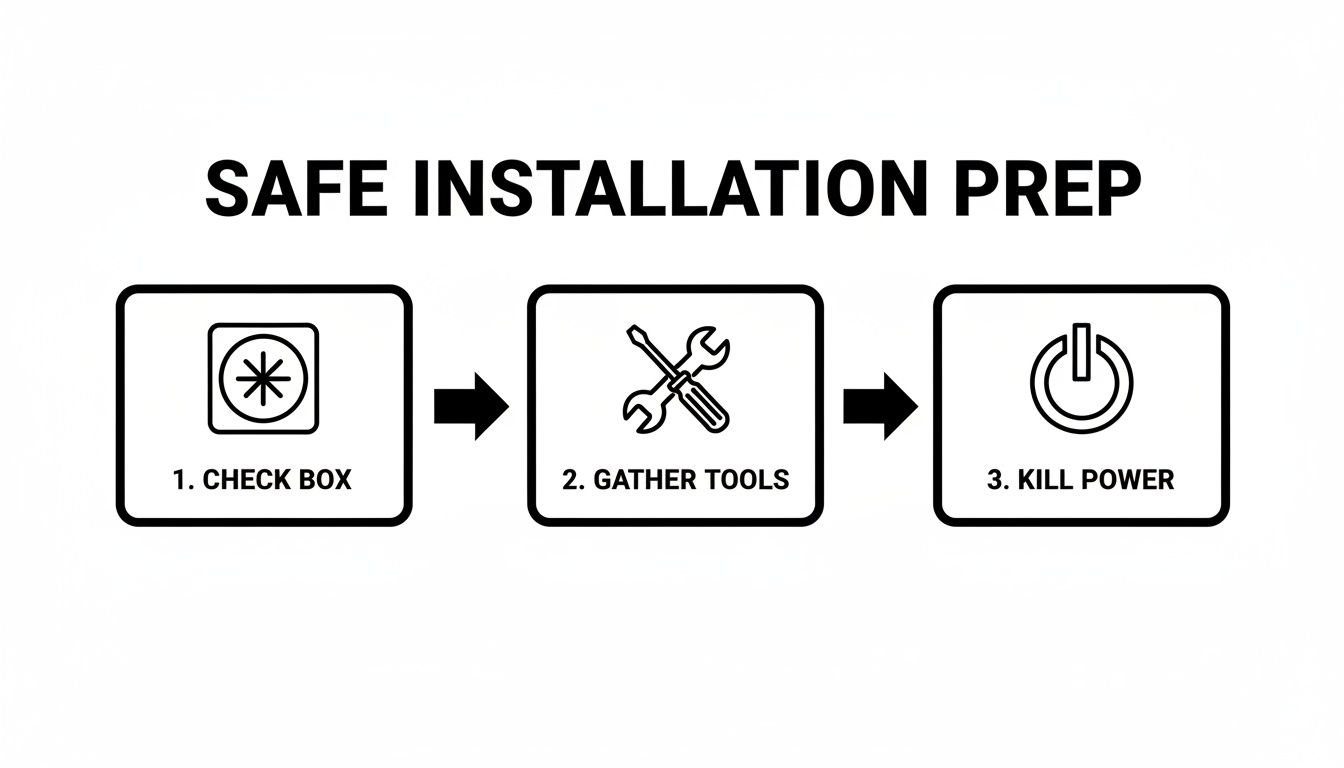
This graphic highlights the non-negotiables: making sure your ceiling box is properly rated to hold a fan, getting all your tools together, and—most importantly—killing the power at the switchboard.
How you wire everything up really depends on what you’ve got on your wall. If you only have a single switch that used to control a light, you’ll typically connect both the fan’s and the light kit’s live wires together. This means that one switch will turn both the fan and light on and off at the same time. You’ll then have to rely on the fan’s pull chains or a remote to operate them separately.
A much handier setup is a dual wall switch, giving you independent control. But this setup requires an extra wire running from the wall to the ceiling. If that’s what you want but you don’t have the necessary wiring in place, this is a definite sign to call in a professional. For those keen to see how these circuits work, you can explore a detailed wiring diagram for a light switch in Australia to better understand the structure.
The Legal Line in Queensland: It’s critical to remember that under Queensland law, any electrical work involving your home’s fixed wiring must be done by a licensed electrician. This covers installing a new fan where a light fixture used to be, running new wires for a dual switch, and connecting the fan to the power supply.
While you’re allowed to assemble the fan unit itself, the final electrical hook-up is strictly off-limits for DIY. This rule is there for a very good reason—it prevents house fires and keeps your family safe. A bad connection can easily fry the fan’s motor, create a serious fire hazard, or pose a major risk of electric shock. When it’s time for the final connection, always leave it to a pro like DLG Electrical to get it done safely and by the book.
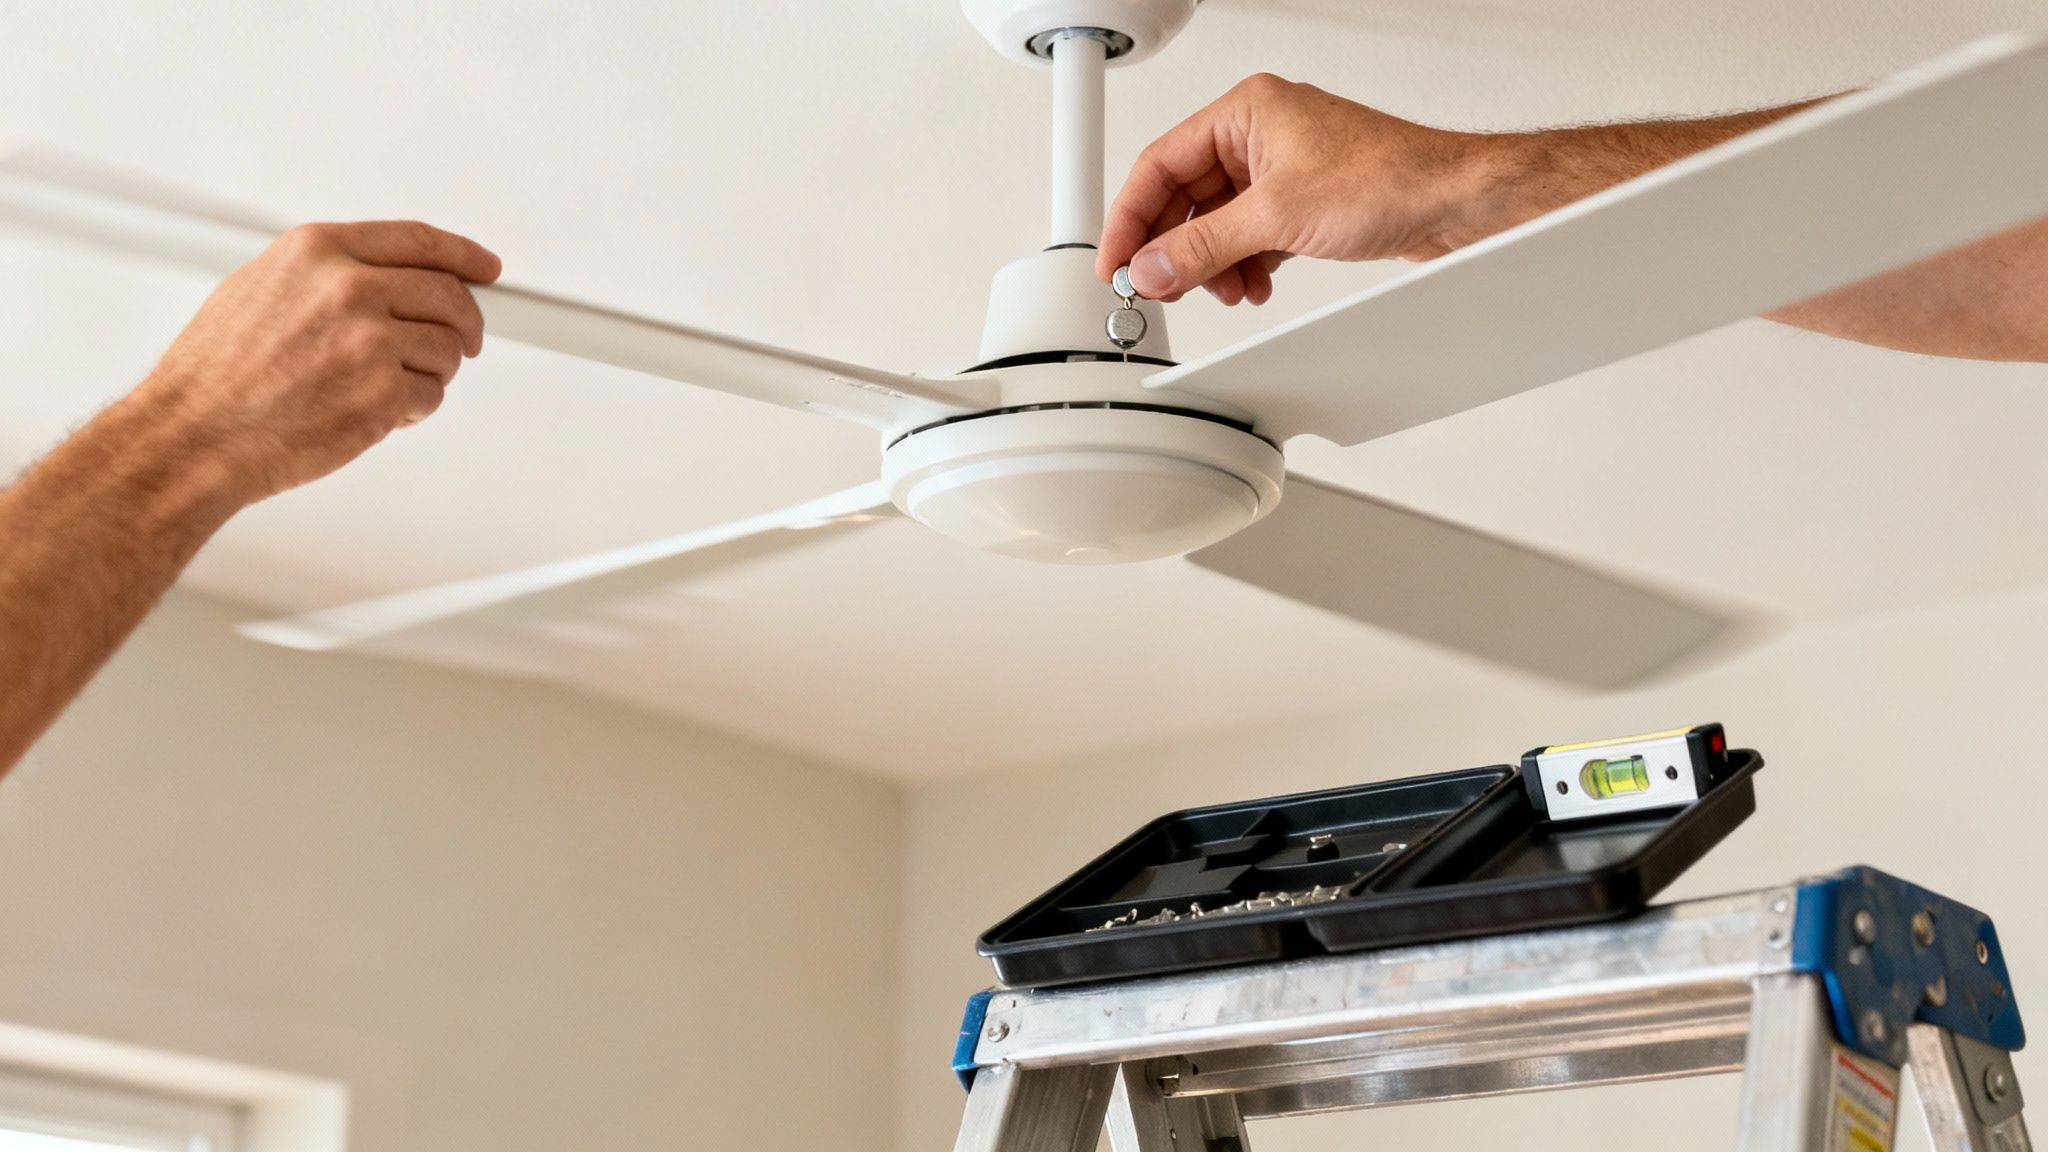
Even with the instructions followed to the letter, installing a fan with a light can sometimes throw a spanner in the works. After years of service calls across Brisbane, we’ve seen just about every hiccup you can imagine and know how to sort them out without the headache. These are the issues that tend to pop up the most.
One of the most common calls we get is for a wobbly fan. It’s more than just a visual distraction; it’s a clear sign that something’s not quite right. While it can look pretty alarming spinning up there, the fix is usually surprisingly straightforward and rarely points to a serious danger.
Most of the time, a wobble comes down to one of two simple things: screws that weren’t fully torqued down during assembly, or fan blades that are slightly out of balance. Before you do anything else, kill the power at the switchboard. Then, methodically check that every single screw on the mounting bracket, downrod, and blade holders is completely tight. Even one loose screw can create a noticeable wobble when the fan gets up to speed.
If you’ve tightened every screw and the wobble is still there, it’s time to grab the balancing kit that came in the box. It might not look like much—just a few plastic clips and sticky weights—but it’s a brilliant little tool for the job.
Here’s the process we use:
This little adjustment is often all it takes to get that fan spinning smoothly and silently.
A perfectly balanced fan doesn’t just run quietly; it also puts far less strain on its mounting and motor, which can seriously extend its lifespan. Taking ten minutes to balance it properly is an investment that pays off.
Another classic issue we’re called out for is a persistent hum coming from the fan’s motor. Nine times out of ten, the problem isn’t the fan at all—it’s the wall switch it’s wired to.
It’s a common mistake to think a standard light dimmer switch can also control a fan’s speed. This is a critical error. Using a light dimmer on a fan motor essentially starves it of the correct electrical current, forcing it to hum loudly while generating a lot of extra heat. Over time, this will permanently cook the motor.
The only proper fix is to replace the light dimmer with a dedicated, multi-speed fan controller switch designed for the job.
Finally, what if your remote control is giving you the silent treatment? Before you panic, check the basics. Are the batteries fresh and installed the right way around? Good. Next, look for the small DIP switches, which you’ll find inside the remote’s battery compartment and on the fan’s receiver unit. For the two to talk, these tiny switches must be set to the exact same pattern. If they don’t match, they’ll simply ignore each other. A quick adjustment to make them identical almost always solves the problem instantly.
When you’re thinking about a new ceiling fan, it’s easy to focus on the price you see on the box at the hardware store. But that’s only half the picture. To budget properly and avoid any nasty surprises, you need to understand the full investment, which is a mix of two things: the fan itself and the cost of getting it installed by a pro.
The market for a fan with a light is huge, with something for every taste and budget. You can pick up a basic, reliable AC motor fan for around $150 to $300. These are your workhorses—no-frills, but they get the job done. If you’re after something with a bit more style or better features, you’ll find modern DC motor fans with remote controls and multiple speeds, typically ranging from $300 to $600. For the tech-savvy, premium smart fans with app control, voice commands, and slick designs can run you $600 or more.
This variety isn’t surprising when you consider the Australian ceiling fan market is valued at around USD 220–224 million in 2024. More and more homeowners are looking for energy-efficient ways to cool their homes, which is why smart models and fans with integrated LED lights are becoming so popular. If you’re interested, you can explore more about these market trends and find detailed statistics on what Aussie consumers are buying.
Once you’ve bought the fan, the next step is installation. In Queensland, this is strictly a job for a licensed electrician—it’s a legal requirement.
For a simple job—like swapping out an old fan for a new one in the exact same spot where the wiring is already suitable—you can expect the installation to cost between $200 and $350 here in Brisbane. That covers the sparkie’s time and expertise for a standard replacement.
But that baseline price can climb depending on the job. A few common scenarios will add to the cost:
It can be tempting to look for shortcuts, but professional installation is non-negotiable. It’s the only way to guarantee the work is safe, meets Queensland’s strict regulations, and protects your home and family from electrical hazards. A job done right is an investment in your peace of mind.
Knowing the difference between a satisfying weekend DIY and a dangerous gamble is probably the most important skill any homeowner can have. While you can absolutely handle assembling the fan body and attaching the blades, Queensland’s electrical safety laws are black and white about where your job ends and ours begins.
Deciding to call a sparky isn’t admitting defeat; it’s the smartest, safest choice you can make for your family and your home.
The line in the sand is the electrical connection itself. If you’re doing anything more complex than swapping an old, fan-rated fixture for a new one, you legally need a licensed electrician. Any work that touches your home’s fixed wiring is strictly off-limits for a reason.
Some jobs are completely non-negotiable. Trying to tackle these yourself isn’t just illegal in Brisbane—it’s incredibly risky. We’re talking about consequences that range from frying your brand-new fan to causing a house fire.
Here are the key situations where you must call a professional like DLG Electrical:
Getting a professional installation isn’t just about safety; it’s a smart financial move. A fan that’s properly wired and balanced runs more efficiently and lasts longer, saving you from expensive repairs down the track. Think of it as a small upfront investment for total peace of mind.
The need for a professional doesn’t stop once the fan is spinning. When your fan starts making strange noises, wobbling uncontrollably, or the light flickers, it’s time to call us.
Issues like a failing motor, a burnt-out light kit, or a dead remote receiver often point to internal electrical faults that are completely unsafe for a DIY fix. Don’t risk it.
If your new ceiling fan is part of a bigger job, like one of the many bathroom renovation projects happening across Brisbane, an electrician is essential to integrate the wiring, lighting, and extraction fans safely.
Plus, a professional ensures your fan is running at peak efficiency. This is a bigger deal than you might think. A typical ceiling fan motor only uses between 30–75 W, while a standard air conditioner can guzzle a massive 700–2,500 W. As energy prices climb, that efficiency really adds up. You can dig deeper into how this is shaping the Australian market by reading these Australian market insights.
When you’re looking at installing a new fan with light ceiling fixture in Brisbane, a few questions always seem to come up. From legal requirements to sorting out that annoying wobble, getting clear answers is the key to a safe and successful project. Here are the queries we hear most often from homeowners just like you.
This is a big one, and the answer is a firm no when it comes to the electrical side of things.
While you’re welcome to do the physical assembly—putting the fan unit together and even mounting it to an existing, fan-rated ceiling box—all the wiring is strictly off-limits. Under Queensland law, any electrical connection, whether it’s wiring the fan into the power supply or installing a new wall switch, must be done by a licensed electrician.
It’s not a flexible rule. For your safety and to stay on the right side of the law, a professional sparky is the only way to go.
A wobbling fan isn’t just annoying; it’s a sign something isn’t right. It’s almost always caused by either loose screws or unbalanced blades.
First things first, head to your switchboard and turn off the power to that circuit. Safety first, always. Then, get up on a sturdy ladder and carefully check that every single screw is tight—the ones on the mounting bracket, the downrod, and where each blade attaches to the motor.
If it’s still wobbling after that, it’s time to use the balancing kit that came in the box.
This simple fix usually sorts it out. If the wobble persists, the ceiling mount itself might have issues, and it’s best to get a professional to take a look.
A lot of people think a slight wobble is normal, but it’s not. A properly installed and balanced fan should run perfectly smoothly. Taking ten minutes to balance it correctly not only stops the noise but also reduces strain on the motor, helping your fan last much longer.
Absolutely not. This is a common mistake that can have serious consequences. You must never use a standard light dimmer switch to control the speed of a fan’s motor.
Using a dimmer will cause the motor to make a loud, angry humming noise, overheat, and eventually burn out completely. You need to use a dedicated fan speed controller designed specifically for fan motors.
If the fan’s integrated light is dimmable, it will also need its own compatible LED dimmer. To avoid all this complexity, many modern fans now come with a remote control that manages both the fan speeds and the light settings, which is often the simplest solution.
Getting the fan size right is crucial for actually feeling the airflow. The size, or “blade span,” should be matched to your room’s dimensions.
For smaller rooms up to around 8 square metres, like a study or a small nursery, a fan under 107cm (42″) is usually sufficient.
For standard bedrooms and living areas up to 15 square metres, you’ll want to look in the 122cm (48″) to 132cm (52″) range. This is the most common size for Brisbane homes.
In large, open-plan living areas or rooms with high ceilings, you’ll need the extra power of a fan that is 142cm (56″) or even larger to get proper air circulation. As a general guide, make sure you have at least 30cm of clearance between the tips of the blades and any wall.
For any ceiling fan installation, repair, or electrical advice, you can trust the licensed professionals at DLG Electrical. We’ll make sure your fan with light ceiling is installed safely, runs smoothly, and is 100% compliant. Contact us for a free quote today!

Master Electrician with over 30 years of experience. Founded DLG Electrical in 2005 after international project work including electrical installations at Stamford Bridge Stadium, London(Home of Chelsea FC).

Local Electricians that can fix all Electric Hot water Systems.
Motion sensor lights are a versatile addition to any home, offering nu
