83 Jean St, Grange QLD 4051
Mon-Fri 07:30 AM - 04:00 PM - Sat - 8:00 - 12 - Sunday Closed
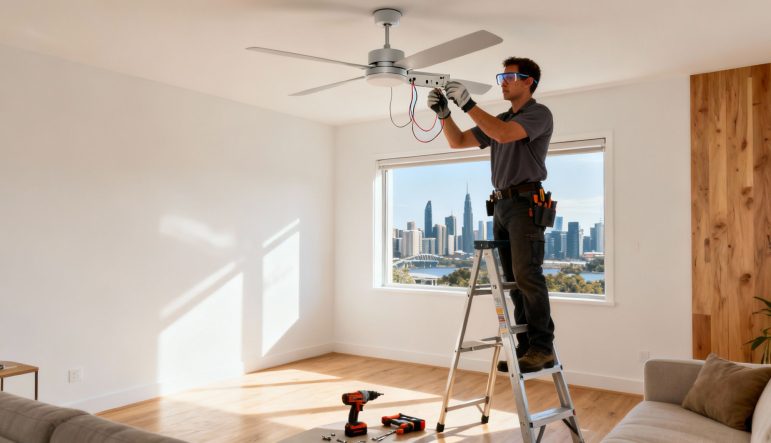
A successful ceiling fan installation starts long before you even touch a wire. It all begins with a few crucial pre-installation checks. This initial planning is what separates a smooth, hassle-free job from one that ends in frustration. Getting this groundwork right is the key to a secure, wobble-free fan that will keep you cool for years.
Before you get excited and rip open the box, taking a moment to properly evaluate your space is the most important thing you'll do. Here in Brisbane, our homes deal with everything from scorching summer heatwaves to sticky coastal humidity, so getting this part right makes a world of difference. These checks ensure the fan you've chosen is not only a good fit for the room but is also completely safe to install.
This isn't just about preventing an annoying wobble; it's about the structural integrity of your ceiling and the safety of your home's electrical system. Skipping these steps can lead to property damage, frustrating rework, or much worse.
First things first, you need to think about the fan's weight and the constant motion it creates. A standard junction box designed for a simple light fitting is absolutely not strong enough to hold a ceiling fan. The dynamic forces from the spinning blades demand a dedicated, fan-rated mounting box that’s securely fixed to a ceiling joist or a purpose-built brace installed between the joists.
For older Brisbane homes, this is a massive safety checkpoint. If your property was built before the 1990s, it's vital to know what you're drilling into. Before you start, take a moment to understand the risks of identifying asbestos in your home. Disturbing asbestos-containing materials without the right precautions is a serious health hazard.
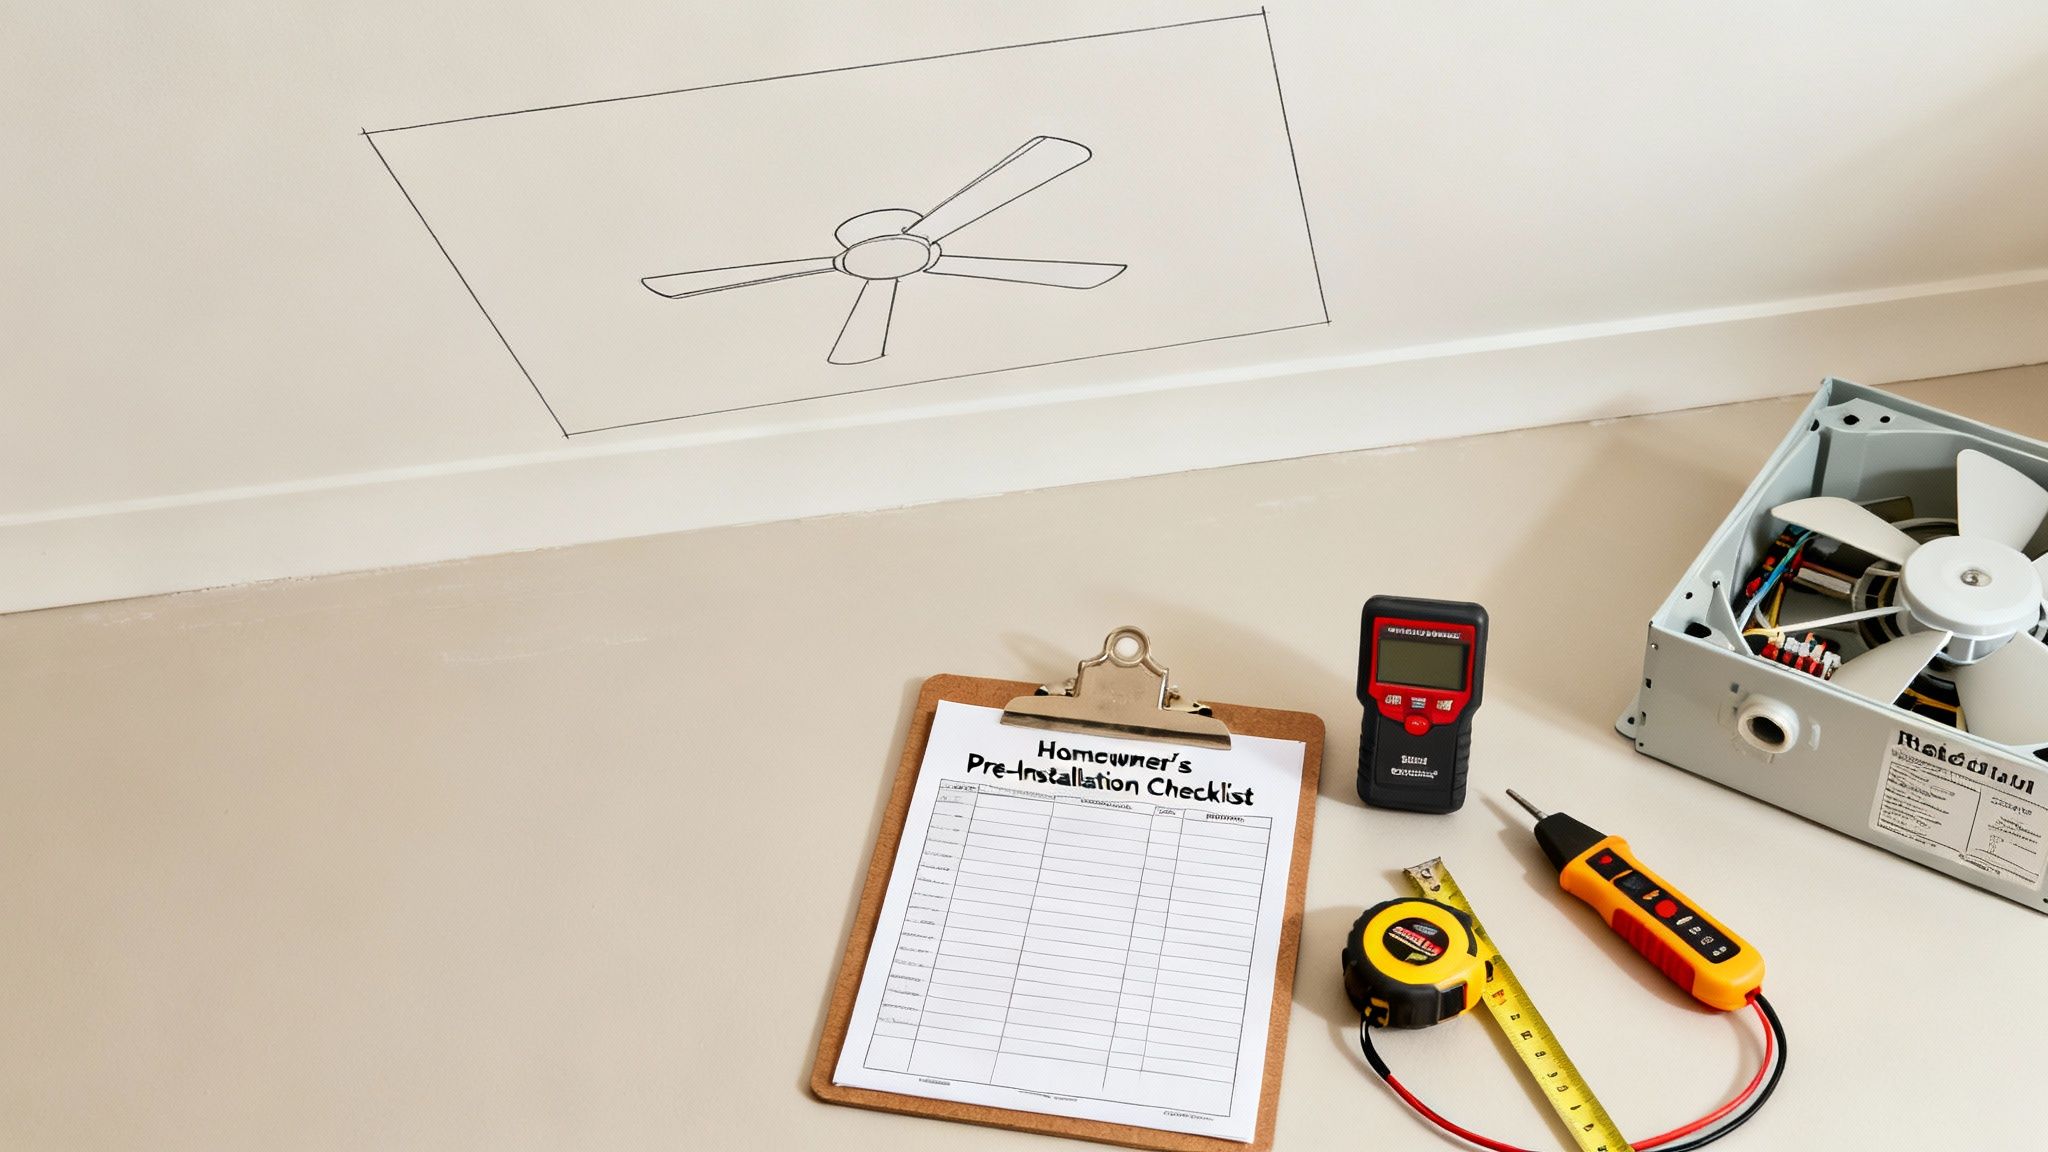
Is there already power running to where you want the fan? If you're swapping out an old light fitting, the wiring is probably already there, which simplifies things. But if this is a brand-new spot for a fan, you'll need a qualified electrician to run a new circuit from your switchboard.
Pro Tip: Never assume the power is off. Always shut it down at the circuit breaker yourself, then double-check with a voltage tester before you touch a thing. This is a non-negotiable safety rule that every professional sparkie lives by.
It’s also a good idea to inspect the state of your existing wiring. If you uncover old, brittle, or dodgy-looking wires, it’s a big red flag that you might need more significant electrical work. In that case, your best bet is to call in the experts. You can find more info by reading our guide on finding a https://dlgelectrical.com.au/dlg-blog/licensed-electricians-near-me/.
Picking a fan isn't just about what looks good. The fan's size—its blade span—needs to match the room's square meterage to circulate air effectively. Australian regulations are also a major factor here. The Australian Standard AS 4226 – 2008 is crystal clear: ceiling fans must be installed at least 2.1 metres above the floor and no closer than 300 millimetres to the ceiling. This means homes with lower ceilings often need specific low-profile or "hugger" fans to stay compliant.
To help you get it right, we've put together a quick guide.
This table is a handy reference to help you match the right fan to your room size and needs, ensuring optimal airflow and comfort.
| Room Size (sq metres) | Recommended Blade Span (cm) | Key Features to Consider |
|---|---|---|
| Up to 10 m² (Study, Bathroom) | Up to 107 cm | Compact design, light integration for smaller spaces. |
| 10 m² – 20 m² (Bedroom, Office) | 122 cm | Quiet operation (low dB rating), remote control for convenience. |
| 20 m² – 35 m² (Living Room, Master) | 132 cm or larger | Higher airflow (CFM), reversible motor for winter use. |
| Over 35 m² (Open-Plan Area) | 142 cm+ or Multiple Fans | Industrial-grade motor, extension rod for high ceilings. |
Think of this checklist as the blueprint for a safe and successful installation of a ceiling fan. By taking the time to work through these points, you’re setting yourself up for a straightforward project and a new fixture that will run efficiently and safely for many years.
Trying to install a ceiling fan without the right gear lined up is a recipe for frustration. It’s the fastest way to turn a straightforward job into a day of endless trips to the hardware store. From our years on the tools in Brisbane, we know that having everything you need within arm's reach isn't just about saving time—it’s about doing the job safely and getting a professional result.
Think of it this way: preparation is half the battle. A bit of planning now means you won't be stuck up a ladder wishing you had a different screwdriver or, worse, guessing if a wire is live.
Before you even open the fan's box, let's get your basic kit sorted. Most of these are probably already in your garage, but a quick check now will save you a headache later. Using the wrong tool, like stripping a wire with pliers, is a classic DIY mistake that can damage the copper and create a fire hazard down the track.
Here’s the absolute minimum you’ll need:
Now for the most important tool in your bag: a non-contact voltage tester. This little device is your best mate for safety. It lets you confirm, without a shadow of a doubt, that the power to the circuit is off before you touch a thing. It’s a cheap bit of kit that could literally save your life.
Beyond the hand tools, there are a few specific materials that are critical for a secure and compliant installation. This is where we see a lot of DIY jobs go wrong. The most common—and dangerous—mistake is trying to hang a fan from a standard light fixture box. These boxes simply aren't designed to handle the weight and constant vibration of a fan.
You absolutely must use a fan-rated electrical box. These are built to be secured directly to a ceiling joist or a specialised fan brace, giving you the solid structural support needed to keep the fan from wobbling or, in the worst-case scenario, falling. Also, make sure you've got the correct gauge of electrical wire if you're running a new circuit, plus a handful of wire connectors (wire nuts) for making safe joins.
Pro Tip: A wobbly fan isn't just annoying; it's a huge red flag. It almost always points to an insecure mounting bracket or, more often, an electrical box that wasn't designed to hold a fan. Always double-check your mounting hardware is fan-rated to prevent dangerous instability.
Finally, let's talk about the fan itself. Getting the size right for your room is just as crucial as the installation for proper airflow and comfort. A fan that's too small won't move enough air, while one that's too big can create an unpleasant wind tunnel effect. To make sure you’ve picked the perfect fan for your Brisbane home, have a look at our comprehensive ceiling fan size guide.
Alright, you've got your tools lined up and the perfect fan picked out. Now comes the hands-on part. This is where a bit of patience and careful work really pays off, making sure your new fan is safe, secure, and runs without a hitch. We'll go through everything step-by-step, from taking down the old light to connecting the last wire.
Rushing this stage is the number one reason we get called out to fix wobbly fans, noisy motors, or fans that just won't turn on. Let's do it right the first time.
This infographic gives you a great overview of the key things to focus on for a safe and successful install, from your safety gear to the tools you'll need.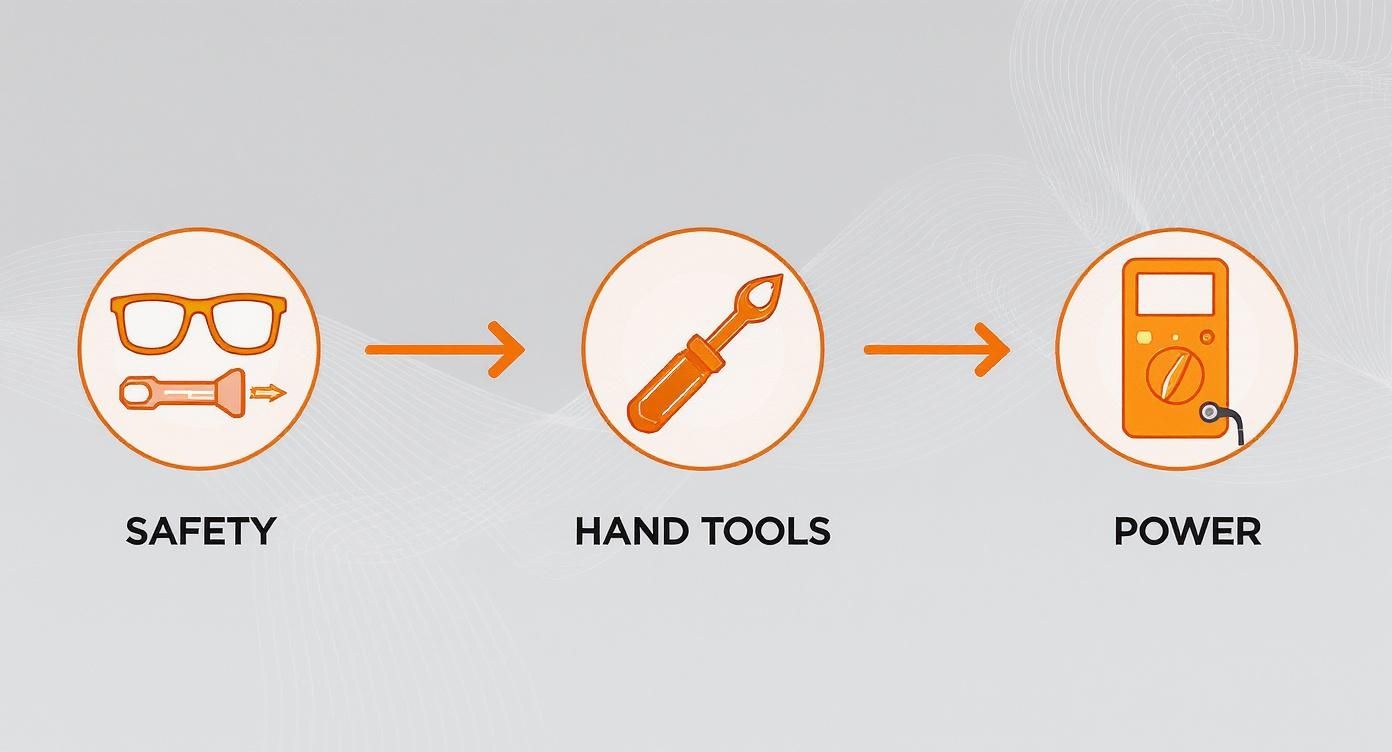
As you can see, preparation is everything. Having the right tools and safety measures in place before you even touch the ceiling is non-negotiable.
This is the single most important step. Before you even think about touching a wire or unscrewing a light fitting, you have to kill the power to the circuit. No shortcuts.
Head to your switchboard (or fuse box) and flip the circuit breaker for the room you're working in to the OFF position. If your breakers aren't labelled clearly, it's safest to turn off the main switch for the entire house.
Crucial Safety Check: After flipping the breaker, go back and try the light switch in the room. Then, use a non-contact voltage tester right where the wires come out of the ceiling. This is the only way to be 100% sure the circuit is dead. Never trust a wall switch alone to protect you.
With the power confirmed off, you can now safely take down the old light fitting. This is usually pretty straightforward—just unscrew the base cover (the canopy) from the ceiling to get to the wiring and the electrical box.
Once it's open, you'll see the wires joined with plastic connectors. Carefully disconnect them. It’s a good idea to take a quick photo or make a note of how they were connected, as it can give you a heads-up on your home's wiring setup.
This is a step where a lot of DIY jobs go dangerously wrong. The standard plastic or metal box used for a simple light fitting is not strong enough to hold a ceiling fan. The combination of weight and constant vibration will cause it to fail, and you can imagine the result.
You absolutely must use a fan-rated outlet box. These are specifically designed to be anchored directly to a ceiling joist or a timber brace installed between the joists. This creates the rock-solid foundation your fan needs to run safely and quietly for years.
Once that box is securely in place, it’s time for the mounting bracket that came with your fan.
Honestly, a loose bracket is the main culprit behind a wobbly fan. Give it a solid tug before you move on to make sure it's not going anywhere.
Now for the part that often feels the most intimidating: connecting the wires. The good news is that Australian wiring follows a standard colour code, which makes things much clearer. You can get a more in-depth look at the rules in our article on Australian electrical wiring standards.
Here's what you'll usually find coming out of your ceiling:
| Wire Colour | Purpose | Connection Point on Fan |
|---|---|---|
| Brown | Active / Live | Connects to the fan's black wire (or the one labelled "Live" or "L") |
| Blue | Neutral | Connects to the fan's white wire (or the one labelled "Neutral" or "N") |
| Green/Yellow Stripe | Earth | Connects to the fan's green wire and the dedicated earth screw on the bracket |
Carefully lift the fan motor up to the bracket. Most modern fans have a handy hook or slot system that lets the motor hang in place, freeing up both your hands to make the connections.
Using the wire nuts provided, connect the matching wires—ceiling to fan. Twist the connector on firmly until it's snug, checking that no bare copper is left exposed. Give each wire a gentle tug to be certain the connection is solid.
While we're focused on fans here, getting a grip on general wiring is always useful. For anyone curious to learn more, this piece on basic wiring principles for home devices has some good foundational info.
With the wiring done, you can now secure the fan motor permanently to the mounting bracket according to the manufacturer's guide. Gently tuck the wires up into the outlet box, then slide the canopy up to the ceiling to cover all the hardware. Screw it into place.
All that's left is to attach the blades and the light kit, if your fan has one. First, screw each blade onto its blade iron (the metal arm), and then attach the blade irons to the motor housing.
It's vital to remember that the installation of ceiling fans in Australia is governed by strict national standards. Legally, a licensed electrician must perform this work, especially for standard ceiling heights of 2.4 metres or more. Safety and compliance are paramount, which is why professional installation is so heavily emphasised.
Alright, the fan's up, the wires are connected, and you're on the home stretch. These last few checks are all that stand between you and a perfectly cool, quiet room. This part is more than just flipping a switch; it’s about making sure everything works as it should and getting rid of that annoying wobble before it even starts.
Taking the time to properly test and balance your new fan isn't just about noise. It also massively reduces stress on the motor and all the mounting hardware, which means it’ll last a whole lot longer. Think of it as the final quality check on your own handiwork.
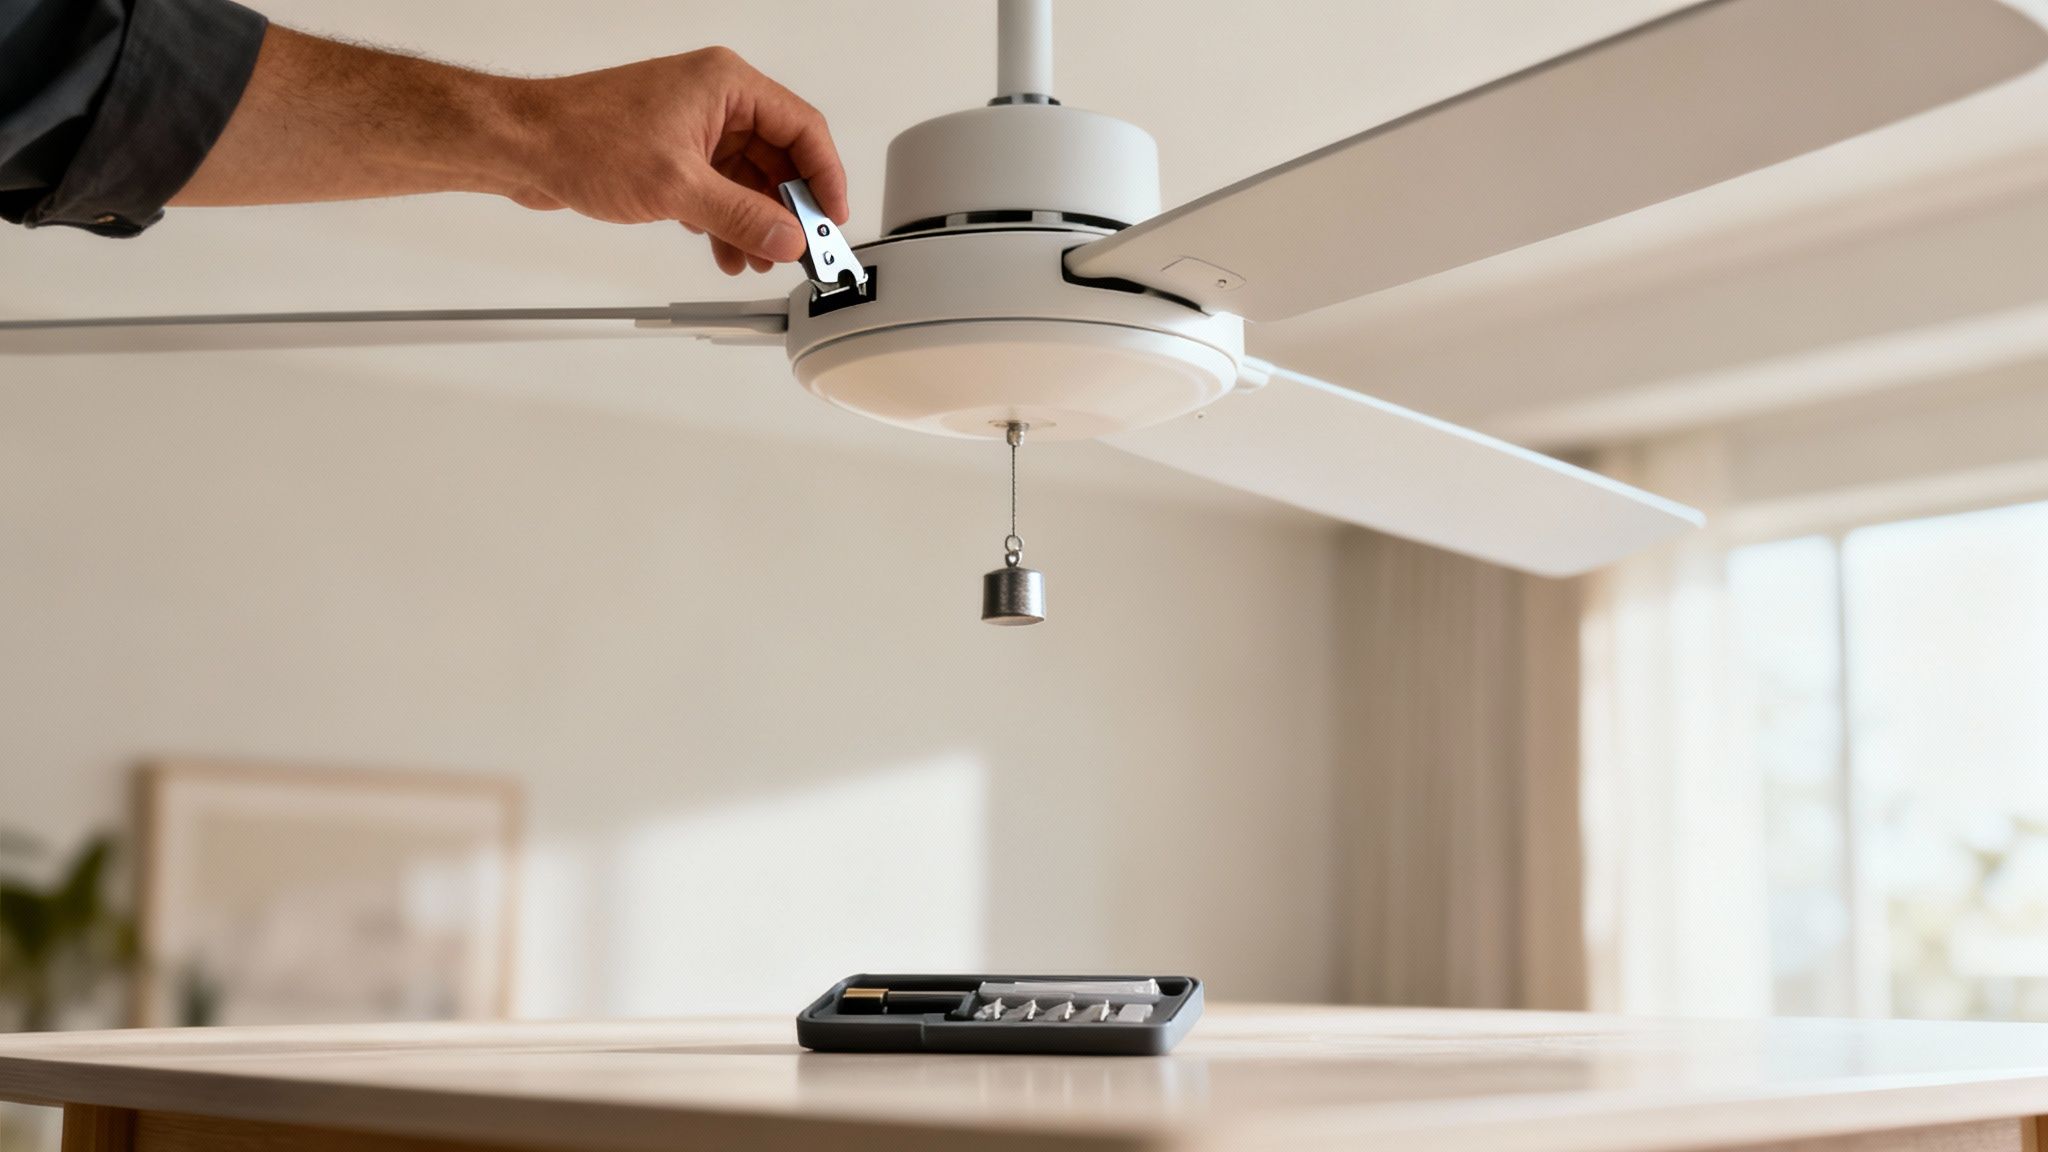
Time to bring it to life. Head back to your switchboard and flick that circuit breaker back to the ON position. Now for the moment of truth.
Grab the wall switch or remote and run through a quick systems check. Don't just turn it on and call it a day—you need to test every single function to be certain your wiring job was spot on.
Here’s a simple checklist to run through:
One of the most common headaches after an installation of a ceiling fan is a bit of a wobble, especially when you crank it up to high speed. A tiny amount of movement can be normal, but a proper shake is just plain annoying and puts a heap of strain on the mounting. The good news? Almost every new fan comes with a balancing kit designed to solve this exact problem.
A wobbly fan is almost always a balance issue, not a sign that it's about to fall. The cause is usually a minuscule weight difference between the fan blades. The balancing kit is designed to counteract this imbalance with precision.
The process is a bit of trial and error, but it's dead simple. Your kit should have a plastic clip and a few small, sticky weights.
First, attach the plastic clip to the trailing edge of one of the fan blades, about halfway between the motor and the tip. Switch the fan on high and watch the wobble.
Now, turn the fan off, move the clip over to the next blade, and test it again. Keep doing this for all the blades until you find the one where the clip makes the biggest difference and reduces the wobble the most. That’s your problem blade.
Next, you need to fine-tune the position. With the clip still on that blade, turn the fan off and slide the clip a little closer to the motor. Test again. Then slide it a bit further out from where it was and test one more time. You're just trying to find that perfect spot on the blade where the fan is steadiest.
Once you’ve found the sweet spot, grab one of the adhesive weights. Peel off the backing and stick it firmly to the top centre of the blade, right in line with where the clip is. You can remove the clip now. For a really stubborn wobble, you might even need to add a second weight. It’s a simple little trick, but it’s the key to getting that smooth, silent operation you’ve been working towards.
Right, you’ve put in the hard work, everything’s wired up, and you’re ready for that satisfying first spin. You flick the switch, and… nothing. Or maybe it spins, but with a wobble that makes you second-guess your work. It's a frustrating moment, but don't throw your tools just yet. Most of these post-installation hiccups are surprisingly common and usually have a simple fix.
Before you start undoing all your progress, let's troubleshoot this logically. The trick is to start with the easiest, most obvious culprits first and then move on to the more complex possibilities. This methodical approach will save you a ton of time and help you nail down the problem without creating new ones.
This is probably the most common issue we hear about. You’ve finished the install, you’ve turned the power back on, and the fan is completely dead—no lights, no movement, nothing. It’s disheartening, but the solution is often right in front of you.
Your first port of call should always be the simple stuff.
Check the Remote: If your fan has a remote, the number one offender is the batteries. Pop in a fresh set and try again. Many remotes also need to be paired with the receiver in the fan's canopy—a step that’s easy to miss during setup. Dig out the instruction manual and follow the syncing steps.
Check the Power Sources: Did you flip the right circuit breaker back on at the switchboard? It sounds obvious, but it happens to the best of us. Also, make sure the wall switch is actually on. If you've installed a new dimmer switch, double-check that it's specifically rated for ceiling fan use; standard light dimmers won't work.
If you're still getting nothing, it's time to re-check your connections. Turn the power off at the breaker again, then get back up on the ladder and carefully check all your wire connections in the canopy. A wire nut might feel tight, but the wire inside could have slipped out.
This is actually a great clue. If the light kit powers up, it tells you the fan is definitely getting power from the ceiling. That means the problem isn’t with your main circuit but lies somewhere within the fan’s internal wiring or motor connections.
Often, the cause is a single missed connection. Many modern fans have a separate blue wire just for the light kit. It’s very possible that the main power wire for the motor (usually black) has a loose connection, while the light's blue wire is secure.
Before you dive back into the wiring, find the reversing switch on the motor housing itself. Sometimes this little switch can get stuck between the forward and reverse positions, which stops the motor from engaging. Give it a firm toggle into one position or the other and test the fan again.
If that doesn’t do the trick, the problem is likely a bit deeper—either in the wiring between the switch and fan or with the motor's plug connections. At this point, you're moving from a simple DIY fix to something that really needs a professional eye. Continuing to troubleshoot complex motor issues can damage the unit, so this is where we'd recommend calling a licensed electrician.
You’ve already used the balancing kit that came in the box, but the fan still has a noticeable shake. While blade imbalance is the most common cause, it’s not the only one. If that kit didn't work, it's time to look at the fan's foundation.
A persistent wobble often points back to the mounting.
Getting this right is crucial, especially as ceiling fans become more popular for energy-efficient cooling in Australia. A correctly installed fan isn't just safer; it's a key part of a comfortable, modern home. You can find more insights into this growing trend on futuremarketinsights.com.
If these checks still don't fix the wobble, it might be time to call in the professionals at DLG Electrical.
Even after a careful installation, some common issues can pop up. This table is a quick guide to help you diagnose and fix the most frequent problems you might run into.
| Symptom | Potential Cause | Recommended Solution |
|---|---|---|
| Fan won't start at all | No power to the fan. | Check circuit breaker, wall switch, and remote control batteries. |
| Fan makes a humming noise | Incorrect switch type or motor issue. | Ensure you're not using a standard light dimmer switch. If the noise persists, it may be an internal motor fault. |
| Lights turn on, but blades don't move | Loose motor wire connection or stuck reverse switch. | Check the motor's wiring connections (black wire) and toggle the reverse switch firmly. |
| Fan wobbles excessively | Blades are unbalanced or the mounting is loose. | Use the balancing kit. If that fails, check that all mounting bracket and blade screws are tight. |
| Remote control is unresponsive | Batteries are dead or the remote needs pairing. | Replace the batteries and follow the manual's instructions to sync the remote with the receiver. |
Remember to always turn off the power at the circuit breaker before checking any wiring. If you've run through these steps and the problem isn't solved, it's always safer and smarter to contact a licensed electrician for help.
Even with a step-by-step guide, it’s completely normal to have a few questions floating around. Installing a ceiling fan isn't just about screws and blades, especially when you factor in Brisbane's climate and our strict Aussie safety standards.
We hear these queries all the time from local homeowners, so let’s clear the air and get you the straightforward answers you need.
This is easily the most critical question, and the answer is a firm no.
Under Queensland’s Electrical Safety Act 2002, any electrical work involving your home's fixed wiring—which is exactly what a ceiling fan installation is—must be done by a licensed electrician. You can absolutely assemble the fan body and attach the blades, but the moment it comes to touching wires, it’s off-limits for DIY. It's not just red tape; it's a legal requirement to prevent fires and electrocution.
The cost really depends on what's already there. If you're doing a simple swap-out of an old fan or a light fitting, the wiring is already in place. For a straightforward job like that, you can expect labour costs to be somewhere between $150 and $300.
However, if it's a brand-new installation where we need to run a new circuit from the switchboard and install a new wall switch, the job becomes more involved. For these more complex projects, you're likely looking at a range from $300 to $600 or more, depending on your home's construction and how tricky it is to access the ceiling space.
Yes, one hundred percent. This is a non-negotiable safety point. A standard junction box designed for a simple light fitting can't handle the weight and constant dynamic force of a spinning ceiling fan. Trying to mount a fan on one is asking for trouble.
You must use a dedicated, fan-rated outlet box. This box has to be anchored securely to a ceiling joist or a timber brace installed specifically for this purpose between the joists. This structural support is what stops the fan from wobbling, making noise, or worse, falling from the ceiling.
Getting the size right is crucial for actually feeling the breeze. You need to match the fan’s blade span to the room's size to get proper air circulation without creating a wind tunnel.
Here’s a quick cheat sheet:
Choosing the right size means the fan will do its job efficiently and keep your space comfortable all summer long.
If you're ready for a safe, professional, and wobble-free ceiling fan installation, it's time to call in the experts. The team at DLG Electrical is ready to get the job done right the first time. For a free quote and complete peace of mind, contact us today.

Master Electrician with over 30 years of experience. Founded DLG Electrical in 2005 after international project work including electrical installations at Stamford Bridge Stadium, London(Home of Chelsea FC).

Local Electricians that can fix all Electric Hot water Systems.
Motion sensor lights are a versatile addition to any home, offering nu
