83 Jean St, Grange QLD 4051
Mon-Fri 07:30 AM - 04:00 PM - Sat - 8:00 - 12 - Sunday Closed
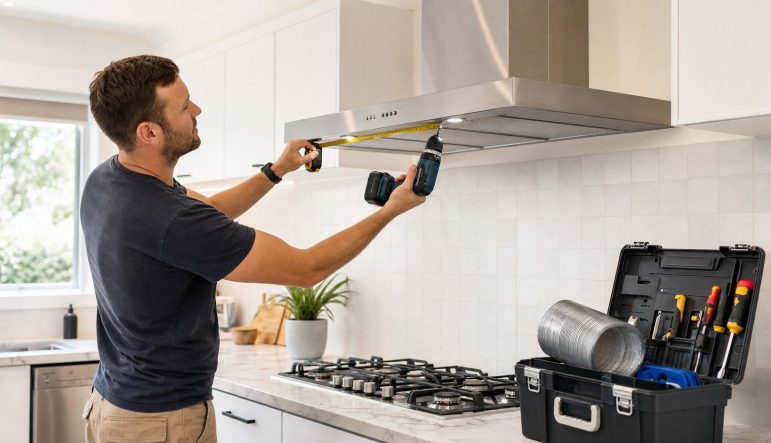
Professional range hood installation in Australia usually costs $500 to $2,000, including the unit and labour. If you're budgeting in Brisbane, that's a realistic starting point, with cheaper jobs usually being straightforward under-cabinet installs and higher totals showing up when ducting, access, or a more complex hood type is involved.
That's the point where a lot of homeowners pause. The new range hood is sitting in the box, the old one looks tired, and the obvious question is whether this is a Saturday job or something that needs trades on site.
The honest answer is both.
Some parts of range hood installation are practical, mechanical work that a capable homeowner can handle carefully. Measuring, checking cabinet fit, marking fixing points, and in some cases even mounting the body of the hood are all within reach if you're methodical. The part many guides blur over is the electrical side. In Queensland, that line matters. Once the job involves wiring, a new power point, concealed cabling, or an isolator, you're into licensed electrical work.
That's where people get caught. The hood might look like just another appliance, but in the field, the problems are usually not dramatic at first. They show up later as poor extraction, rattles, greasy cabinet tops, warranty issues, or a failed compliance check because the install missed something basic.
You unbox the new range hood, hold it up under the cabinet, and it looks straightforward. Then the usual Brisbane problems start showing themselves. The cupboard is shallower than the spec sheet suggested, the wall is out, the old duct hole does not line up, and there is no compliant point of isolation where the new unit needs one.
That is the point many homeowners underestimate.
In Brisbane kitchens, I regularly see installations that looked simple at purchase and awkward on site. Older homes around Grange, Windsor, and similar inner-north suburbs often have patched walls, limited roof or bulkhead access, and previous electrical work that would not pass a careful check today. In newer homes, the problem is often layout. Cabinetry, splashback height, and hood style were chosen at different times, and the pieces do not quite work together once the appliance is in the room. If you are still refining finishes, even choices like under-cabinet kitchen lighting design and your guide to modern splashback tiles can affect clearances, fixing points, and service access around the hood.
The line between DIY and trade work needs to be clear in Queensland. Measuring, checking fit, marking out fixing points, and some mechanical mounting can be manageable for a careful homeowner. Wiring the hood, altering the circuit, adding a socket-outlet, running concealed cable, or providing the required isolator switch is licensed electrical work. Plenty of online guides skip that isolator requirement. Under Australian rules, it matters.
Practical rule: If the task involves screws, brackets, levels, and measuring, it may be DIY-friendly. If it involves active wiring, a new outlet, an isolator, or concealed cable, it's a licensed trade job.
Problems usually do not announce themselves on day one. I see them later as noisy ducting, weak extraction, grease collecting where it should not, cabinet damage from vibration, and jobs that stall because the electrical provision was assumed instead of checked. A tidy-looking install is not automatically a safe or compliant one.
A range hood install usually goes wrong on paper first. The appliance gets bought, the cabinet opening gets measured once, and nobody checks where the duct will run, how the hood will be supported, or whether there is compliant electrical provision in the right spot.
In Brisbane kitchens, that early planning matters more than people expect. Queensland homeowners can handle some of the prep and mechanical work, but the job still has to suit Australian clearances, the cabinet layout, the splashback finish, and the required electrical isolation arrangement that many generic online guides skip.
Start with the type of hood. A ducted unit gives better removal of heat, steam, and cooking by-products, but only if there is a sensible path to outside. A recirculating unit is easier to place, though it depends on filter maintenance and generally suits lighter-duty cooking better.
Budget often shifts once the route is clear. As noted earlier, simpler under-cabinet and wall-mounted installations usually cost less than downdraft systems, and extra ductwork can push the job up quickly. The expensive part is often not the hood itself. It is the awkward duct run, the cabinetry adjustment, or the missing electrical provision that has to be fixed properly before the appliance can go in.
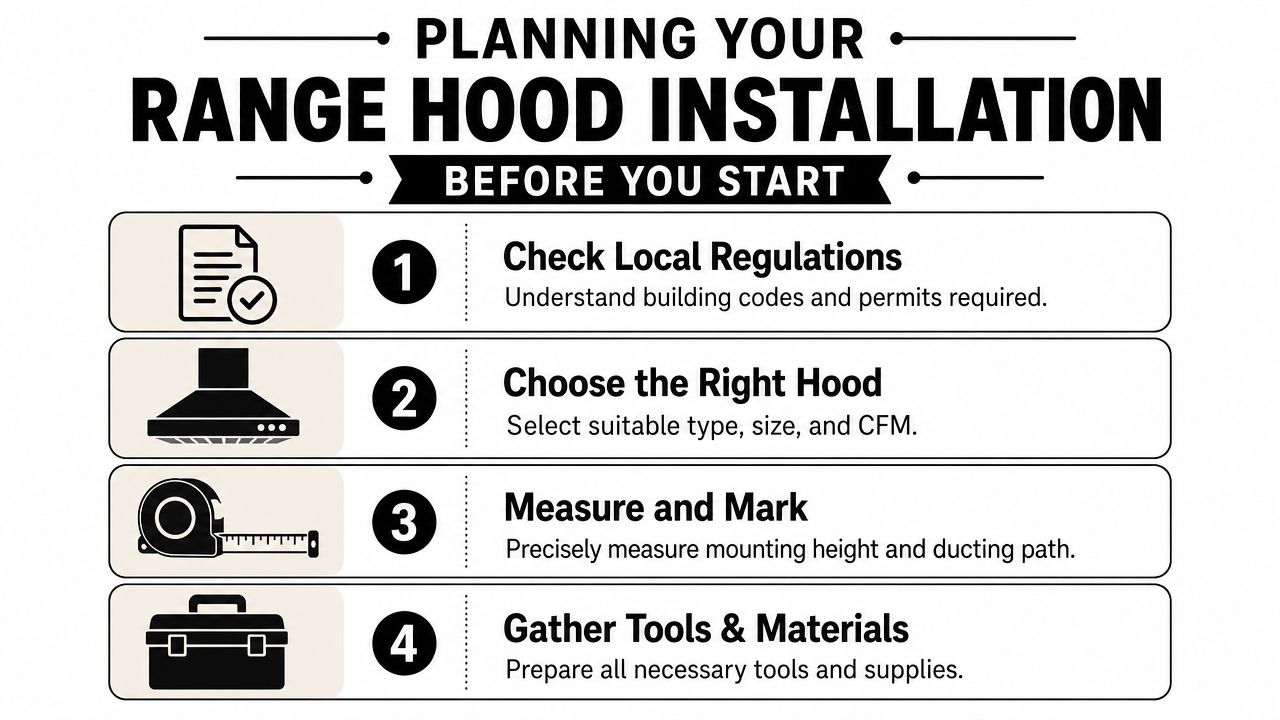
Width is only one part of the check. I look at the whole working area around the cooktop because that is where installation conflicts show up.
Check these points before buying or unpacking anything:
Finishes can affect fit too. If you are still deciding wall details near the cooktop, a guide to modern splashback tiles helps highlight thickness, edge trims, and surface build-up that can change how neatly the hood sits against the wall.
Range hoods rarely sit in isolation. Cabinet alterations, patching, lighting, splashbacks, and vent penetrations often overlap, and the cleanest jobs are the ones coordinated before anyone starts cutting.
If cabinet lighting is also part of the kitchen update, plan it now rather than after the hood is fixed in place. This under-cabinet kitchen lighting guide is useful for working out spacing, access, and how those fittings will share the same cabinet zone without creating clashes.
For a homeowner handling the mechanical side only, the usual gear is straightforward:
Stop at the point where the work becomes electrical. In Queensland, wiring the hood, altering a circuit, adding an outlet, running concealed cable, or installing the required isolator switch is licensed electrical work.
Good planning saves rework. It also saves the far more annoying outcome where the hood is mounted neatly, then has to come back down because the duct route is poor, the fixings are wrong, or the electrical side was assumed instead of checked.
The physical install is where homeowners are often most tempted to do it all themselves. Some of this work is manageable. Some of it isn't difficult, but it must be done carefully because small errors ruin performance.
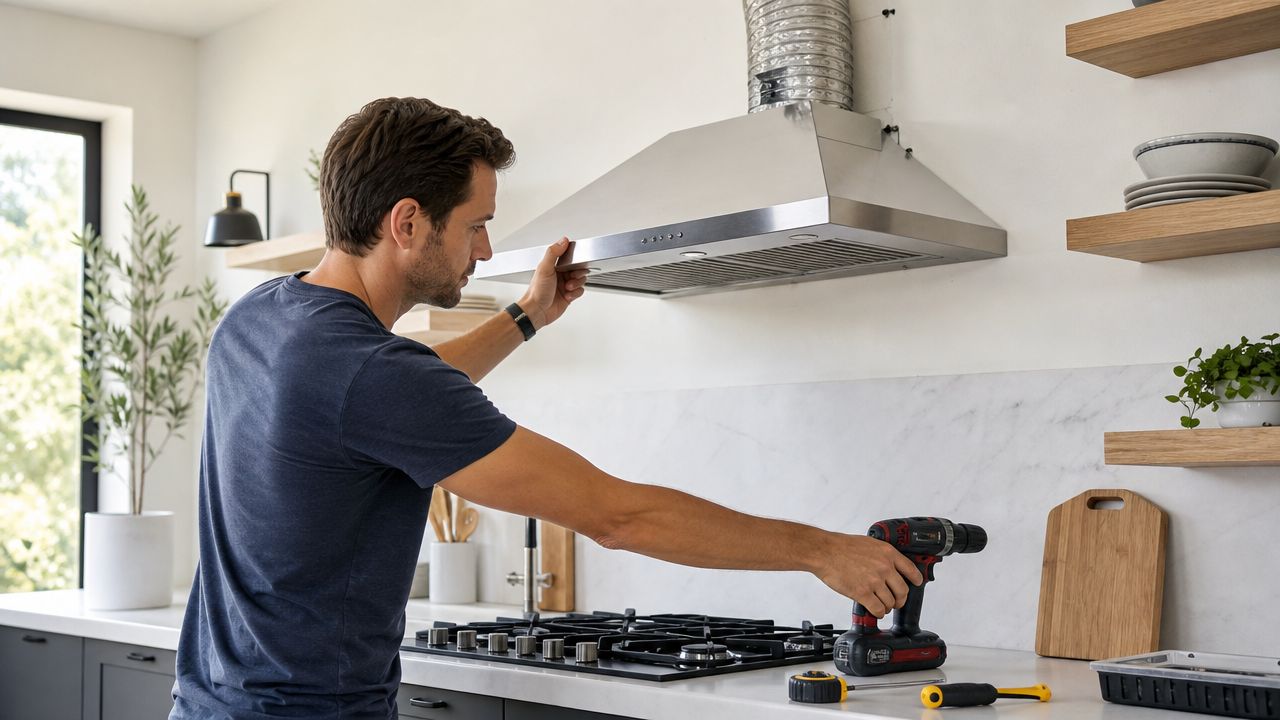
The first job is support. The hood needs to be fixed to something that can carry its weight and resist vibration. In a cabinet-mounted install, that usually means checking the cabinet base and side integrity. In a wall-mounted setup, it means finding solid fixing points or providing suitable backing.
Australian building standards require a minimum clearance of 650mm from the stovetop to the underside of the rangehood, measured from the burning surface, not the benchtop. The same compliance discussion also notes that adjacent cabinets must be at least 200mm from burners unless protected, as outlined in this Australian rangehood compliance discussion.
That clearance isn't just a box-ticking number. Mount too low and you create safety and heat issues. Mount too high and the hood's capture drops off.
For readers comparing layout ideas, this article on optimising range hood placement for homes is helpful for thinking through height and positioning in real kitchens.
Mechanical installation works best when the steps stay boring and disciplined:
One thing many homeowners underestimate is how visible a small alignment error becomes once the splashback, overhead cabinets, and lighting are all in place.
A ducted range hood only works properly when air can move without being choked. Long runs, crushed flex, and sharp turns all reduce extraction. The hood may switch on and make noise, but that doesn't mean it's clearing steam and grease well.
This is also where jobs can overlap with other ventilation issues in the home. If you're comparing duct layouts or thinking about how extraction behaves in wet areas and enclosed rooms, this piece on bathroom exhaust fan installation gives a useful parallel on why vent path design matters.
Here's a practical visual if you want to see the physical side of a hood install in action:
If you stop at the point where the hood is securely mounted and the duct path is physically prepared, you're still on relatively safe ground as a careful DIYer. The moment the job crosses into wiring, isolation, or concealed supply, it stops being a home handyman task.
This is the part that needs to be said plainly. In Queensland, the electrical side of range hood installation is not a DIY project.
That includes wiring the appliance, installing or moving a power point, running concealed cable, or adding the required isolation. People often assume a hood is minor because the load seems small. That's the wrong way to look at it. Electrical safety isn't based on whether the appliance feels simple. It's based on whether the work is legal, protected, and compliant.
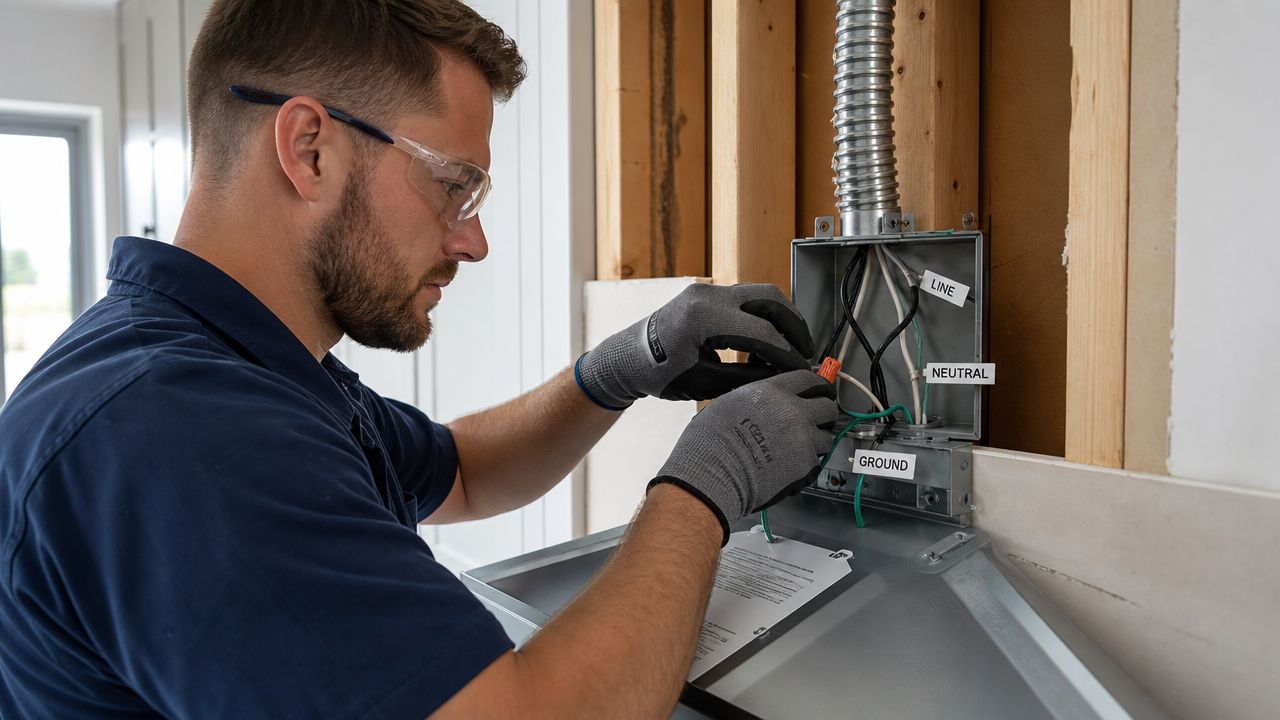
A proper range hood install in Australia requires a dedicated isolator switch under the wiring rules. That requirement gets skipped far too often on rushed jobs or informal installs. According to this discussion of the Australian isolator requirement and Brisbane rectification issues, 32% of post-installation electrical rectifications for kitchen appliances in Brisbane involve missing or incorrectly wired isolators.
That figure tells you something important. The problem isn't rare. It's common enough that electricians see it repeatedly after the fact.
Why does that matter?
Trade view: A range hood with no proper isolator may still run. That doesn't make the installation acceptable.
Homeowners sometimes think the electrician is only there to connect a few wires. The actual job is broader than that.
A compliant electrician checks the supply arrangement, isolation method, cable route, protection of the circuit, accessibility, and the suitability of the final connection method for that appliance and location. If the kitchen has older wiring, the hood install can reveal issues that have nothing to do with the hood itself but still need attention before the new appliance is energised.
The wiring rules also affect how cable is concealed and how the connection is finished. Neatness matters, but not as much as protection, accessibility where required, and correct termination.
If you want a better sense of why proper design matters before a cable is ever installed, this article on electrical cable sizing gives useful context on the thinking behind compliant electrical work.
A practical split looks like this:
| Task | DIY-friendly | Licensed electrician required |
|---|---|---|
| Unboxing and checking parts | Yes | No |
| Measuring and marking position | Yes | No |
| Mechanical mounting prep | Sometimes | No |
| Running new power supply | No | Yes |
| Installing power point or isolator | No | Yes |
| Concealed cabling to the hood | No | Yes |
| Final electrical connection | No | Yes |
That line might seem strict, but it saves homeowners from the expensive kind of mistake. A non-compliant hidden electrical job is far harder to fix once cabinets, plaster, and paint are all complete.
A finished range hood installation should do more than look straight. It should operate cleanly, ventilate properly, and stand up to inspection if anyone checks the work later.
In Brisbane, the most common problems aren't always dramatic failures. They're the kind of defects that trigger callbacks, annoy owners, and expose shortcuts that should have been picked up before handover.
A common installation pitfall is clearance. According to The Good Guys' rangehood installation guidance, 650mm is the standard clearance, but electric cooktops may only require 600mm, and failure to verify clearances and other model-specific requirements contributes to 22% of post-installation service callbacks in Brisbane. The same source notes that the QBCC confirms there is no mandatory rule requiring rangehoods in houses, but once installed, they must follow manufacturer and electrical standards.
That distinction matters in Queensland. Homeowners sometimes assume that if a hood isn't mandatory in a Class 1 home, the install can be casual. It can't. Optional doesn't mean exempt from compliance.
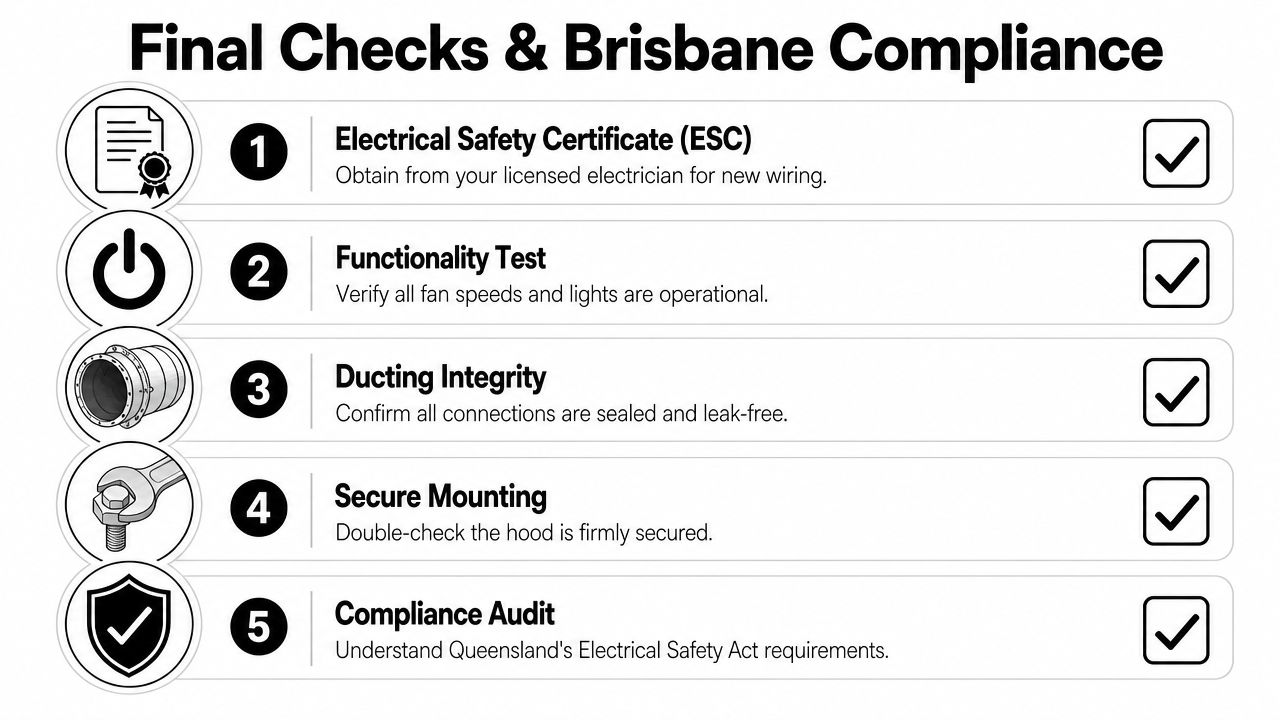
Use a simple review after installation:
If the hood is noisy but not moving air well, the problem is often the duct route, not the motor.
Display kitchens hide installation complexity. Real homes have cornices, bulkheads, uneven walls, old tile lines, patched plaster, and cabinet carcasses that aren't perfectly square. That's why service callbacks happen. The install looked fine on the day, but no one checked the door swing, the actual cooktop depth, or the way the duct compressed above the cabinet.
In Brisbane renovations, one of the easiest mistakes to make is trusting the visual centre of the kitchen instead of the actual centreline of the cooktop and cabinetry. Another is assuming all hoods use the same fixing geometry. They don't. Even within similar-looking models, bracket position, flue dimensions, and power entry points can differ enough to matter.
Good range hood installation isn't complicated because each individual step is exotic. It's complicated because several trades and rules overlap in a small space. Cabinetmaking, wall fixing, roof or external venting, and electrical all have to line up.
That's why the cleanest jobs usually come from slowing down at the measurement stage, following the manufacturer's instructions exactly, and treating the electrical work as regulated work, not a favour or shortcut.
You can potentially handle parts of the mechanical side if you're competent with measuring, levelling, drilling, and working carefully with cabinetry or wall fixings. You should not do the electrical connection yourself. In Queensland, wiring, isolation, new outlets, and concealed cabling need a licensed electrician.
The safest approach for many homeowners is a split job. Prepare the site, confirm the hood fits, and leave the electrical component for the trade.
Start by checking the obvious mechanical causes. Loose filters, poorly seated flue covers, unsecured ducting, or fixings that weren't tightened evenly can all create vibration. If the sound is more like air turbulence than a rattle, the usual culprit is the duct path. Tight bends, crushed flexible duct, or poor transitions make the fan work harder and move air less effectively.
A hood can be mounted solidly and still perform badly if the ventilation run was treated as an afterthought.
Use the manufacturer's instructions first. Don't guess off photos online or copy a friend's kitchen. As noted earlier, clearances can vary depending on the appliance and cooktop type, and that's one of the biggest reasons installations need rework.
If the hood feels too low while cooking, that doesn't automatically mean it was installed incorrectly. It might mean the chosen model wasn't ideal for the kitchen layout or the cabinet arrangement above it.
The sound method is straightforward. The hood is secured at the primary mounting points, levelled properly, then fixed at the remaining points. Ducting is fed without kinks or sharp restrictions, and before any cable work starts, the power is isolated at the switchboard. Concealed cabling then runs from the isolator to the unit in line with Australian electricity standards, following the methodology described in the Schweigen installation manual.
That sequence matters because it prevents the common mess of trying to force cable, bracket positions, and ductwork to coexist after the hood is already half-fixed in place.
Sometimes yes, sometimes no. It depends on how you cook, how enclosed the kitchen is, and what result you want. If you mostly want to reduce light odours and don't have a practical path for ducting, recirculating can be a workable compromise. If you do regular frying, high-heat cooking, or want stronger removal of steam and grease, a properly ducted solution usually makes more sense.
That isn't about brand hype. It's about what the ventilation path can physically do.
The hidden cost drivers are almost always access and complexity. Difficult duct runs, roof or wall penetration work, tricky cabinetry, replacing an old hood with a different style, and bringing the electrical side up to standard all add labour and materials.
The cheapest install is usually the one where the new hood closely matches the old layout and the existing services are already suitable. The expensive install is the one that uncovers everything the previous kitchen got away with.
If you're confident with the mounting side, you may save time by handling the prep and mechanical positioning carefully. But for most homeowners, a professional's true value isn't just attaching the appliance. It's avoiding the hidden errors. Correct height, proper duct routing, compliant electrical isolation, and a finish that doesn't need patching later are what make the job worth doing once.
If you want the installation handled safely and properly, contact DLG Electrical for a free quote. Their Brisbane team has delivered residential and commercial electrical work for over 19 years, and they can help make sure your range hood installation is compliant, reliable, and done right the first time.

Master Electrician with over 30 years of experience. Founded DLG Electrical in 2005 after international project work including electrical installations at Stamford Bridge Stadium, London(Home of Chelsea FC).

Local Electricians that can fix all Electric Hot water Systems.
Motion sensor lights are a versatile addition to any home, offering nu
