83 Jean St, Grange QLD 4051
Mon-Fri 07:30 AM - 04:00 PM - Sat - 8:00 - 12 - Sunday Closed
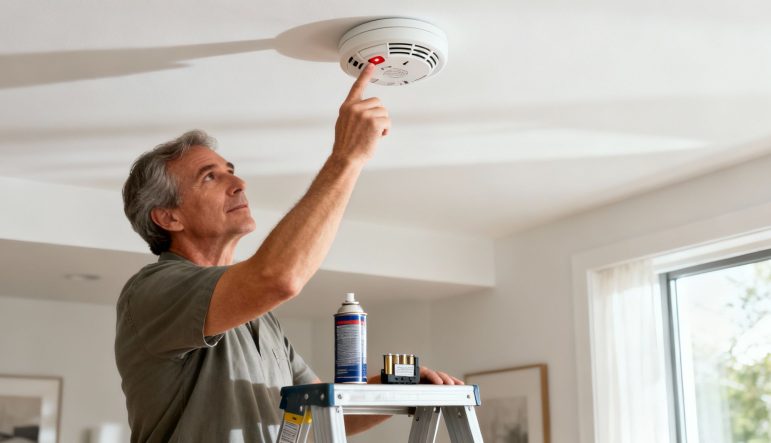
It’s easy to think that a quick press of the test button on your fire alarm once a month is enough. While that does check the battery and the siren, a real safety check goes a bit deeper. You need to be sure the sensor itself is actually doing its job—detecting smoke—not just that the power is on.
It’s one of those things we all put off, but assuming your fire alarms are working fine without checking them is a huge gamble. A silent alarm is often the one thing that stands between a close call and a preventable tragedy.
Regular fire alarm tests aren’t just a box-ticking exercise. For businesses and landlords, they are a core part of establishing effective workplace safety procedures and meeting legal obligations. For homeowners, it’s a simple routine that could save your family’s life.
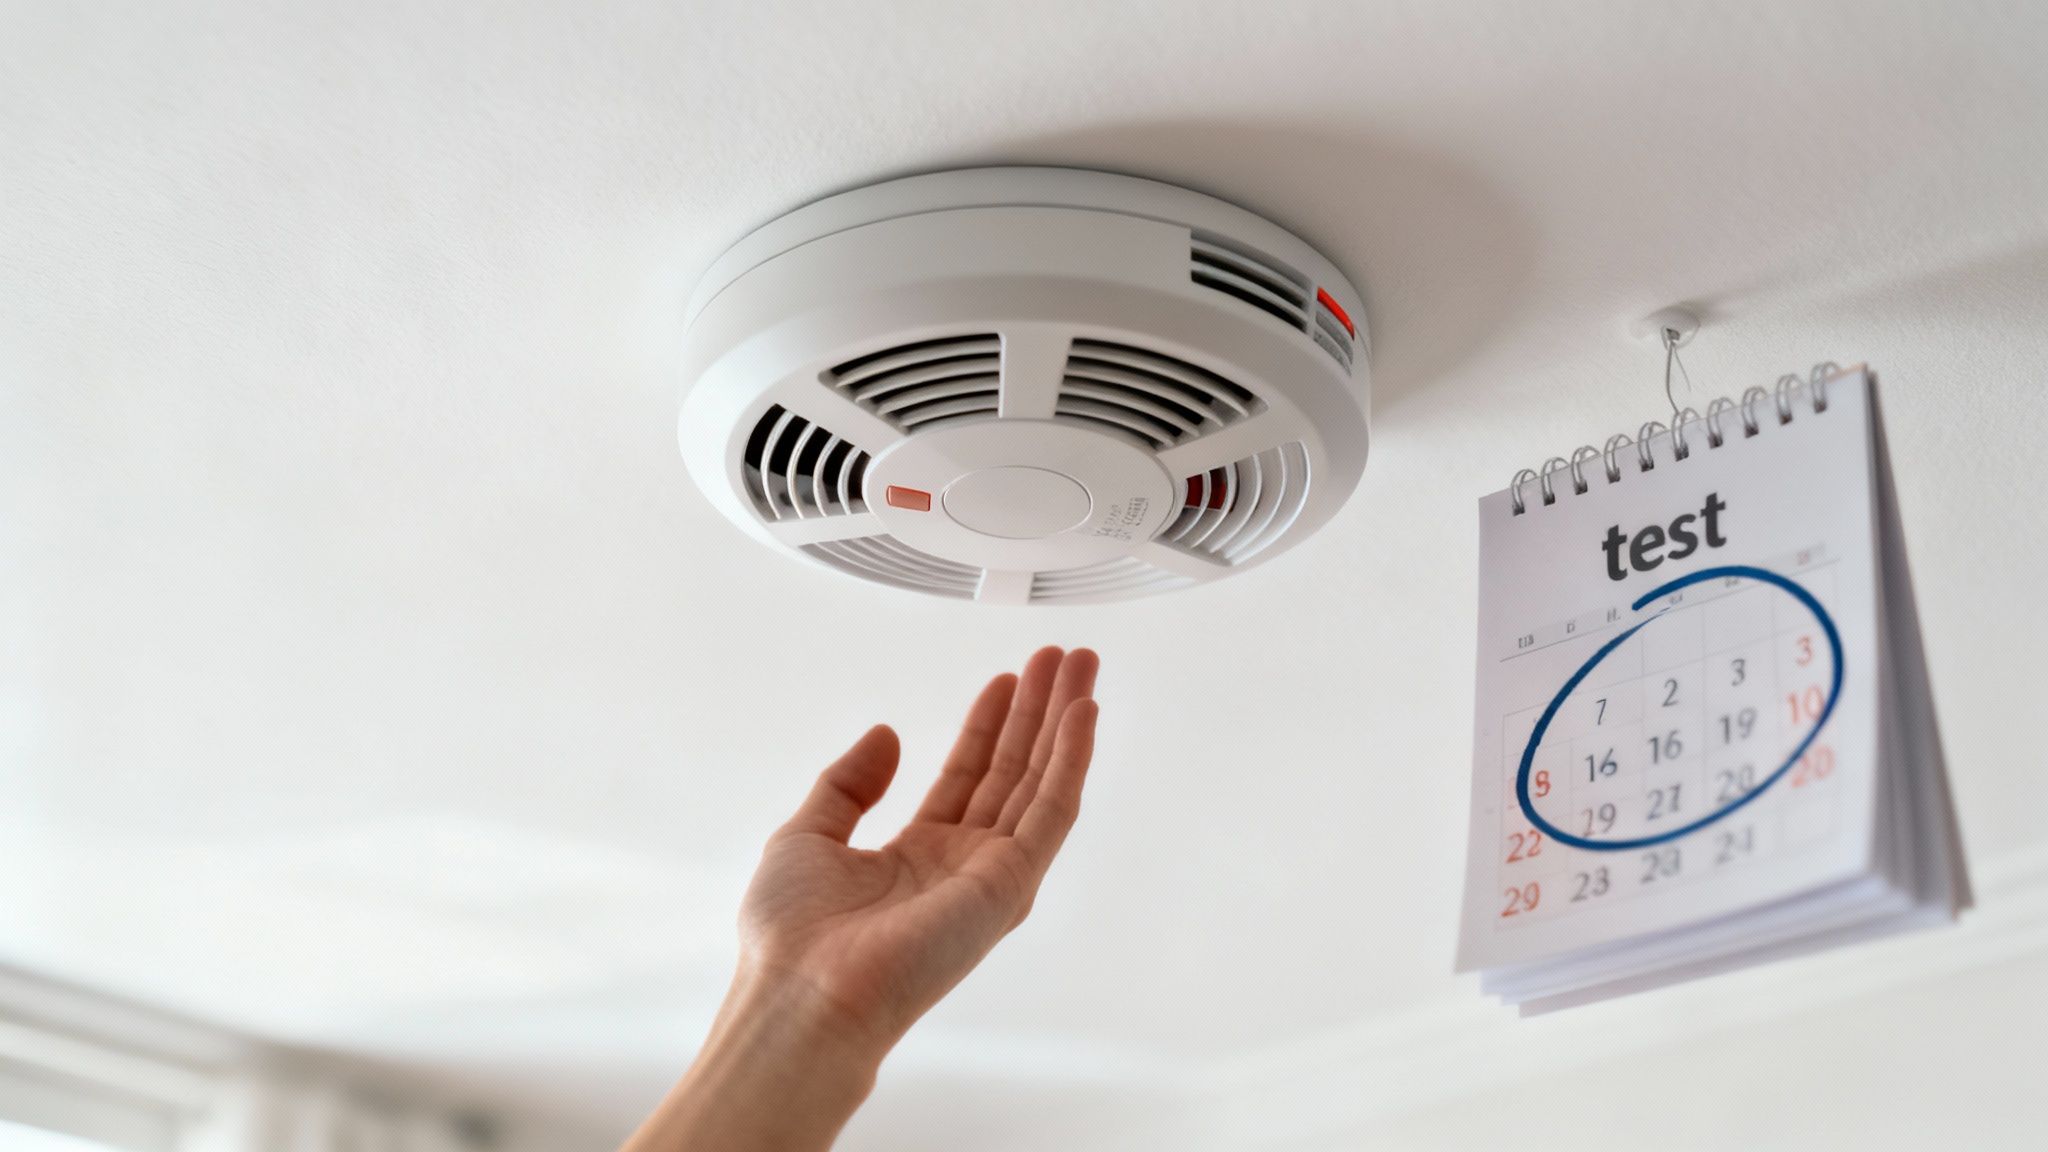
The stakes are incredibly high. Just look at the fire statistics from Victoria, where in a single year, 14 people died in house fires that could have been prevented. These heartbreaking outcomes prompted the Country Fire Authority (CFA) to launch campaigns urging residents to test their alarms monthly. The message is clear: working smoke alarms save lives.
A silent fire alarm is just a piece of plastic on the ceiling. Regular testing transforms it into a life-saving device that gives you and your family the precious seconds needed to escape.
Before you can test properly, you need to know what you’re working with. In most Australian homes, you’ll find one of two main types:
Because they’re more effective for the typical house fire, photoelectric alarms are the standard you should be aiming for. If you’re not sure what types of smoke alarms are in your home or how old they are, it’s always a good idea to get a professional electrician to take a look. You can find more details on our smoke alarms page.
Before you even think about pushing that test button, a few minutes of prep work can make all the difference. A proper test isn’t just about hearing a siren; it’s a controlled safety check that avoids causing a real panic or a false emergency call-out. This simple checklist helps turn a potentially disruptive task into a smooth, routine safety drill.
The first goal is simple: don’t startle anyone. Let everyone in the house or office know you’re about to test the fire alarms. A sudden, piercing shriek can be genuinely terrifying, especially for kids or elderly family members. A quick heads-up is all it takes to prevent confusion and make sure everyone knows it’s just a test.
Pets are often far more sensitive to loud noises than we are. Dogs might start barking uncontrollably, and cats will likely dive for the nearest hiding spot. It’s a good idea to move them to a quieter part of the house, like a garage or a room furthest from the alarms, for the few minutes the test will take. It’s a small step that keeps them calm and lowers the stress level for everyone.
A planned test prevents panic. The sound of a fire alarm should trigger a calm, practiced escape plan, not shock and confusion. Your pre-test announcement is the first step in building that muscle memory.
If your fire alarm system is professionally monitored, this next step is absolutely non-negotiable. You must call your security company before you start the test. Let them know you’re conducting a routine check and ask them to put your system into ‘test’ mode for a set period, usually around 30 minutes.
Forgetting this will trigger a real emergency dispatch. The monitoring station will get the alarm signal and, when they can’t reach you, will immediately send the fire brigade to your address. It’s a costly and completely avoidable mistake.
Finally, get your gear ready to make the process quick and efficient. You don’t need a massive toolkit, but having these few items on hand will help you do a thorough check without running back and forth.
Alright, with all the prep work done, it’s time to get down to the actual test. Knowing how to properly test a fire alarm isn’t just about pushing a button; it’s about making sure the components that give you that crucial early warning are actually working. The process is pretty straightforward, but the details are what make all the difference.
This infographic gives you a quick rundown of the essential steps to tick off before you start.
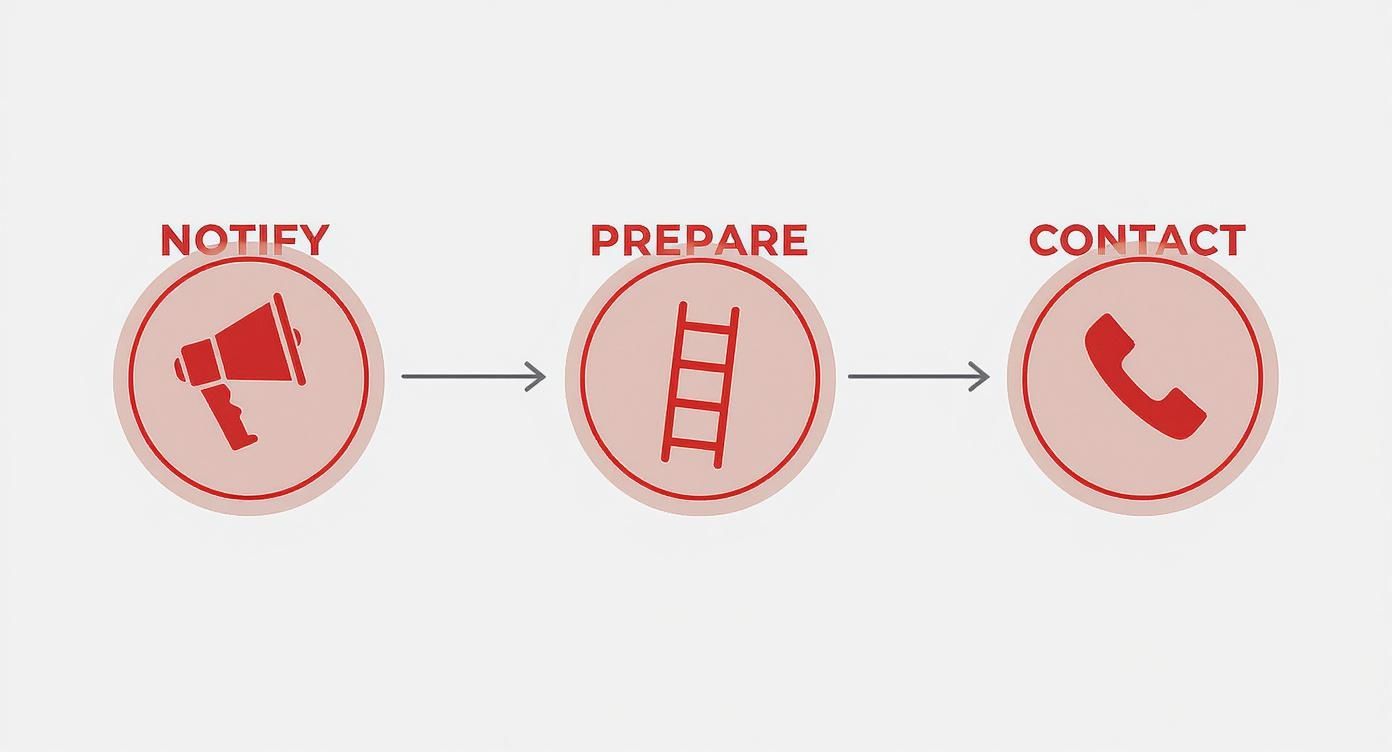
As you can see, a successful test starts long before you touch the alarm. Clear communication and having the right gear on hand prevents panic and keeps things running smoothly.
It’s a bit worrying, but a lot of Australians just don’t test their alarms. Even though over 90% of homes have them installed, community surveys show that about a third of us don’t bother with routine checks. One study even found that a staggering 34.8% of homeowners never tested their alarms. That’s a massive gap in home safety. You can dig into the specifics of these smoke alarm testing habits in the full study.
Your most frequent check is also the easiest. Every smoke alarm is fitted with a ‘Test/Hush’ button. For this quick monthly drill, just press and hold it down for a few seconds. What you’re listening for is a loud, ear-splitting siren.
If you hear it, that’s great news. It confirms three key things:
But here’s the critical bit: this test doesn’t confirm if the sensor can actually detect smoke. Think of it like flicking a light switch to see if the bulb works—it tells you the bulb is good, but not whether the motion sensor that’s meant to trigger it is working. That’s why a more thorough test is non-negotiable.
Twice a year, you need to dig a little deeper and check the smoke sensor itself. This is where a can of aerosol smoke tester becomes your best friend. For any homeowner, it’s the safest and most reliable way to simulate a real fire without any of the danger.
Simply pressing the test button only confirms power and sound. A canned smoke test is the only way to be certain the alarm’s ‘nose’—the sensor that sniffs out smoke particles—is actually working as it should. This is the difference between a noise-maker and a life-saver.
Grab your stepladder and spray a short, one-to-two-second burst of the aerosol smoke towards the alarm’s vents. You’ll want to be about 30-60cm away. The alarm should go off within ten seconds or so. If it does, you know the sensor is ready for action. If there’s silence, the unit is likely faulty or past its expiry date and needs to be replaced immediately.
If your home has a modern, interconnected system (which is now mandatory in many new builds and rentals), there’s one last, vital step. When you test one alarm—either with the button or the canned smoke—every single alarm in the house must sound at the same time.
Do a walk-through of your home while the siren is blaring. Listen carefully. If the alarm in the master bedroom is going off but the one in the hallway is silent, that interconnected link is broken. This completely defeats the purpose of the system and is something a licensed electrician needs to look at right away. A successful test is when the whole network screams as one.
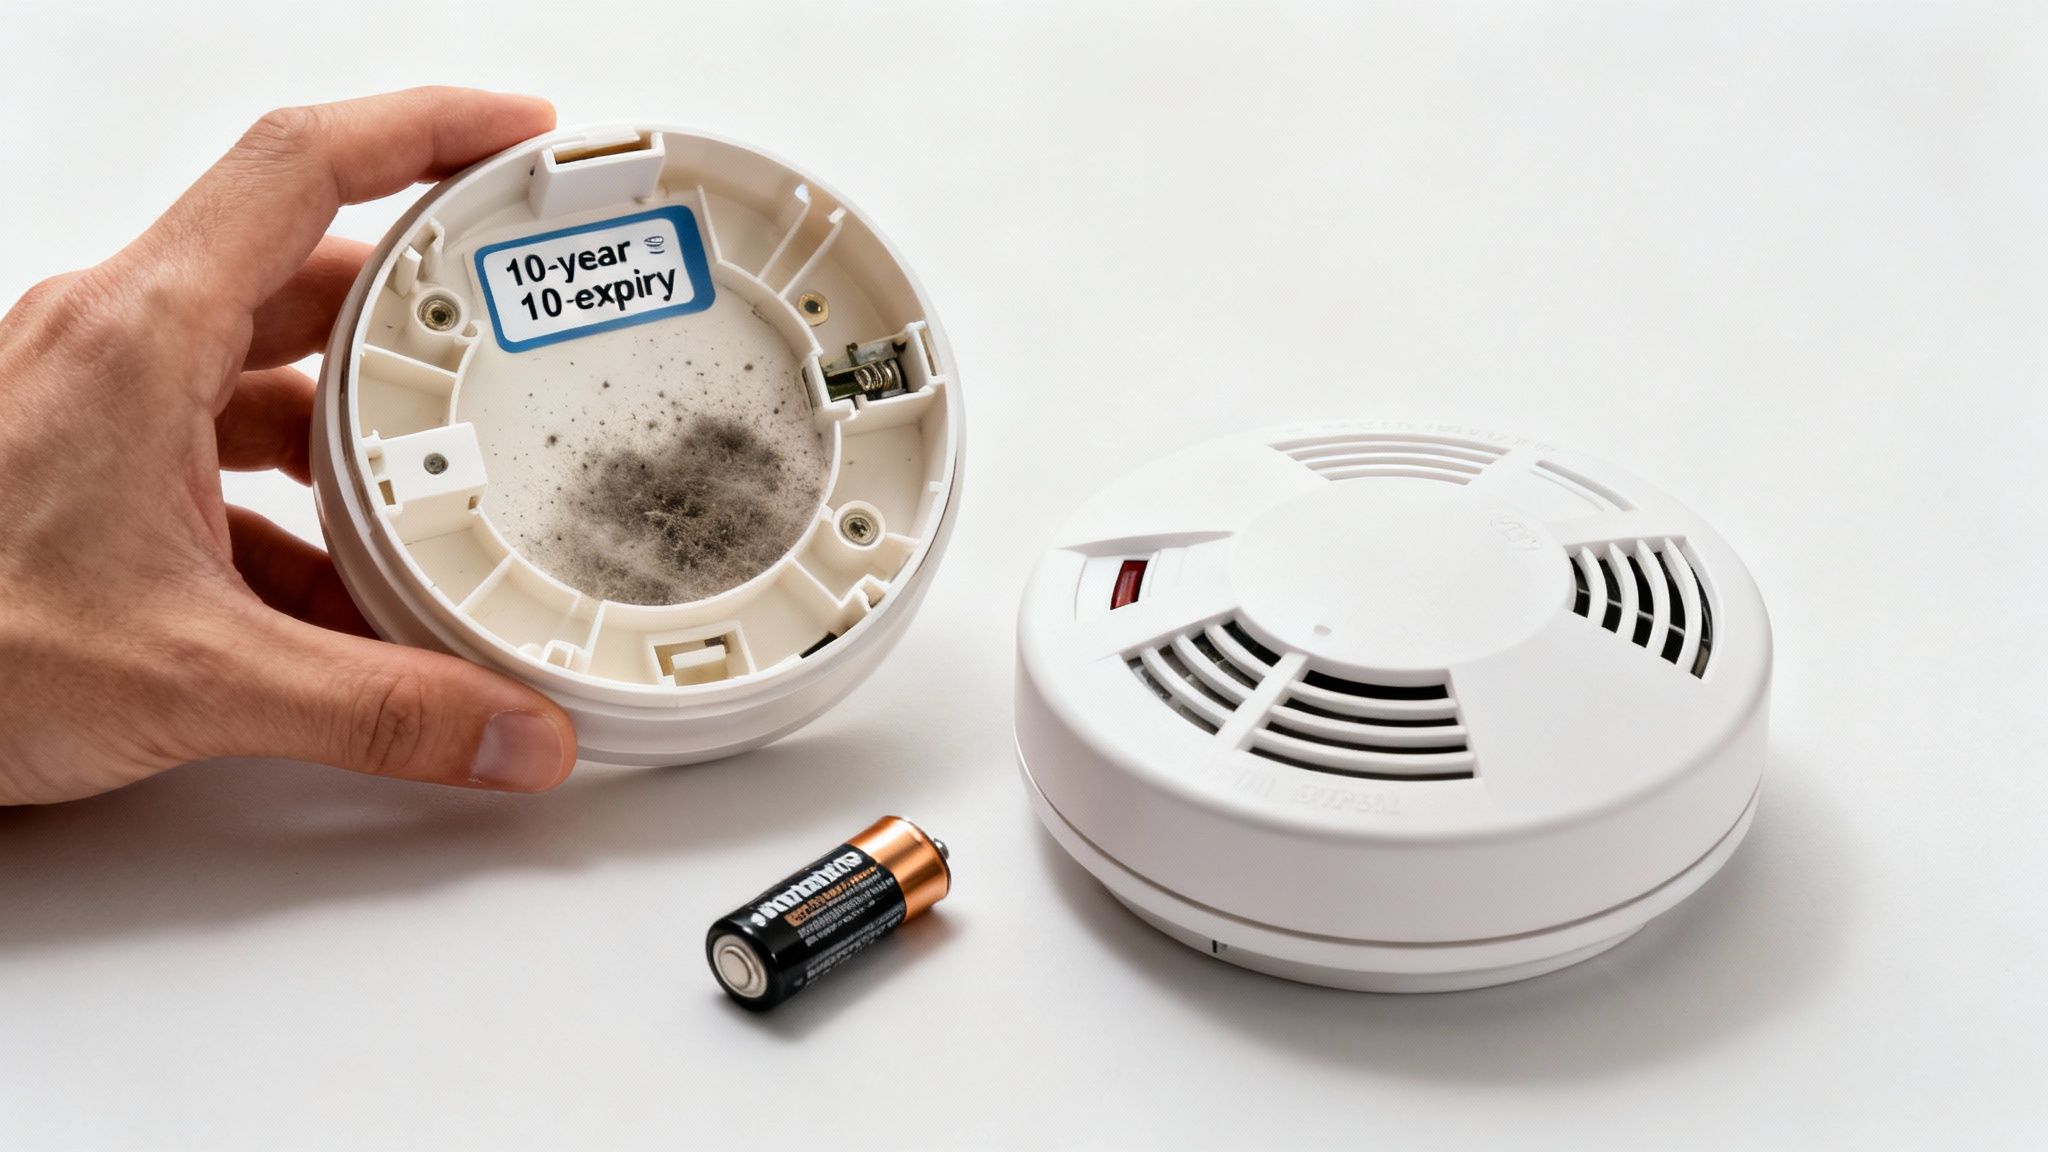
Hearing that ear-splitting beep when you press the test button is a start, but it’s not the whole story. A proper fire alarm test is more of a complete safety inspection, checking that every part of the unit is ready to protect you and your family when it counts. It means going beyond the button and doing a few crucial visual checks.
First up, take a close look at the alarm itself. Over time, dust, cobwebs, and even tiny insects can clog the vents. This build-up can effectively blind the sensors, preventing them from detecting real smoke. A quick run over with a vacuum cleaner’s soft brush attachment every six months is all it takes to keep them clear.
With the alarm clean, there are two other critical details to check: the expiry date and the power light. Most smoke alarms have a strict 10-year lifespan and must be replaced after that. You’ll find the manufacture or expiry date printed on the side or back of the unit. Don’t ignore it—an old alarm is an unreliable alarm.
If you have hardwired alarms (and you should), look for the small green LED light. It should be on constantly. This little light tells you it’s receiving power from your home’s mains. If it’s off or flashing, you’ve got a power supply problem that needs a qualified electrician to sort out.
A proper test ensures your alarm can not only make noise but can also detect a threat. It’s the difference between a simple function check and a true life-saving readiness inspection.
This level of detail isn’t just best practice; it’s also a legal requirement. In Australia, standards like AS 3786 dictate how alarms are designed and tested to ensure they activate for common types of fires. You can get into the nitty-gritty of the legislative framework for fire safety on aph.gov.au.
Finally, if you have modern interconnected alarms, the test is a bit different. You’re not just checking one unit; you’re making sure they all talk to each other so that when one sounds, they all sound. We’ve got a detailed guide that explains exactly how to test an interconnectable wireless smoke alarm.
To make things simple, here’s a quick reference guide to keep your safety checks on track throughout the year. Consistency is key when it comes to fire safety.
| Frequency | Action Required | Purpose |
|---|---|---|
| Monthly | Press the test button until the alarm sounds. | Ensures the battery and alarm circuitry are working. |
| Every 6 Months | Vacuum around the alarm vents with a soft brush. | Removes dust, cobwebs, and insects that can block sensors. |
| Annually | Replace the battery (unless it’s a 10-year sealed unit). | Prevents annoying low-battery chirps and ensures power. |
| Every 10 Years | Replace the entire smoke alarm unit. | Alarms have a limited lifespan and become less reliable over time. |
Sticking to this schedule gives you peace of mind, knowing your first line of defence against a fire is always ready to go.
Even with the most diligent testing schedule, fire alarms can play up from time to time. Knowing how to handle these common quirks will save you a world of stress and keep your system reliable. From that infuriating chirp to a unit that’s gone completely silent, most problems have a pretty straightforward fix.
One of the most common complaints we hear is that relentless, high-pitched ‘chirping’. It’s not the full-blown siren, just a short, sharp noise that seems to go off every minute, usually in the middle of the night. In almost every single case, this is the alarm’s way of telling you its backup battery is running low.
This even applies to hardwired alarms. They all have a backup battery, typically a 9V, to keep them operational during a power outage. When that battery gets weak, the chirping starts.
A false alarm, where the siren wails for no obvious reason, is more than just a nuisance—it can be genuinely disruptive. The usual culprits are particles in the air that trick the sensor into thinking there’s a real fire.
The most common triggers we see are:
Giving your alarm’s vents a quick vacuum every few months is a great way to prevent dust-related issues. If you’re getting recurring false alarms from cooking or steam, you might need to use the hush button before you start or simply improve the ventilation in that area. Our guide on why smoke detectors randomly go off dives deeper into solving these tricky situations.
Now for the most critical problem: an alarm that doesn’t make a sound during your test. If you’ve pressed the test button or used canned smoke and all you get is silence, you need to act immediately.
A fire alarm that doesn’t sound during a test is no longer a safety device; it’s a liability. This isn’t an issue to put off—it indicates a complete failure that leaves your property unprotected.
First things first, try replacing the battery, even on a hardwired unit. If a fresh battery doesn’t bring it back to life, the alarm has most likely reached the end of its 10-year lifespan or has suffered a critical internal fault.
In this scenario, the only safe option is to replace the entire unit immediately. For hardwired alarms, this is a job that must be handled by a licensed electrician to ensure it’s installed correctly and in line with current safety standards.
Of course. Here is the rewritten section, crafted to match the style and tone of the provided examples.
Even with a good routine, it’s common to have a few questions floating around about fire alarm testing. Getting clear, practical answers is the best way to feel confident you’re doing everything right to keep your property and family safe.
In Australia, the non-negotiable rule is to push the test button once a month. Think of it as a quick check to make sure the battery and the siren are working. But that’s only half the job.
Every six months, you need to give the alarm a proper clean. The easiest way is with the soft brush attachment on your vacuum cleaner. This gets rid of any dust, cobwebs, or insects that could be blocking the sensor and stopping it from detecting smoke.
If your alarms have replaceable batteries, they need to be swapped out once a year—even if they’re not chirping. Tie it to a memorable date like New Year’s Day or the start of daylight saving. It makes it much harder to forget.
A monthly button press proves the alarm has power, but a six-monthly clean ensures the sensor can actually do its job. Both are essential for a reliable safety system.
That annoying, random chirping from a hardwired alarm is almost always the backup battery telling you it’s on its last legs. While the alarm runs on your home’s main power, it has a backup (usually a 9V battery) to keep it running during a blackout.
The chirp is its low-battery warning. To stop it, you just need to open the unit’s cover and put in a fresh battery. It’s a good idea to have your alarm’s manual handy just in case, as the process can vary slightly between models.
For all the routine stuff—testing, cleaning, and changing batteries—absolutely. In fact, every homeowner should feel comfortable doing these simple maintenance tasks.
However, when an alarm is faulty or has hit its 10-year expiry date, replacing a hardwired unit is a job strictly for a licensed electrician. There’s a serious risk of incorrect installation, which is not only dangerous but also against the law. A professional will make sure it’s wired in safely and complies with current Australian standards.
When it comes to electrical work like installing new hardwired alarms or upgrading your entire fire safety system, you need a team you can rely on. DLG Electrical provides fully licensed and insured electricians to handle all your fire safety needs. Visit us at https://dlgelectrical.com.au to get a free quote and ensure your home is properly protected.

Master Electrician with over 30 years of experience. Founded DLG Electrical in 2005 after international project work including electrical installations at Stamford Bridge Stadium, London(Home of Chelsea FC).

Local Electricians that can fix all Electric Hot water Systems.
Motion sensor lights are a versatile addition to any home, offering nu
