83 Jean St, Grange QLD 4051
Mon-Fri 07:30 AM - 04:00 PM - Sat - 8:00 - 12 - Sunday Closed
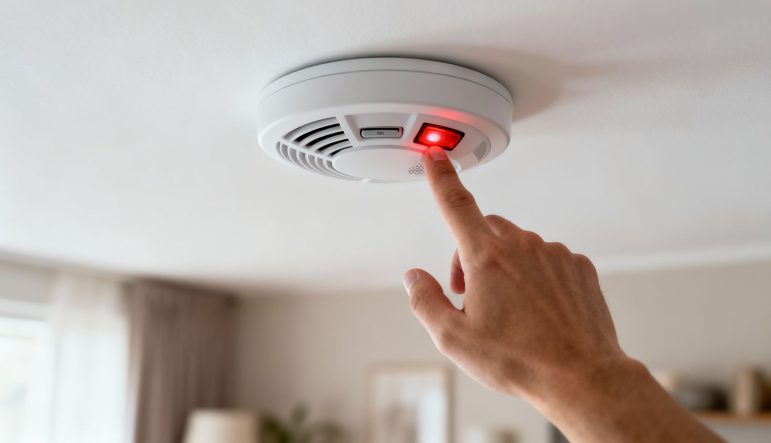
That piercing, unexpected shriek from your smoke alarm when there’s no fire in sight is more than just an annoyance. It’s a jarring experience that can leave you frustrated and, worse, can lead to “alarm fatigue”—where you start to doubt the very device designed to save your life.
When your smoke alarms are going off but there’s no smoke, it’s almost always a non-fire trigger. Think cooking fumes from a searing steak, steam billowing from a hot shower, a bit of dust inside the sensor, or even a dying battery. These common culprits can easily trick the alarm’s sensitive sensors into sounding a false alarm.
So, what’s actually happening? That sudden scream is a signal that something needs your attention, even if it’s not a fire. Most of the time, a mundane issue has tricked the sensitive internal components.
These phantom alarms are a massive issue right across Australia. In Queensland alone, a fire service report showed that out of 19,900 unwanted residential alarms, a staggering 6,083 were directly caused by everyday things like cooking fumes and steam. When alarms go off for no reason, people stop trusting them, and that’s a dangerous path to go down.
The type of smoke alarm you have installed plays a huge role in how sensitive it is to these false triggers. In Australia, you’ll generally find two main kinds:
Figuring out why smoke detectors randomly go off is the first step. The next is to pinpoint exactly what’s causing the issue in your home.
A false alarm is more than just a nuisance—it erodes your trust in a life-saving device. Identifying the trigger is essential to ensure you react immediately when a real danger is present.
To help you get to the bottom of it, I’ve put together a quick guide to diagnose the most common culprits behind a smoke alarm that keeps going off when there’s no smoke.
Use this table to quickly figure out why your smoke alarm is going off. Just match the symptom you’re experiencing to find the likely cause and what you should do next.
| Symptom | Likely Cause | What to Do Next |
|---|---|---|
| Alarm sounds while cooking or showering | Cooking Fumes or Steam | Improve ventilation with a rangehood or fan. Consider relocating the alarm. |
| Consistent single “chirp” every minute | Low Battery | Replace the battery immediately with a high-quality one. |
| Random alarms, especially in dusty areas | Dust or Insect in Sensor | Clean the alarm using a vacuum with a soft brush attachment. |
| Alarm is over 10 years old | Ageing Unit | Replace the entire smoke alarm unit as sensors degrade over time. |
By working through these common issues, you can usually silence those frustrating false alarms and restore your peace of mind, knowing your smoke detector will be ready when you truly need it.
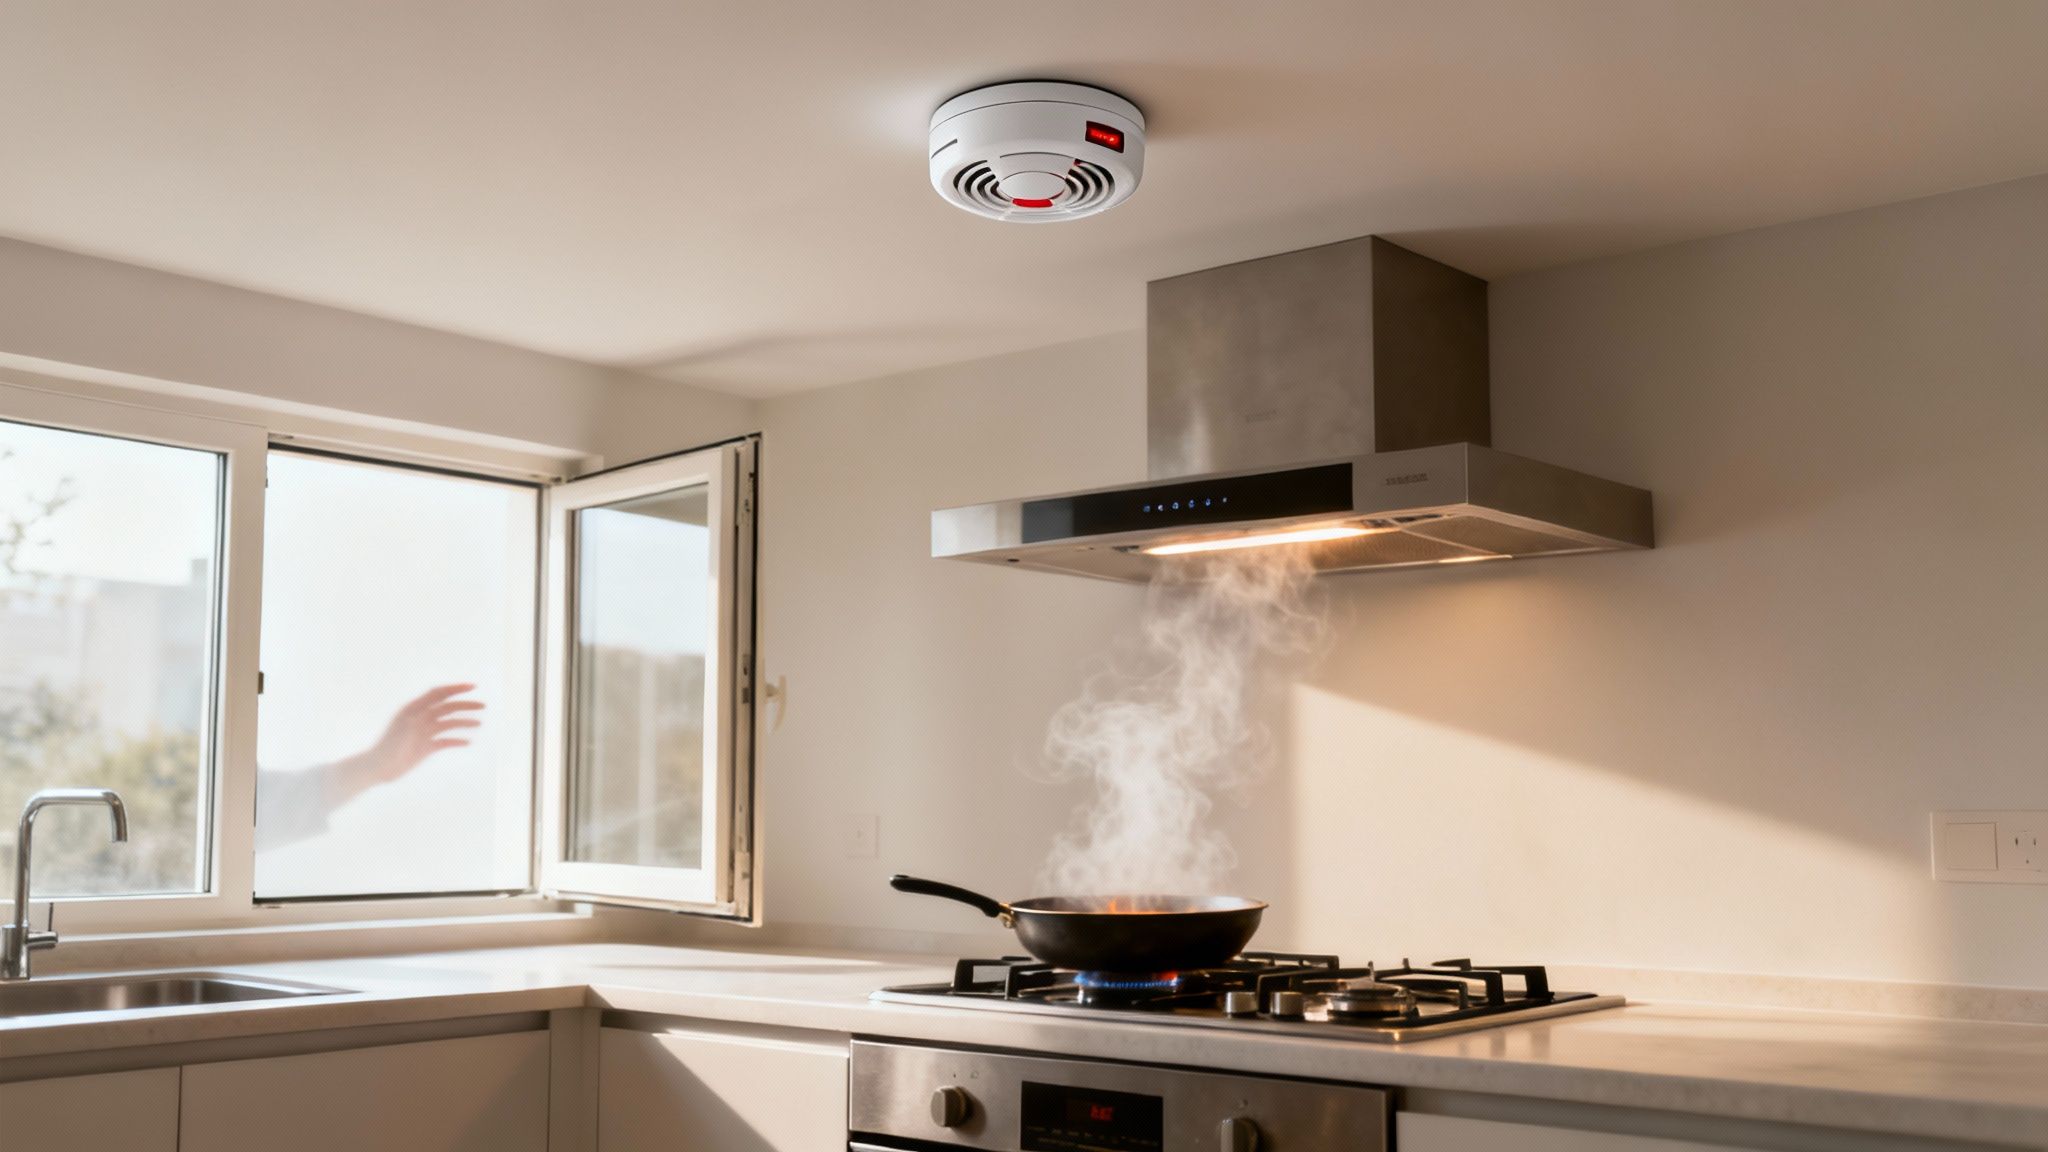
We’ve all been there. You’re searing a steak or just getting out of a hot shower, and suddenly the smoke alarm is screaming bloody murder. It’s frustrating, and without a doubt, the kitchen and bathroom are the two biggest hotspots for these nuisance alarms.
The thing is, it’s not a fault with the alarm itself. It’s simply reacting to airborne particles that look and act a lot like real smoke. Sizzling bacon, a bit of burnt toast, or a big cloud of steam can all trick the sensor.
Ionisation alarms are especially notorious for this. They’re super sensitive to the tiny, invisible particles created by high-heat cooking and steam. They can’t distinguish between these harmless particles and those from a dangerous, fast-flaming fire, which is why your smoke alarms might be going off when there’s no smoke.
Steam from a hot shower is a particularly sneaky culprit. The fine moisture particles can easily fool an ionisation sensor, which works by detecting interruptions in its electrical current. It’s a massive issue. Data from Queensland back in 2011 showed that steam and cooking were responsible for 6,083 unwanted alarms in homes. That’s a huge number, and it shows just how common this problem is.
Studies have confirmed that steam is behind a big chunk of false alarms. The real danger here is that it can lead to complacency—people start ignoring their alarms or, worse, disabling them. You can discover more insights about these recurring false alarms to get a sense of the scale of the problem.
This is where the type of alarm you have really matters. Photoelectric alarms, which use a beam of light to “see” smoke, tend to handle these environments much better. They are far less likely to mistake steam or cooking fumes for a real fire, making them a much smarter choice for hallways or areas near kitchens and bathrooms.
The solution isn’t to stop cooking or showering, of course. It’s all about managing the environment and making sure you have the right type of alarm in the right place.
Getting this right is the first step to getting some peace and quiet back, without ever compromising on your family’s safety.
You can cut down on these false alarms dramatically with a few simple habits. I recommend these practical steps to clients all the time, and they genuinely work.
Adopting these habits can make a huge difference. It’s about creating an environment where your smoke alarms can do their job without being constantly tricked by everyday activities. Smart placement and the right type of alarm are your best defence against the common kitchen and bathroom false alarm triggers.
That maddening, single chirp that echoes through the house every minute is worlds apart from the full-throated scream of a genuine emergency. It’s less panic-inducing but just as annoying. Figuring out what these different sounds mean is the first step to fixing the problem without resorting to ripping the device off the ceiling in a fit of frustration.
A full alarm is a continuous, loud, and urgent pattern designed to wake you from a deep sleep. A chirp, however, is short, sharp, and happens at regular intervals. Think of it as your smoke alarm’s way of telling you it needs attention—and 9 times out of 10, it’s a cry for a new battery.
As a battery’s power dwindles, it can no longer supply the steady voltage the alarm needs to function properly. That chirp is actually an engineered low-power warning; it’s a simple signal that requires very little energy to produce. Ignoring it isn’t just annoying; it’s genuinely dangerous.
Low battery issues are a surprisingly big problem here in Australia. Research has shown that a staggering 20% of false alarm reports were directly linked to low batteries. Even more concerning is that one in five Aussies who disable their alarms admit they never get around to replacing the battery, which contributes to the high percentage of non-functional alarms in homes across the country.
The fix is usually dead simple: replace the battery. For standard alarms, this just means twisting the unit off its mounting base, popping out the old 9-volt battery for a fresh one, and reinstalling it. It’s a simple task that our guide on how to check a smoke detector can walk you through step by step.
Pro Tip: Here’s a brilliant habit to get into. When you change your clocks for daylight saving, change your smoke alarm batteries. This simple twice-yearly routine ensures your alarms are always powered up and ready to protect you.
There’s nothing more frustrating than popping in a brand new battery, only for the chirping to continue. When this happens, it usually points to one of two things.
First, there might be some residual charge left in the alarm’s internal capacitor. To clear this, take the new battery back out, then press and hold the test button for about 15-20 seconds. This will fully drain any lingering power before you put the new battery back in.
If that little trick doesn’t work, the chirping could be a fault or an end-of-life warning. Smoke alarms don’t last forever; their sensors degrade over time. If your alarm is over 10 years old, that relentless chirp is likely its final message, telling you it’s time for a complete replacement.
A fantastic long-term solution is to upgrade to alarms with 10-year sealed lithium batteries. Yes, they cost a bit more upfront, but they completely eliminate the low-battery chirp for a full decade. It’s a small investment for ten years of peace of mind and hassle-free protection.
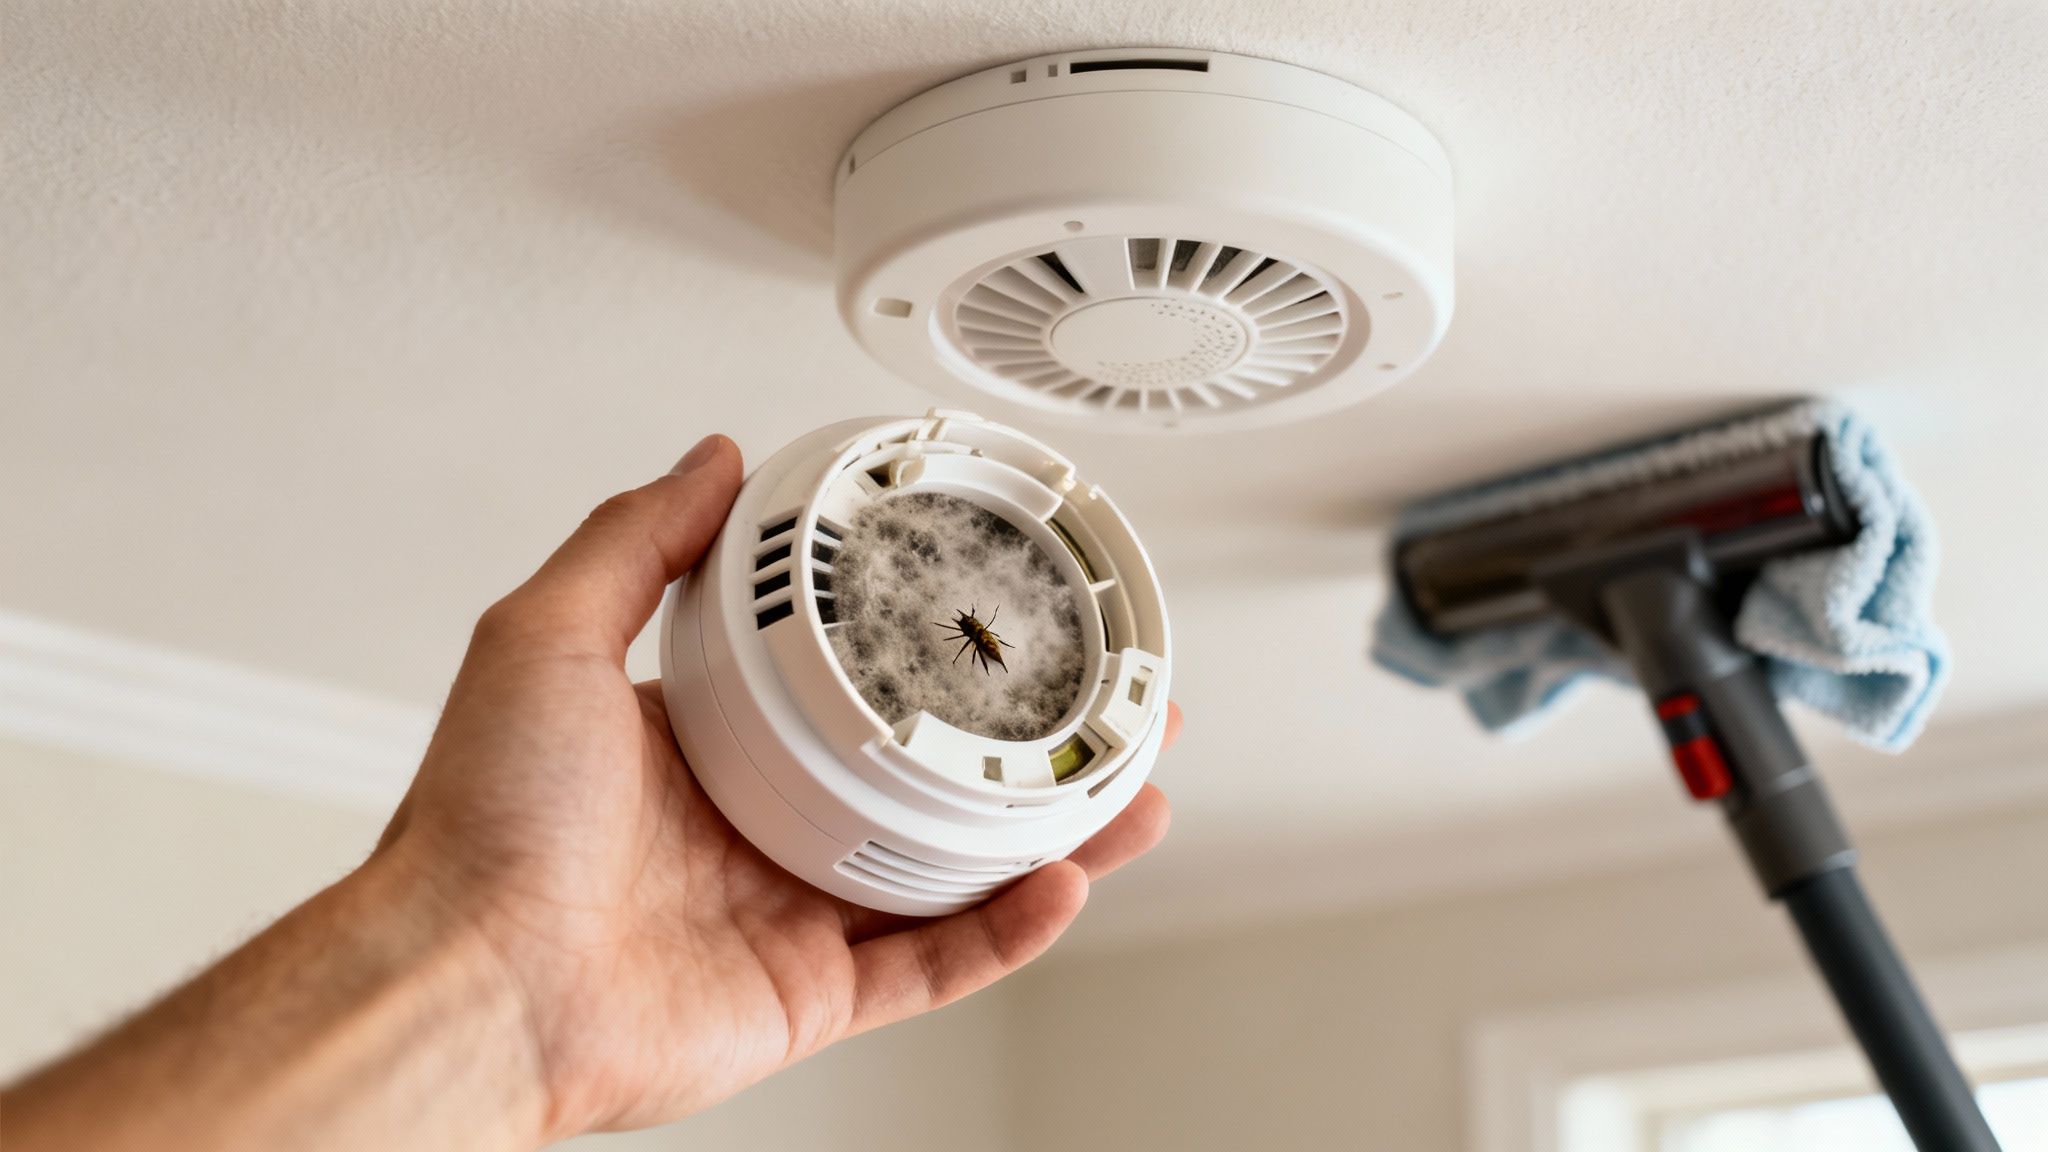
So, your smoke alarm is blaring, but there’s definitely no smoke. You’ve already checked for the obvious culprits like cooking fumes and bathroom steam. What now? It’s time to look for the invisible triggers. More often than not, the cause is something so small it’s hiding right inside the alarm itself.
A bit of dust build-up, fine debris from a nearby reno, or even a spider spinning a web can be enough to obstruct the internal sensing chamber. Whether you have ionisation or photoelectric alarms, they are incredibly sensitive devices. They simply can’t tell the difference between a particle of genuine smoke and a speck of dust.
Believe it or not, even a tiny insect crawling inside can block the sensor and trigger a full-blown false alarm. This is far more common than you’d think, especially during the warmer months when every bug in the neighbourhood seems to be looking for a new home.
A simple, regular cleaning schedule is your best defence against these phantom alarms. It’s a basic bit of maintenance that’s easy to overlook, but neglecting it can leave you with a device that cries wolf far too often. I always recommend cleaning your alarms at least twice a year—or more frequently if you live in a particularly dusty area or near a construction site.
Here’s the straightforward method I’ve used for years:
This simple two-step process takes only a minute per alarm, but it can save you from countless frustrating middle-of-the-night wake-up calls. It just ensures the sensing chamber stays clear and ready to detect a real fire.
A clean smoke alarm is a reliable smoke alarm. Taking a few minutes to remove dust and debris is one of the most effective ways to stop false activations and maintain your peace of mind.
Beyond physical blockages like dust and bugs, there are other invisible factors that can make your smoke alarm sound for no apparent reason. The air quality and chemical composition inside your home can be just as disruptive.
Keep an eye out for these less obvious environmental triggers:
By keeping your alarms clean and being mindful of where they’re placed in relation to humidity and chemical sources, you can eliminate a whole category of those mysterious false alarms.
When a smoke alarm starts screaming and there’s no fire in sight, it’s easy to feel a jolt of panic. But the key to getting it sorted quickly and safely is having a clear plan. This guide walks you through a logical sequence, starting with how to silence the racket before digging into what’s actually causing the problem.
The very first thing you need to do is quiet the alarm. Most modern smoke detectors have a ‘hush’ button right on the front. Giving that a firm press will usually mute the alarm for about 10 minutes, which is more than enough time to investigate without the deafening noise.
Once you’ve got some peace and quiet, it’s time to play detective and figure out why your alarms are tripping for no good reason. It’s best to work through these checks methodically.
A reset is often the silver bullet for those phantom alarms that seem to have no cause. It forces the unit to recalibrate its sensors and clears out any glitches that might have been triggered by a brief power flicker or an internal fault.
To make it even easier, here’s a simple checklist to follow when a false alarm strikes. This table breaks down the process from immediate actions to long-term solutions.
| Step | Action to Take | Purpose |
|---|---|---|
| 1. Silence the Alarm | Press the ‘hush’ or ‘test/silence’ button on the shrieking unit. | Buys you about 10 minutes of quiet to investigate the cause safely. |
| 2. Identify the Trigger | Check for steam, cooking smoke, dust, or high humidity near the alarm. | Rules out common, non-fire environmental causes of the activation. |
| 3. Clean the Alarm | Use a vacuum with a soft brush attachment to gently clean the vents. | Removes dust, insects, and cobwebs that can interfere with the sensor. |
| 4. Perform a Reset | Disconnect from power (mains and battery), hold the test button for 20 seconds, then reconnect. | Clears any internal software glitches or sensor errors. |
| 5. Test the Unit | After resetting, press the ‘test’ button to ensure it’s working correctly. | Confirms the alarm is powered and operational after your troubleshooting. |
| 6. Monitor & Replace | Keep an eye on it. If false alarms continue, the unit is likely faulty and needs replacing. | A persistent false alarm after these steps usually indicates a hardware failure. |
Following these steps will resolve the vast majority of false alarm issues. If the problem persists, it’s a strong indicator that the smoke alarm itself has reached the end of its life.
The exact reset process varies slightly depending on whether your alarms are battery-only or hardwired into your home’s main power.
Resetting a battery-powered alarm is pretty straightforward.
With hardwired alarms, you have to cut the mains power at the source to do a proper reset.
This complete power cycle usually sorts out most persistent false alarm headaches. Beyond these immediate fixes, it’s worth remembering that proactive upkeep is key; you can read more about the importance of regular property maintenance for keeping everything in your home, including safety systems, in top shape.
And if you have an interconnected system where one alarm sets off all the others, it’s really useful to know how they talk to each other. You can learn more about wireless interconnected fire alarms to get a better handle on your specific setup. If a full reset doesn’t work, it’s a very strong sign the unit is faulty and it’s time for a replacement.
Even after you’ve gone through all the troubleshooting steps, it’s pretty normal to still have a few questions. Smoke alarms are a vital bit of safety gear, but let’s be honest, they can be confusing. Here are some straightforward answers to the most common questions we get from homeowners, designed to give you total confidence in your home’s fire safety.
If you’re ever faced with an alarm going off for no apparent reason, this simple three-step process is the best way to handle it.
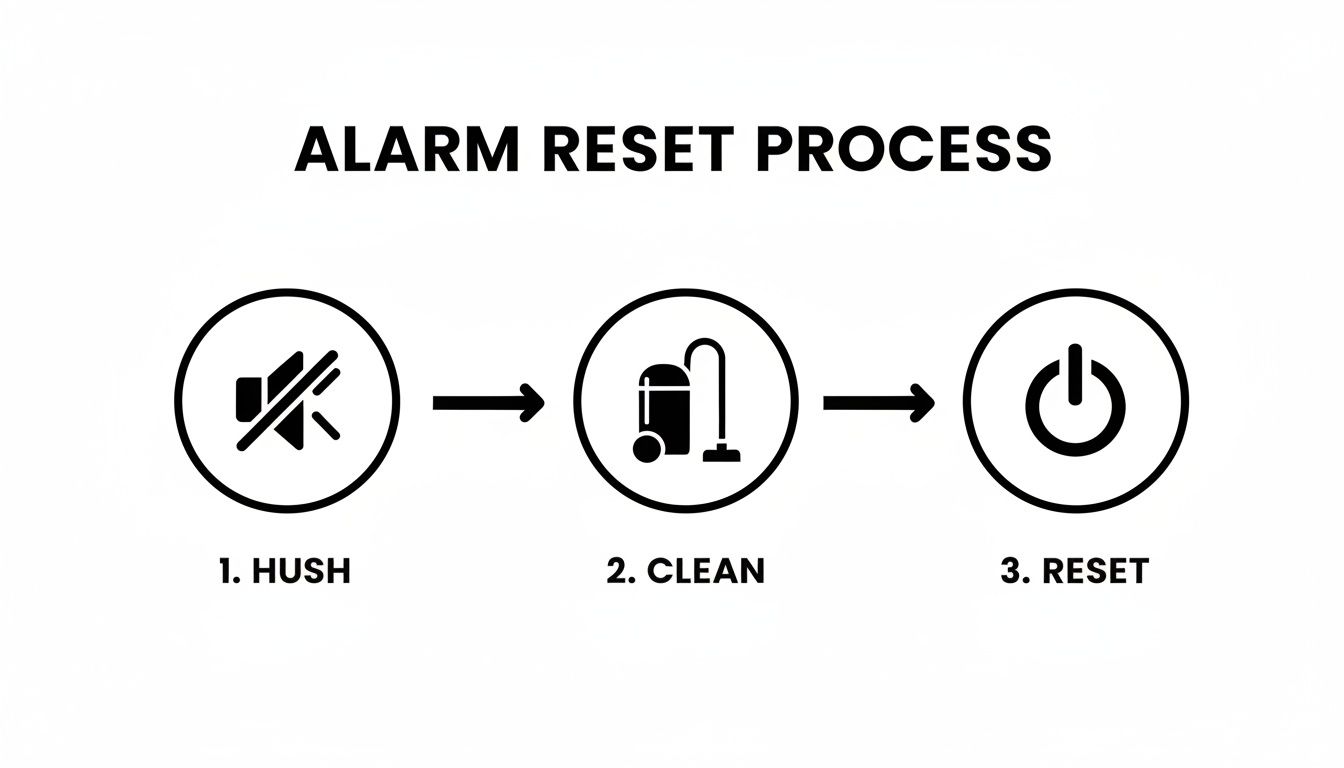
The key is to work through it methodically. First, silence that ear-splitting noise. Next, deal with the likely culprit by giving the alarm a good clean. Finally, a full reset should clear out any lingering internal glitches.
This is a big one, and the answer is non-negotiable. You must replace every single smoke alarm in your home at least every 10 years. It’s not a suggestion; it’s a critical safety rule. Over time, their internal sensors degrade and just don’t detect smoke as reliably as they used to.
This applies to all types, whether they’re hardwired into your mains power or run solely on batteries. The manufacturing date is almost always printed on the back of the alarm itself. If you can’t find a date or you know it’s been over a decade, it’s time for an immediate replacement. Don’t put it off.
If you have a modern, interconnected system, then absolutely—this is exactly how it’s designed to work. When one interconnected alarm detects smoke, it broadcasts a signal to every other alarm on the network, making them all sound at once.
It’s a life-saving feature. This simultaneous alert means a fire starting in the garage will instantly trigger the alarm in an upstairs bedroom, giving everyone the maximum time to get out safely. If only one alarm is sounding when you have an issue, you almost certainly have older, standalone units that aren’t communicating with each other.
Interconnected alarms provide the earliest possible warning of a fire, no matter where you are in the house. Upgrading to an interconnected system is one of the most significant safety improvements you can make to your home.
A blinking red light on a smoke alarm can mean a few different things, and the exact meaning can vary between brands. Your first port of call should always be the user manual, but here are the most common reasons you’ll see that little red light flashing.
If you’re ever in doubt about what a blinking light means, check the manufacturer’s guide or call a licensed electrician. Keeping your smoke alarms in perfect working order is a small job with a massive payoff in safety and peace of mind.
When it comes to the safety of your family and property, there’s simply no room for guesswork. If you’ve tried these troubleshooting steps and are still having issues, or if your alarms are overdue for an upgrade, it’s time to call in the professionals. For expert smoke alarm installation, compliance checks, and all your electrical needs in Brisbane, trust the experienced team at DLG Electrical. Visit us at https://dlgelectrical.com.au to book a free quote and ensure your home is protected.

Master Electrician with over 30 years of experience. Founded DLG Electrical in 2005 after international project work including electrical installations at Stamford Bridge Stadium, London(Home of Chelsea FC).

Local Electricians that can fix all Electric Hot water Systems.
Motion sensor lights are a versatile addition to any home, offering nu
